
|
-----------------------------------------------------------.::.
vehicles .::. civilian aircrafts .::. military aircrafts .::.
miscellaneous .::.---------------------------------------------------------- |
| Back in December 2016 I started on this, the Heinkel He 111C from Roden.Ā The kit from Hell. Totally unbuildable and other things have been said about this kit. I told this to Jonas in the club and he said that he would build one. I replied if he did I should start on mine as well, and Olle said that he would join in. Stupid of me but it is plastic and I thought that it couldn't be worse than some of my conversion I have done.Ā |
| (Model finished 2023) |
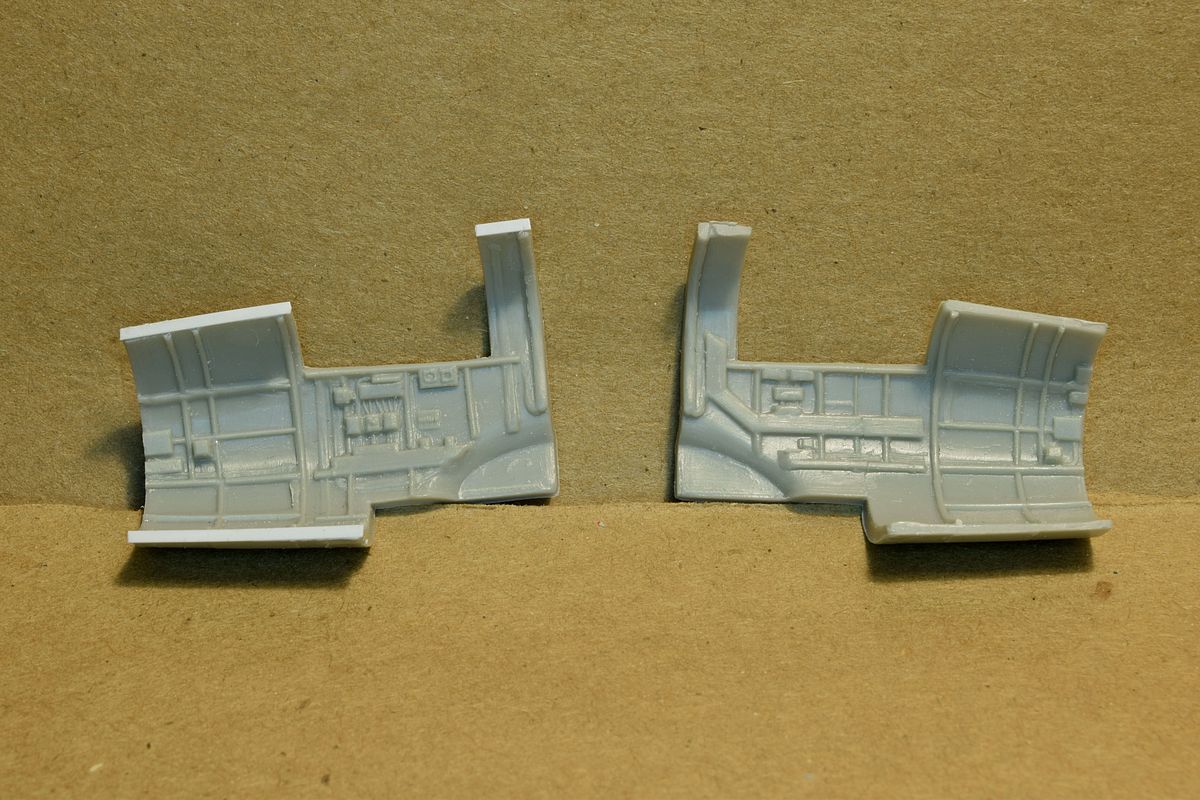
| The cockpit walls looked good I thought. |
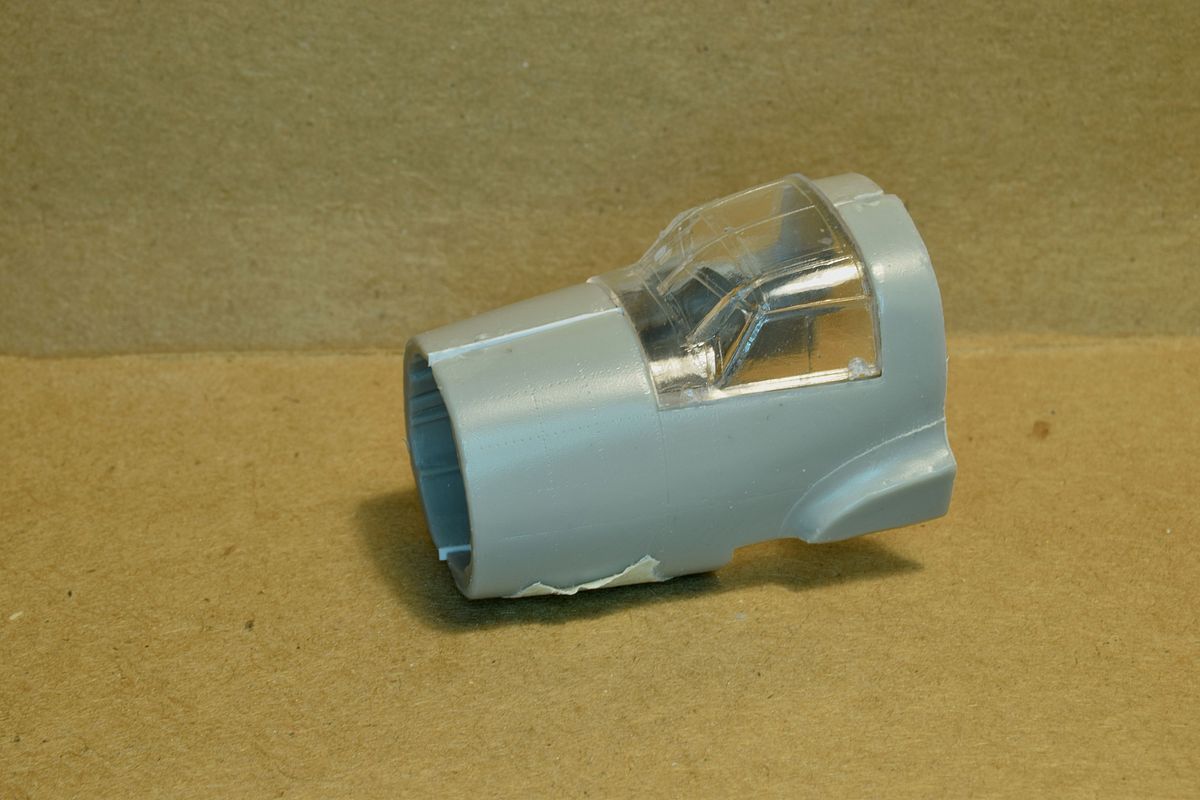
| I had read that the clear part was to wide so I started by adding a 0,25 mm plastic strip between the cockpit halves. |
| The same was done at the forward part of the roof. No big problems so far. |
|
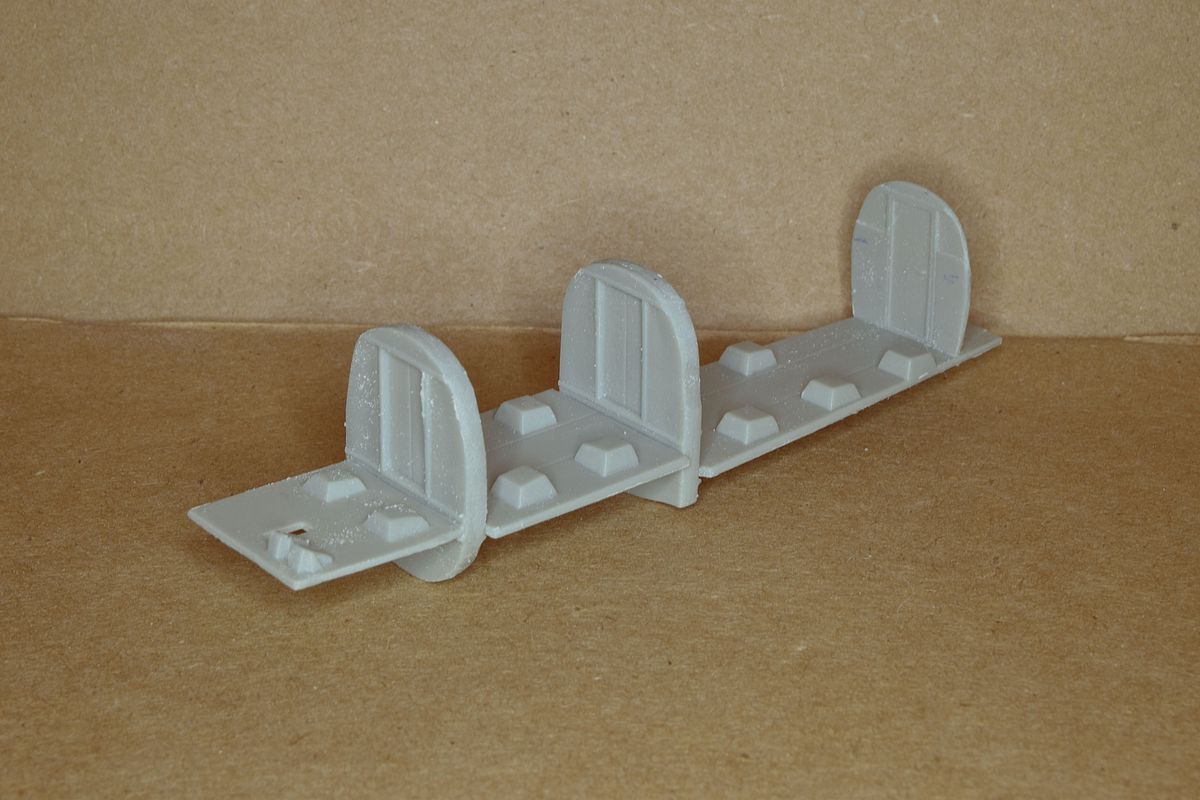
Then I turned to the interior. Multiple parts and as it turned out not one single bulkhead fits inside the fuselage. They are to wide, to high or just the wrong shape. They need to be cut, filed sanded to fit. Luckily there were "only" five. |
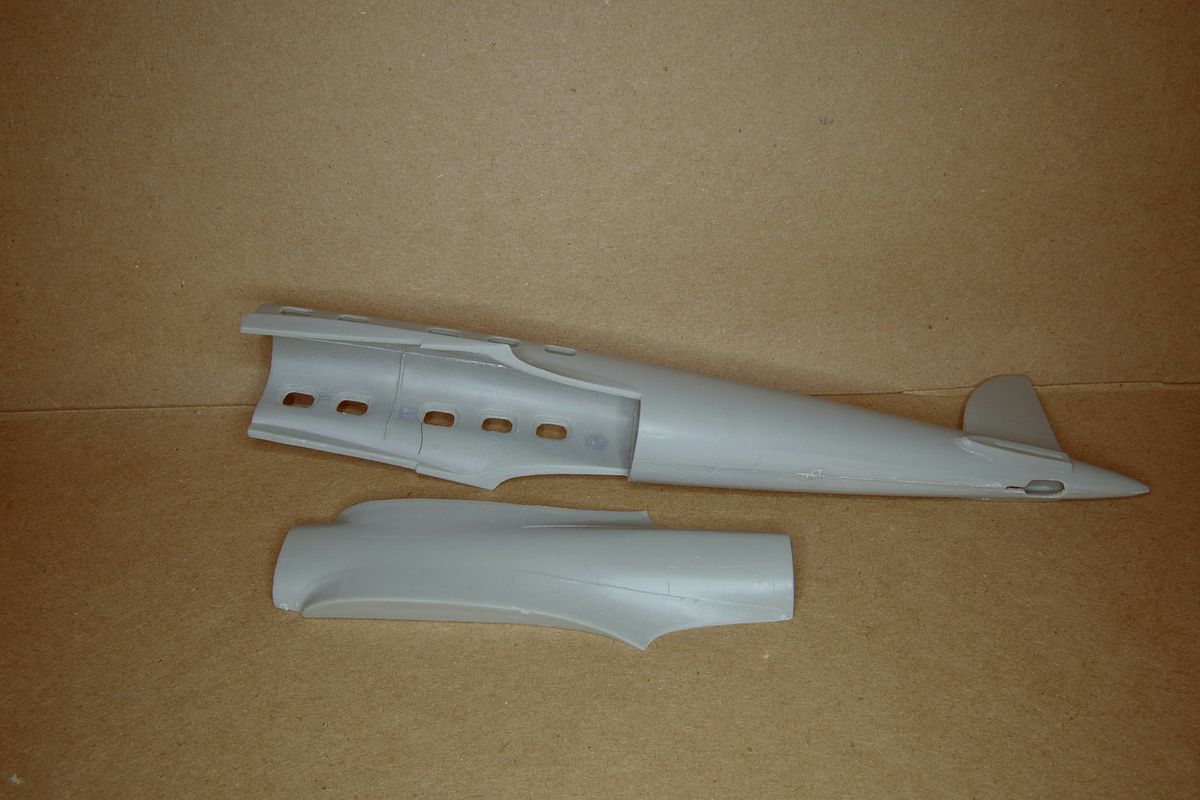
| The fuselage are in multiple parts and when I tried the bottom it showed that the interior floor is to wide at the rear. Also that it was to long. |
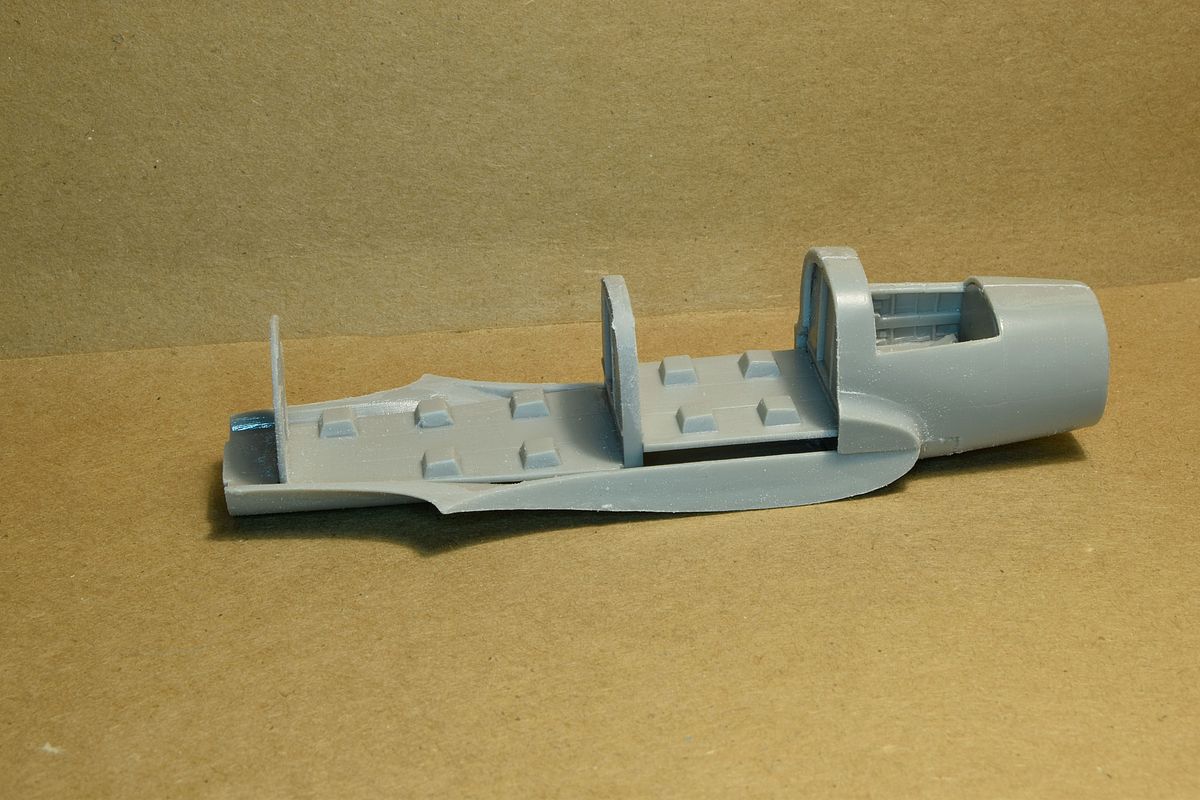
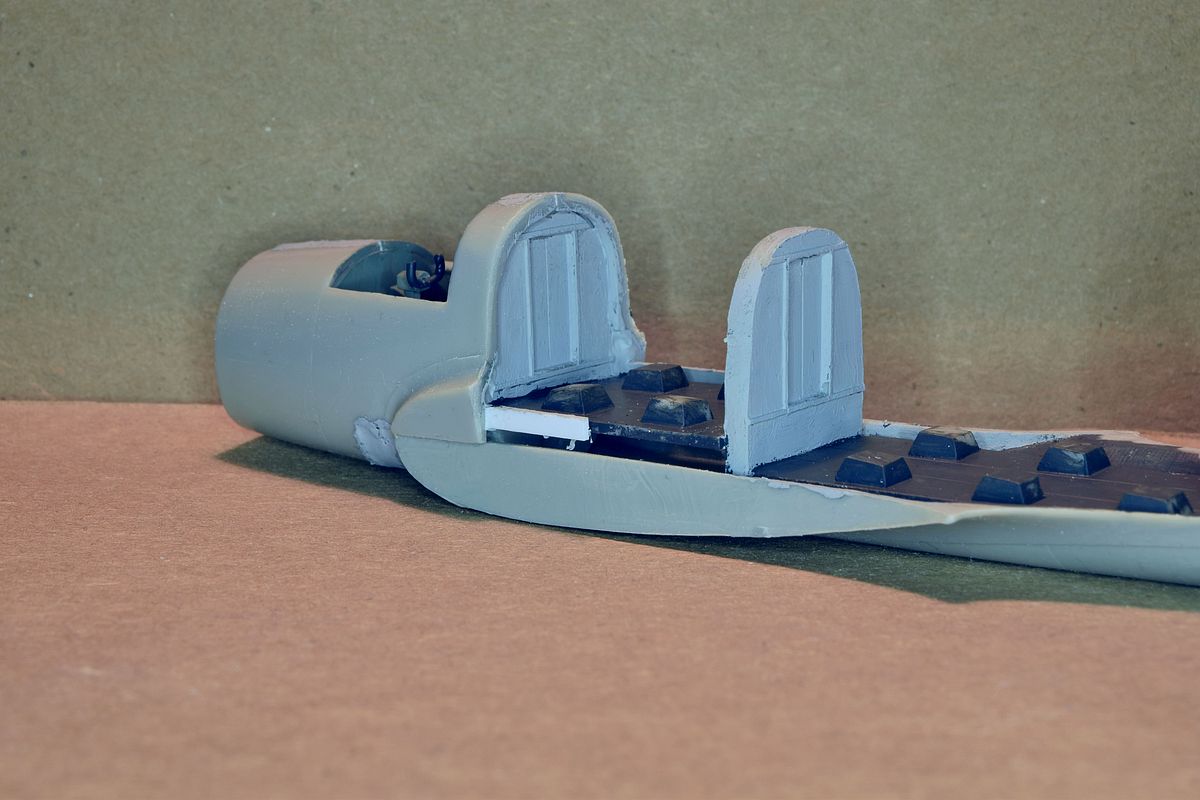
| I don't think that the instructions tell you to build like this but I found it easiest to glue the interior to the cockpit halves and then add the fuselage bottom to this. It gave a sturdy part that could be joined with the rest of the fuselage later. It will also ease the painting of the interior I hope. I am a bit worried about the wings. I have read some bad things about them. |

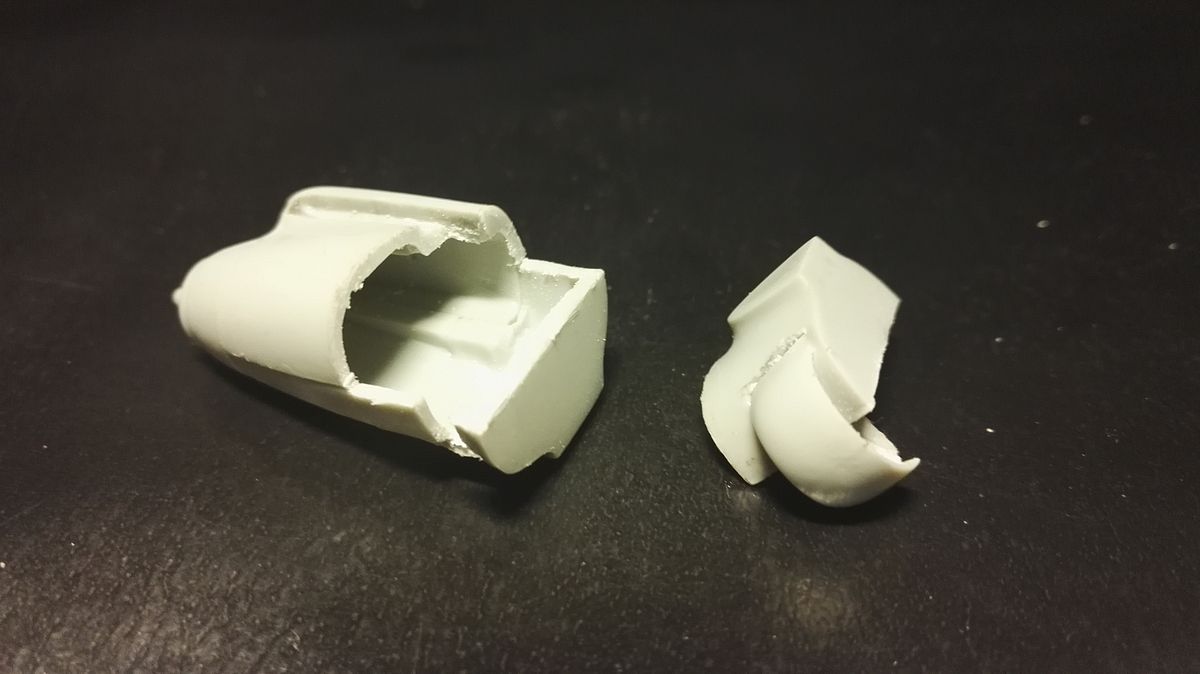
| Things ain't getting better. The box for the landing gear looks nice. |
| But when mounted in the wing it is to high so the wing parts can't join. |
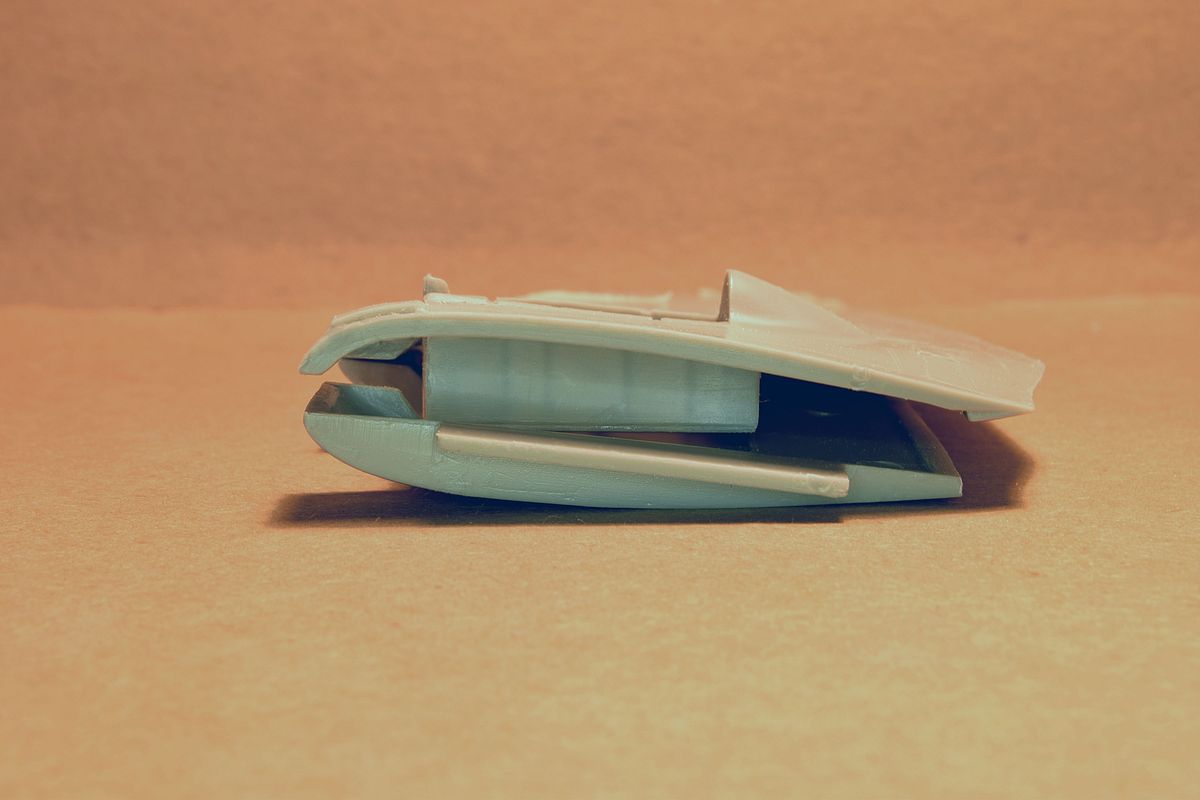
| As it turns out the rear is at least 2 mm to high. |
| So I cut down the sides and thinned down the "roof" as well. |
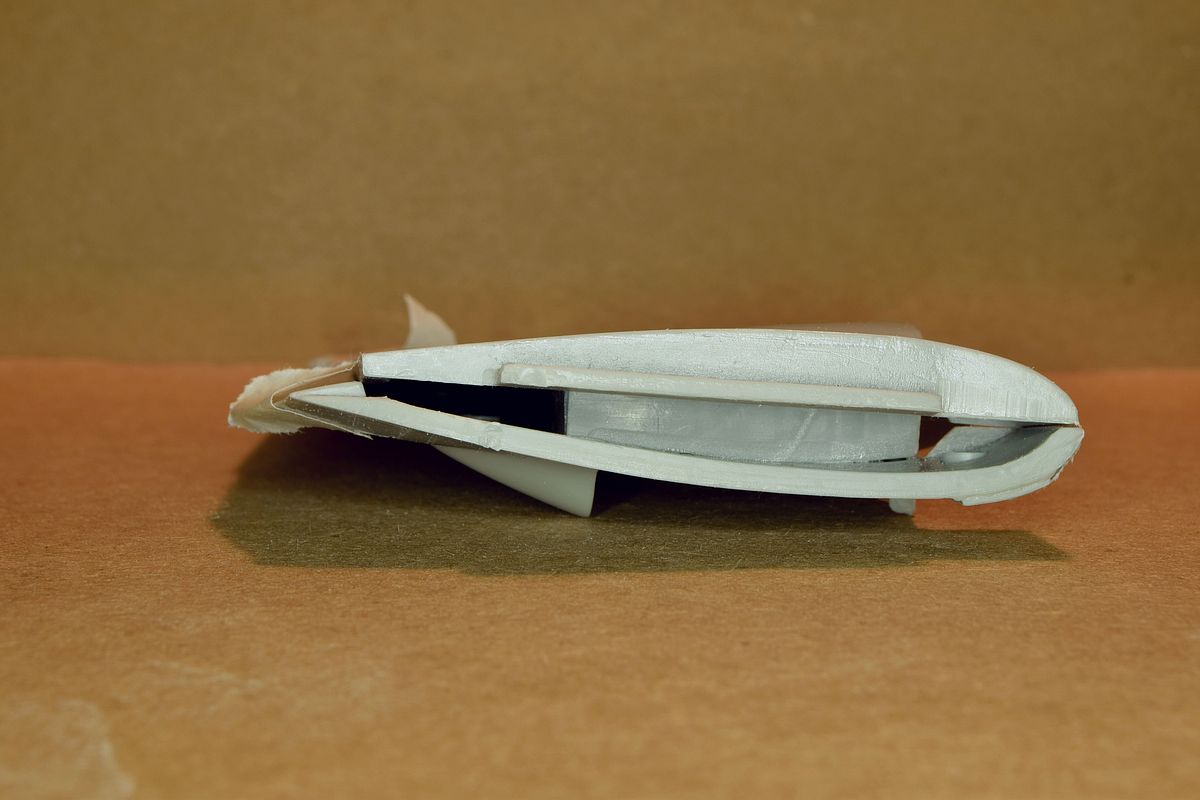
| But that wasn't enough to make it fit inside the wing. |
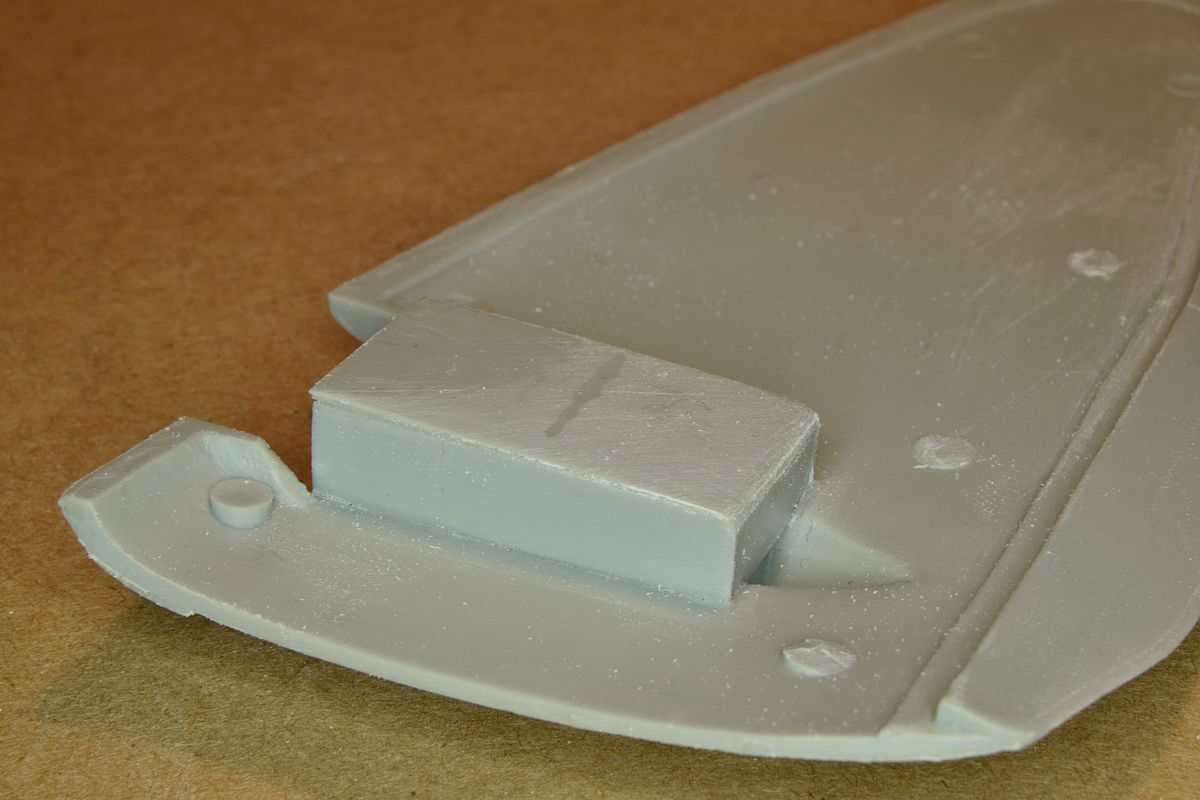
| The recess in the upper part of the wing is to short so the box don't fit in it. |
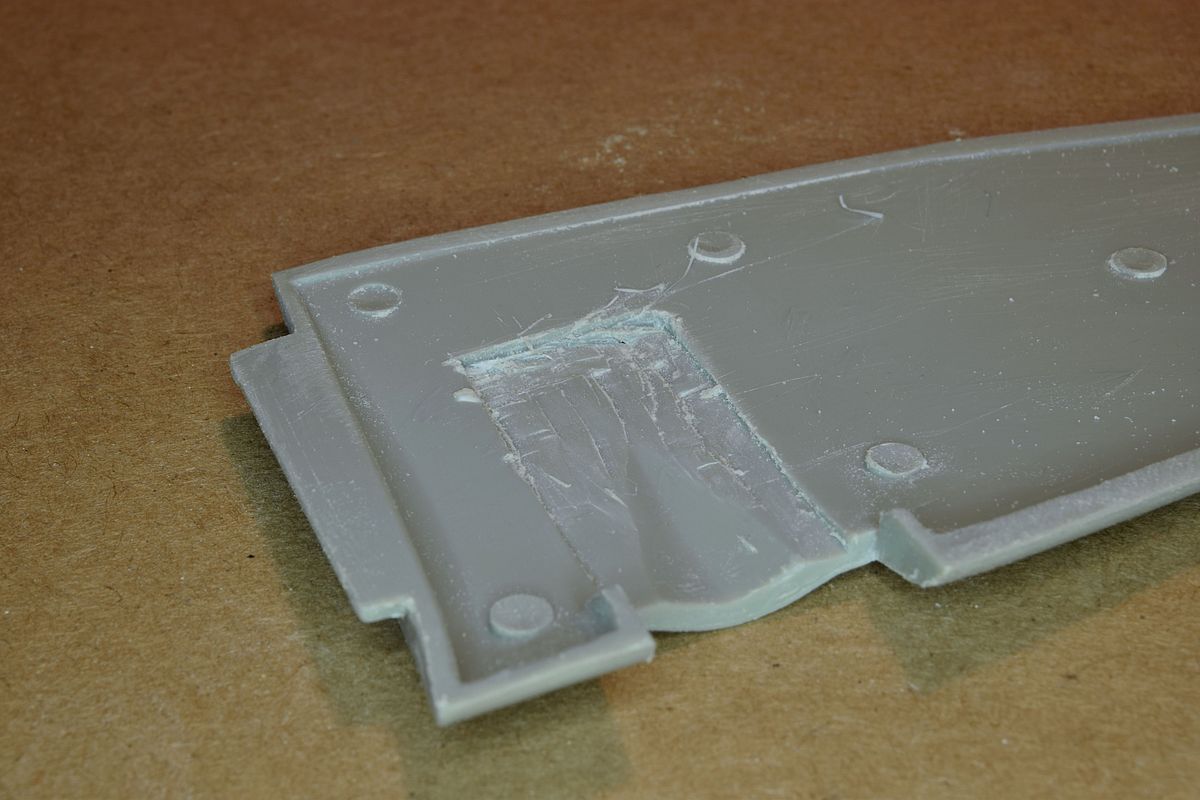
| So I brought out a chisel and made the recess longer and deeper. Not a beautiful work. |
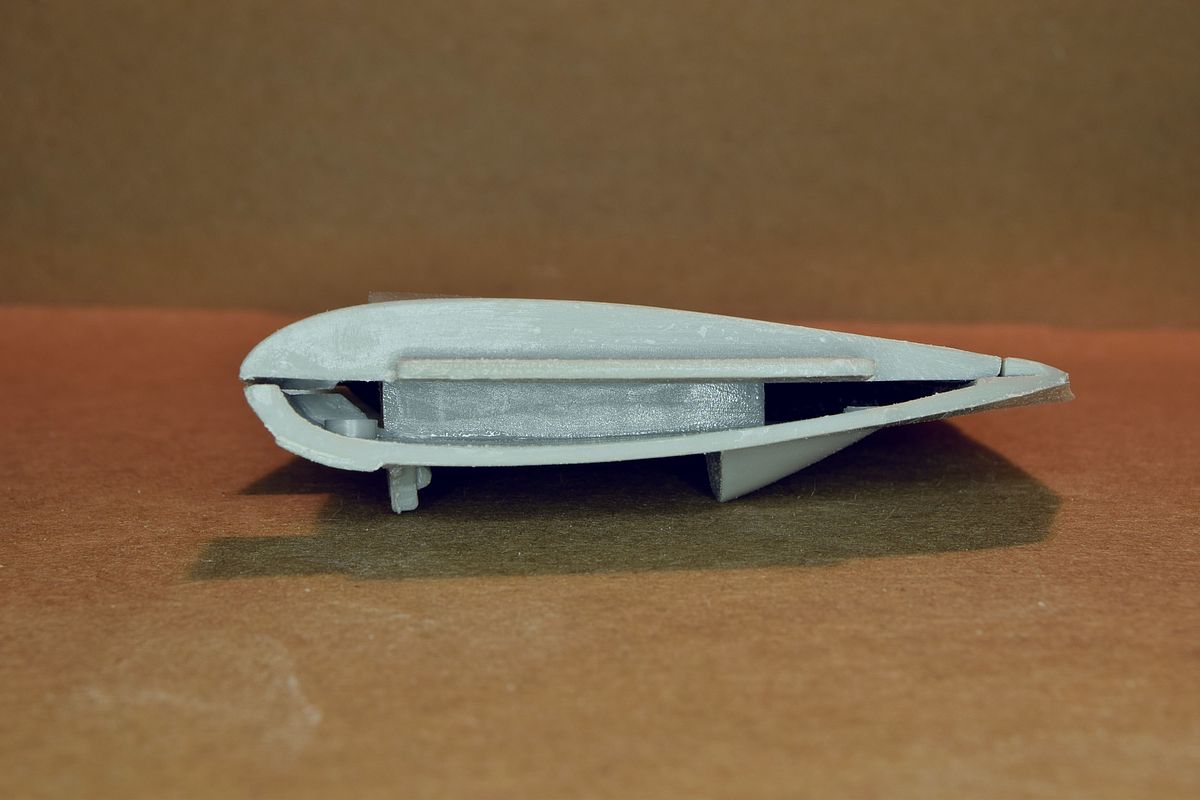
| Finally it fits inside the wing. |
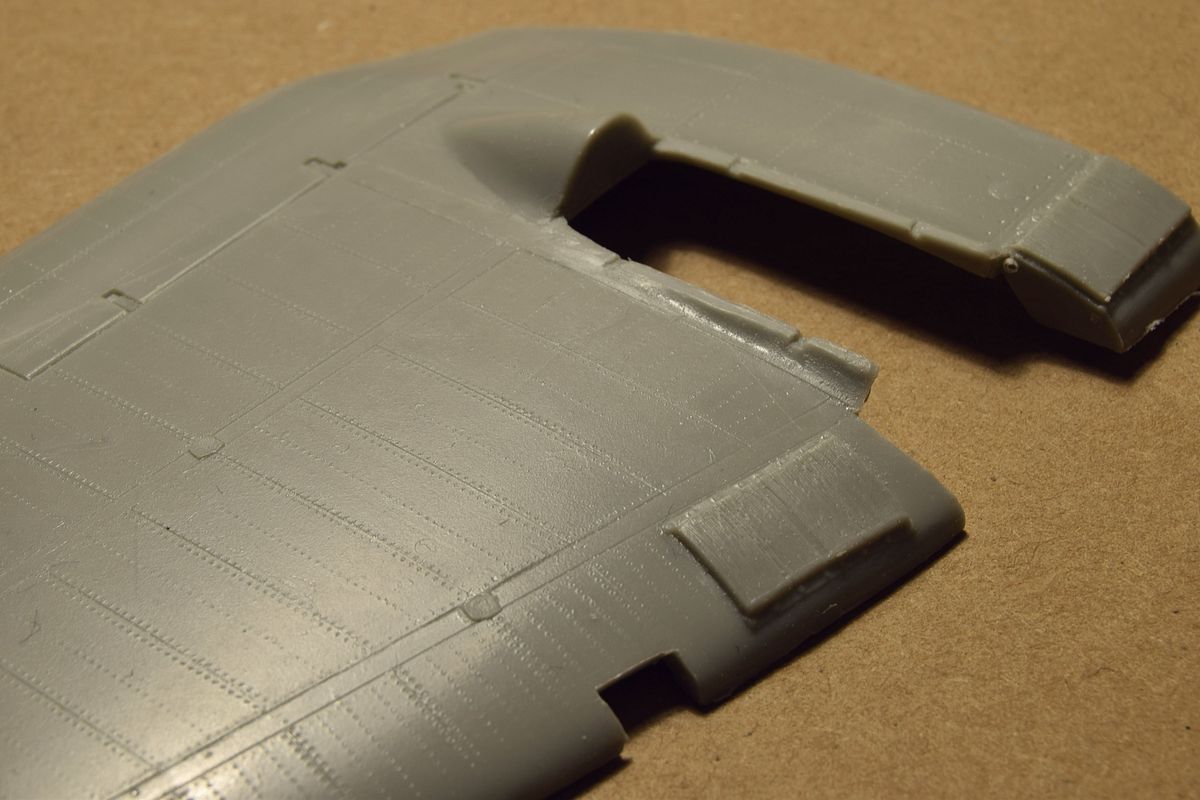
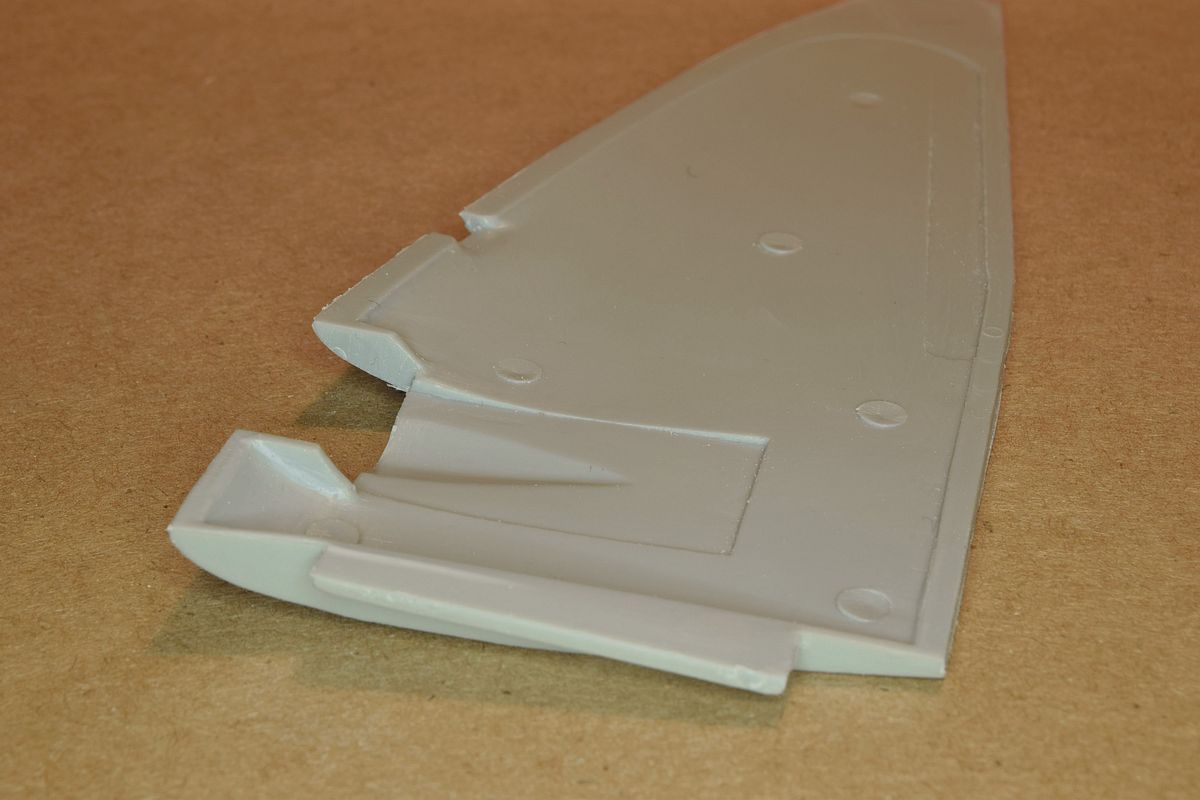
| The rivets are very nice and it is sad that this plane didn't have metal wings. The wing tips should be rounded as well so all of that nice details have to go. |
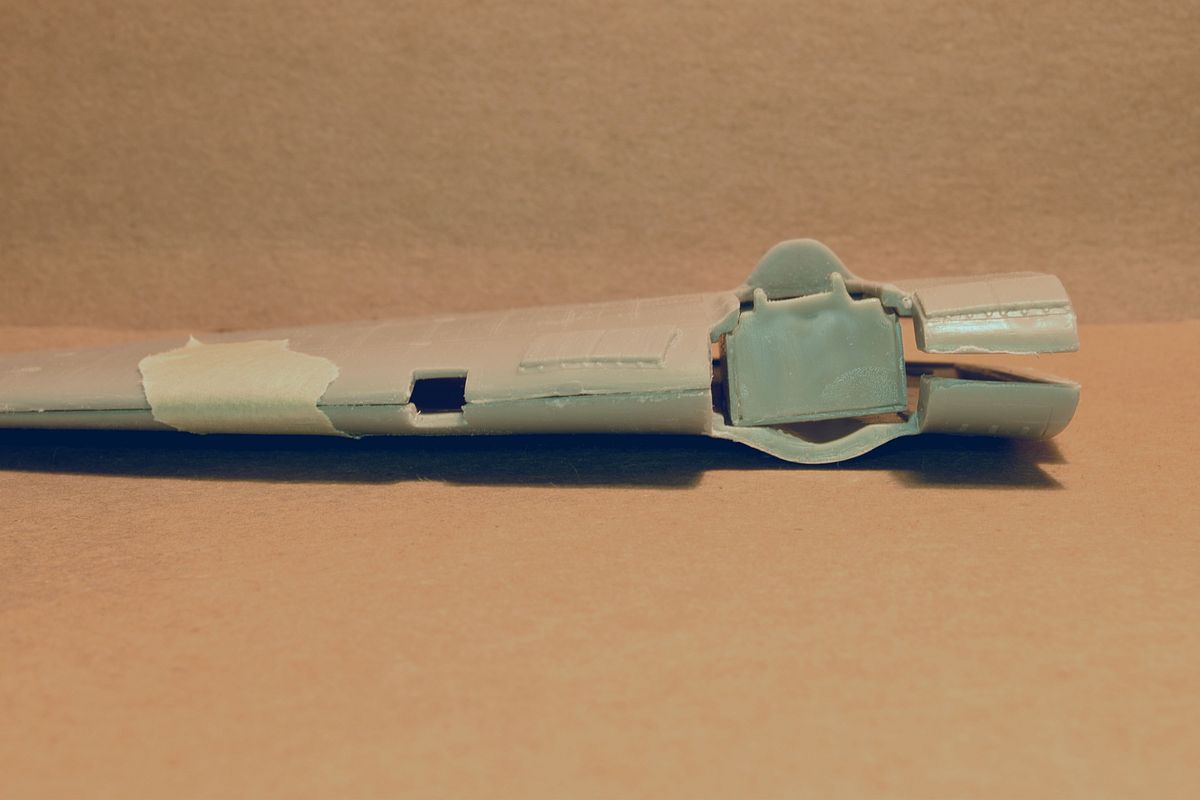
| I have a feeling that this can be a weak spot when joining the front and rear fuselage. |
| I added plastic strips to strengthen that joint. |
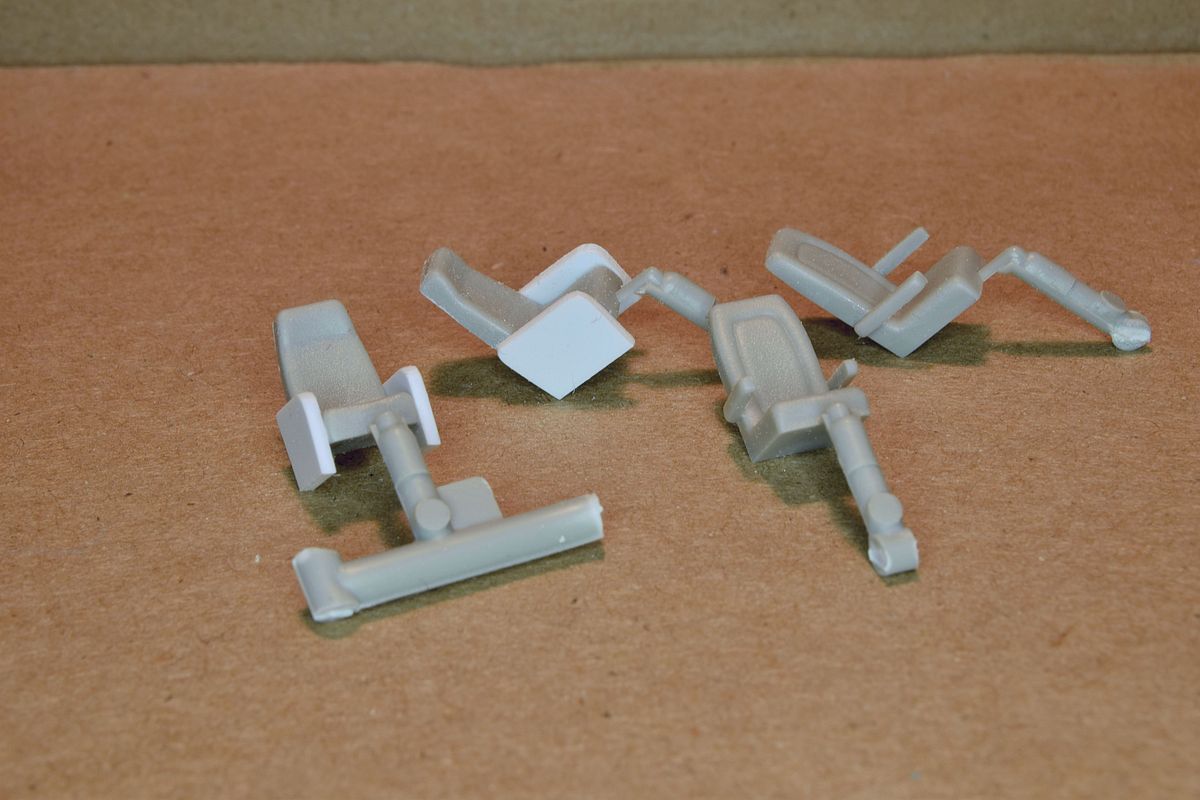
| The seats in the second class had arm rests included while the first class seat didn't have any so I added these. Looking at pictures they were of another type which made it rather simple. |
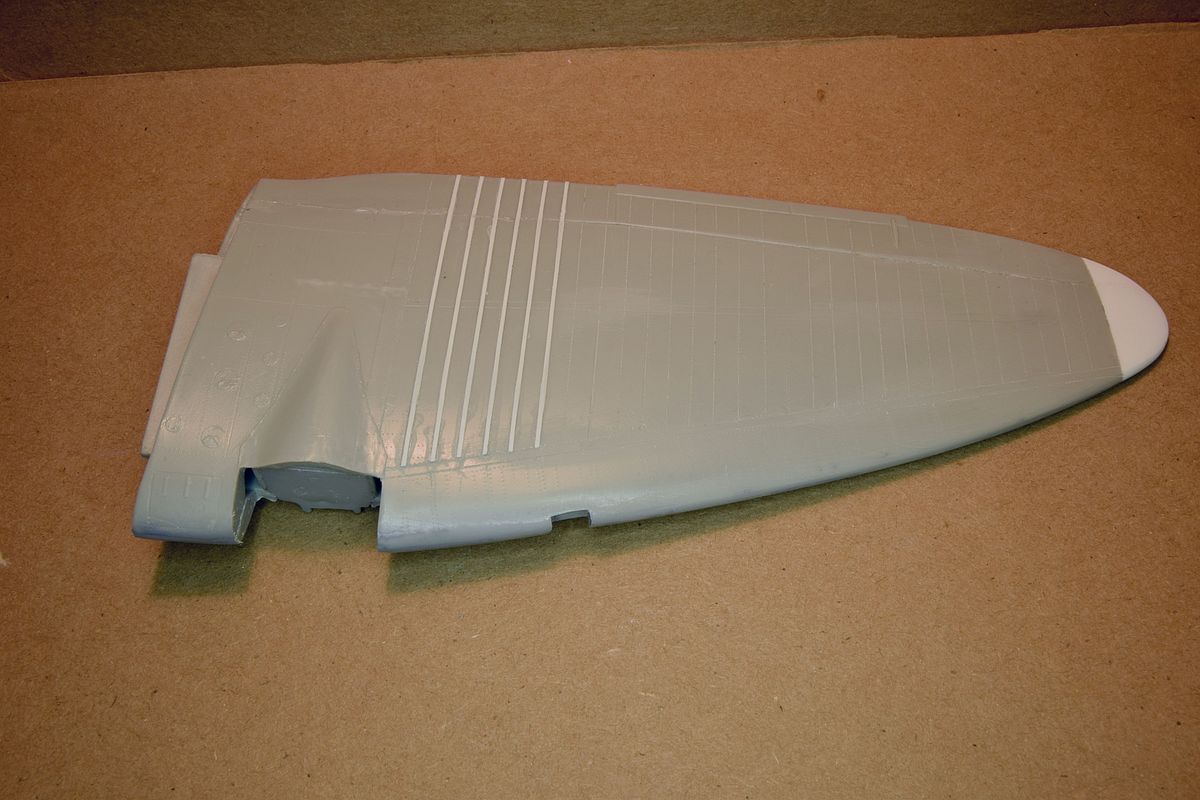
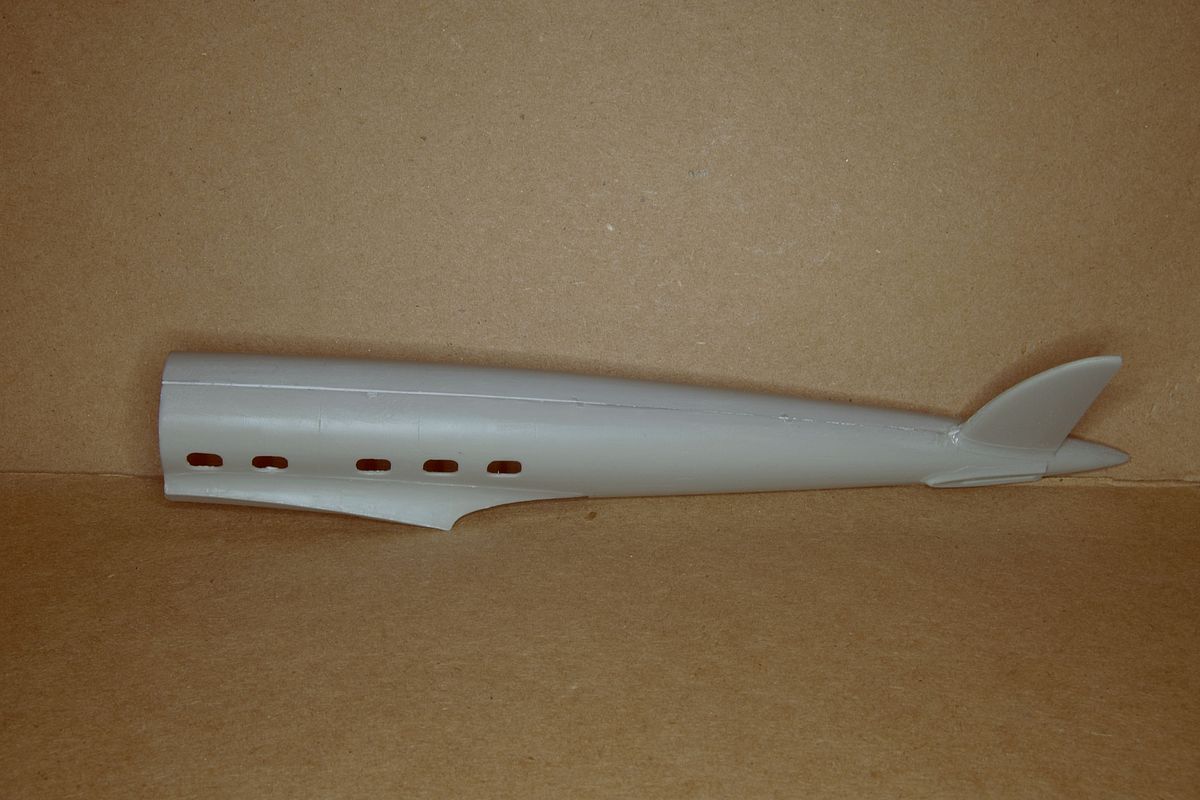
| The wing tips had to be altered so I removed part of it and glued some plastic card on instead. Then it was reshaped into the rounded type. Well the wing wasn't metal on the first planes and on some pictured the rib pattern is visible so I started to add plastic strips following the rivet pattern on the wing. This is a part of work where the whole build might stall. I guess I will get very bored before I'm through with both wings. This is probably the worst kit I've ever built but so far it has been fun. |
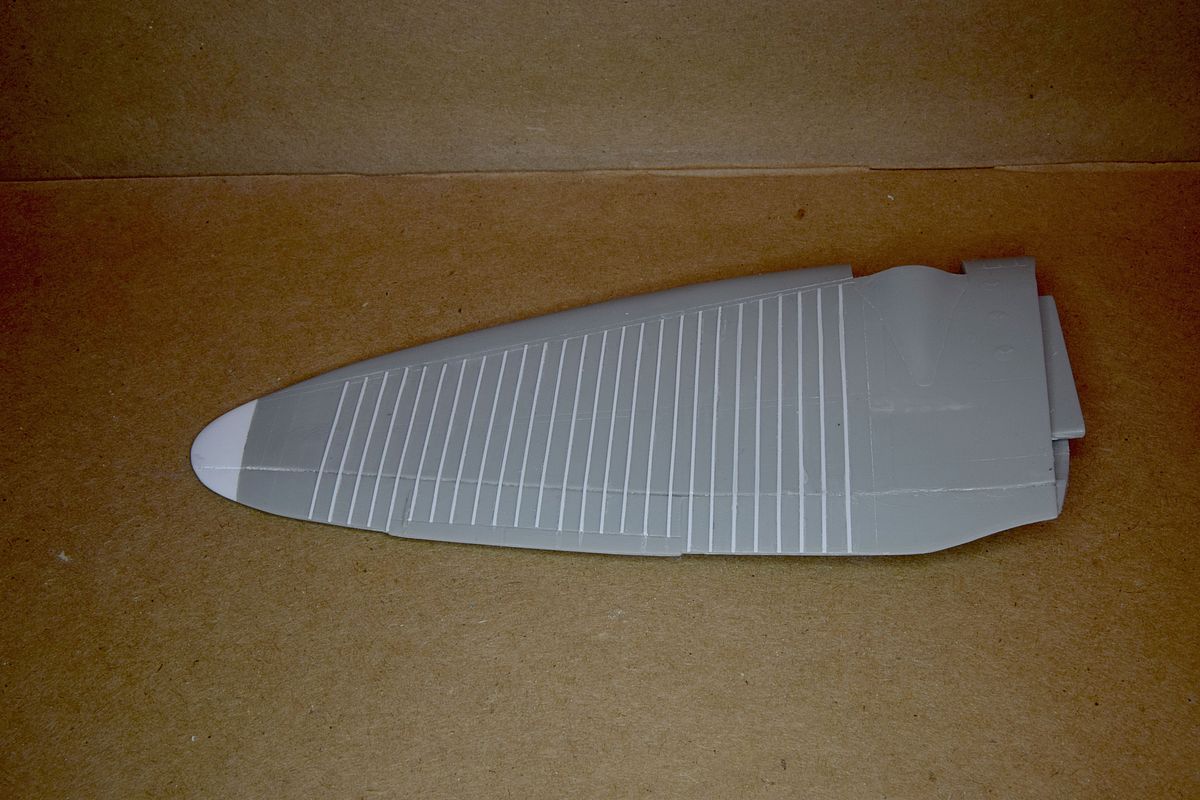
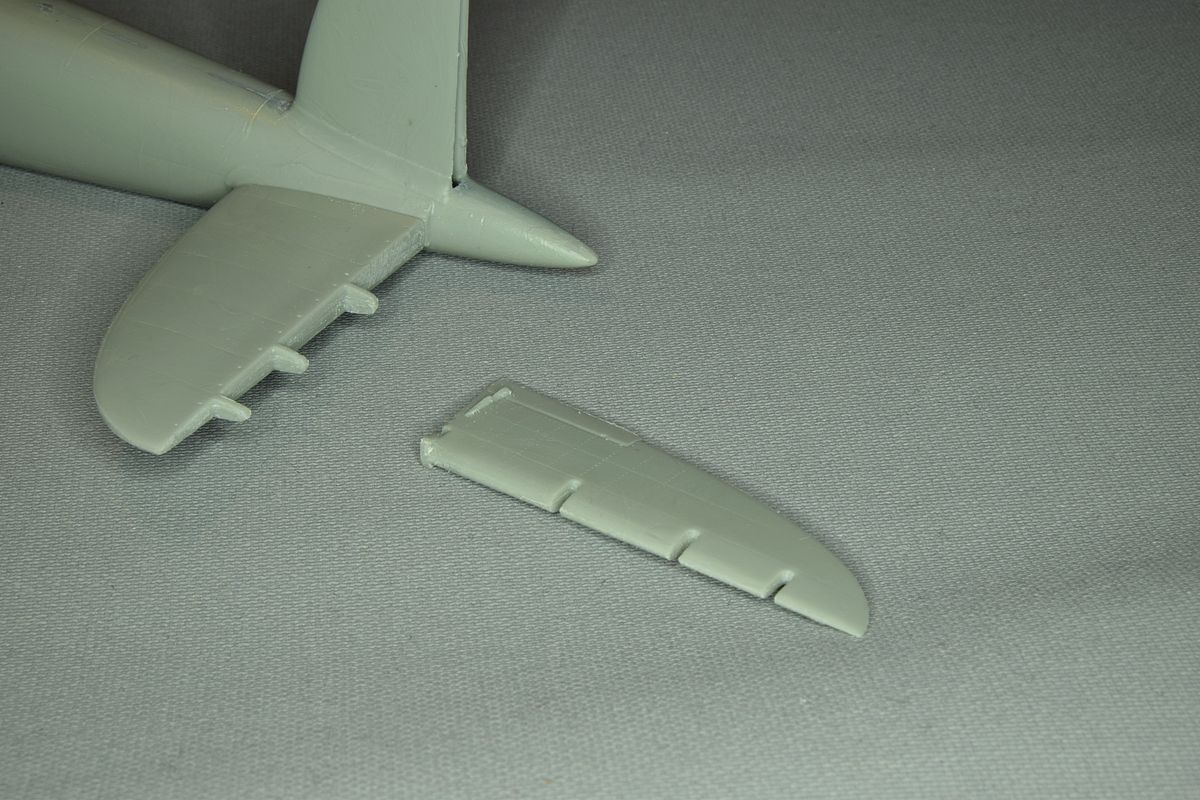
| The work on the wings slowly continues. |

| While the fuselage is almost ready to close up. This was how far I came before giving up after one week of building. |

|
In June 2017 I decided to restart on the project. I must say that the engines are over engineered. 12 parts for one gondola! |
| Just to make things more fun I used wrong parts so I had to bring out the saw. |
| Of course the engines didn't fit either. One pointing upwards while the other pointed downwards. |
| But I managed to get them in place at last. |
| But I wonder why they did make these parts as separate pieces when one of the hinges is not made to be "movable". Once again the project went to sleep. |
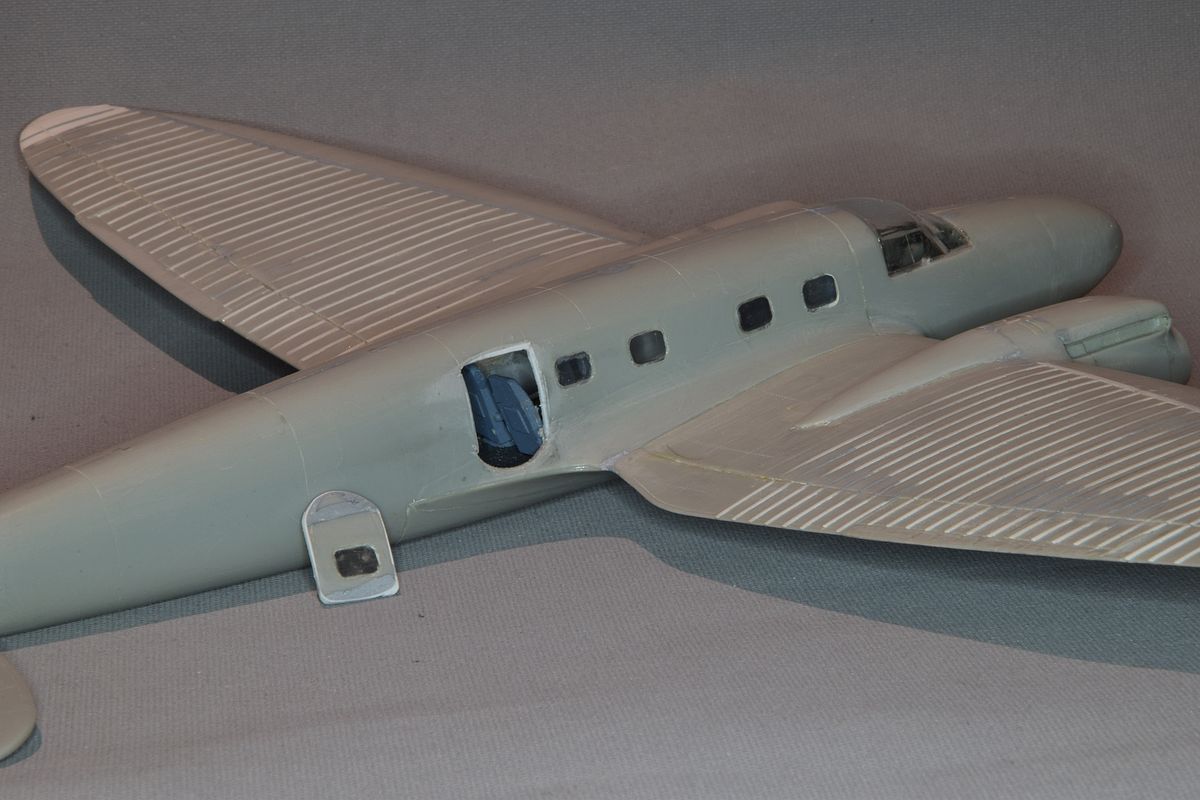
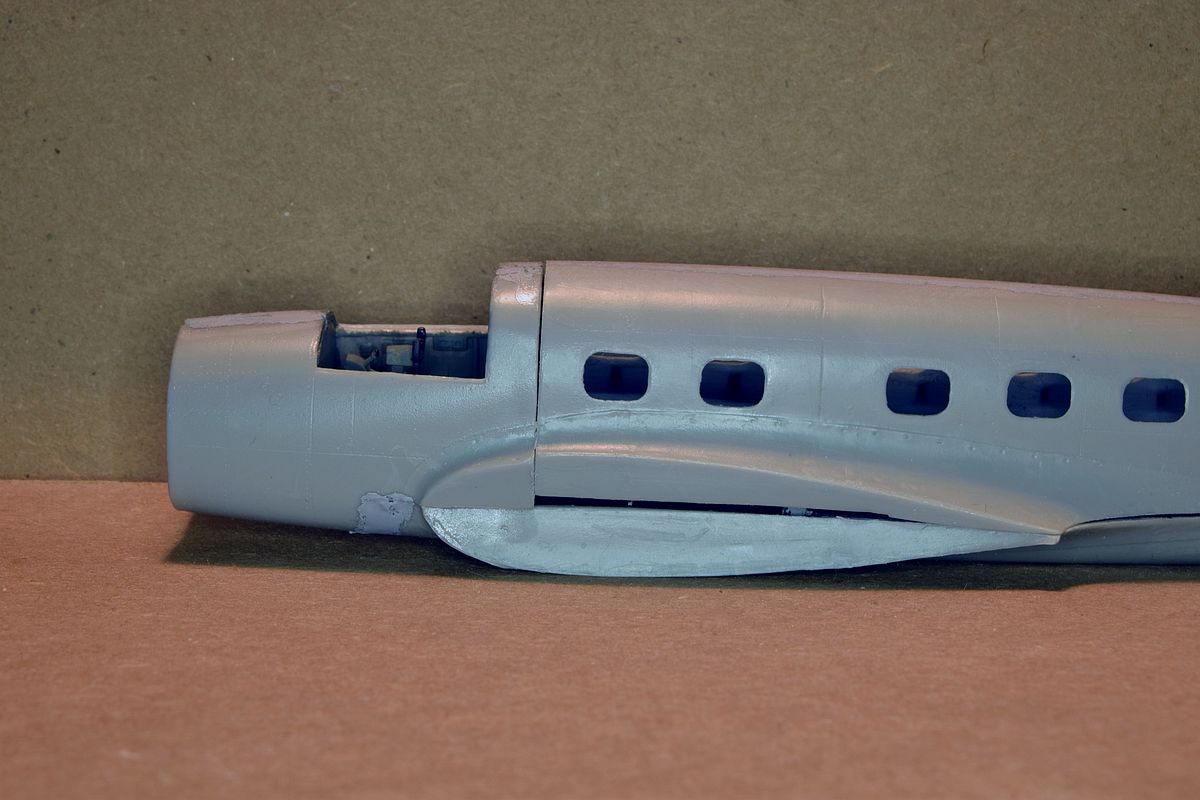
| It had been sitting on the desk accusingly for three years I decided to have a restart. I found that the canopy had gone missing and I searched for a long time without luck. One year later I reached out to Roden asking to buy a new one. They sent me a complete clear sprue for free. Then the next incident happened, one of the passenger windows came loose. One of the openings in the fuselage was to large so there wasn't enough surface for the glue. It went back on the desk for a couple of month before I decided what to do. I cut the door open hoping to be able to reach the window through the opening.Ā I managed to mount a new window but there were much damage to the door and opening that I needed to fix afterward. |
|
I added plastic strips to the large window hole to make it fit the window. Hopefully it will stay in place now.
This operation meant that I'm doing something I hardly do building planes. I will leave the passenger door open.
I never build with open hatches or an open cockpit but I'll go the easy route this time.Ā
I might build a passenger stair and place the air hostess from an Airfix DH Heron on it to cover the opening.
This kit will not beat me. |

|
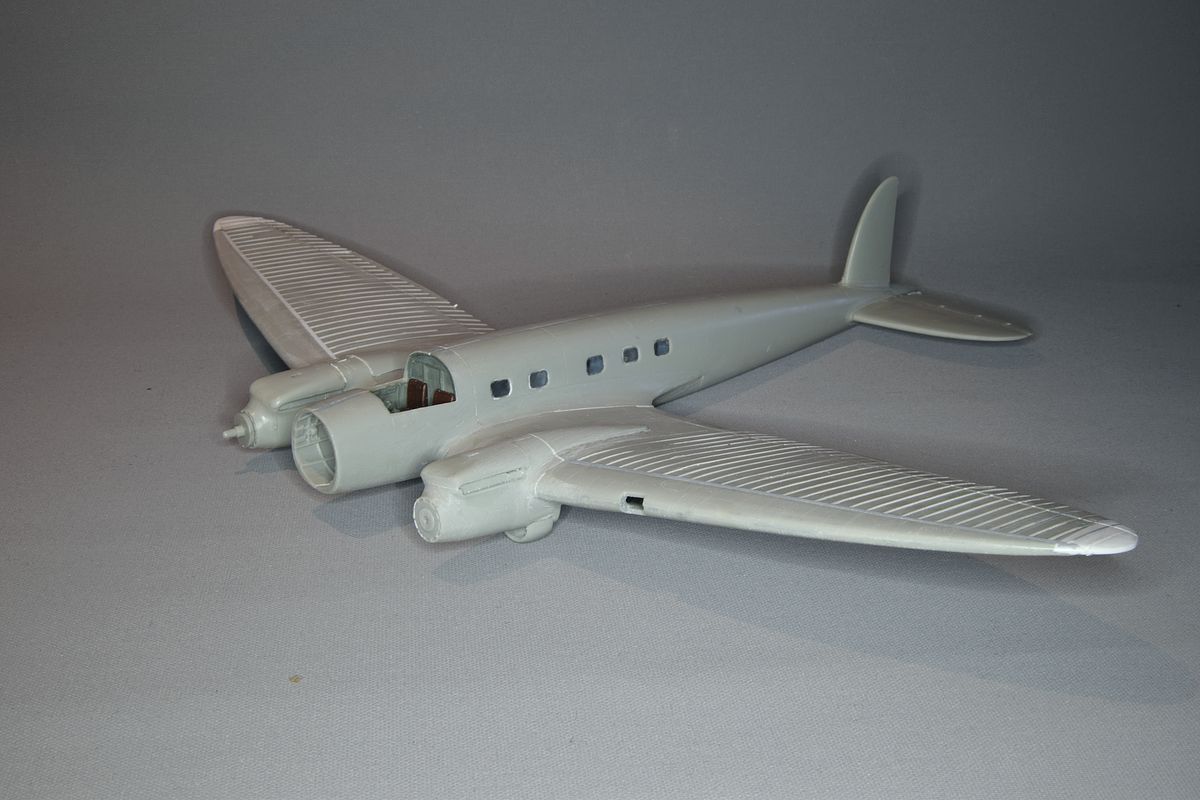
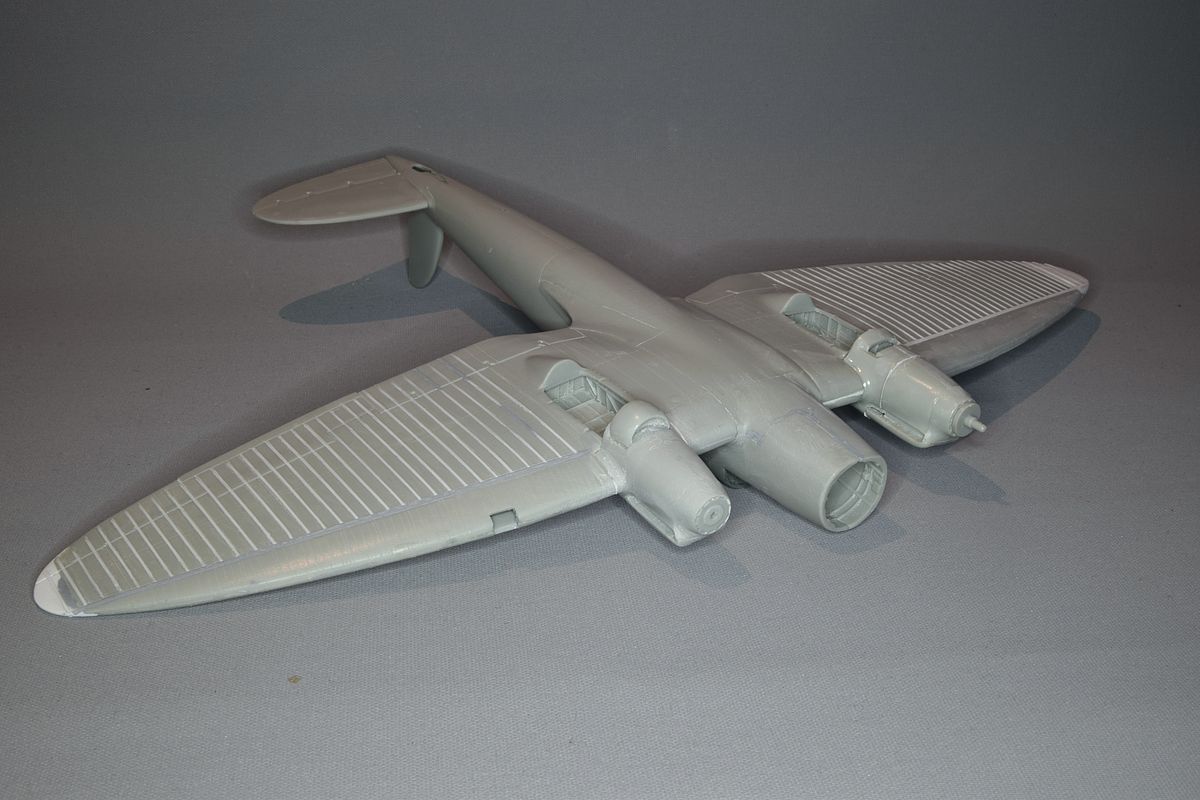
Here I was happy thinking that I was on the home stretch with all problems behind me.Ā
As nothing has been easy with this build, why should the landing gear be? ĀI have the gear from Airfix as a back-up if things don't work out. But looking at parts I will have a go with the Roden parts as I think they look better. I might mix and match between them. Now I think that I can see the finish flag in the distance. But I doubt that the landing gear should point outward like that. I have a back up plan though and if it doesn't work, I've got a sledge hammer. |
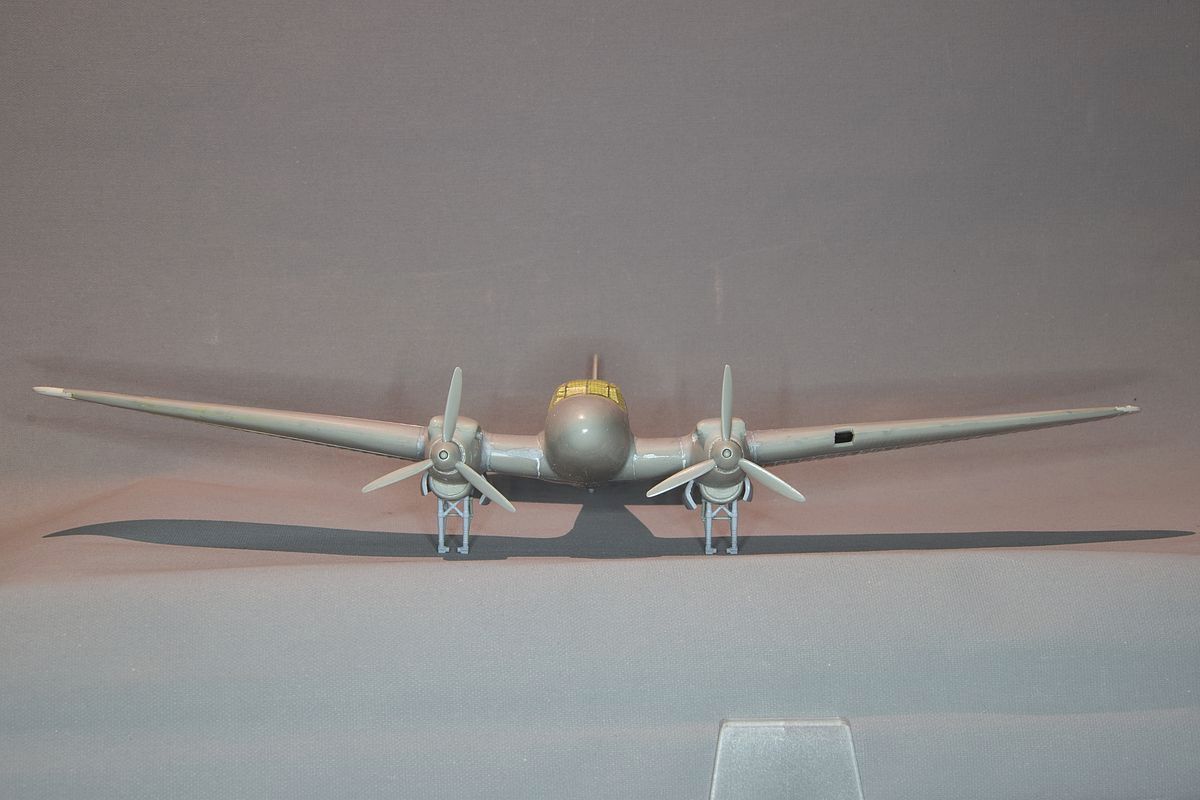
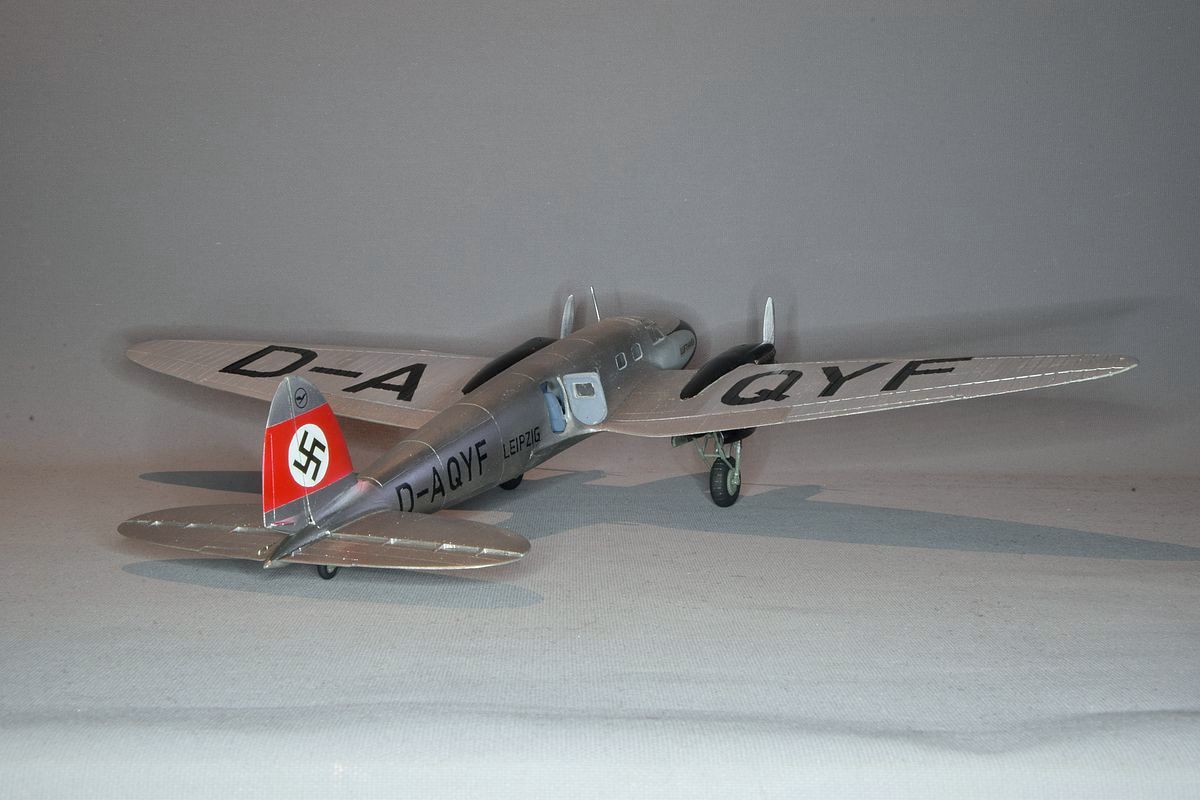
| In the end so I used most of the landing gear from the Airfix kit. The gear might lean backwards to much but that isn't quite as visible. |
| I'm rather fed up with the kit so I didn't want to cut the doors for the landing gear apart so I used the Airfix parts instead. With the quality of everything so far the decals now scare me. |

| My sledge hammer is 200 km away so I opted for the airbrush instead. In November 2021 I got a first layer of paint laid down. |
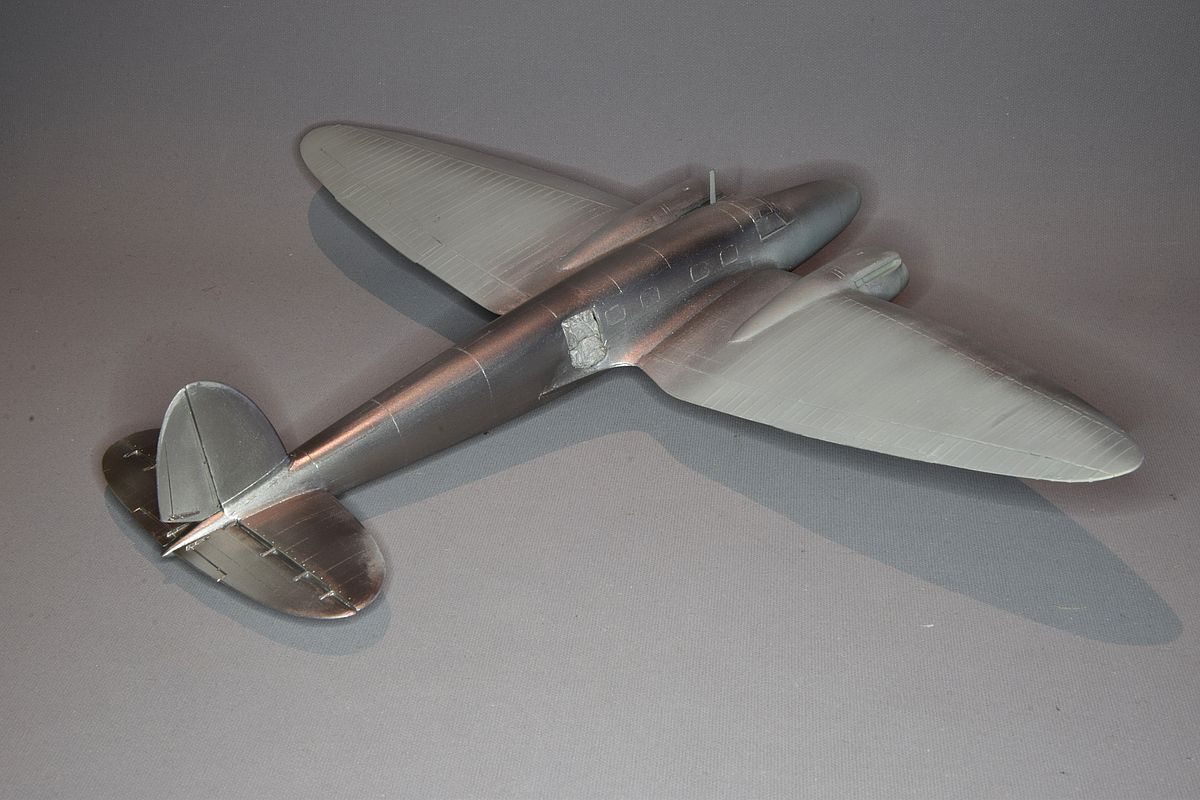
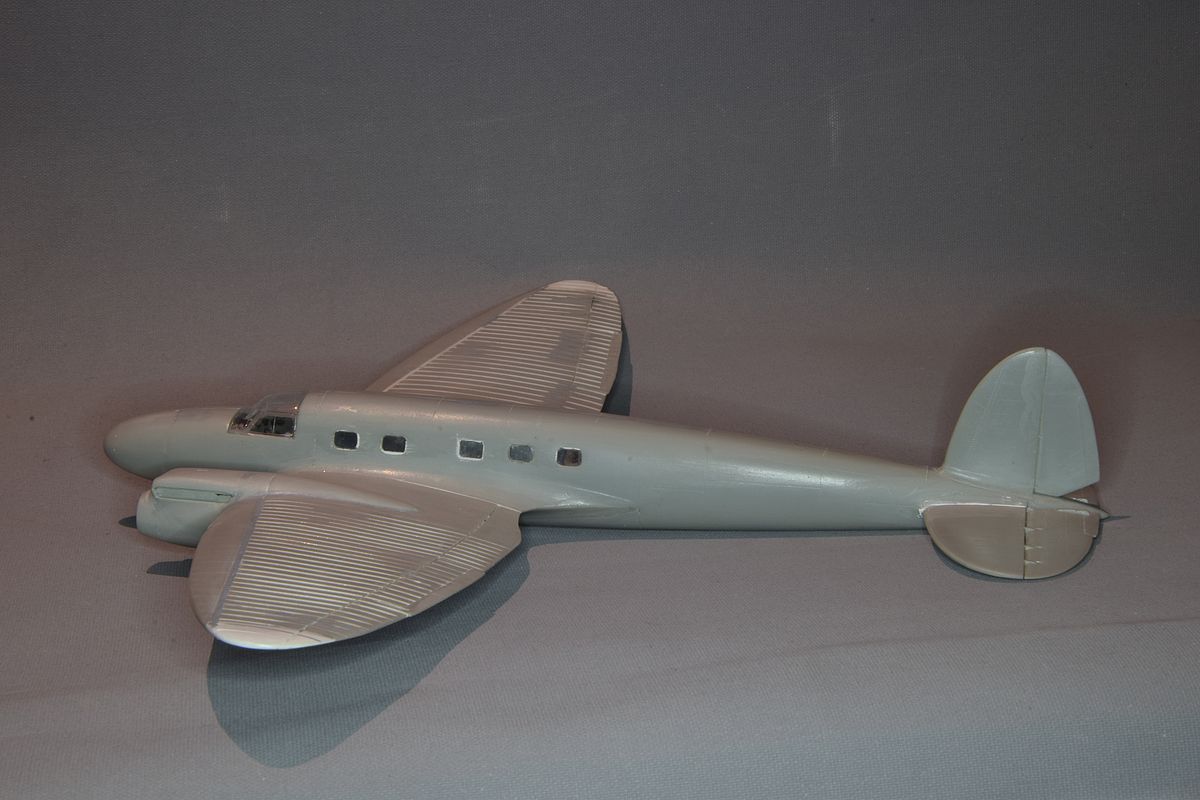
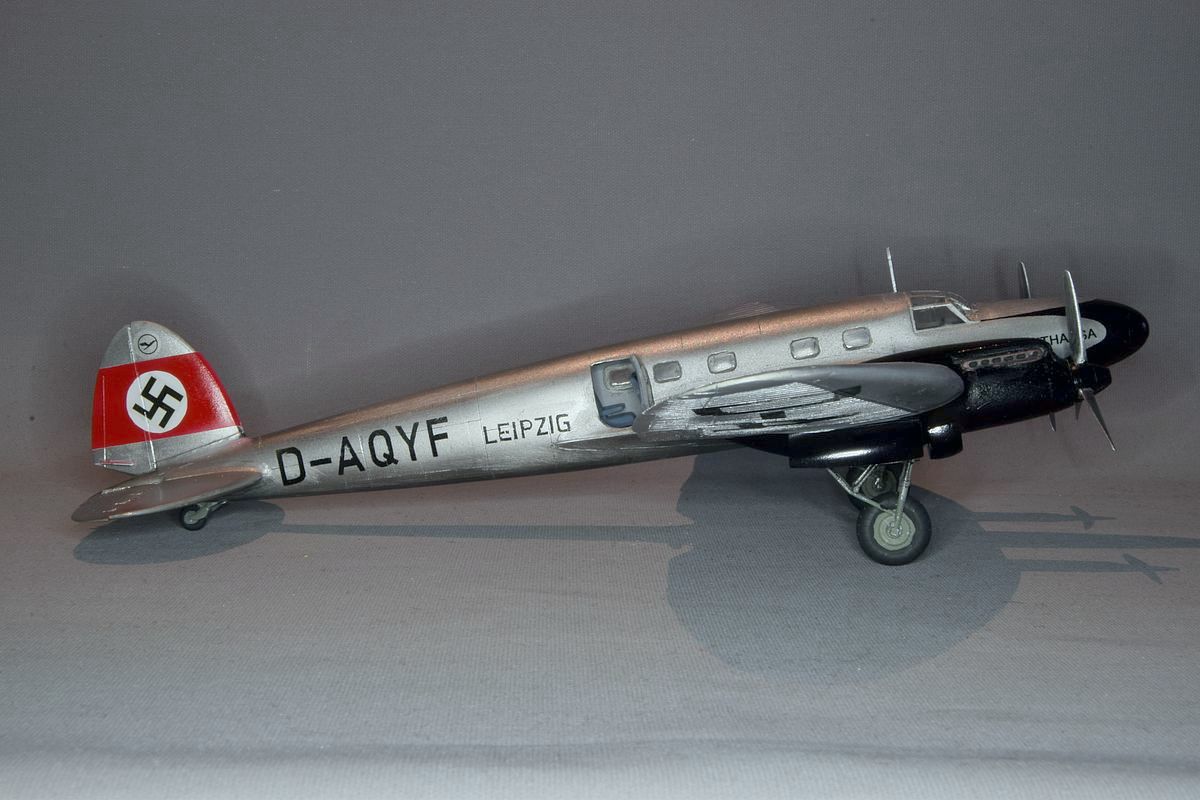
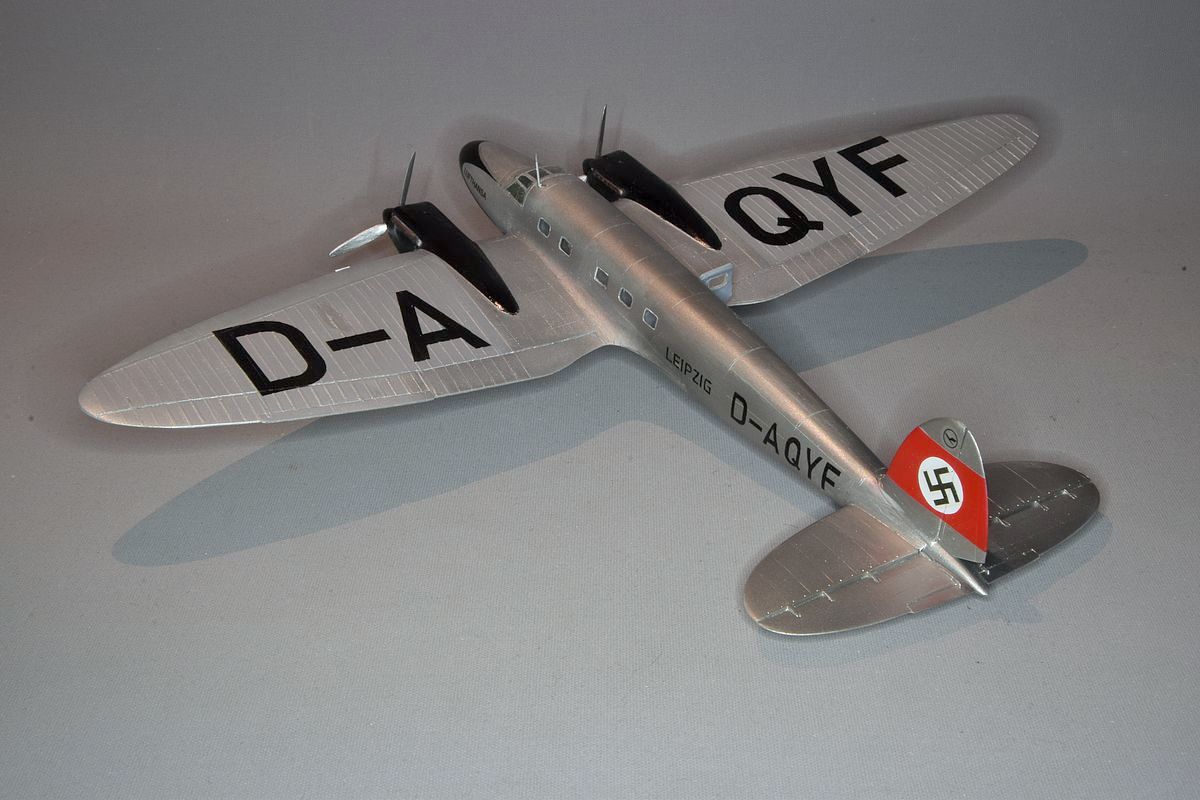
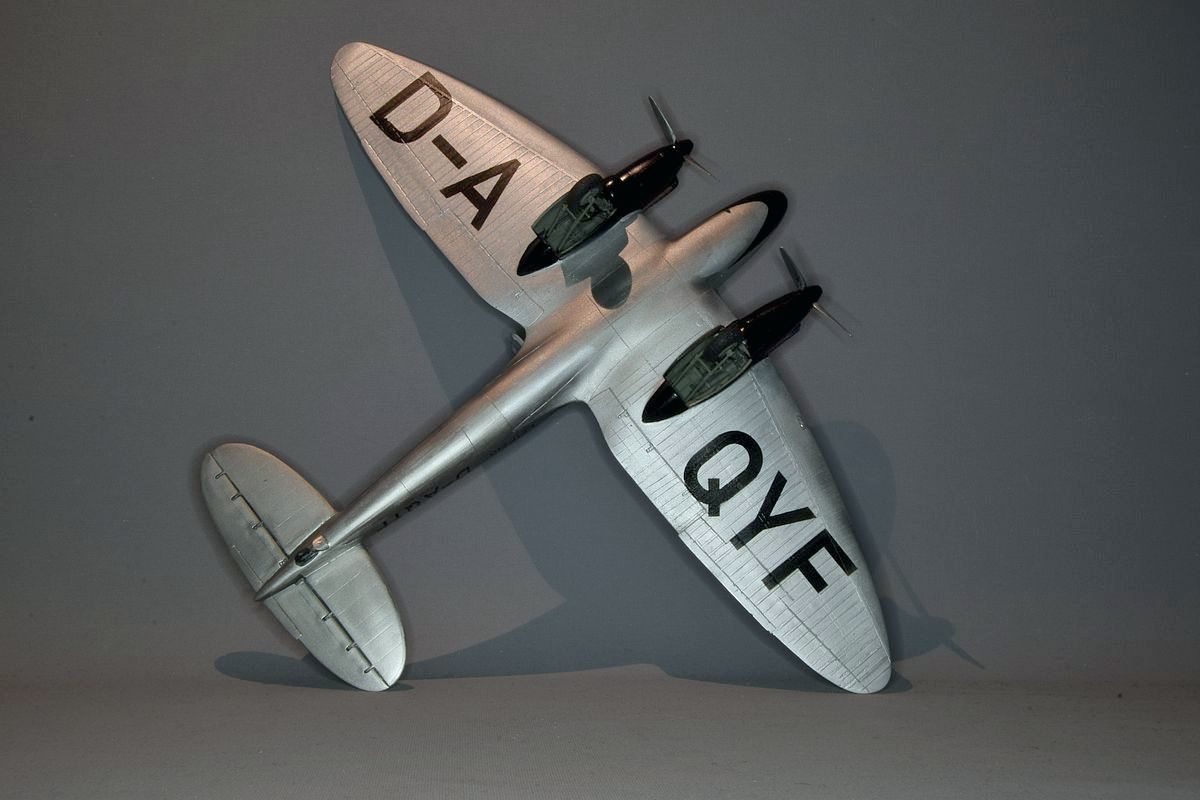
| In July 2023 I decided to repaint it. The grey that should have been semi gloss came out flat and when I looked at pictures I got the impression it wasn't grey at all. It look very shiny and the fuselage seems to be in metal with fabric wings. |
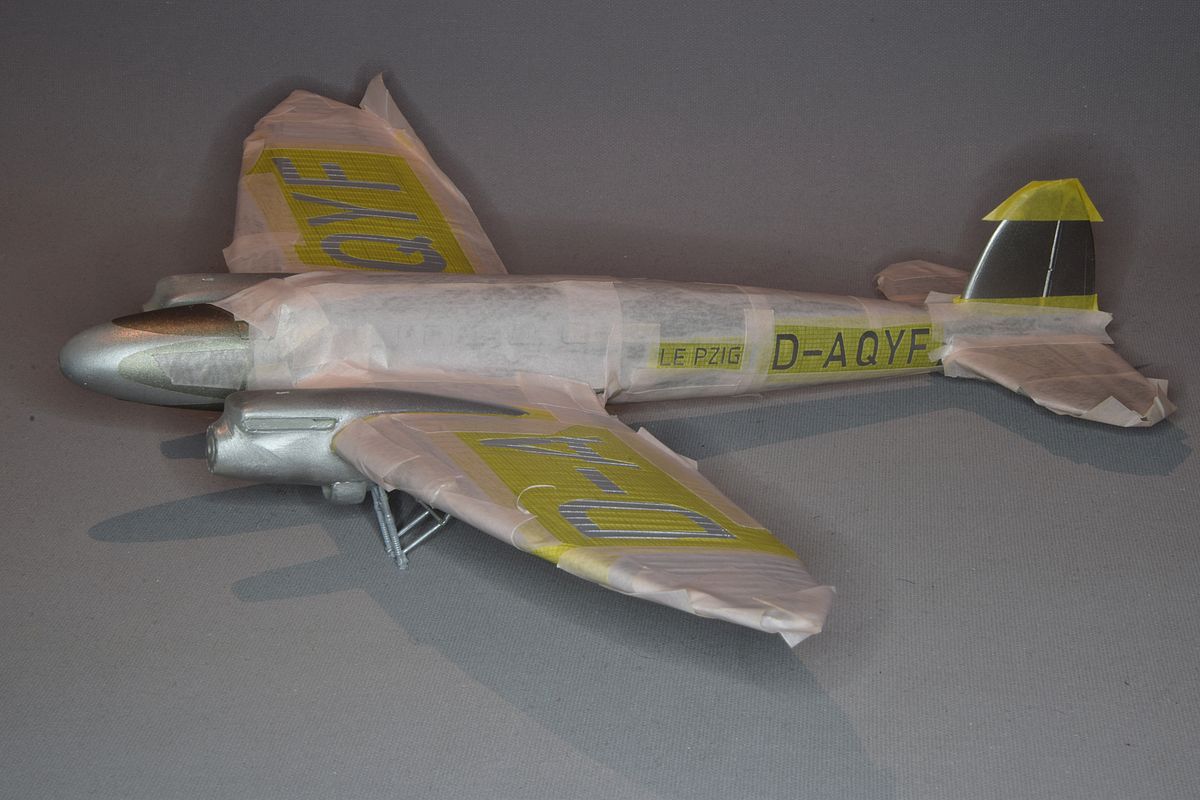
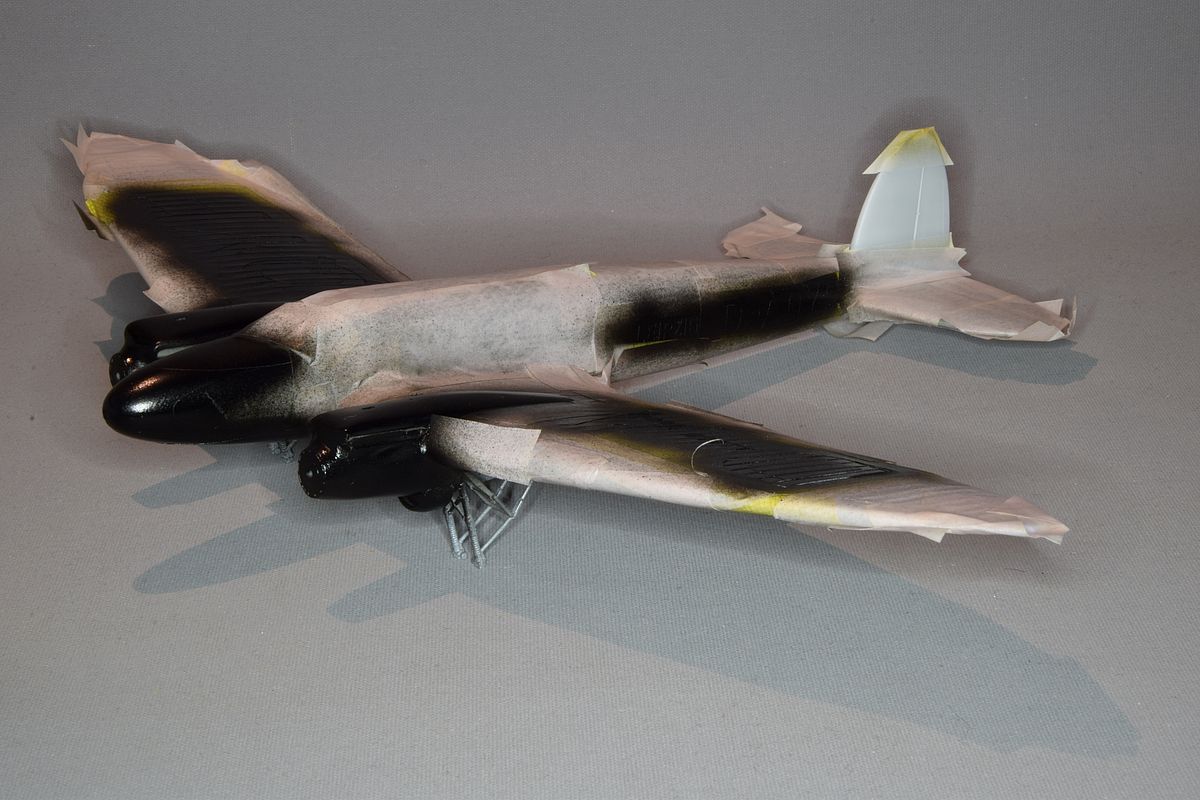
| I have been warned about the decals being prone to dissolving so I made masks for most of the markings. Painting the markings went well. Better than I could hope for. I destroyed the mask for the swastika so I took the decals from a Matchbox He115. I reckoned that the Lufthansa text on the nose and the small logo on the fin tip would be to small for masks so the decals from the Italeri Ju86 was used instead. I even managed to paint the Leipzig text even though I thought that it was to small. |
| It has been fighting me to the end. The final part to be mounted was the clear cover over the landing light. It was not to be found in the box. I started to think of alternatives when I remembered that Roden sent me a complete sprue when the canopy had gone missing. Problem solved I thought but I had forgot what I was dealing with. The clear part was about 2 mm to long. |
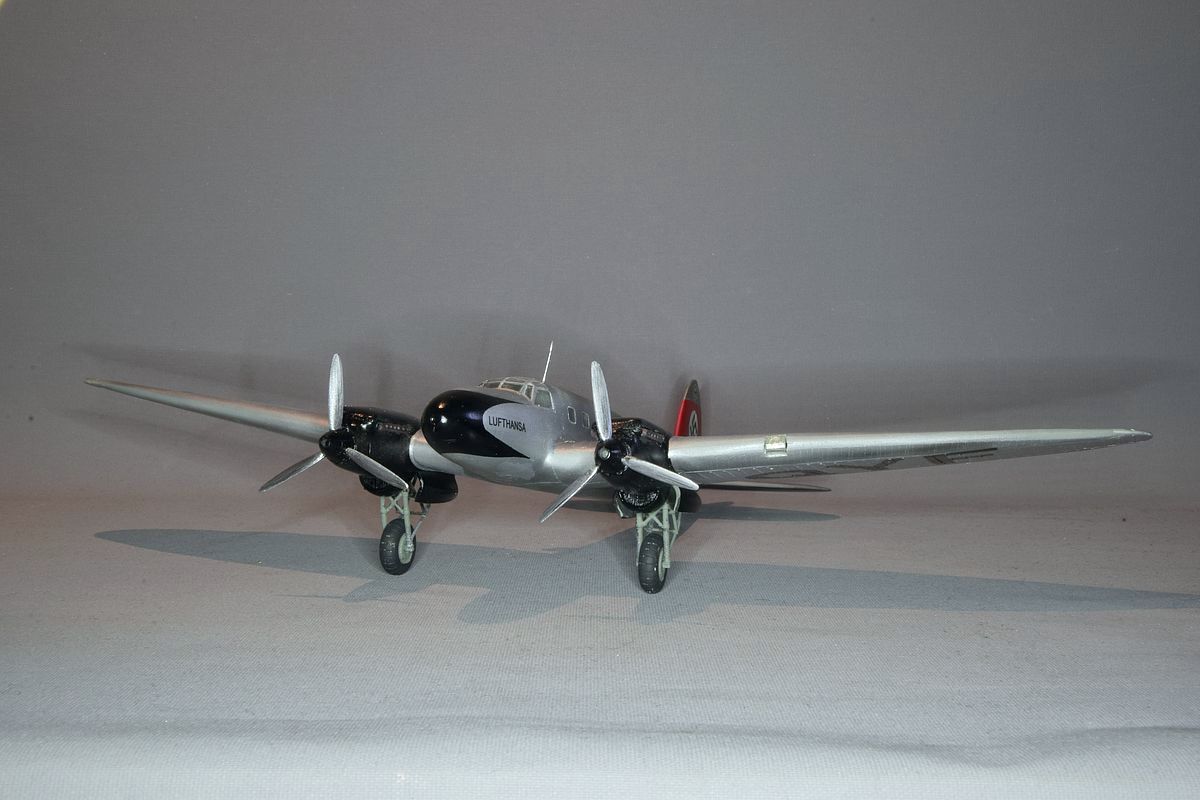
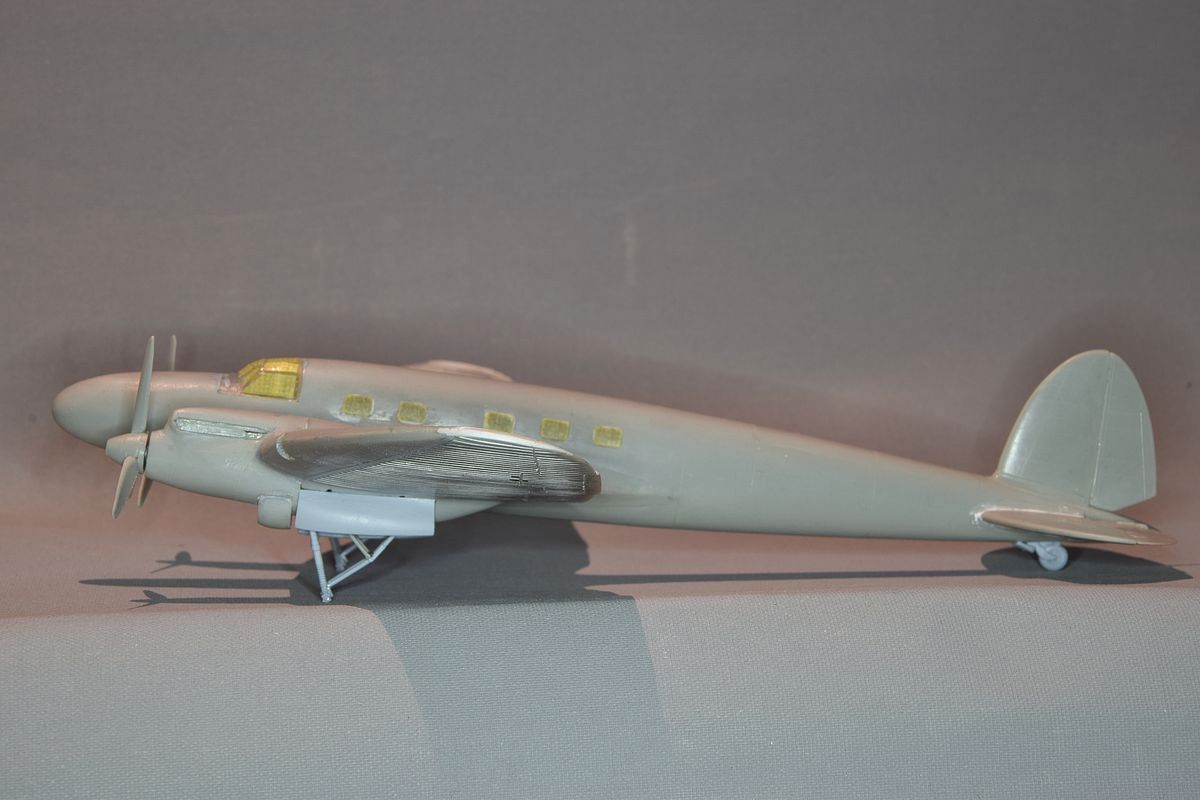
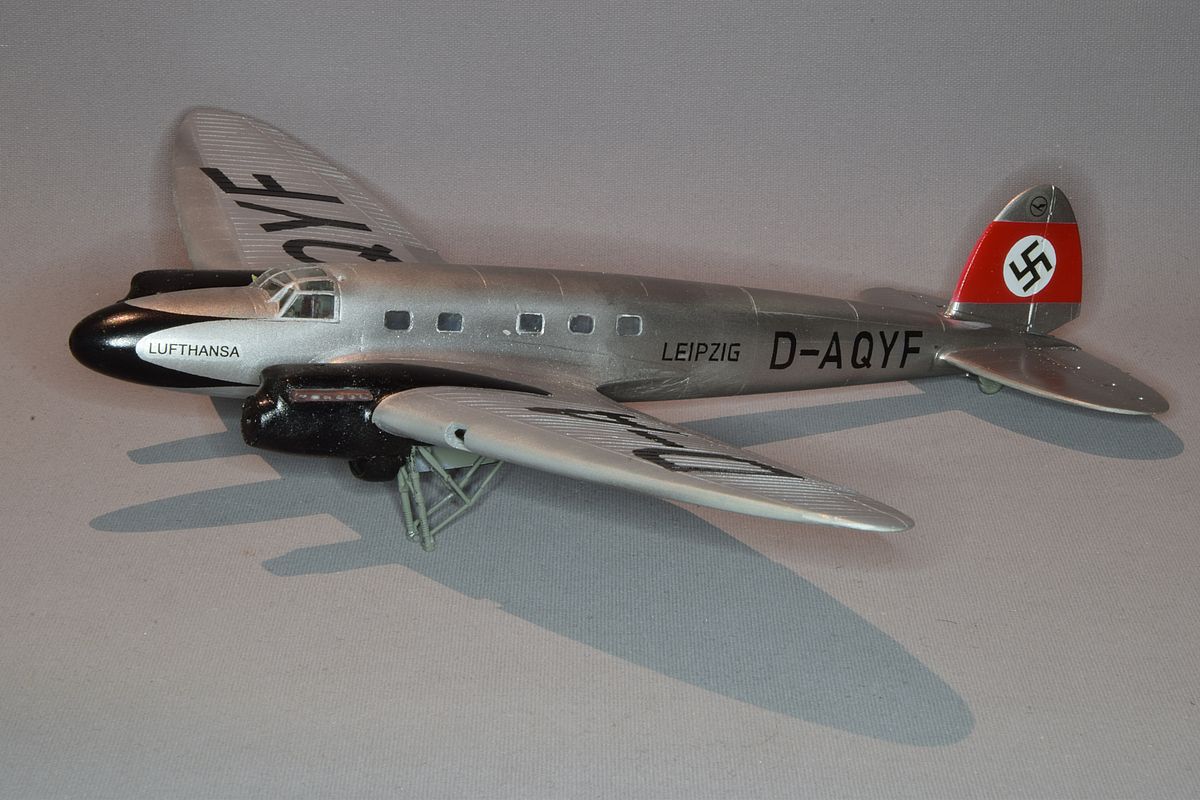
| So I had to bring out the saw a final time and fix this. I put in a lens from Resicast to hide the hole in the wing so I now declare it finished. |
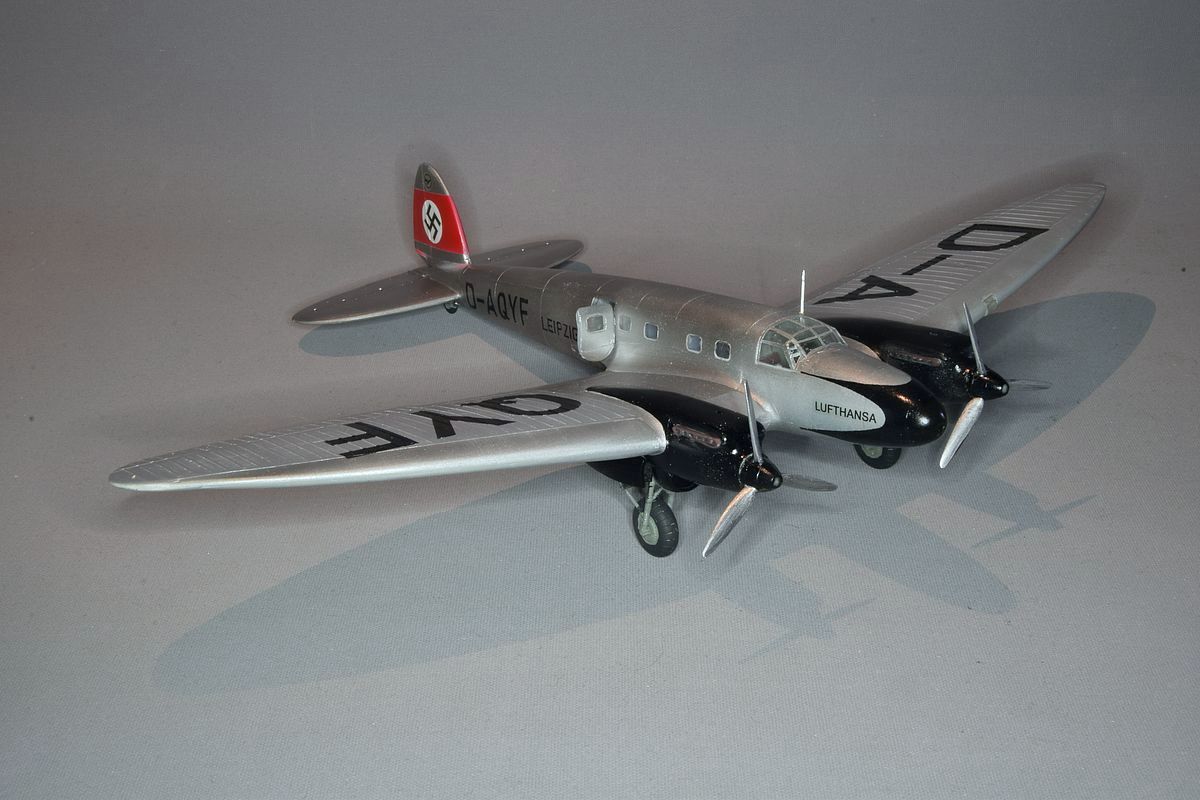
| I have mixed feelings of the result. It isn't as good as I hoped for but I guess it is better than I should expect. |
| But at least I managed to get it together even if it took seven years. |

| I just had to win over the kit. There is a device on the IPMS Stockholm front page that says "We don't do inbox reviews. We build."Ā Must live up to that and so we did. Jonas finished his and Olle built two, so we got four of the unbuildable kits built. |
| Here are the other three: |
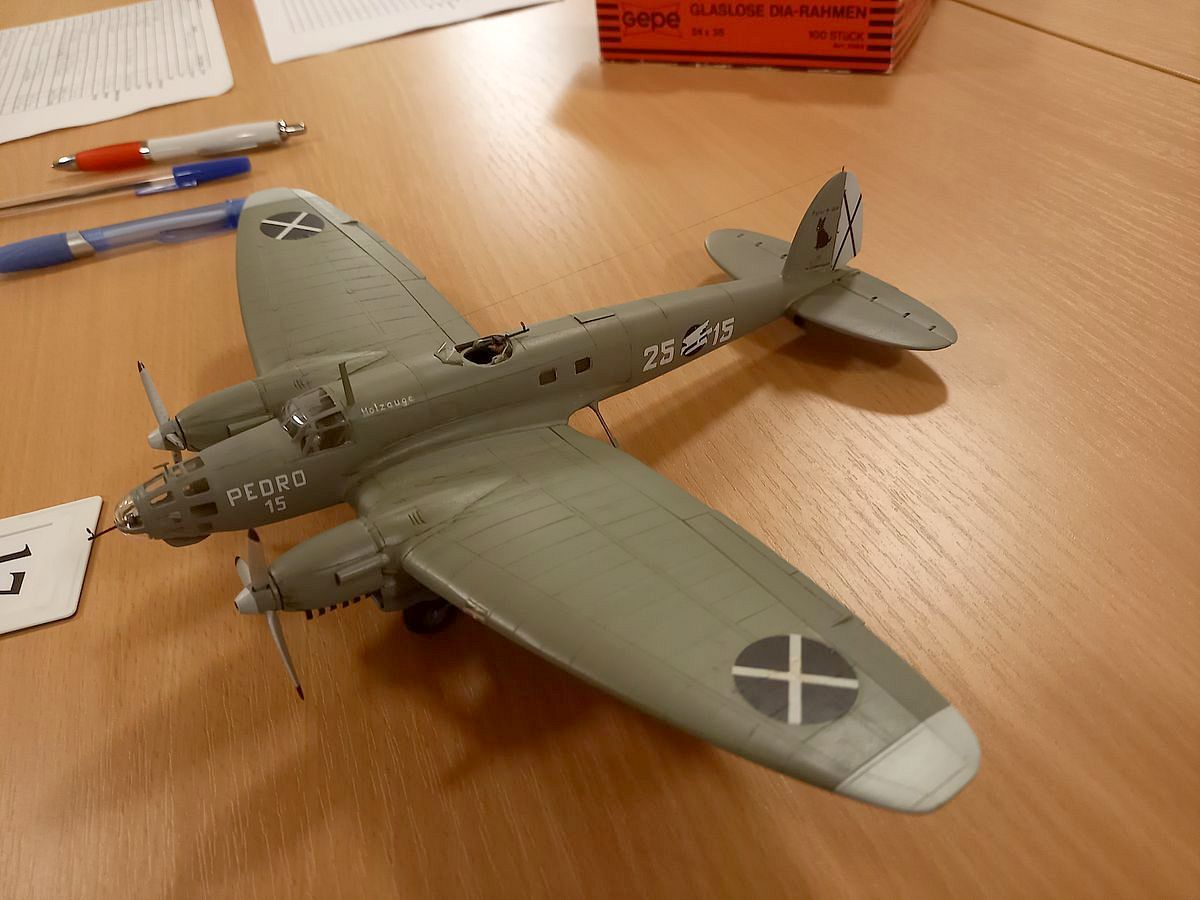
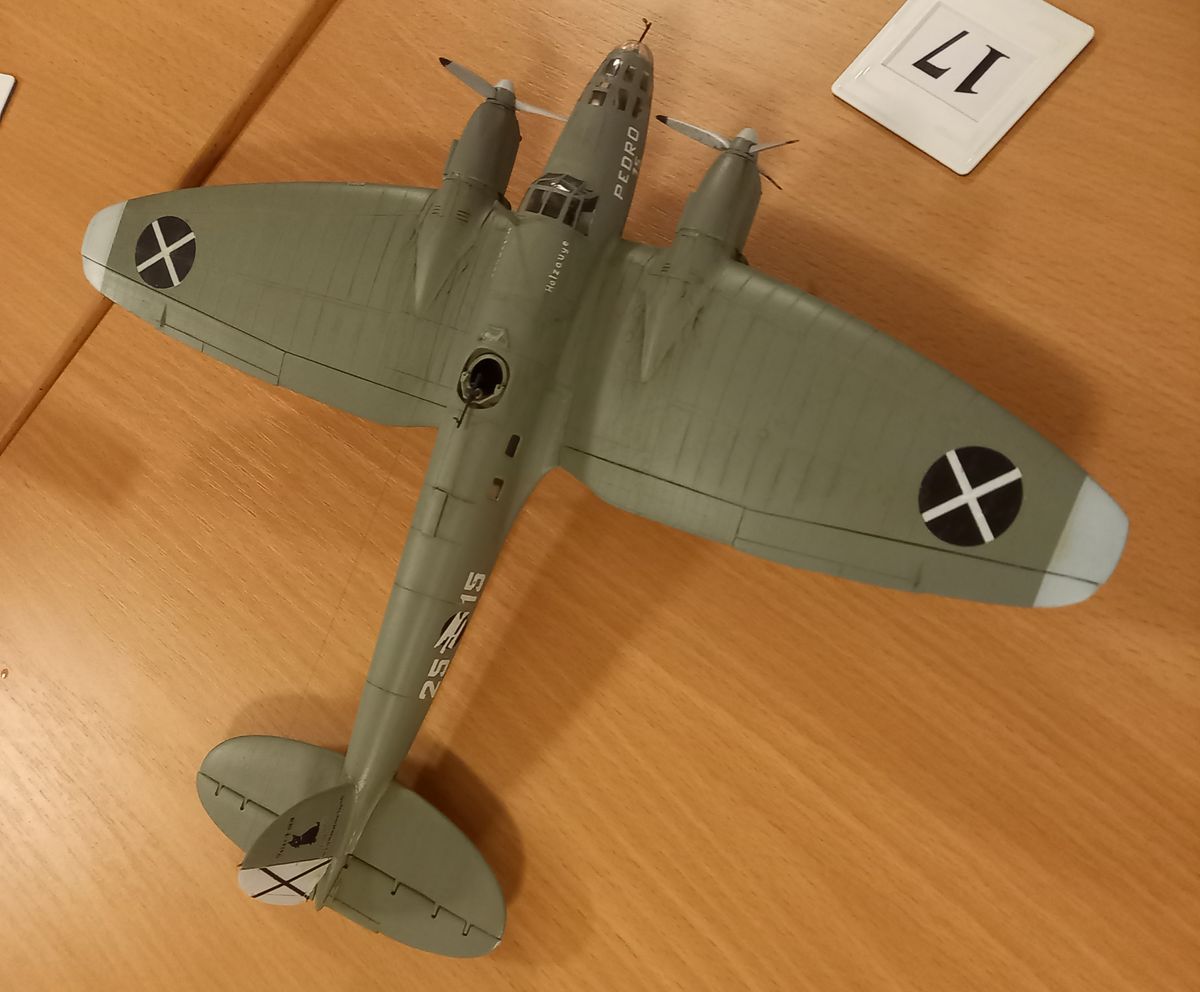
| The kit from Jonas. |
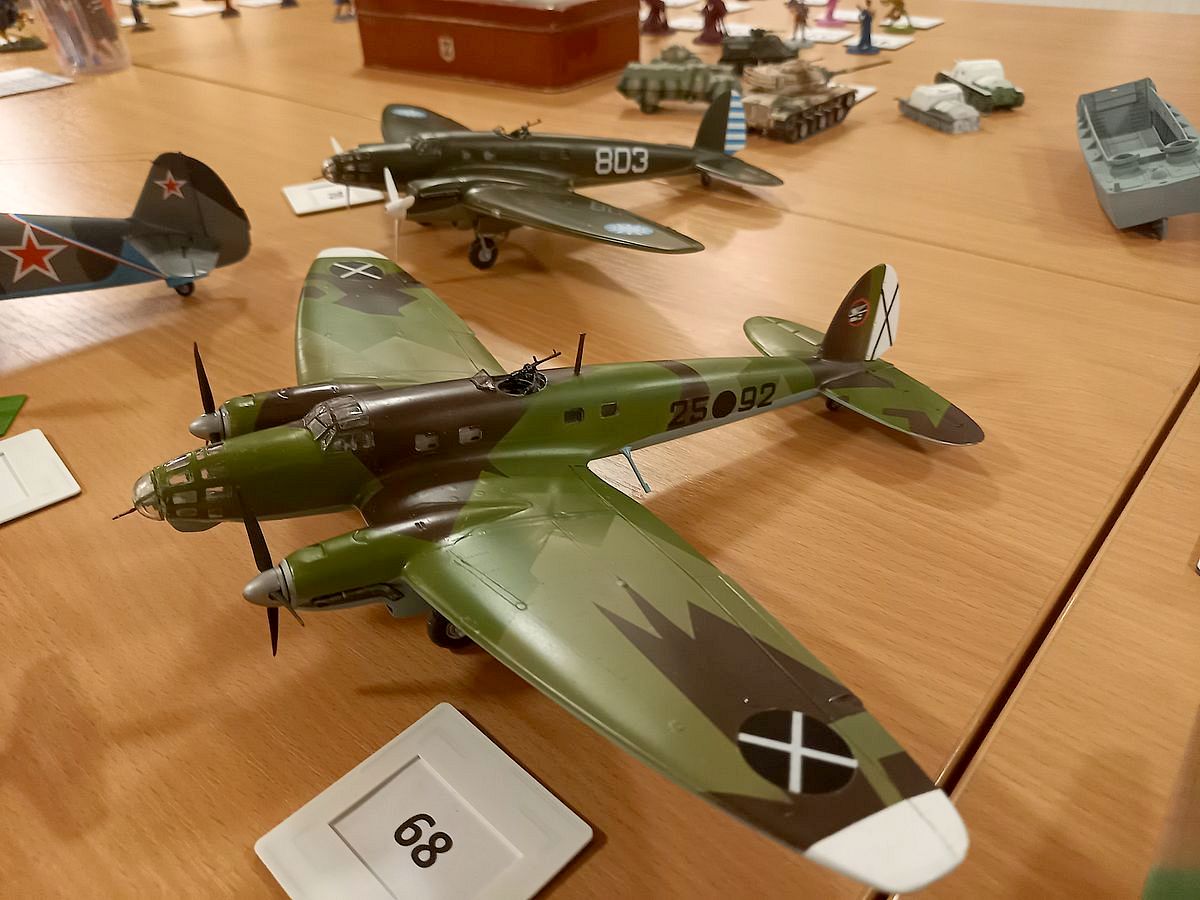
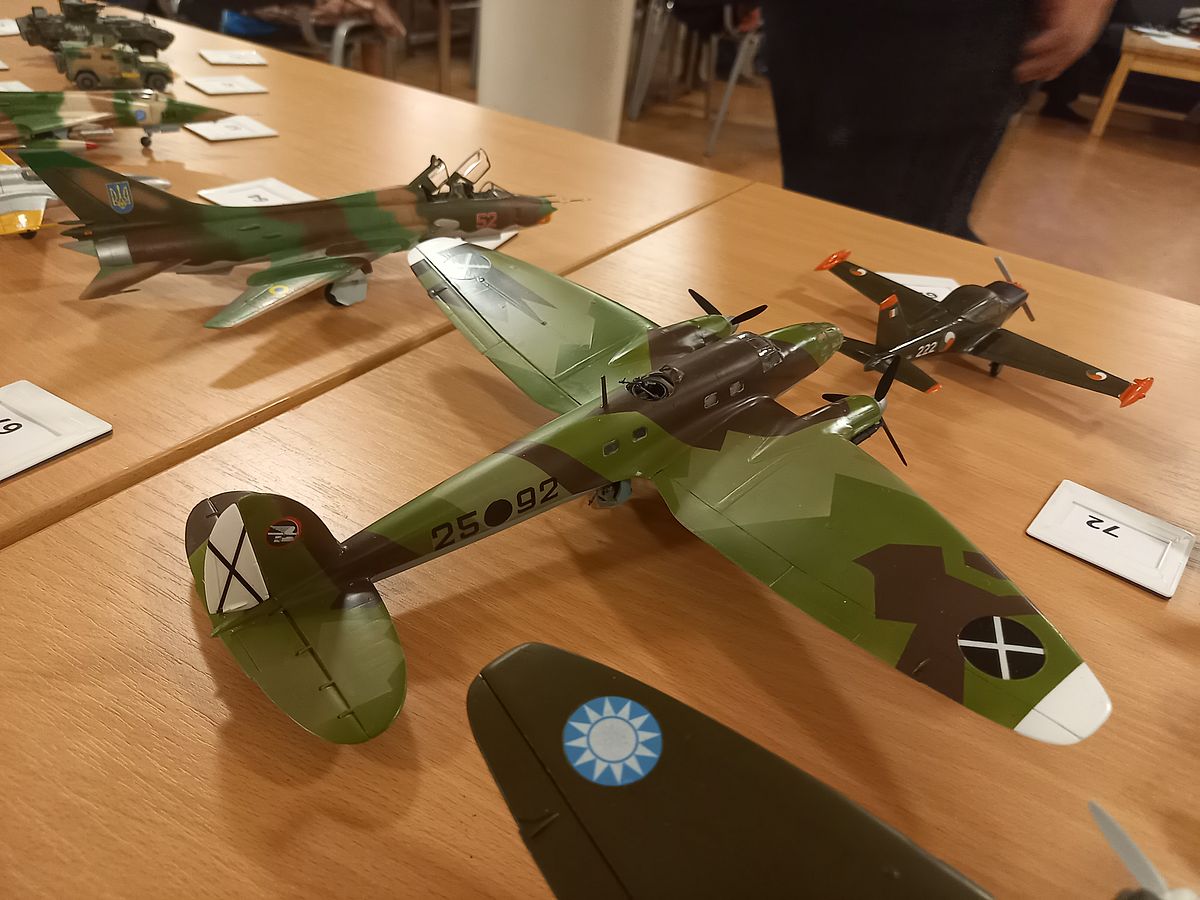
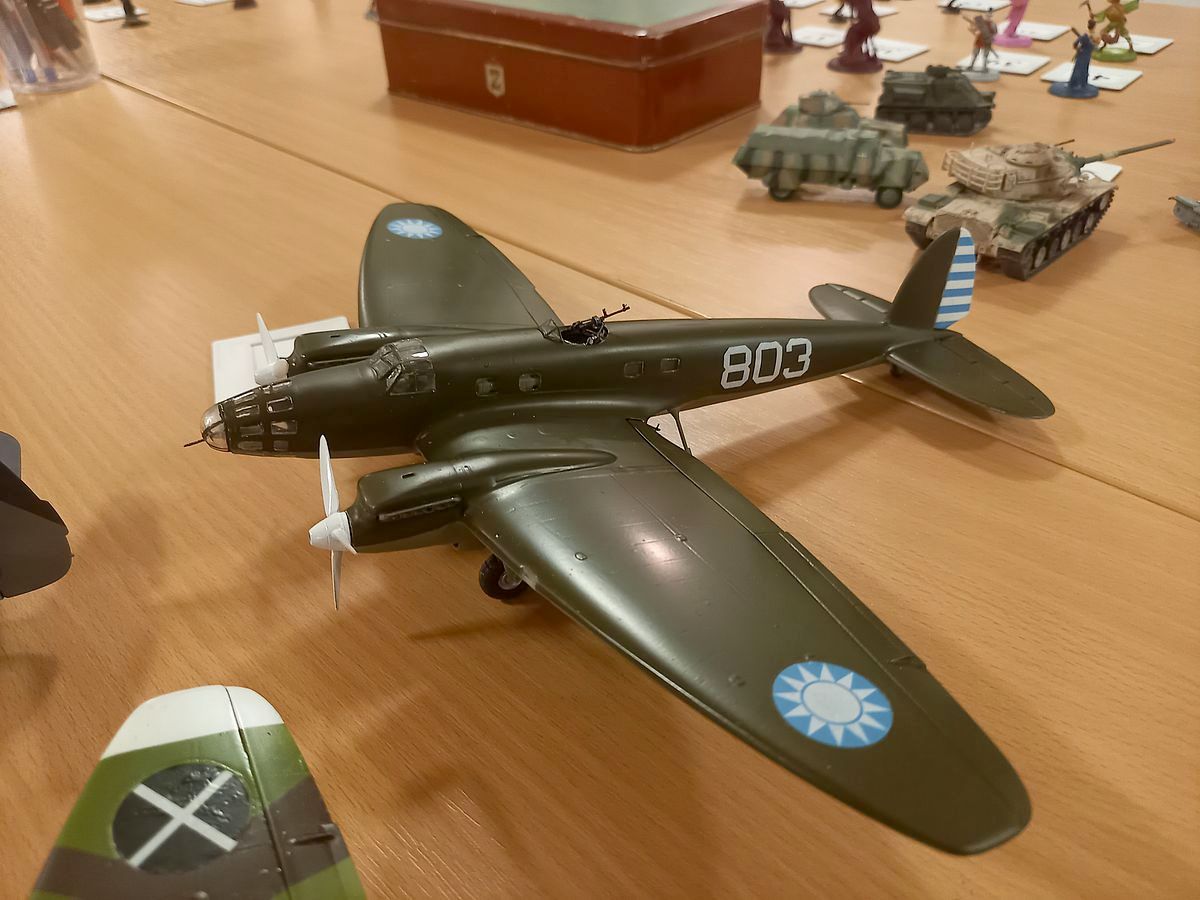
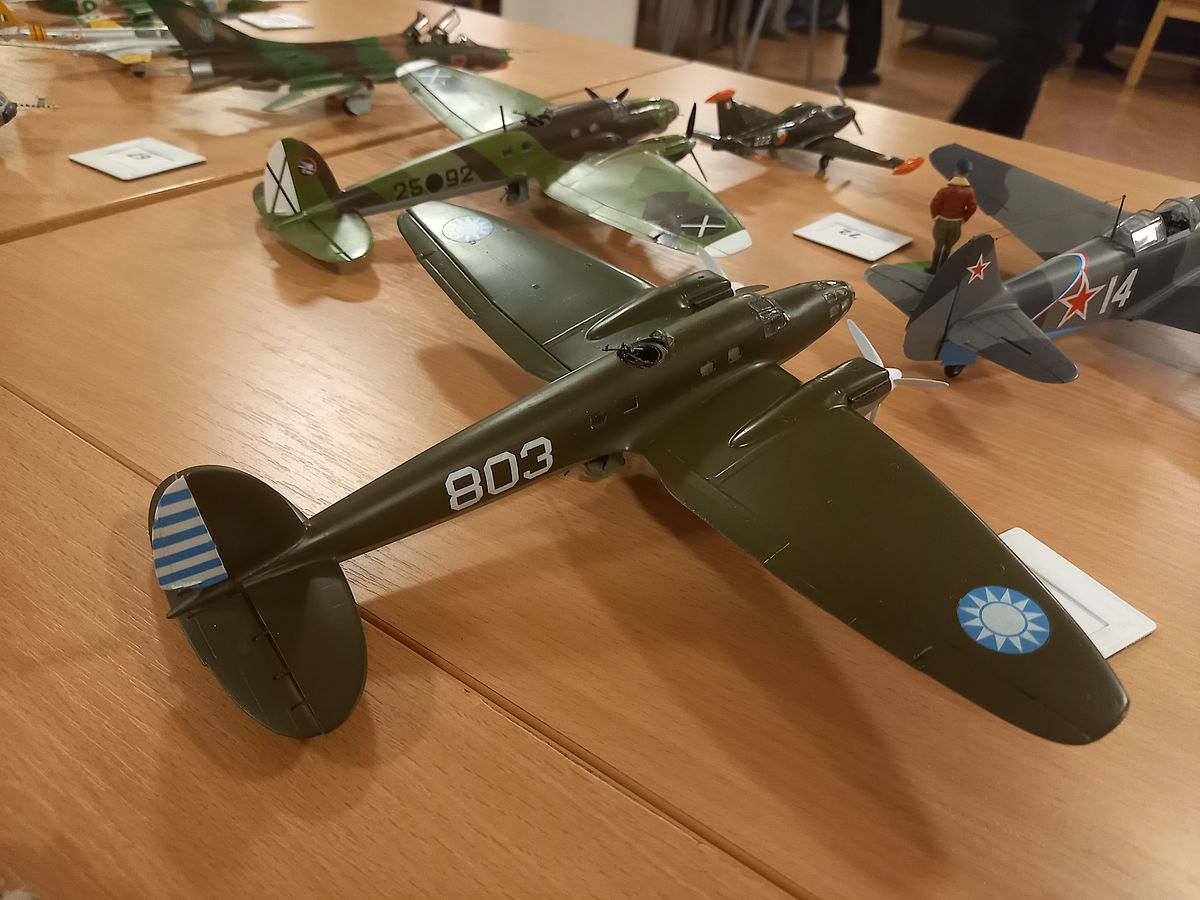
| The kits from Olle.Ā |
| Stockholm October 14, 2023 |  |
No updates |
----------------------------------------------------.::.
vehicles .::. civilian aircrafts .::. military aircrafts .::.
miscellaneous .::. home .::.------------------------------------------------------ |