
|
-----------------------------------------------------------.::.
vehicles .::. civilian aircrafts .::. military aircrafts .::.
miscellaneous .::.---------------------------------------------------------- |
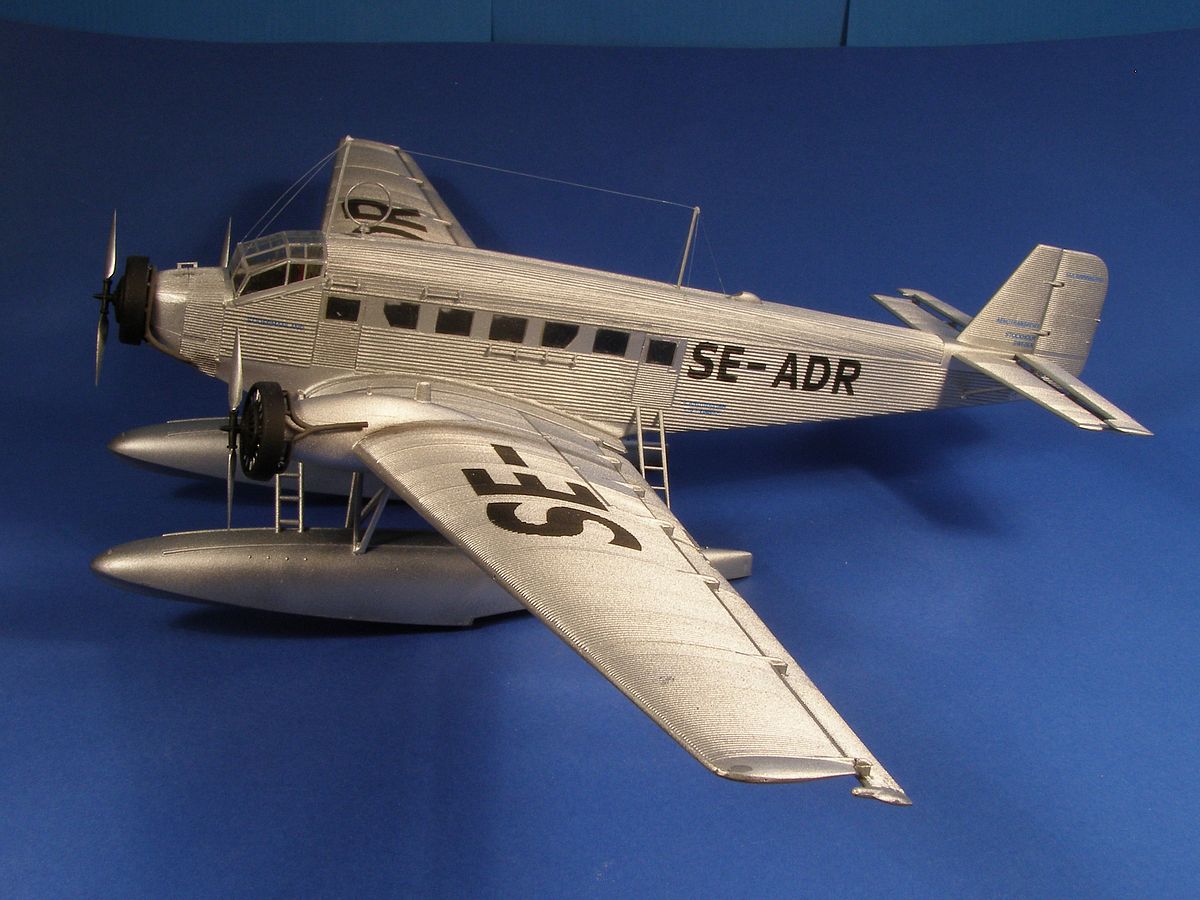
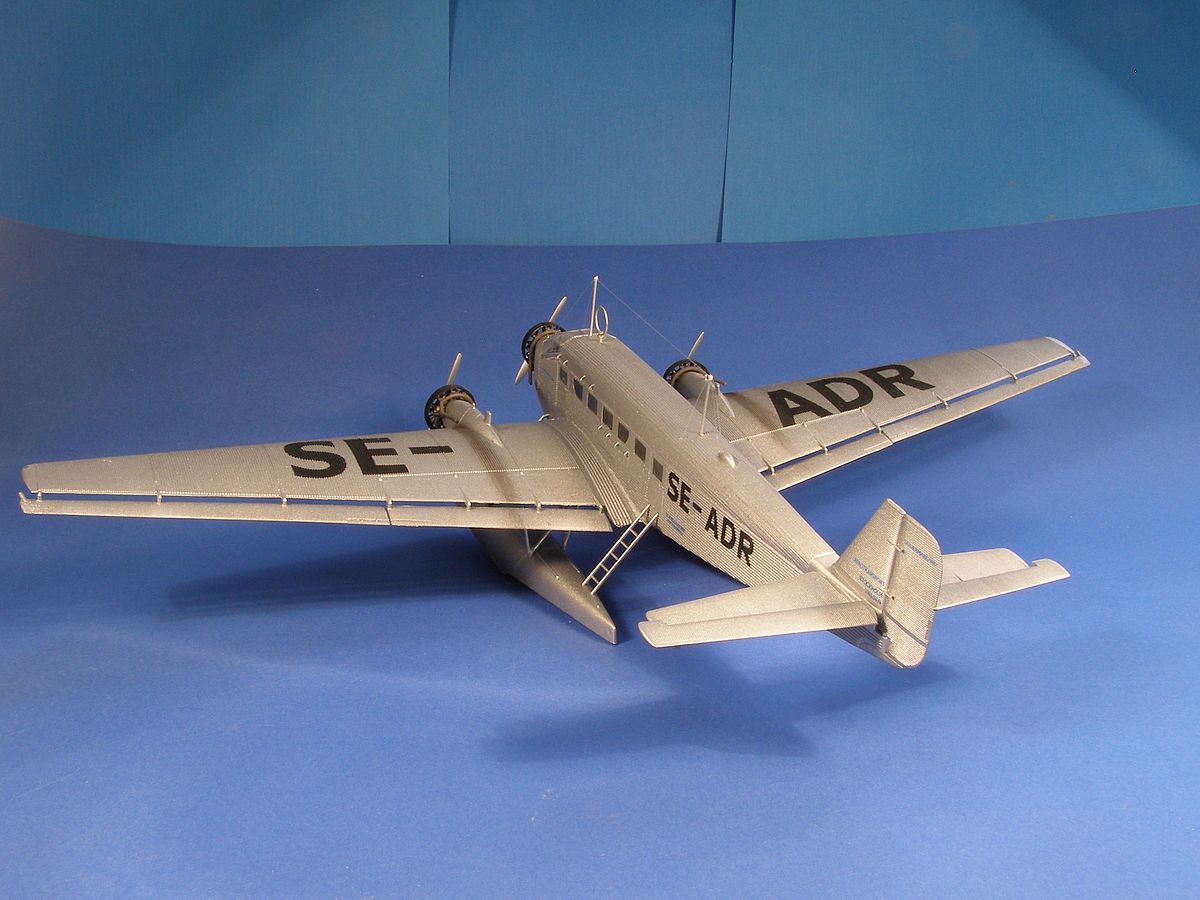
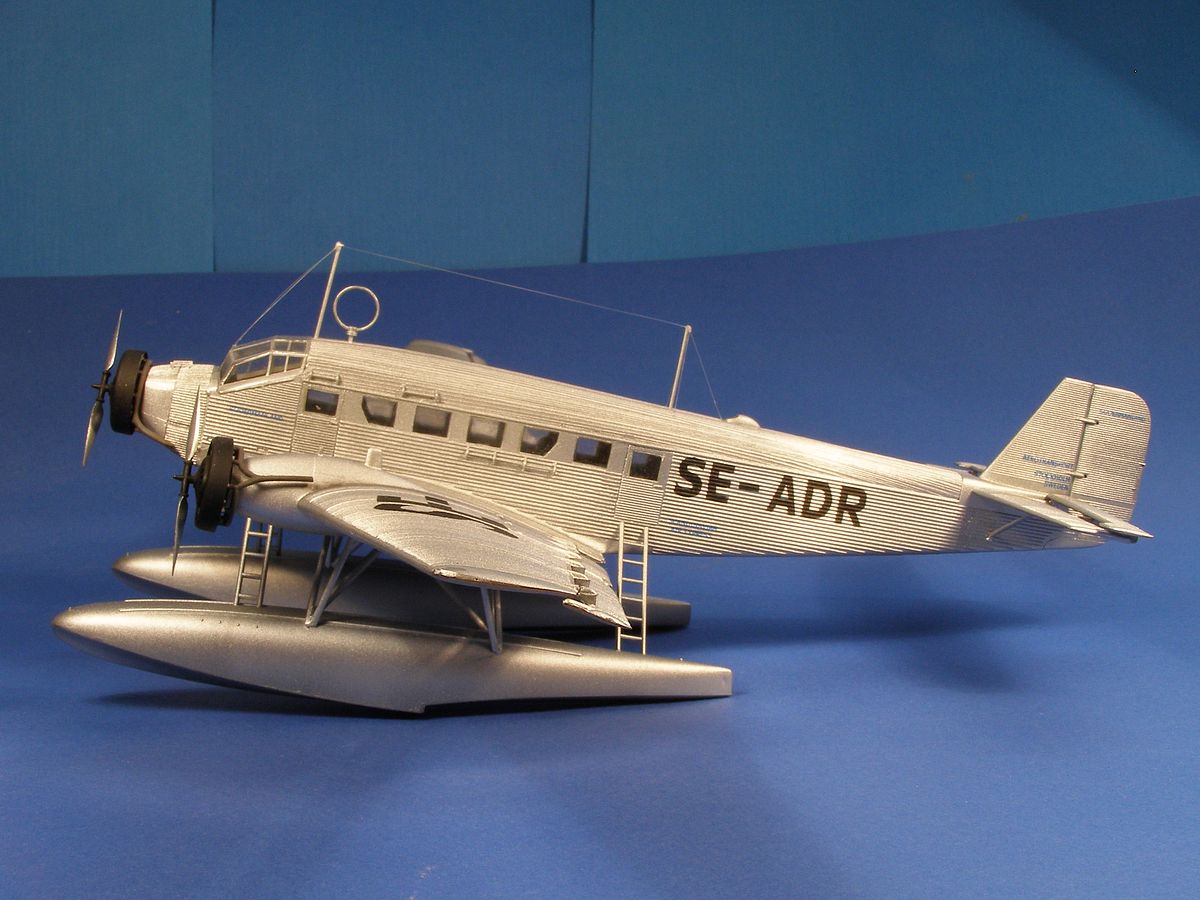
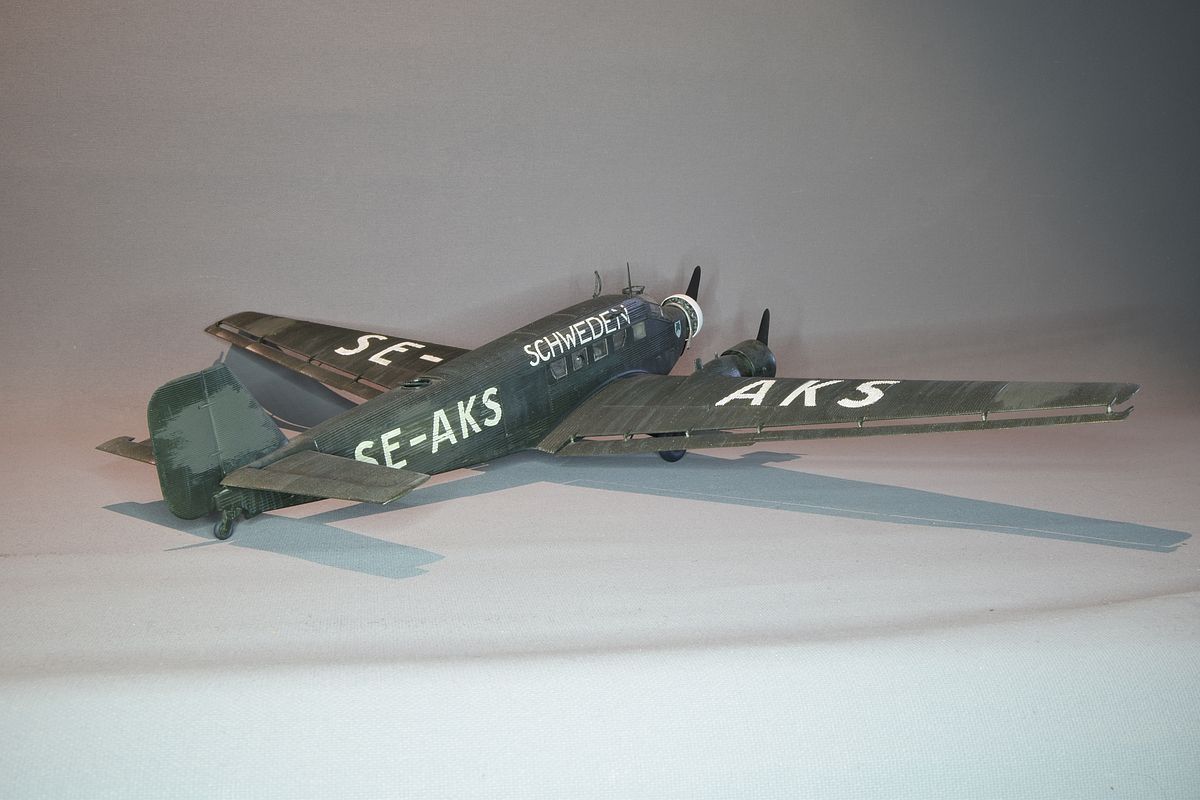
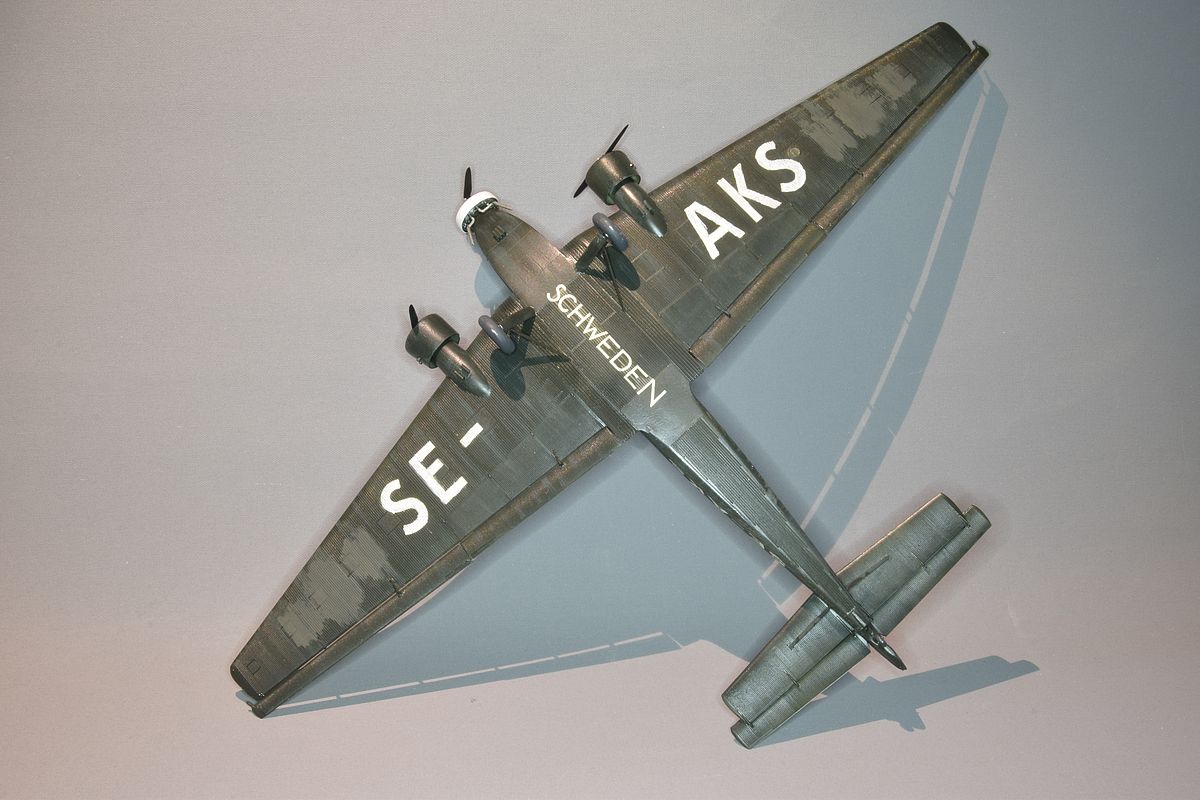
This is a Ju 52 from the Swedish airline: AB Aerotransport (ABA). The Ju 52 prototype was a single engine plane and flew the first time in October 30, 1930. The first eight planes were built as single engine but #8 was finished as an three engine plane. This ABA-plane was delivered in 1932 and was the 17´th Ju 52 built and as I decided to build this early individual the 1/72 scale Italeri kit had to be altered on several points. It is the civilian version with floats and it was sold under the Revell name.
|
In 1/72 there are three kits made that I knew about. The first is the Airfix kit and the second is the Heller kit. Both of them depicts military machines with a gunner position in the roof. The third is the Italeri one. It has been made in a couple of different variants. There is the civilian type without gunner position in the roof. It includes passenger seats. Italeri also made some military variants, they don't have any passenger seats. Instead they have different military interiors. The Revell Ju 52 is the same kit as the Italeri. The Heller kit probably is better one. It has finer corrugation than the Italeri kit and also the corrugation is complete under the belly where it is missing on some places on the Italeri kit. The Heller kit has a more detailed cockpit. But it only has the closed type of cargo door without windows. The Heller kit also has a door on the right side of the fuselage just behind of the cockpit which Italeri lacks. I used the Italeri kit for two reasons. First the Revell issue had the floats with the civilian kit and second the Heller kit was out of production. But as it turned out this was probably for the best as I will tell you later. |
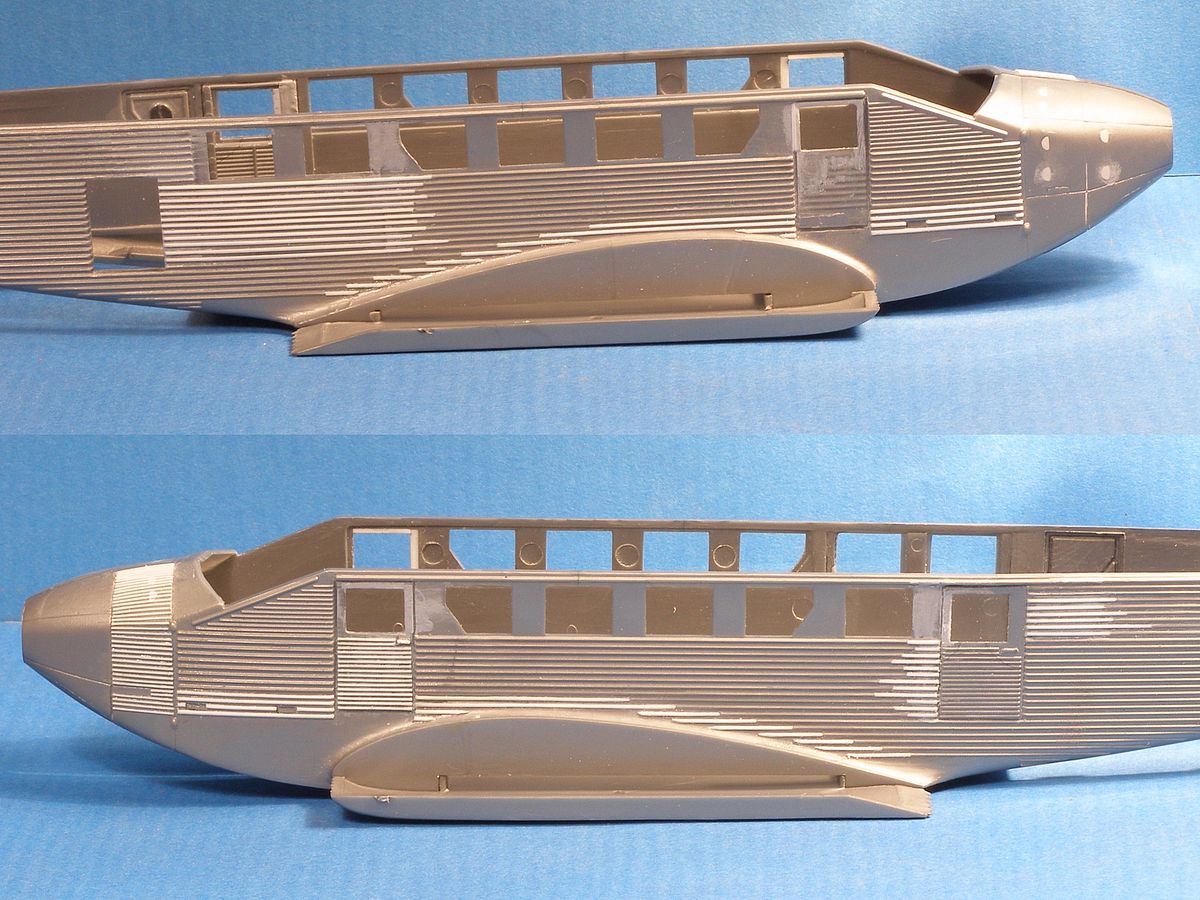
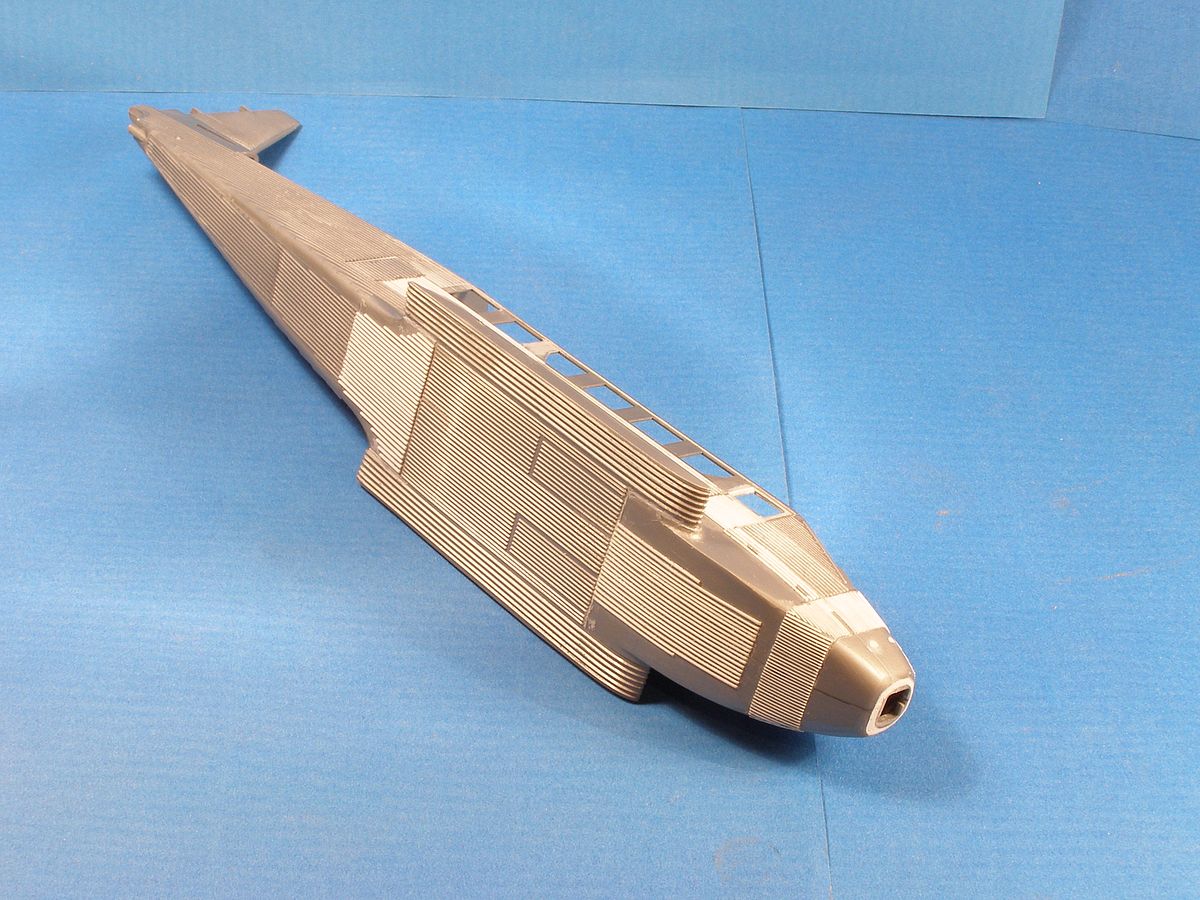
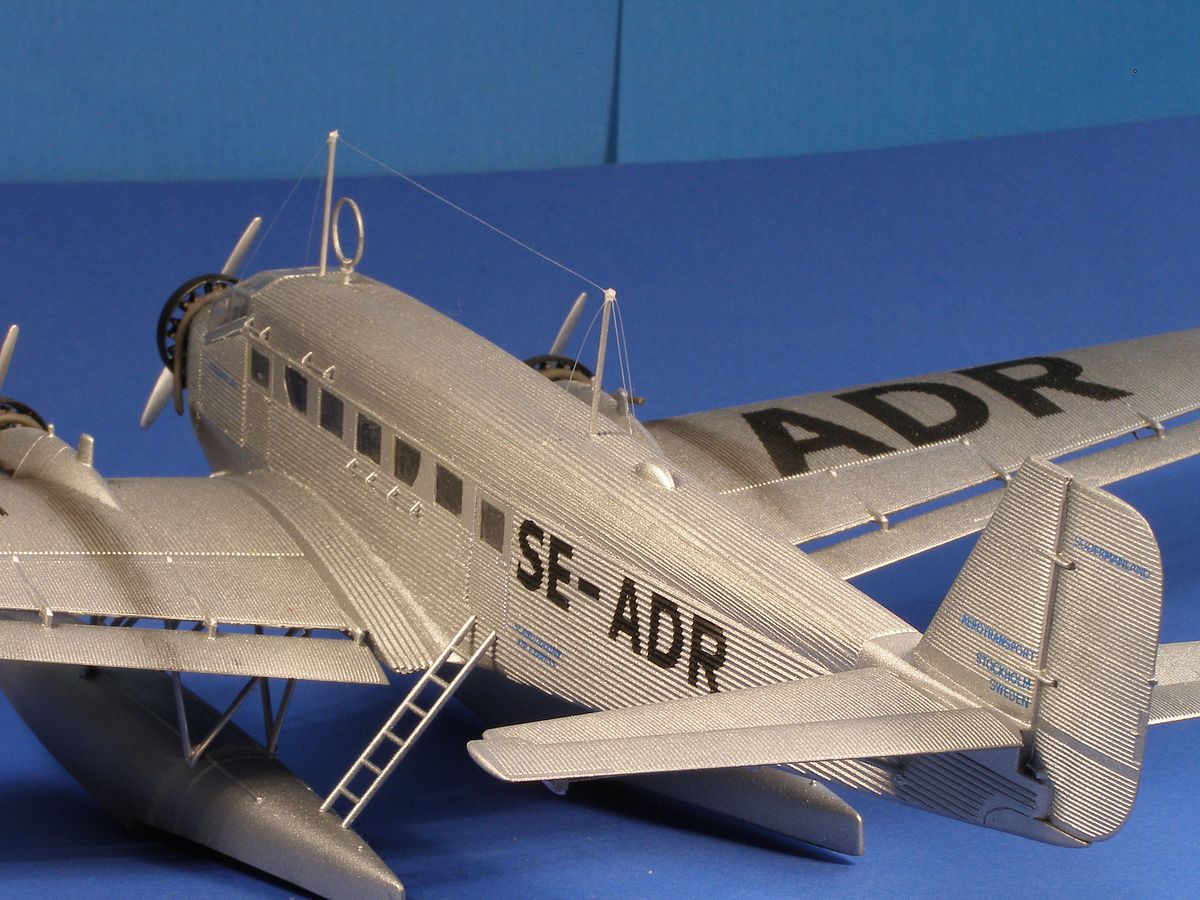
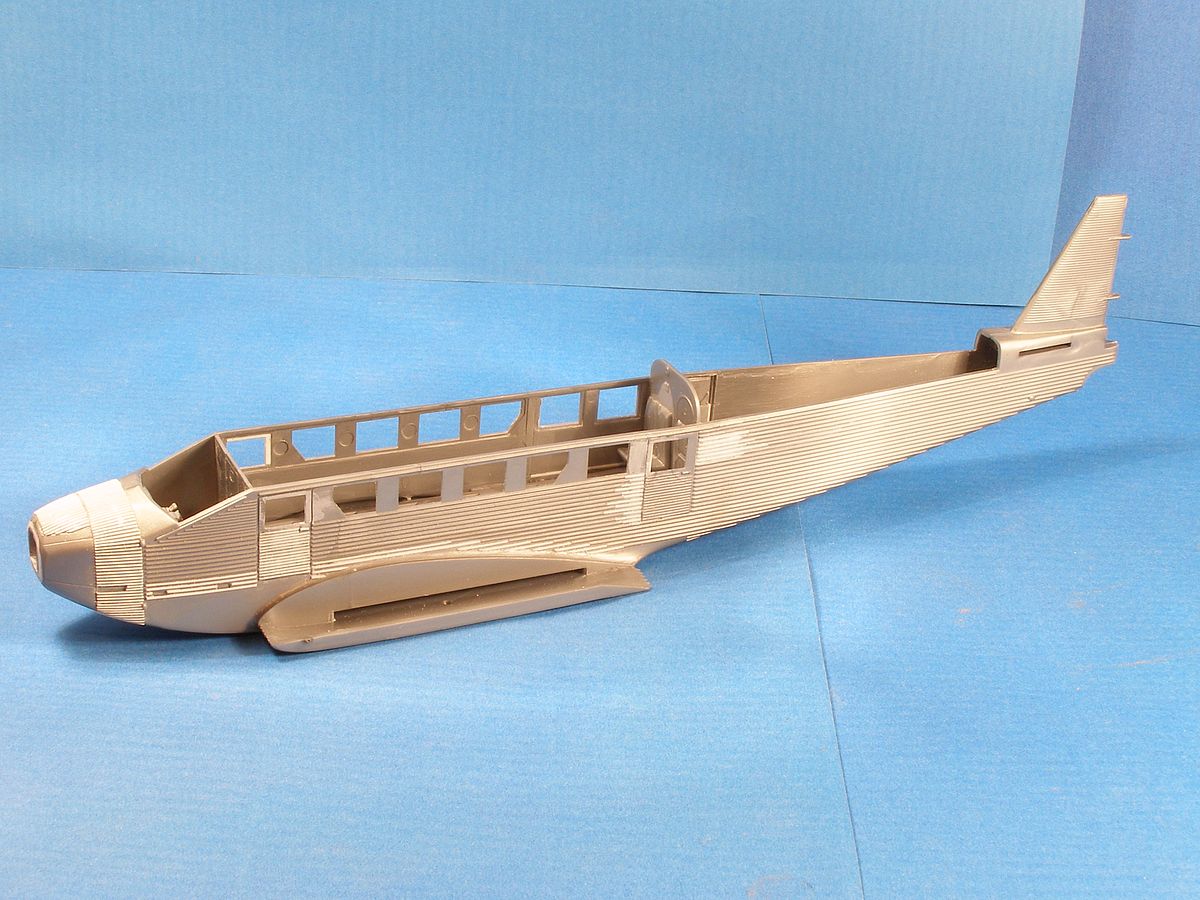
A problem building a civilian Ju 52 is that the kit has a large cargo hatch that has to be removed. There is a hatch with three windows of the right size in the kit that could be used but the windows don't align with the windows in the fuselage, so material has to be removed from the top of the door. This of course means that material has to be added at the bottom. The hatch has a finer variant of corrugation than the fuselage, so it has to be removed and new corrugation added. As SE-ADR was such an early plane it differed on some points with the later planes. There is an cargo door at the rear on the right side of the fuselage. This door was lower on this so that had to be fixed. The passenger door at the rear on the left side was narrower than in the kit so that was also corrected. SE-ADR had doors on both sides of the fuselage just behind of the cockpit. They had to be made as well. This meant that I had to replace the corrugations where the cargo hatch had been and also in front of the passenger door. There is also a small round window that has to be filled. The corrugated areas on the fuselage should extend all the way to the wings and should also be deeper on the front fuselage and the flat areas under the fuselage that I mentioned earlier had to be corrected as well. This is where my luck with using the Italeri kit came in. |
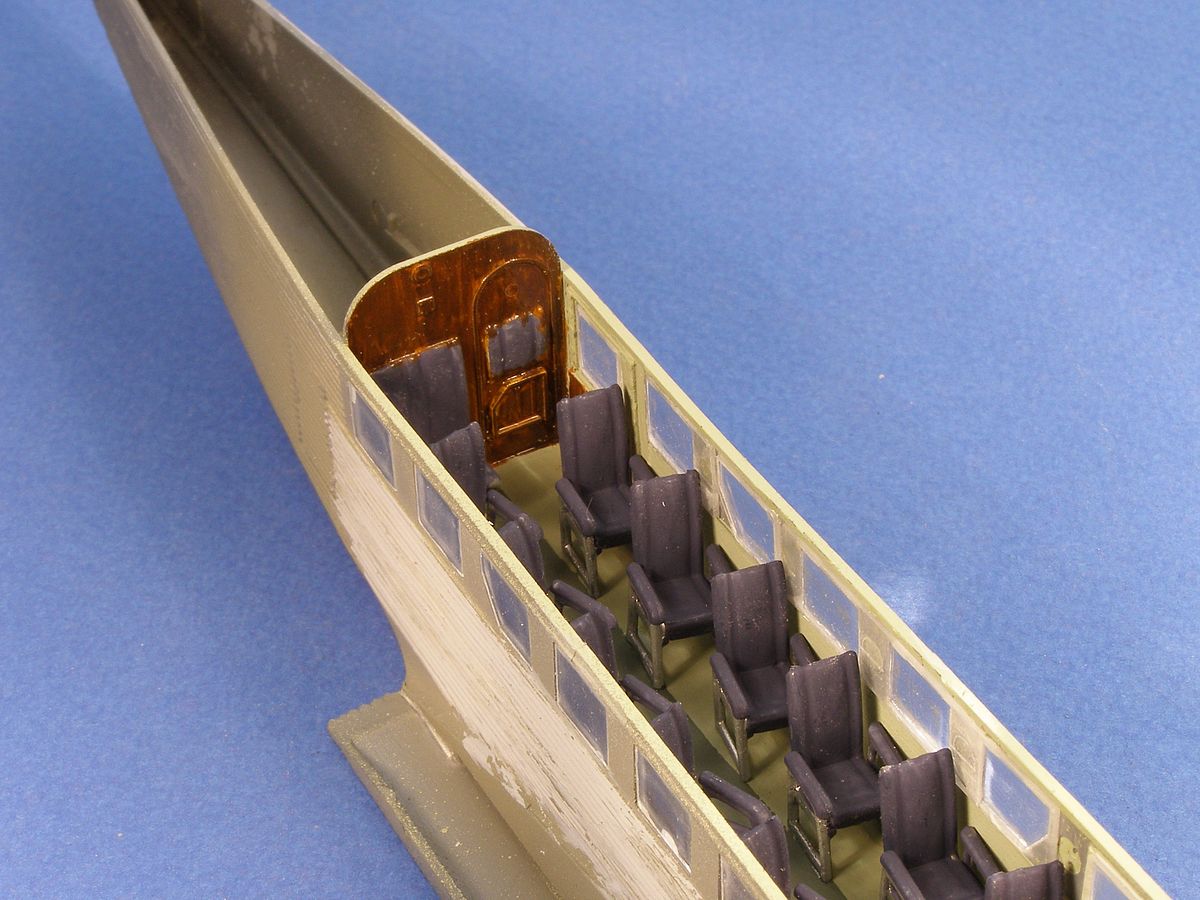
I could use 0,4 mm plastic rods from Plastruct to replace the missing corrugation. It is a time-consuming work adding one rod at the time using the blade on the hobby knife to obtain the right distance between them. Plastruct do have a finer 0,3 mm rod as well and perhaps it could have been used if I had used the Heller kit but then the next step would have been a problem because the doors and the nose had a finer pattern of corrugation than the fuselage. For the Italeri kit the 0,3 mm rod worked fine. On to the interior. I didn't add any details in the passenger compartment, but I did angle the seats out toward the isle as they were mounted like that for easier accessibility. |
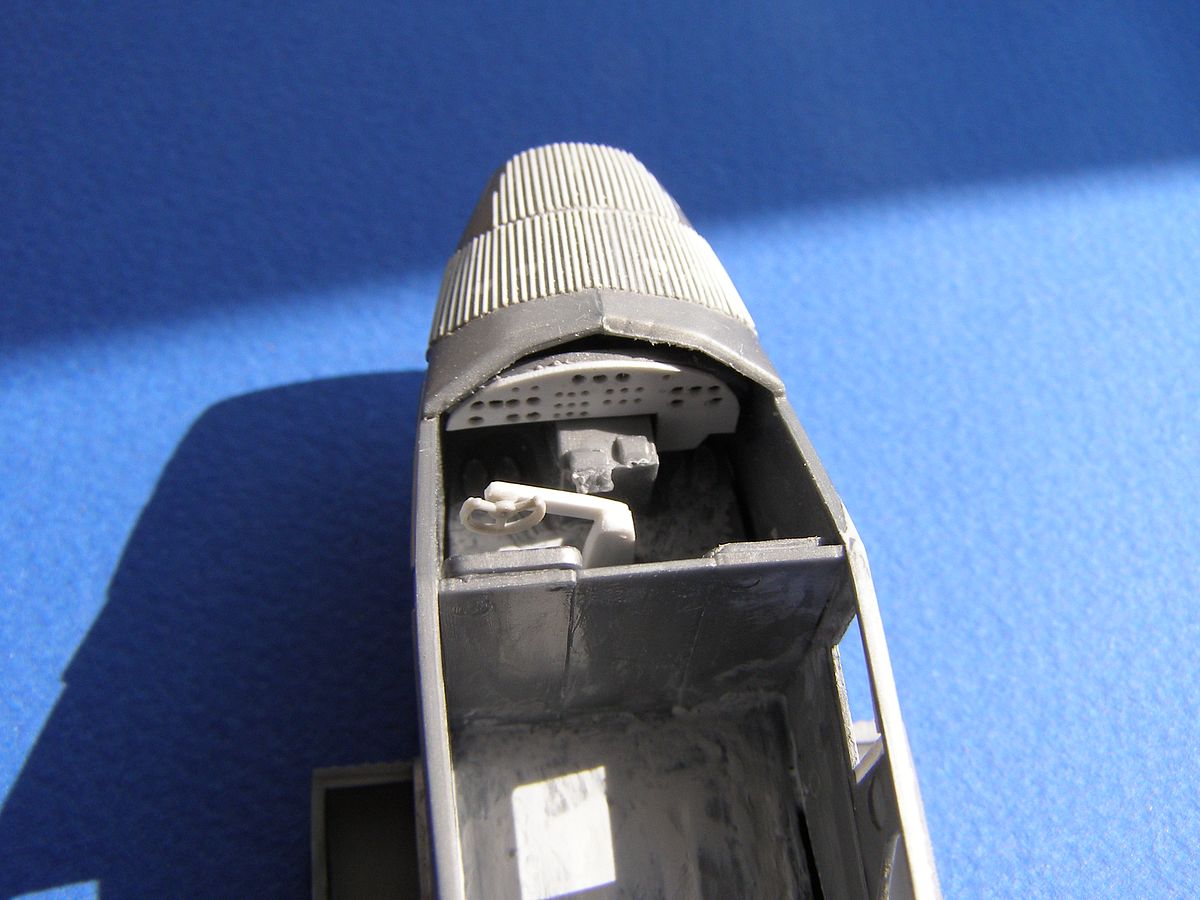
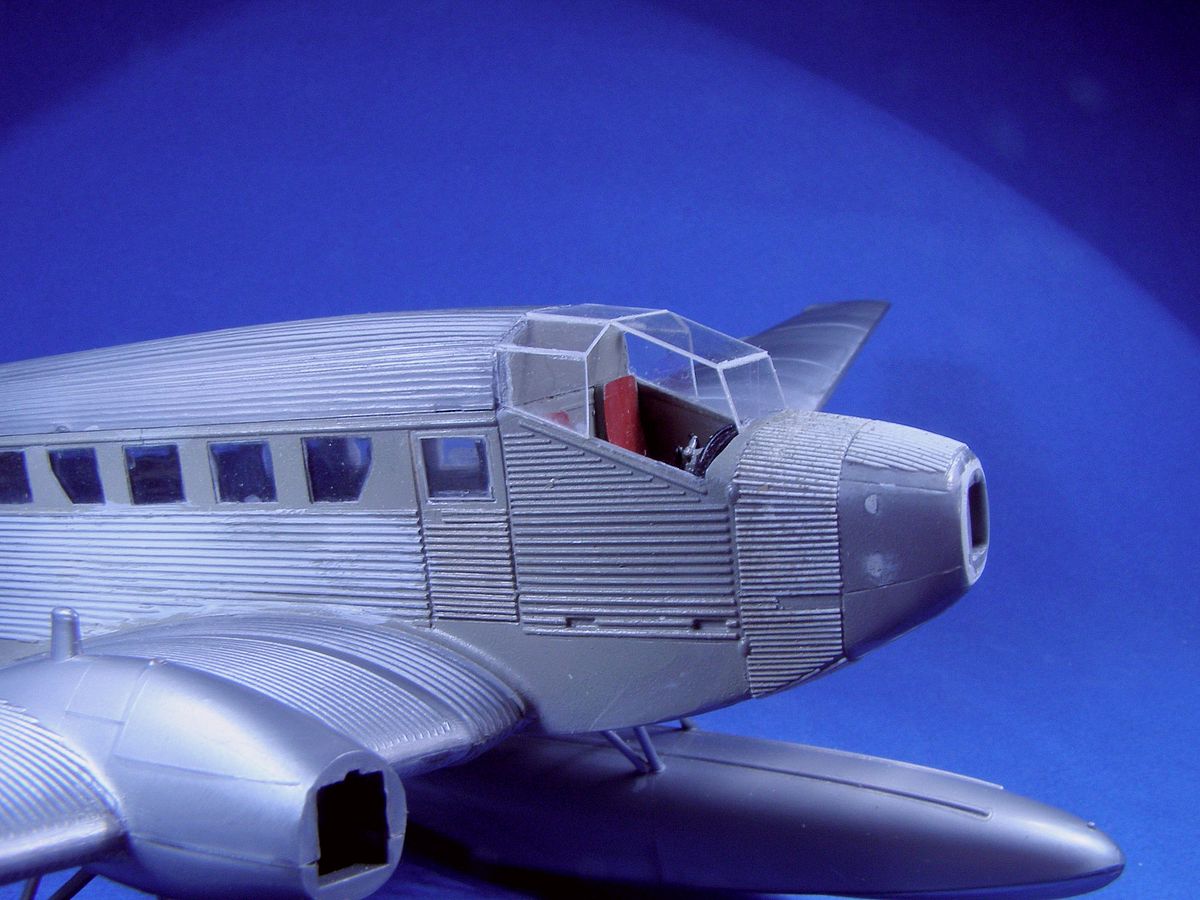
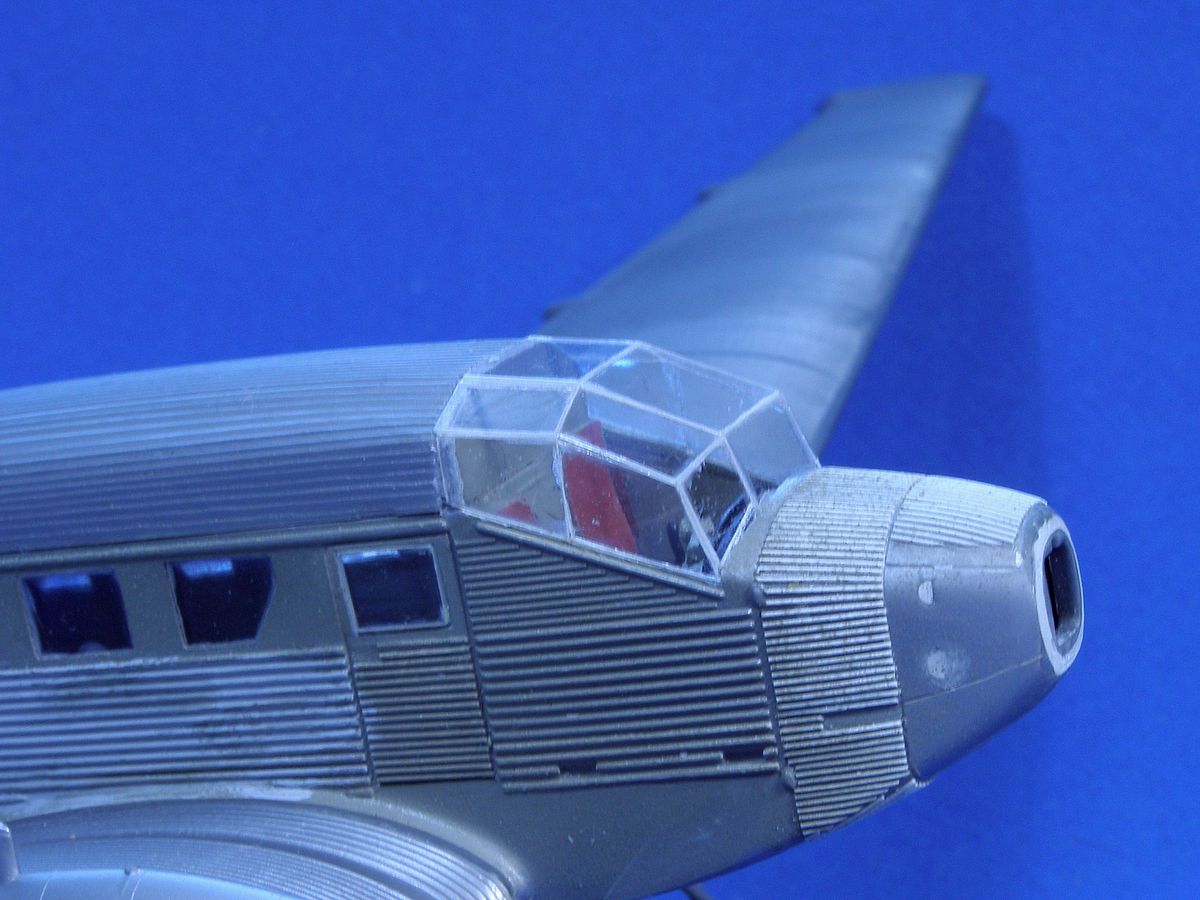
The cockpit needed some work though. This plane didn't have two "steering wheels" like the kit, it only had one "steering wheel" that could swing over between the seats. I made something that looks like this and added an instrument panel as the Italeri panel is bare. It might be the wrong panel for this version, but it had to do. But there was more things that differ between this plane and the later ones. As delivered it had a different canopy but later got the more common type. I wanted the early type but wasn't sure on how to fix it I thought about making a master try to vac form it but decided to try another route. I built it out of clear plastic card and added the framing with strips of aluminium decals. |
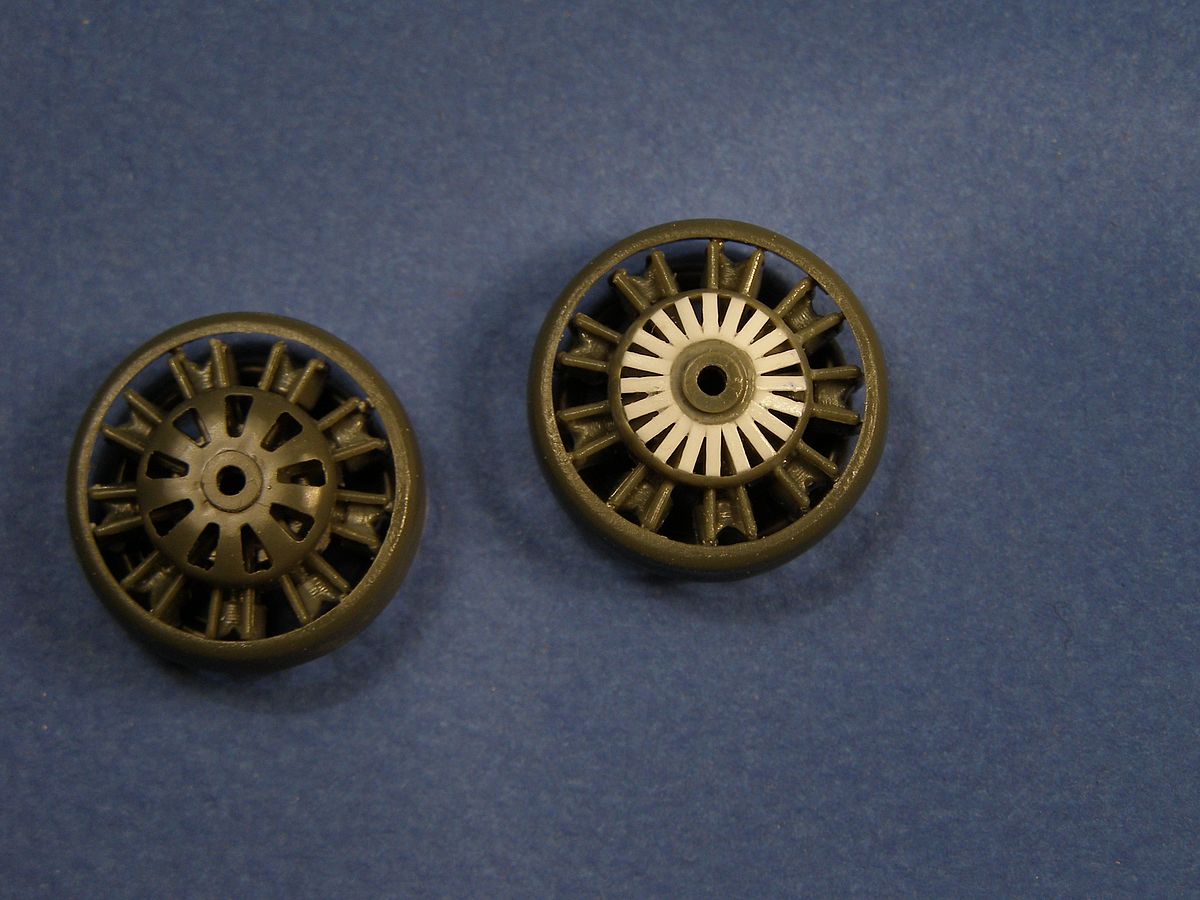
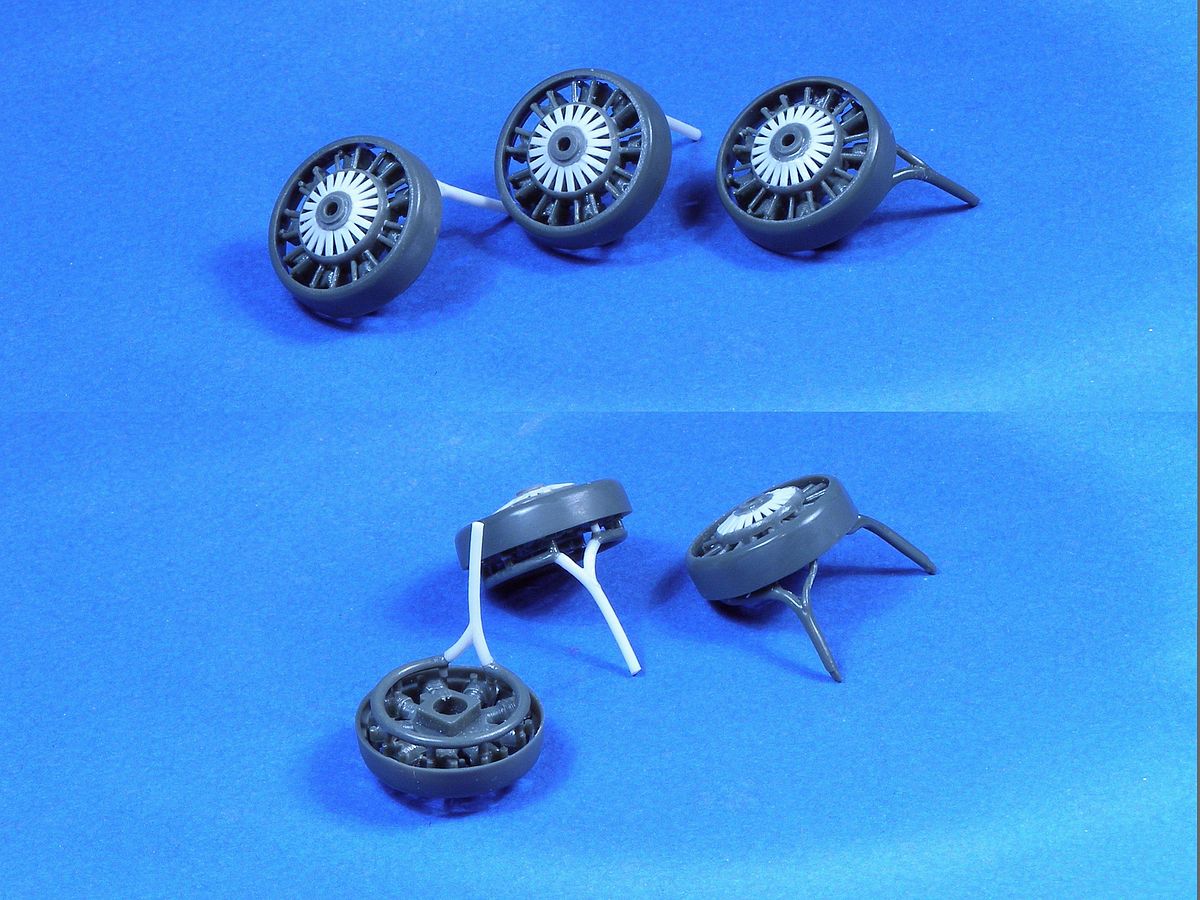
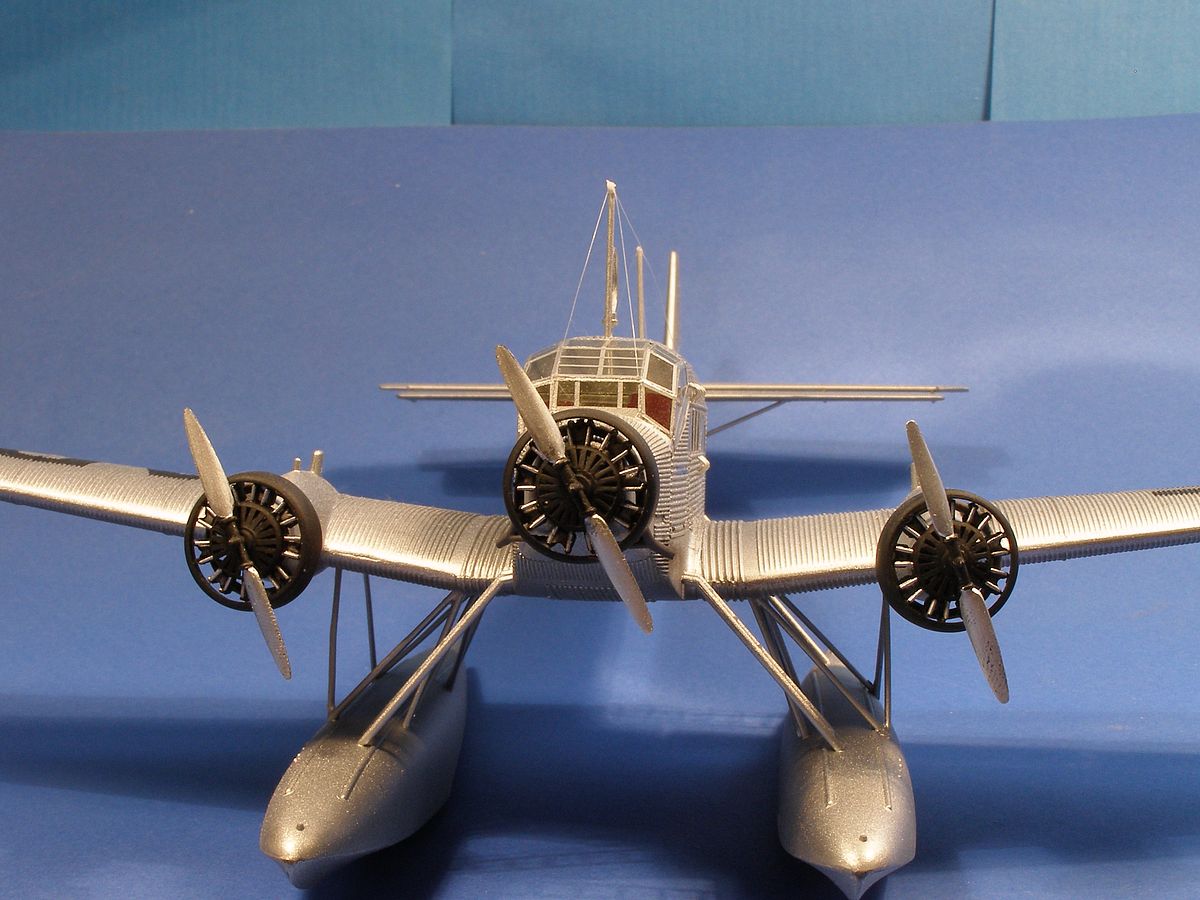
One last thing I found that differed was the slotted plates in front of the engines. It had more slots in them than the normal type so more work for me. Finally, I had to add ladders and some handles on the outside of the fuselage. |
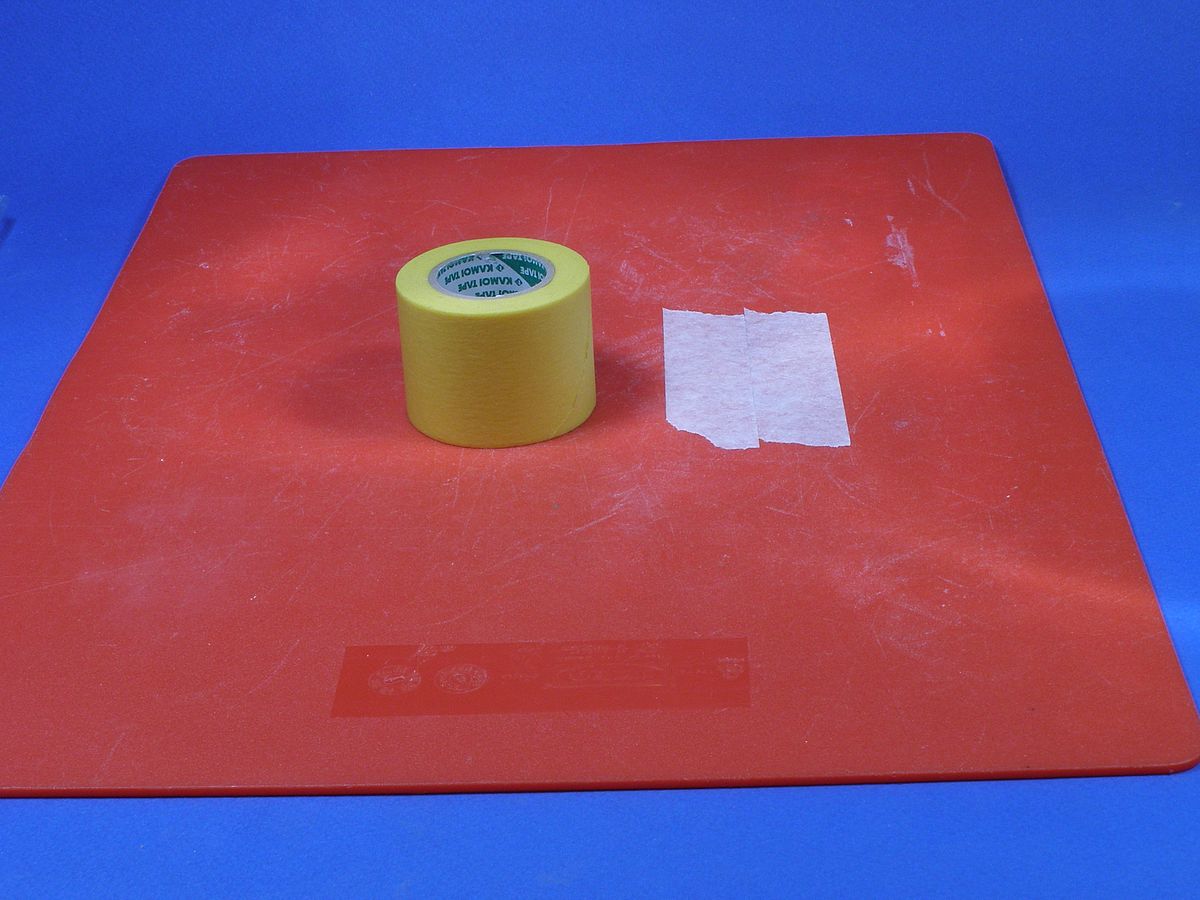

One thing about corrugated planes is that decaling is not fun. So, I decided to make masks for the registrations and paint them instead. I think it turned out rather OK. What I used to do this was, a cutting board, ordinary masking tape, wide Tamiya masking tape, a print of the registrations and a sharp knife. |
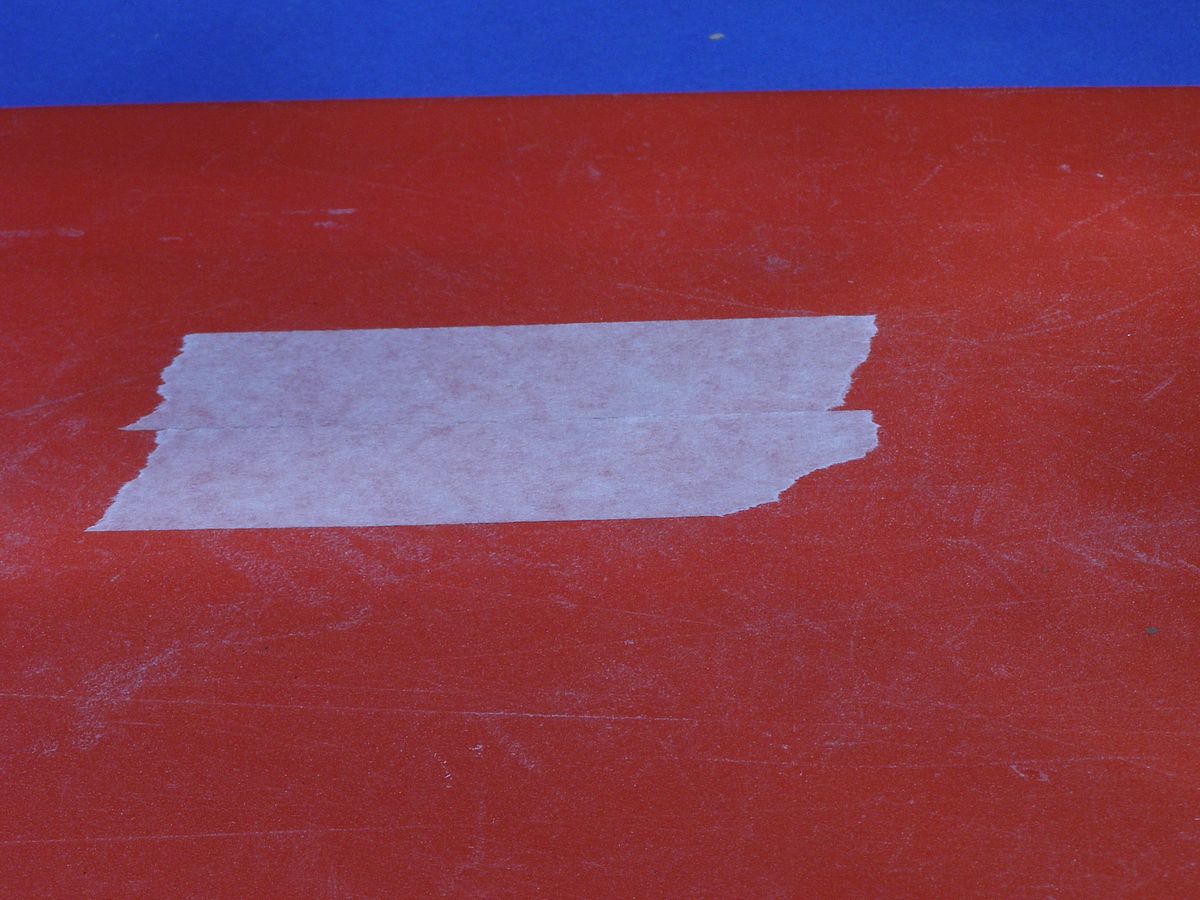
First I laid down a single layer of ordinary masking tape. (I could have used the Tamiya tape but this was cheaper). |
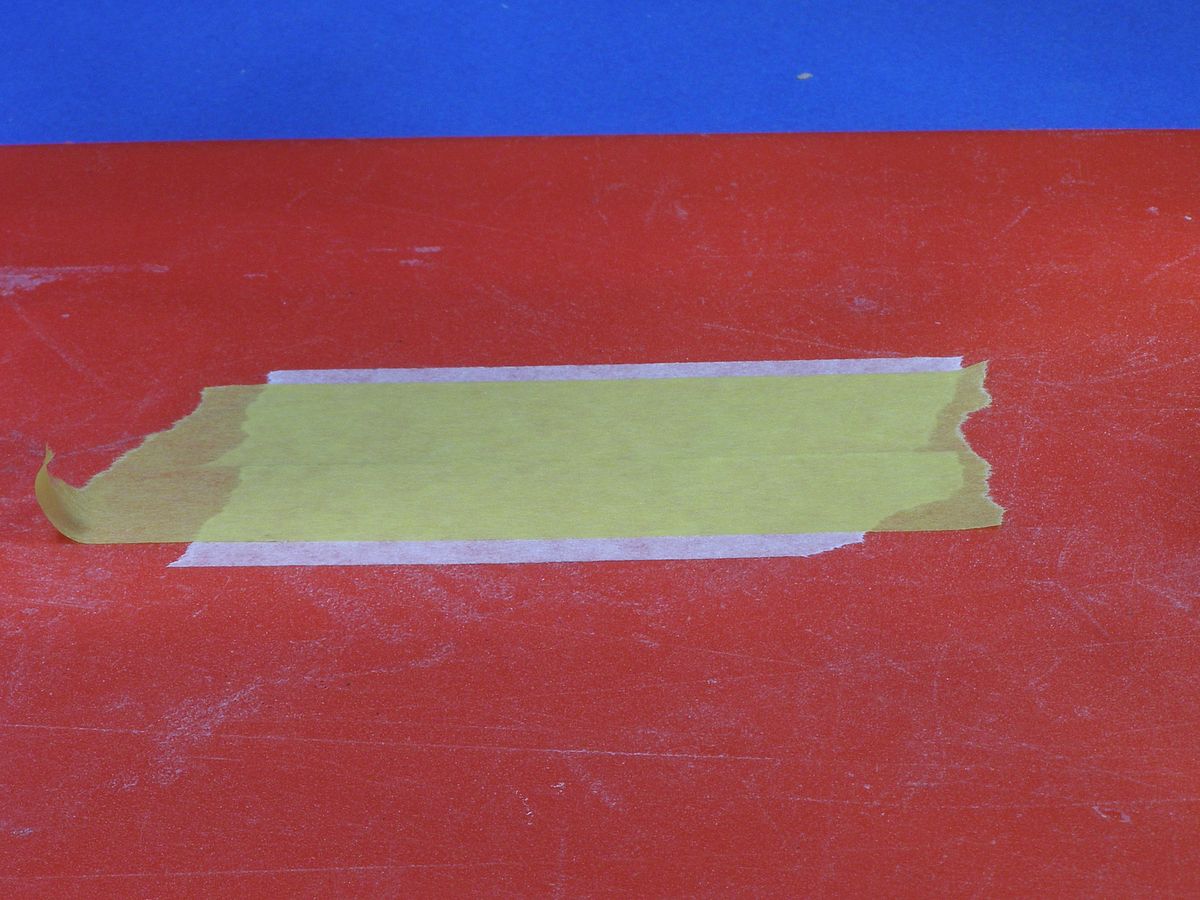
On this I laid two layer of wide Tamiya masking tape. (Two layers mean I could make two masks at once). |
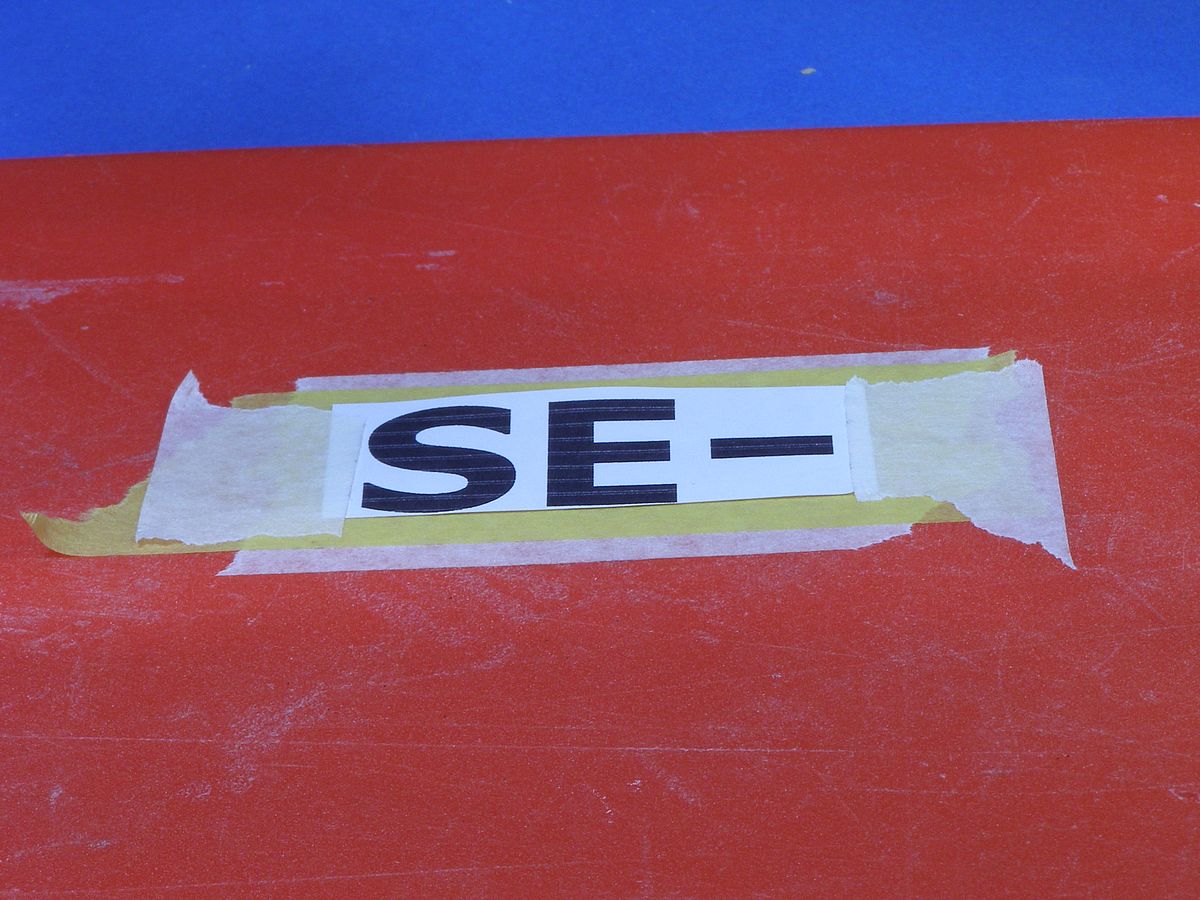
Then I taped the printout of the registrations on top of the Tamiya tape. (I used an ordinary inkjet printer and normal paper.) |
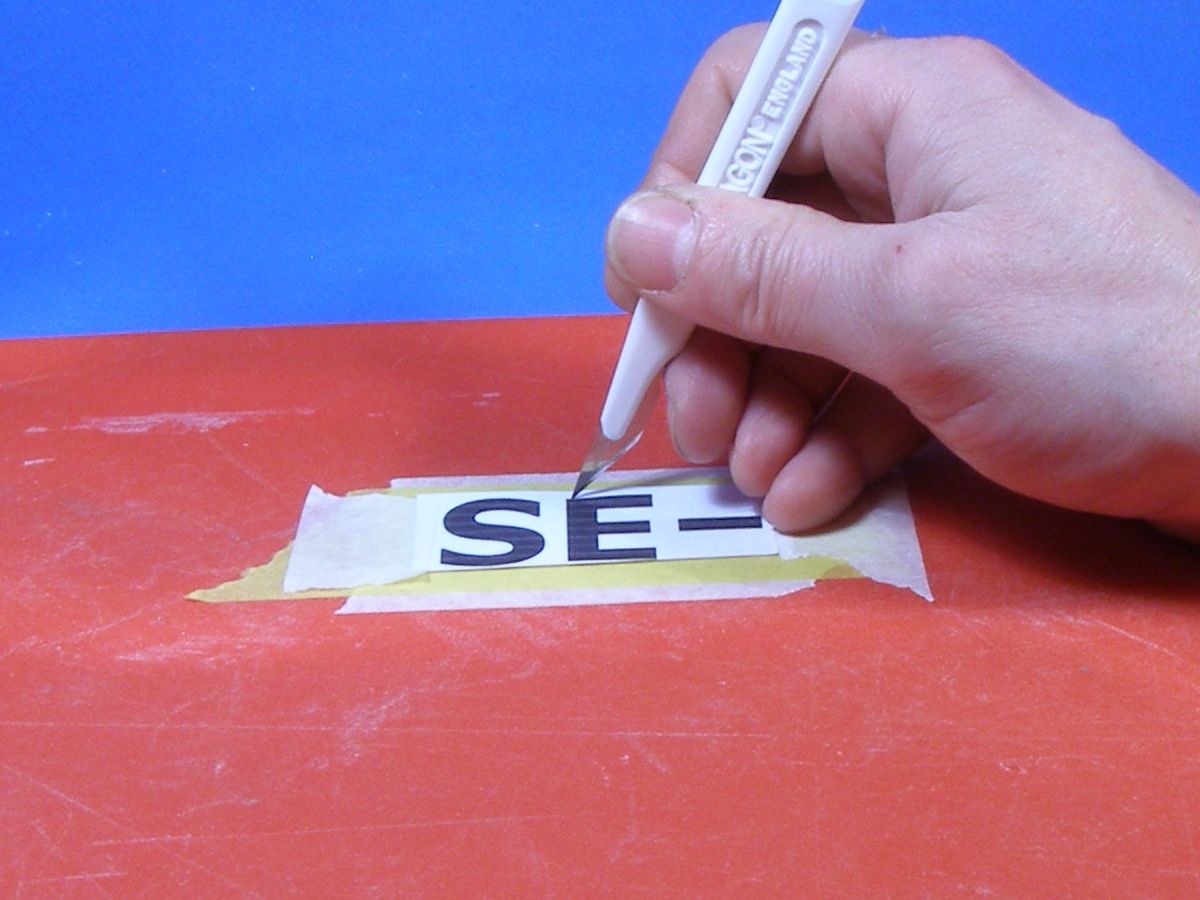
With a sharp knife I cut out the letters, cutting through paper and tape layers. |
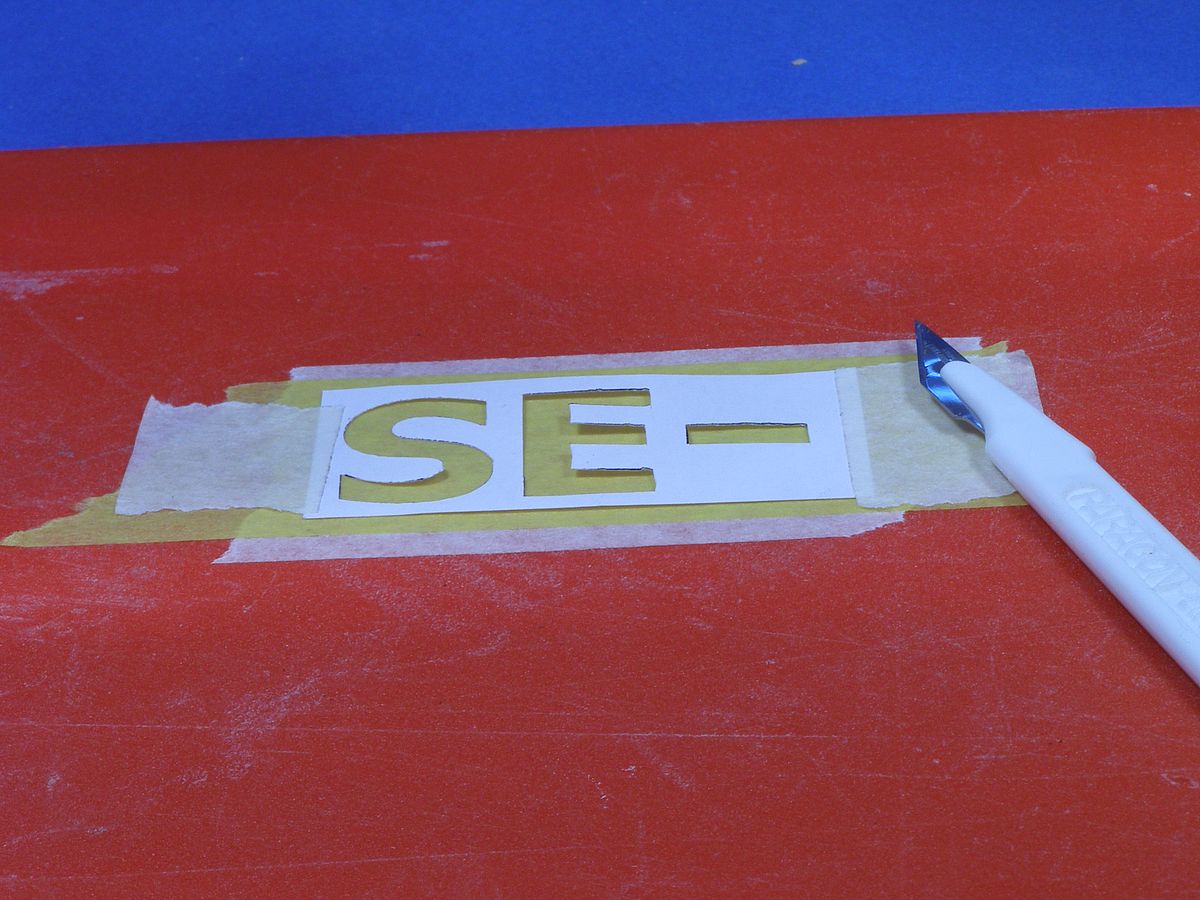
Remove the paper and the masks are there. |

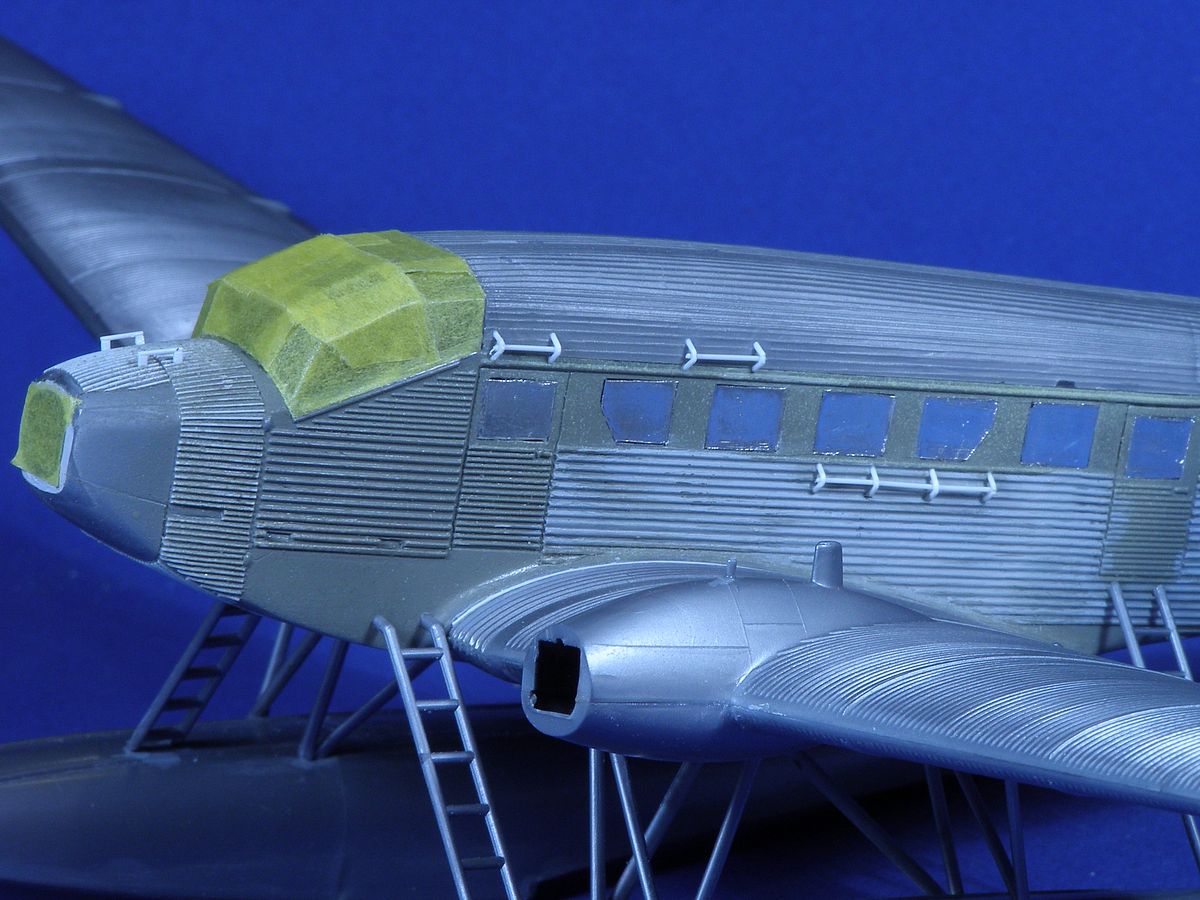
It could be a little problem handling the masks so since I built the Junkers I evolved the method. Now I add another layer of tape on the mask before removing them from each other. This is just to keep the mask together in one piece without breaking. When I placed the mask on the model this extra tape layer can be removed. Here are the masks on the plane ready for paint |
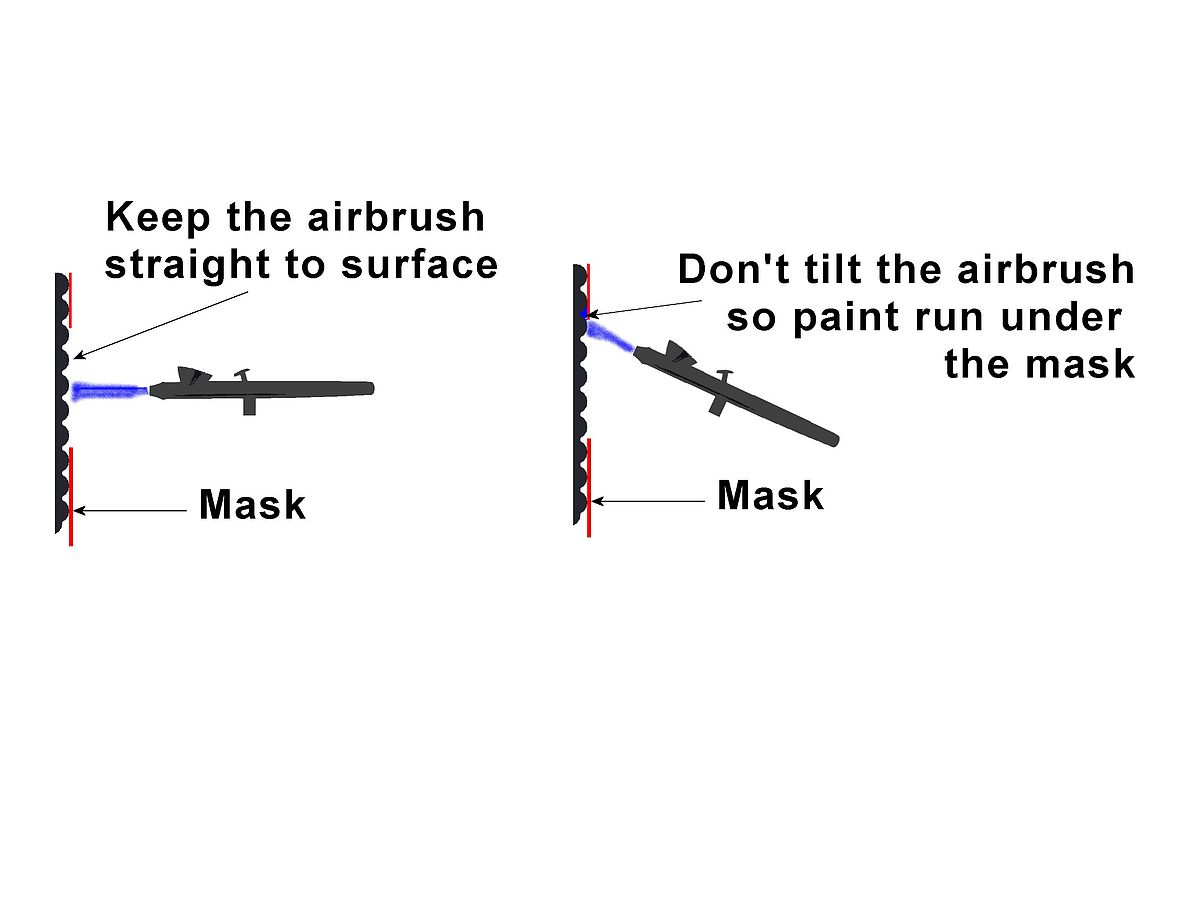
One thing that might surprise you is that I didn't press the masks down into the "groves" of the corrugations. Instead I mixed the colour less wet than normal, so it wouldn't run under the mask so easy. When painting it was important to spray in a right angle to the kit and not spray under the mask. |
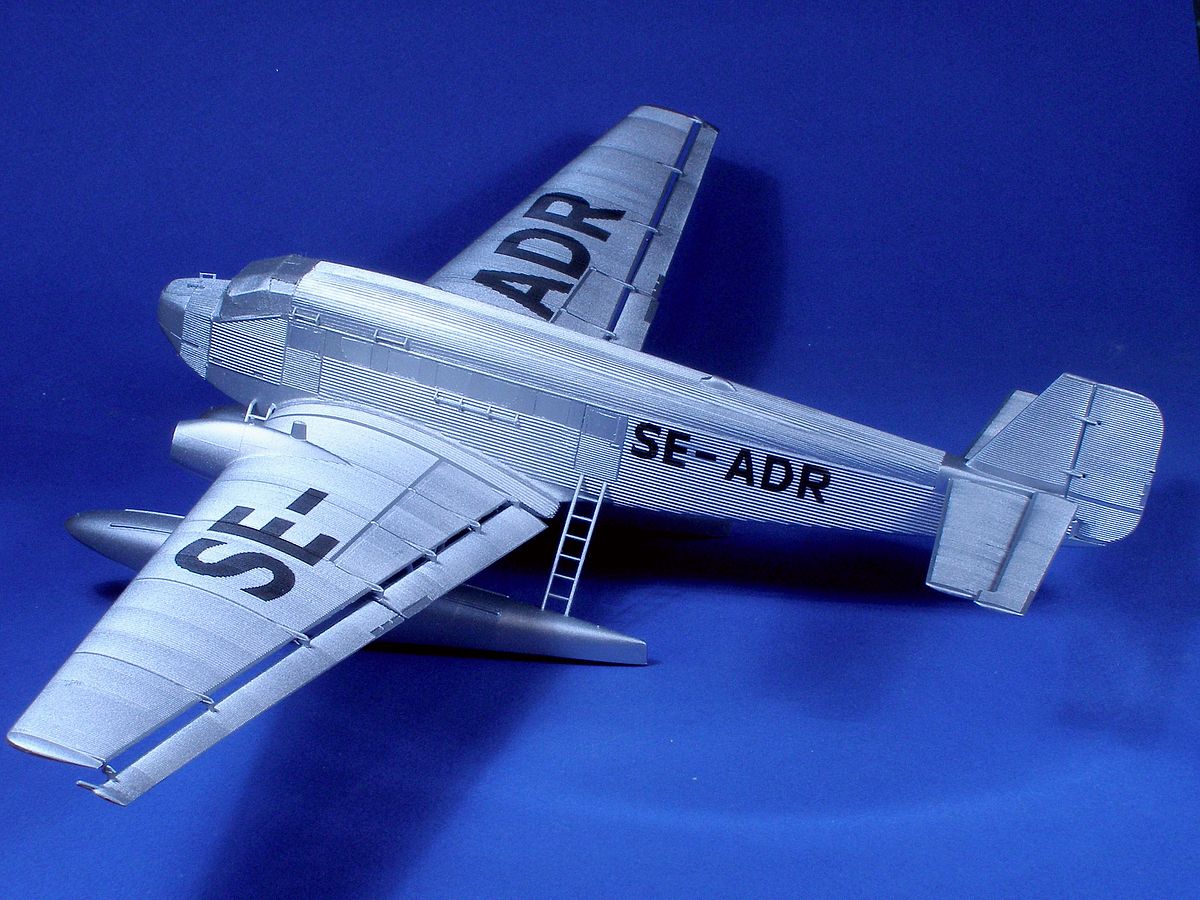
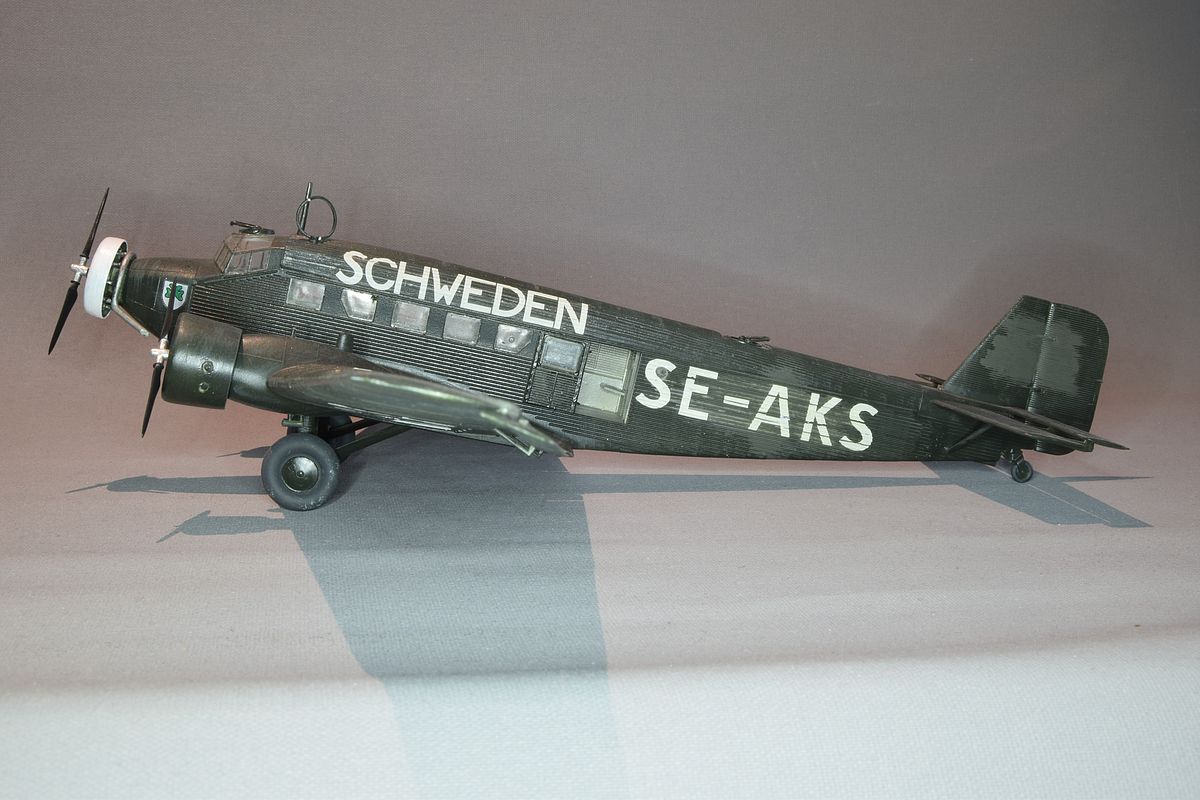
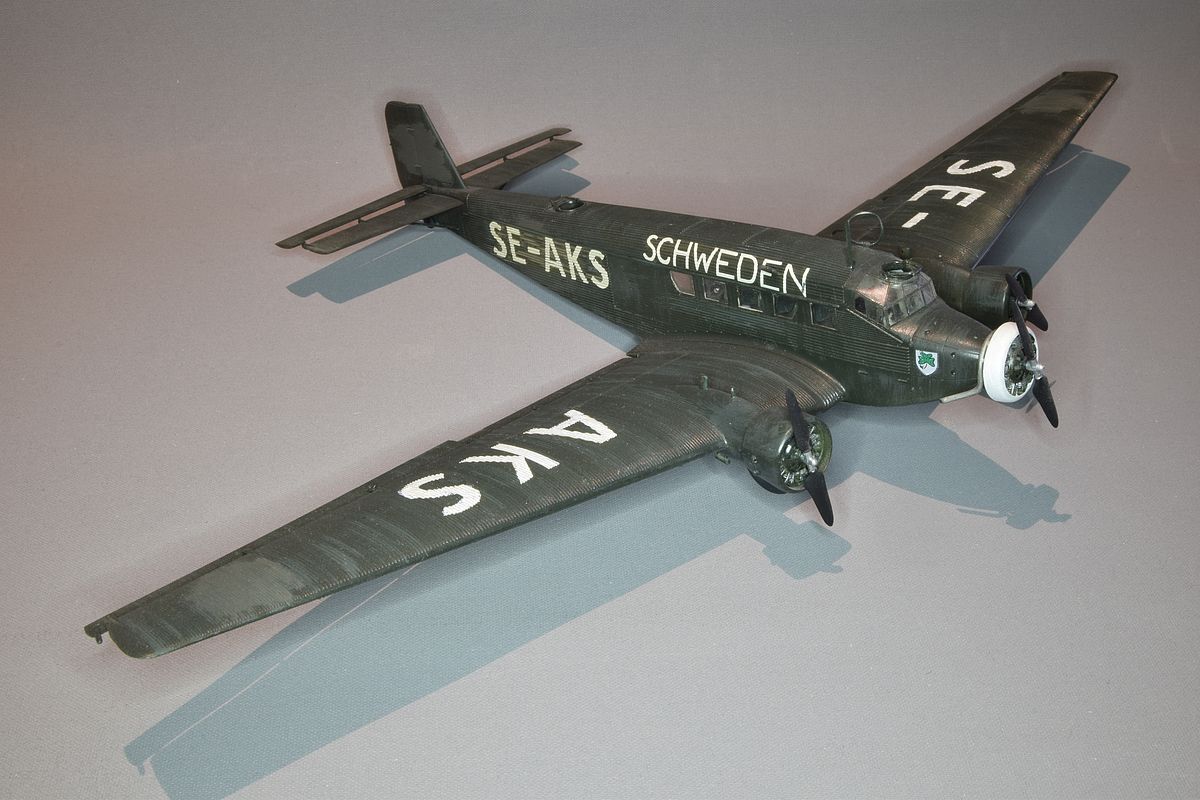
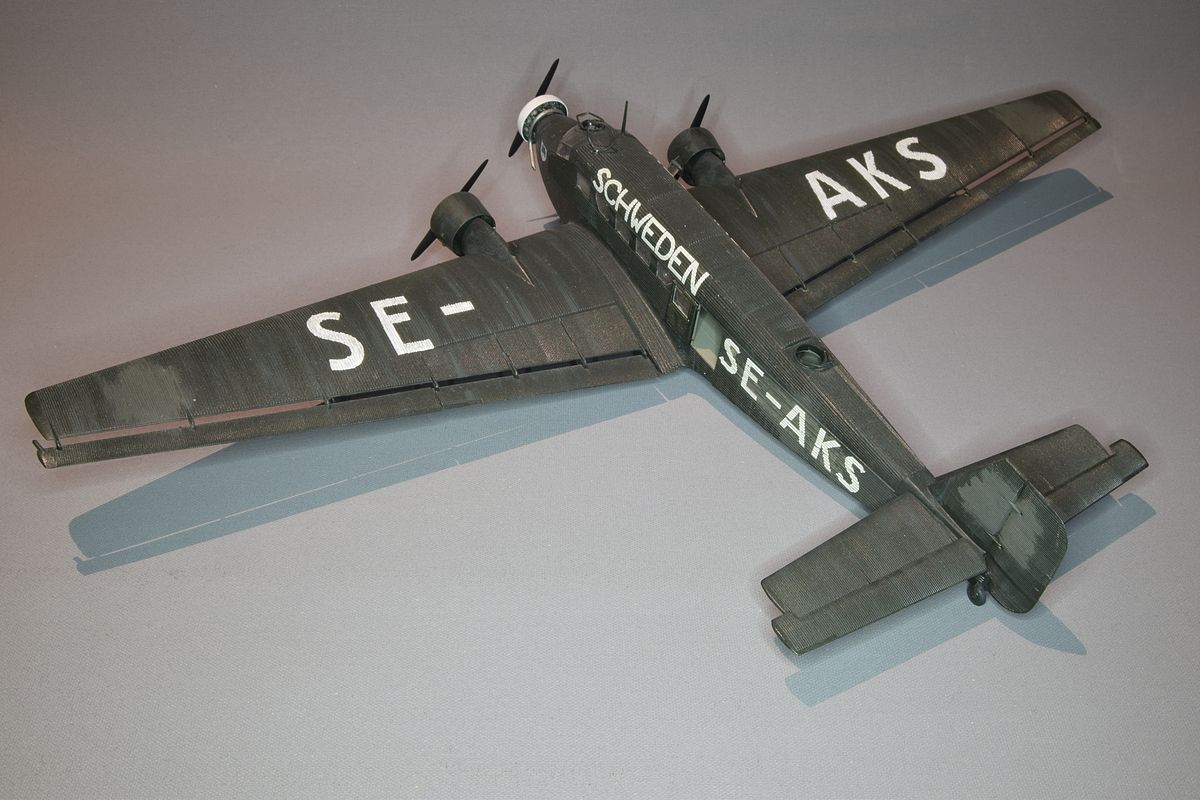
The result after the masks have been removed. |
I am pretty pleased with the result but when I look at pictures of the real plane I have a feeling that the profile of the nose is wrong. I think that should be closer to the single engine version instead. |
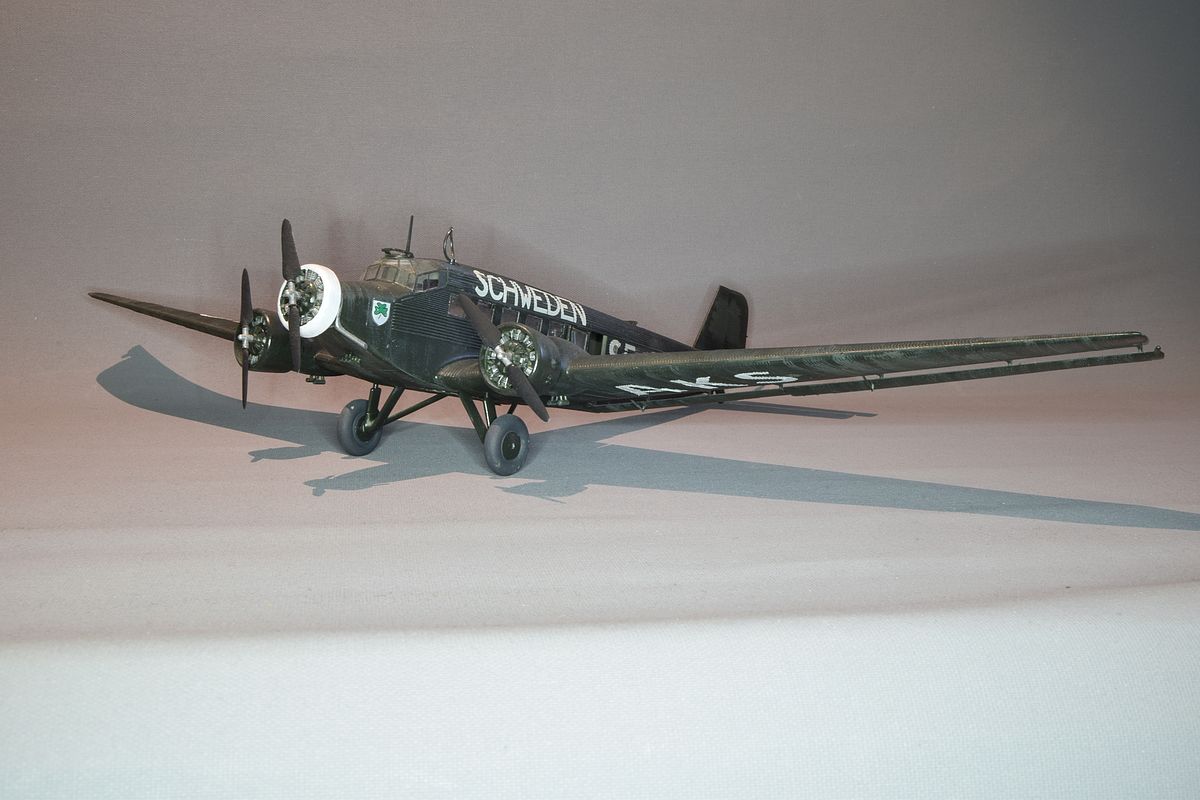
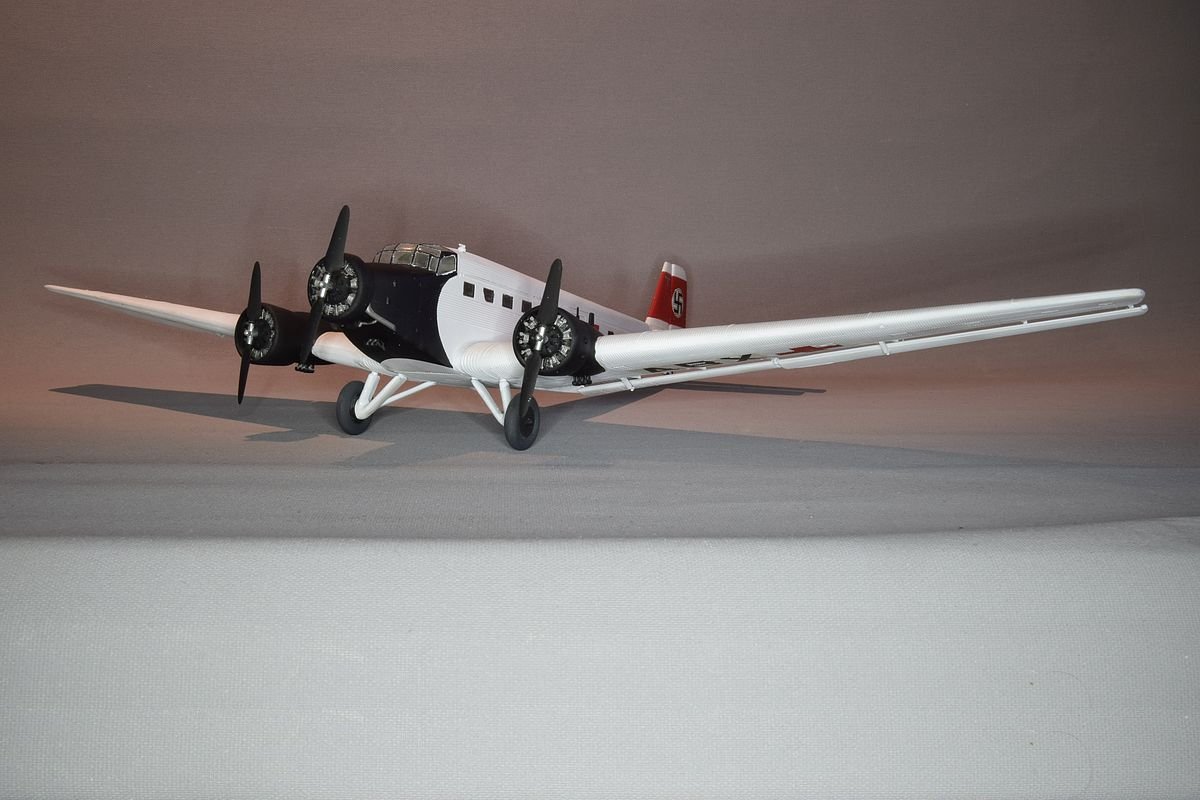
During WW2 many aicrafts made emergency landings in Sweden.
|
| One that was returned to Germany got a Swedish registration for the return flight. |
| The decals for this was iscluded in Heller kits sold in Sweden in the early 1980's |
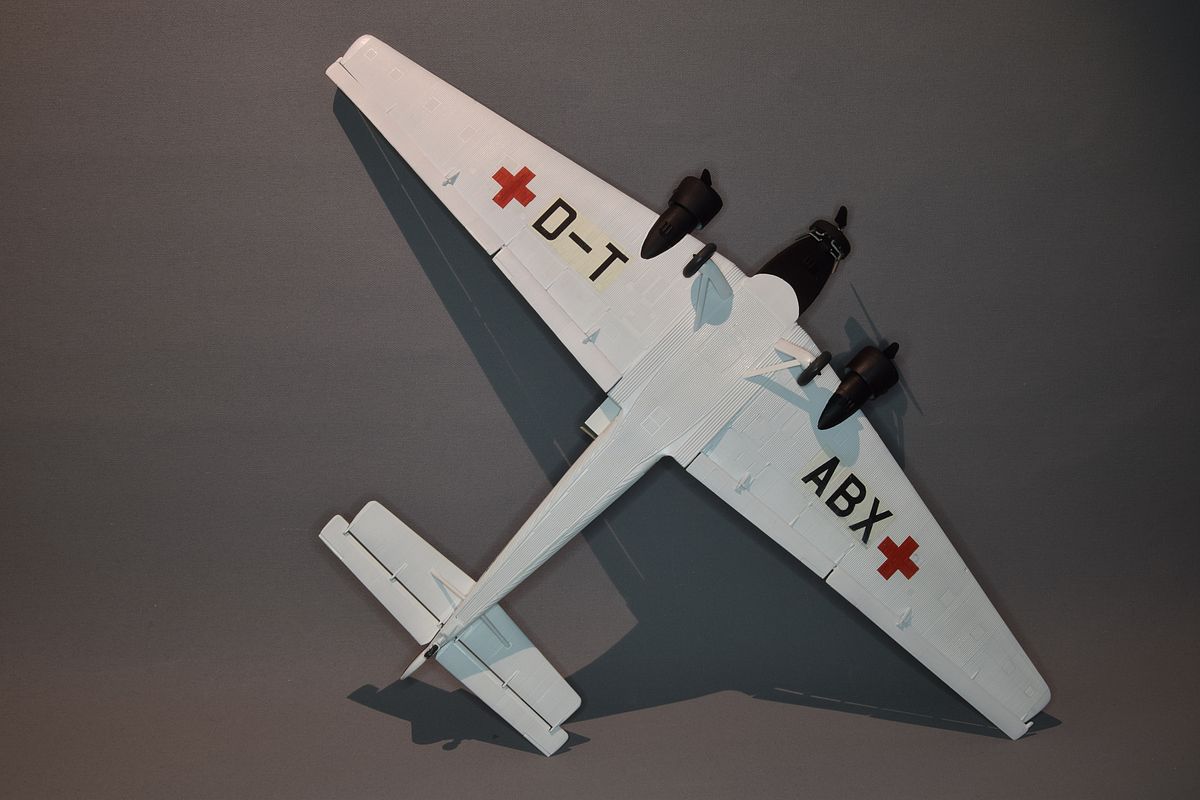
I found an old decal sheet for a German ambulance plane and used a Heller kit to build this.
|
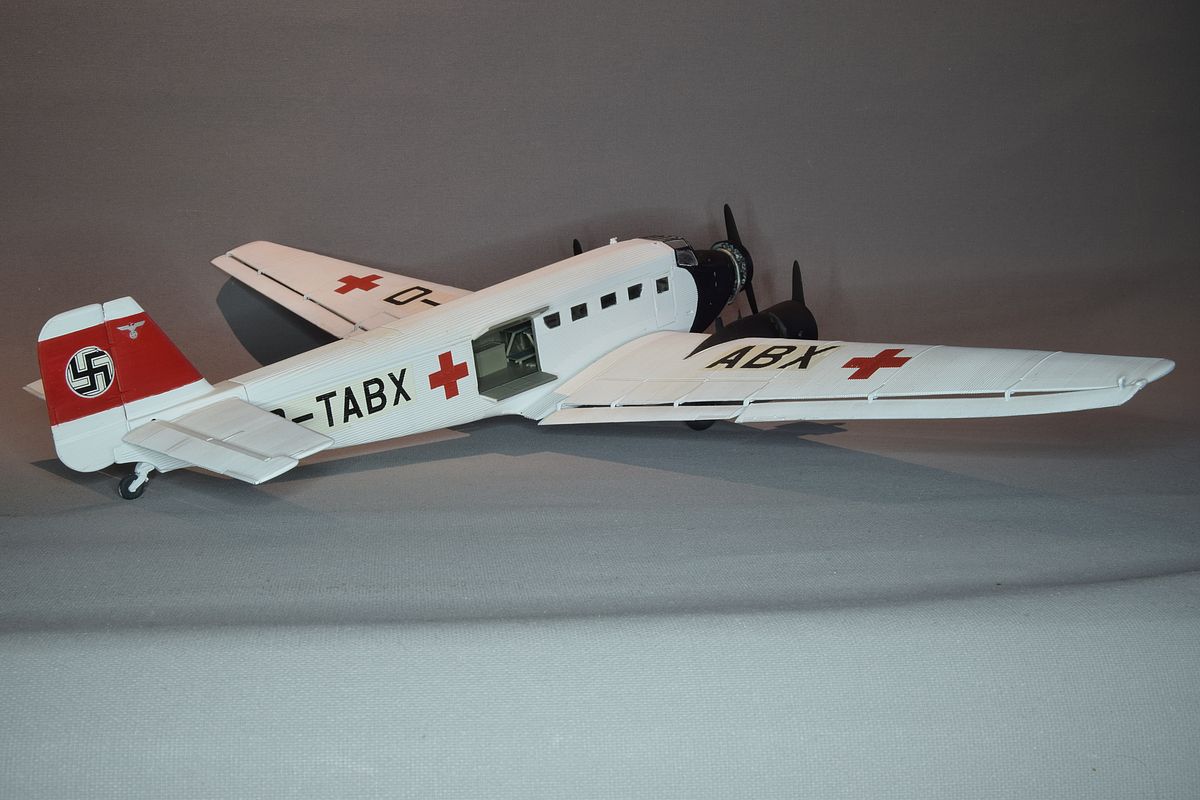
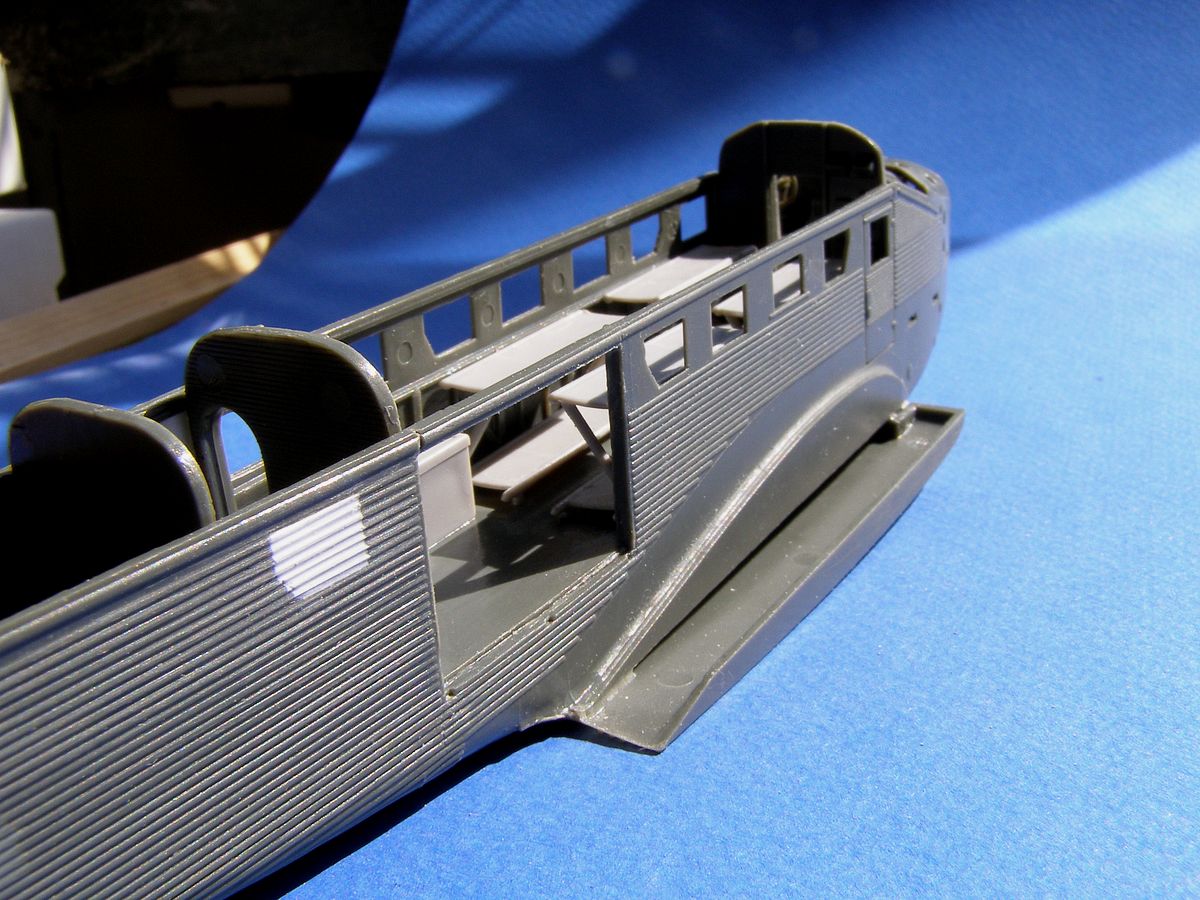
| I had to fill a window behind the cargo door and used the ambulance interior from a Italeri kit. |
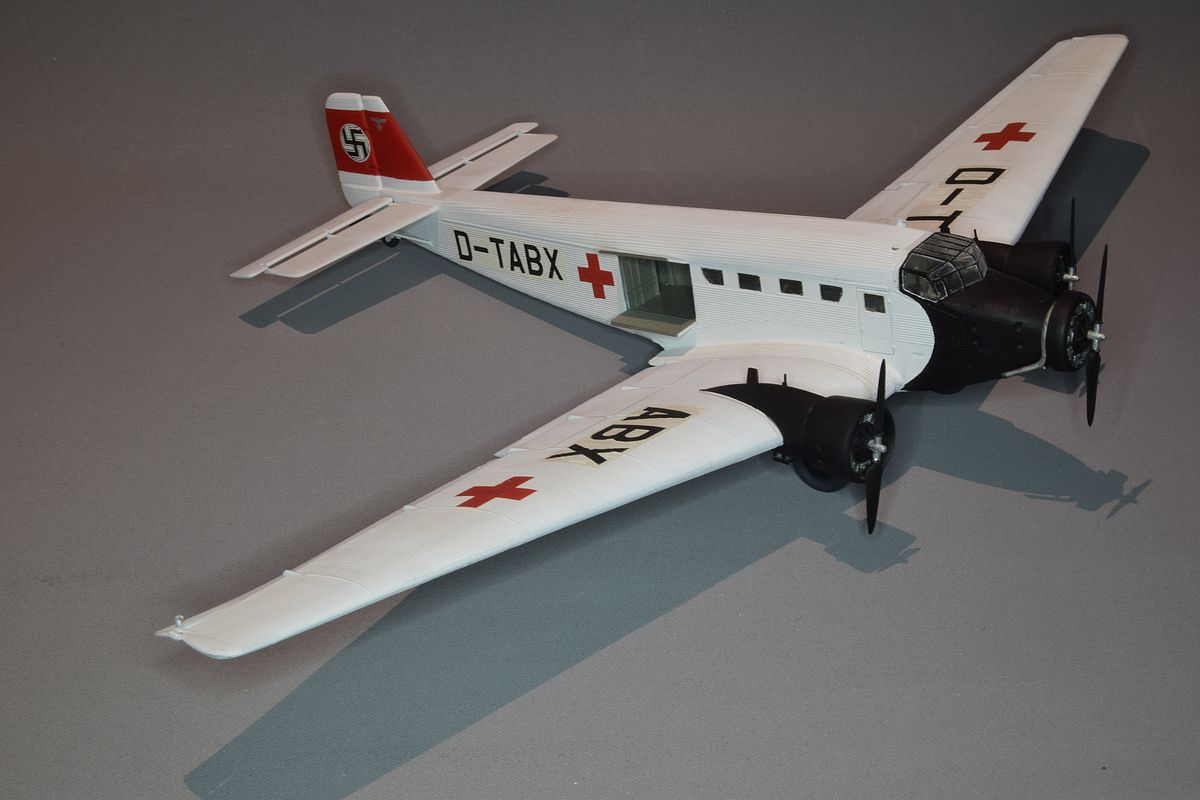
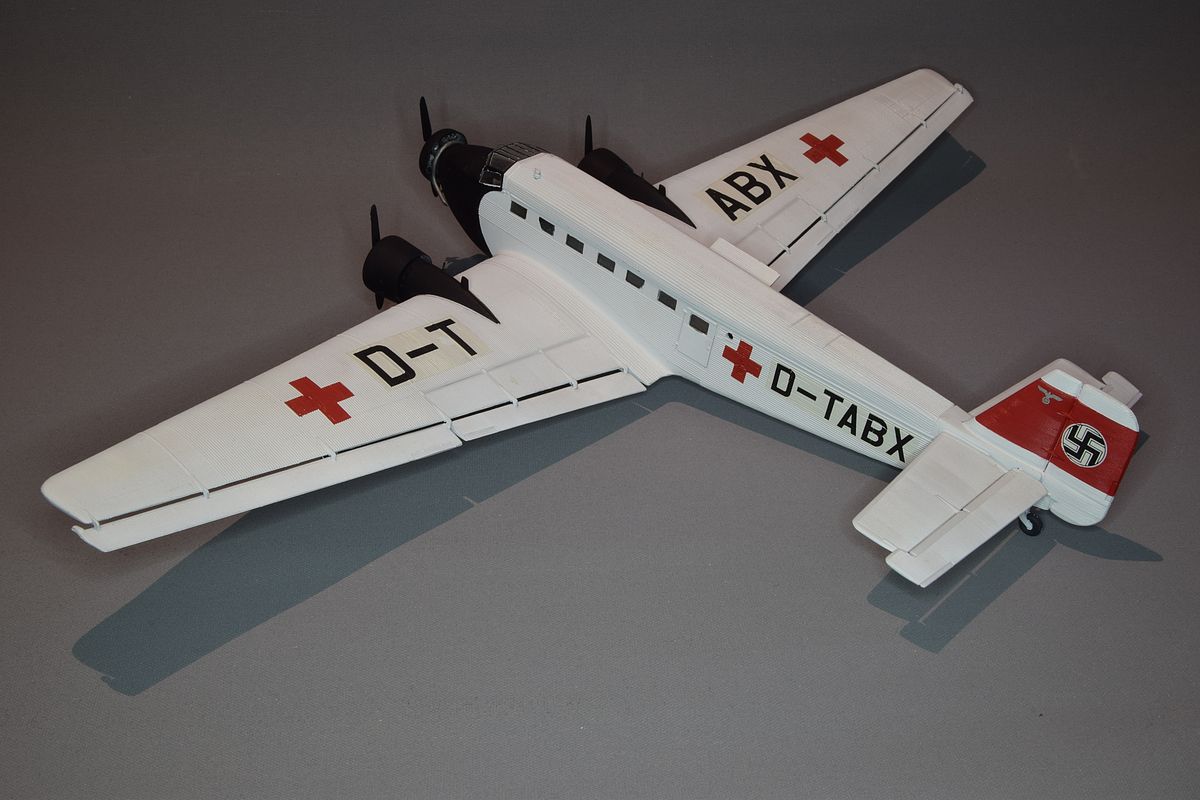
| Sadly, the clear coat on the decals had a yellow tint. |
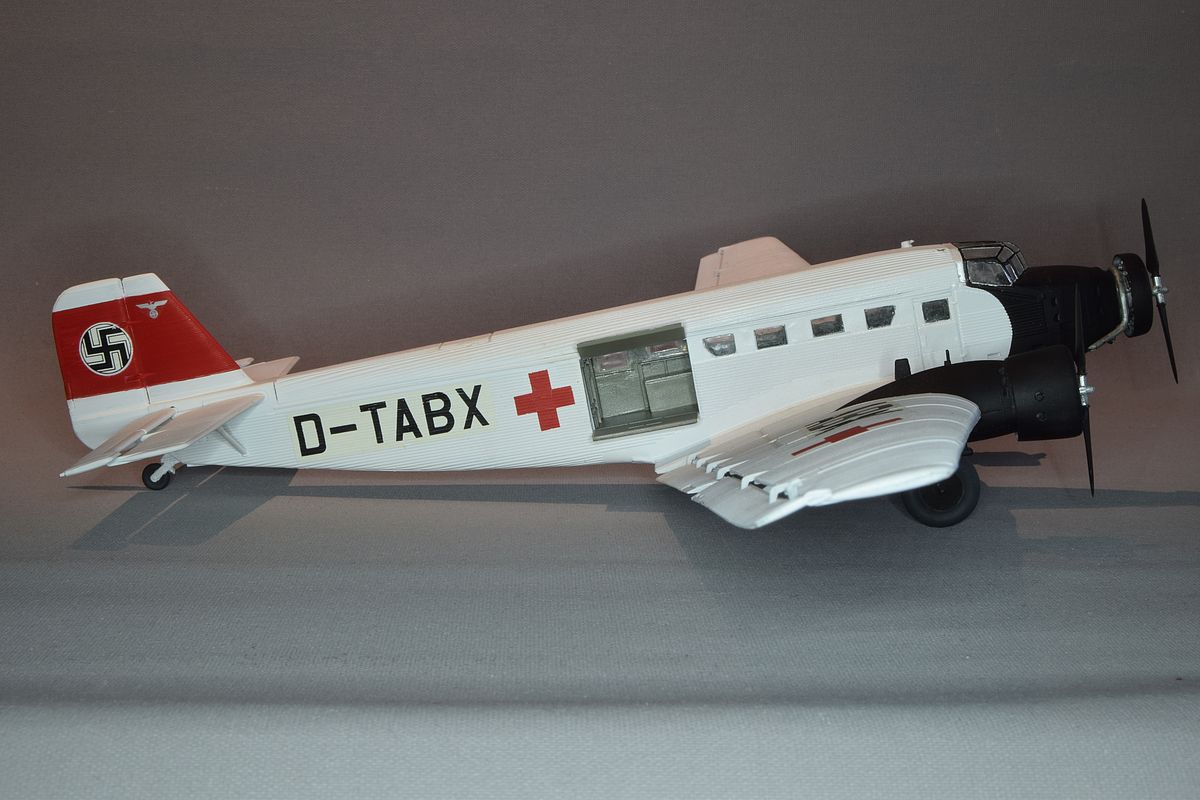
| Yes, the swastika is supposed to be oriented that way. It is the flag of the Reichsdienst on the fin. |
| Stockholm April 30, 2008 |  |
Updated March 20, 2019 |
----------------------------------------------------.::.
vehicles .::. civilian aircrafts .::. military aircrafts .::.
miscellaneous .::. home .::.------------------------------------------------------ |