
|
-----------------------------------------------------------.::.
vehicles .::. civilian aircrafts .::. military aircrafts .::.
miscellaneous .::.---------------------------------------------------------- |
The Esci Panther A was the first of my Panther builds. It was built almost "out of the box". I have made some changes to the schürtzens, and added some extra spare tracks.
|
|
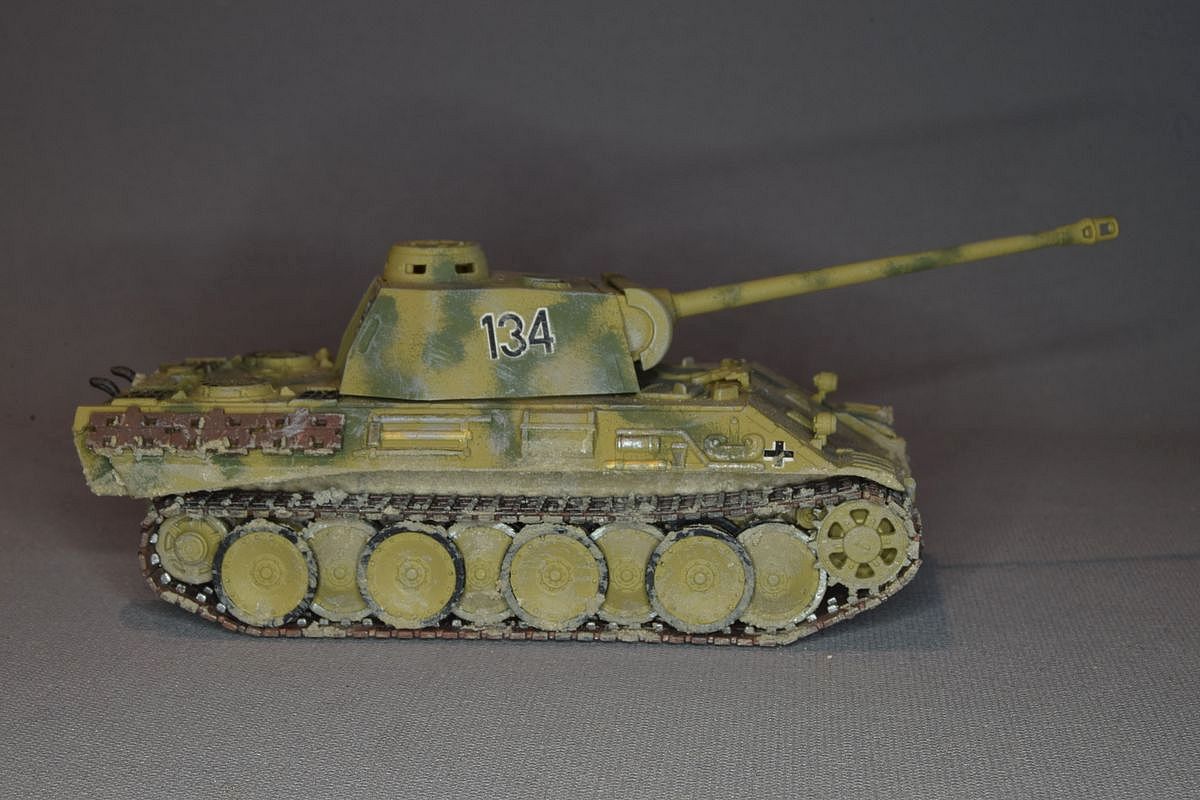
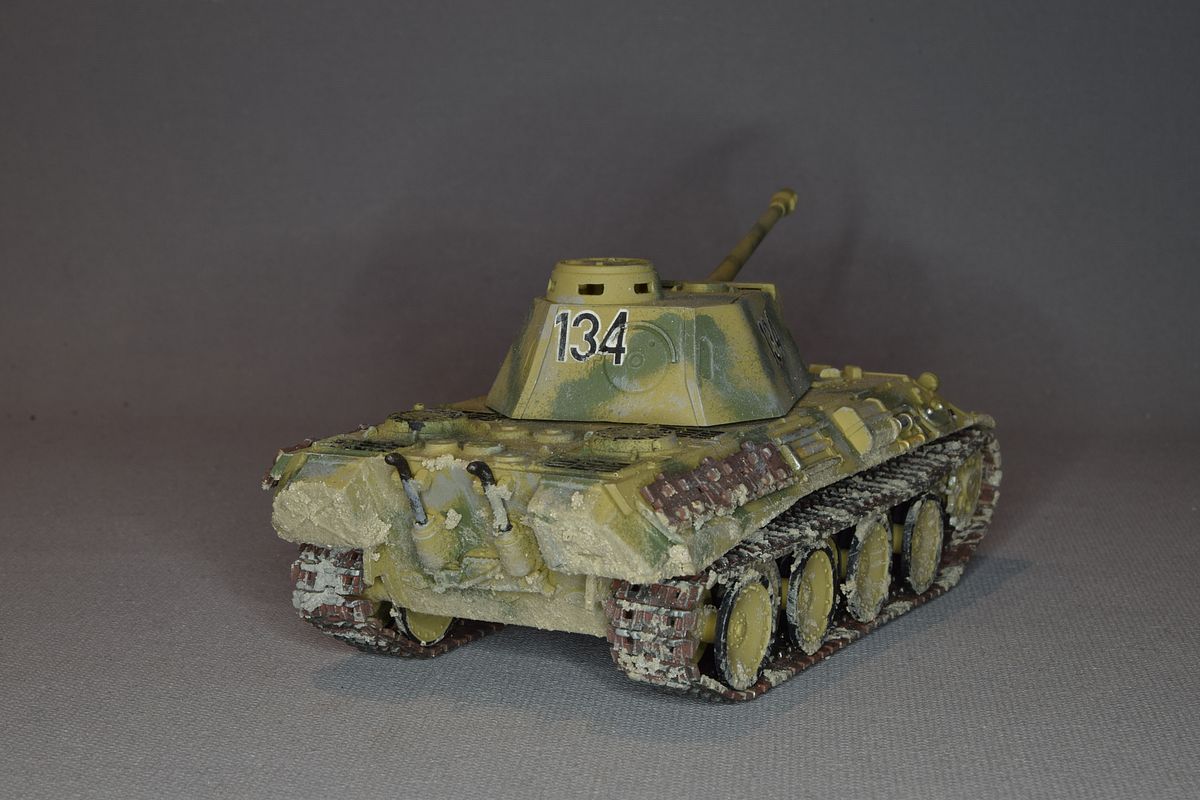
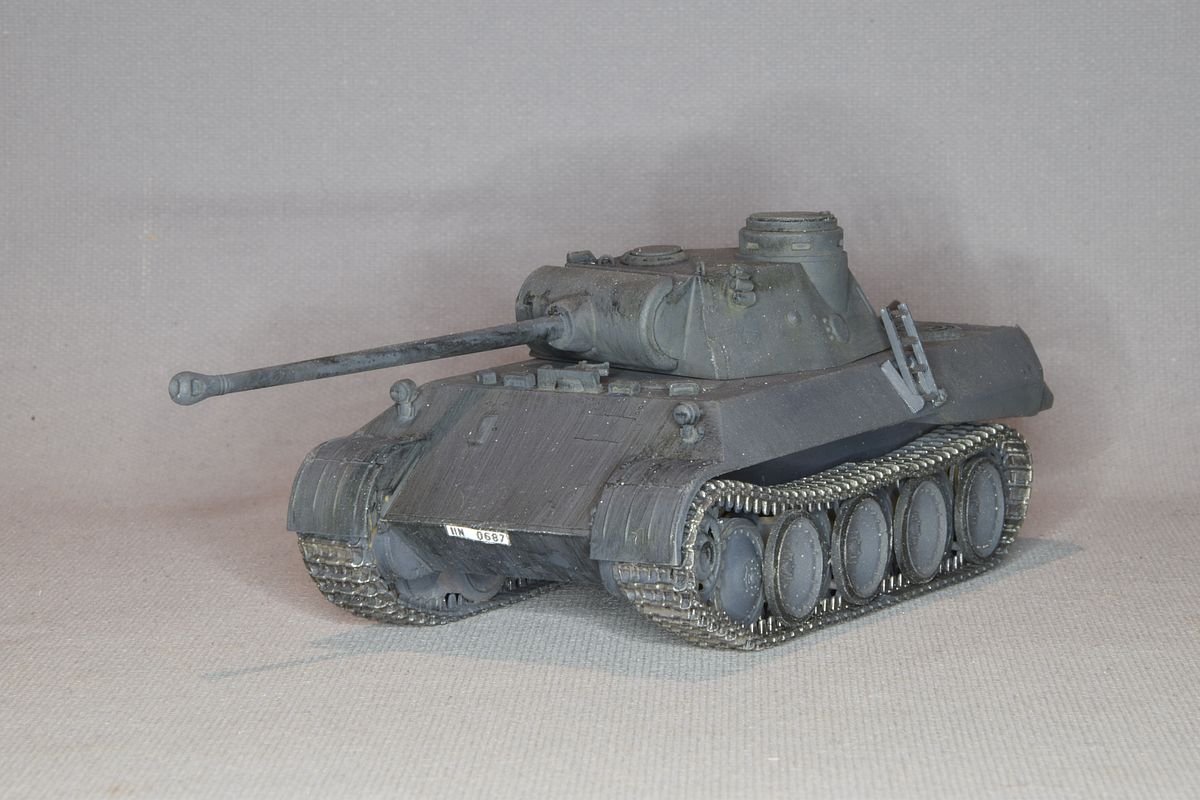
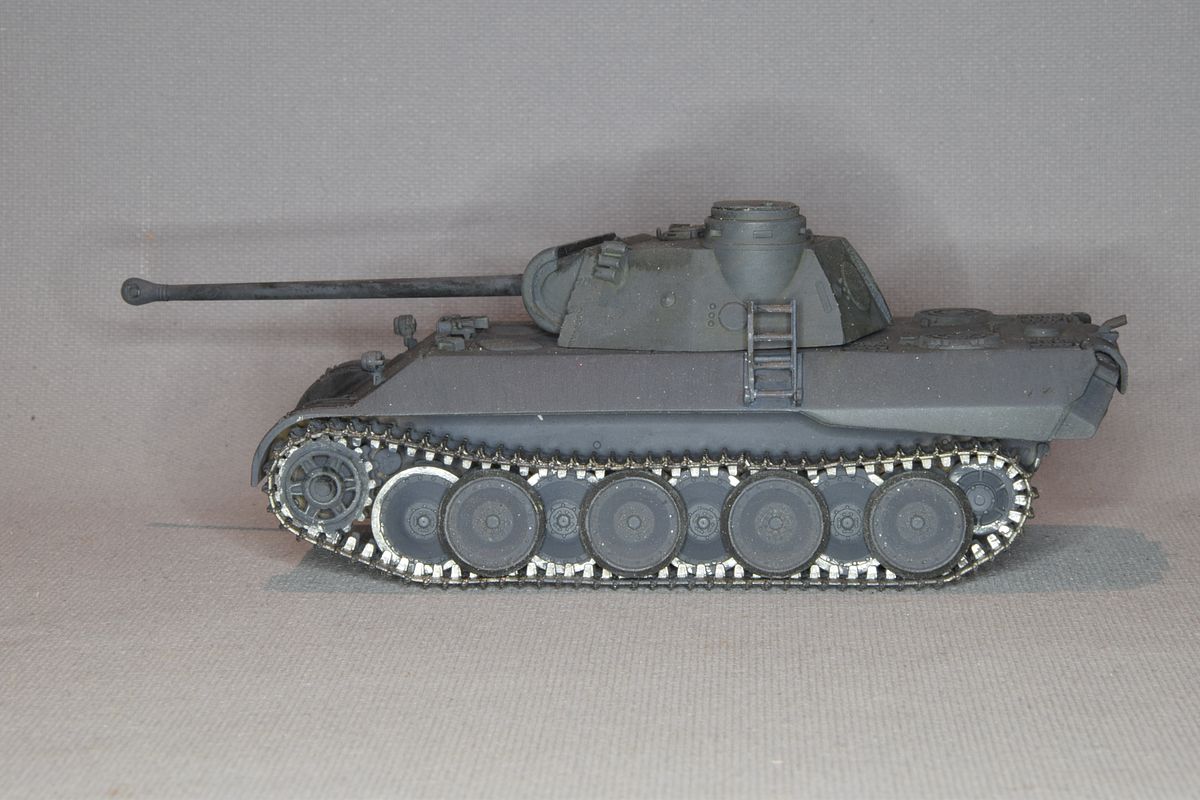
The Revell Panther D. It would have been built out of the box if Revell hadn't missed something on the road wheels. The Panther wheels had 16 bolts initially, but it changed to 24. Revell made their wheels with 20 bolts so I decided to fix that. I also made a binocular sight in the gun mantlet and added vision plugs in the sides of the turret, plus the loading hatch in the left side of the turret
|
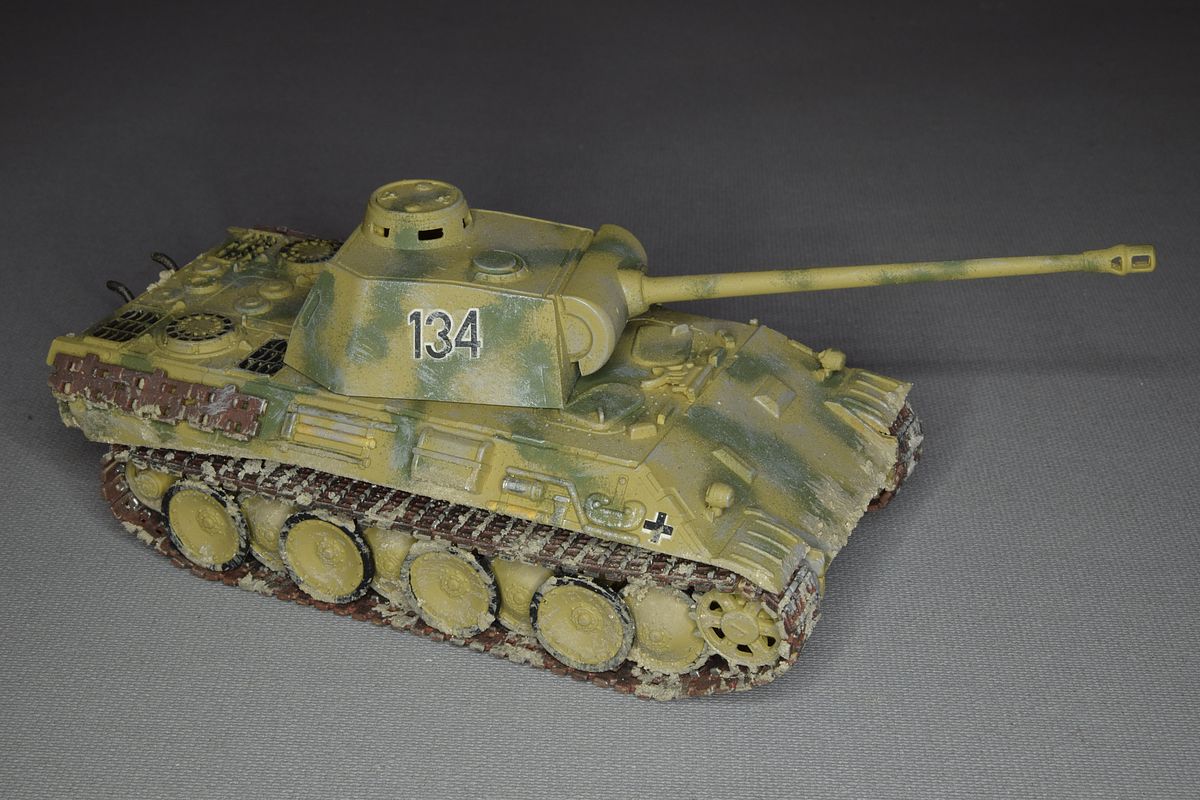
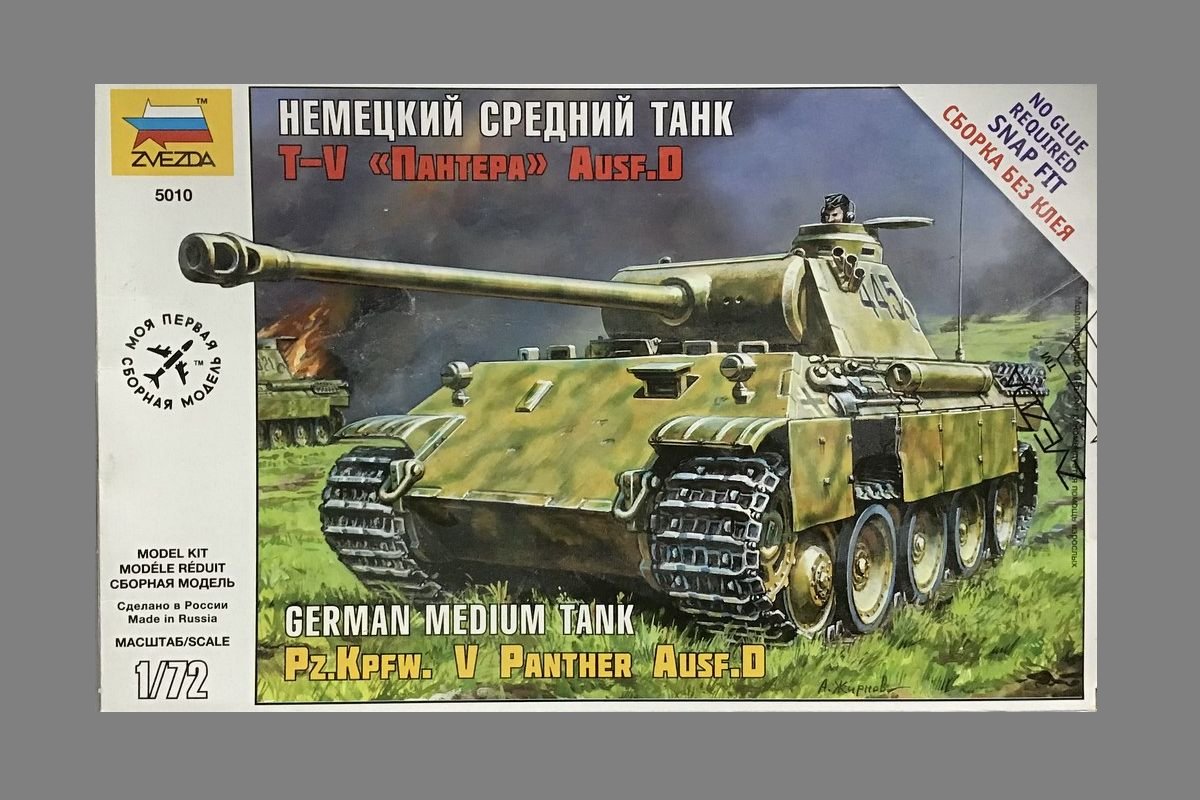
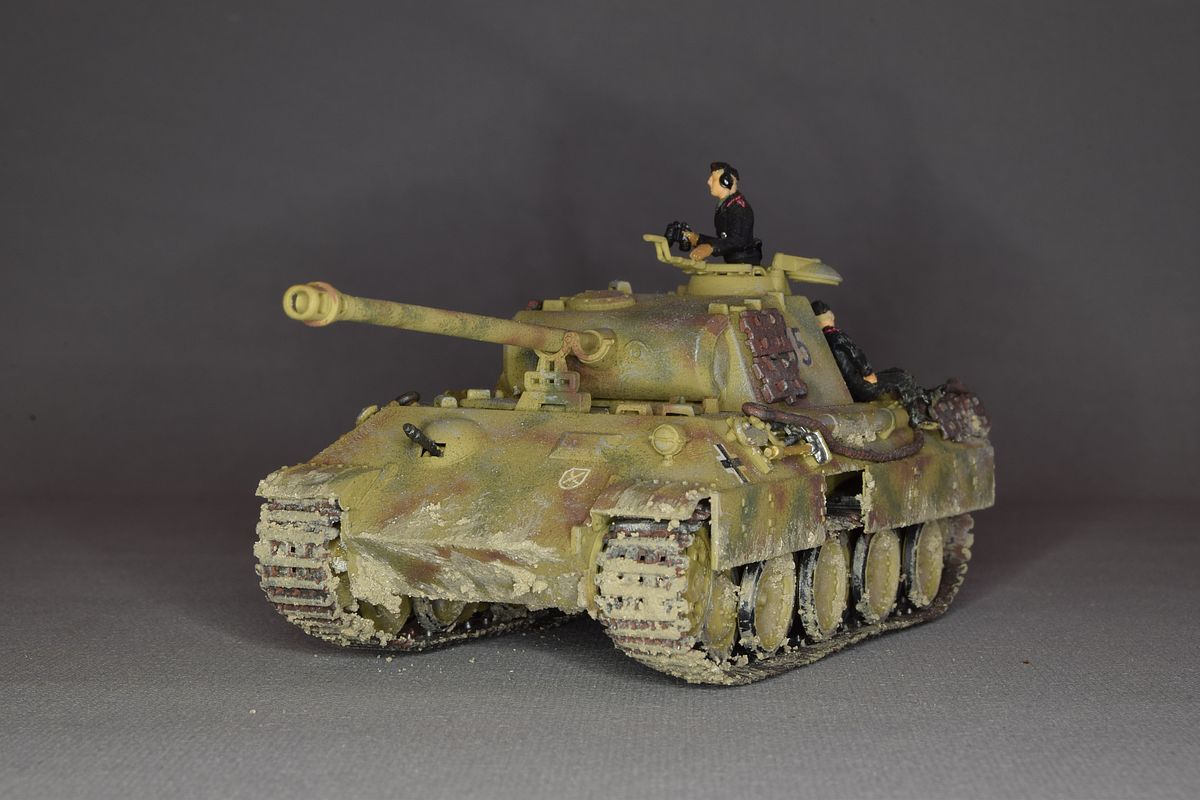
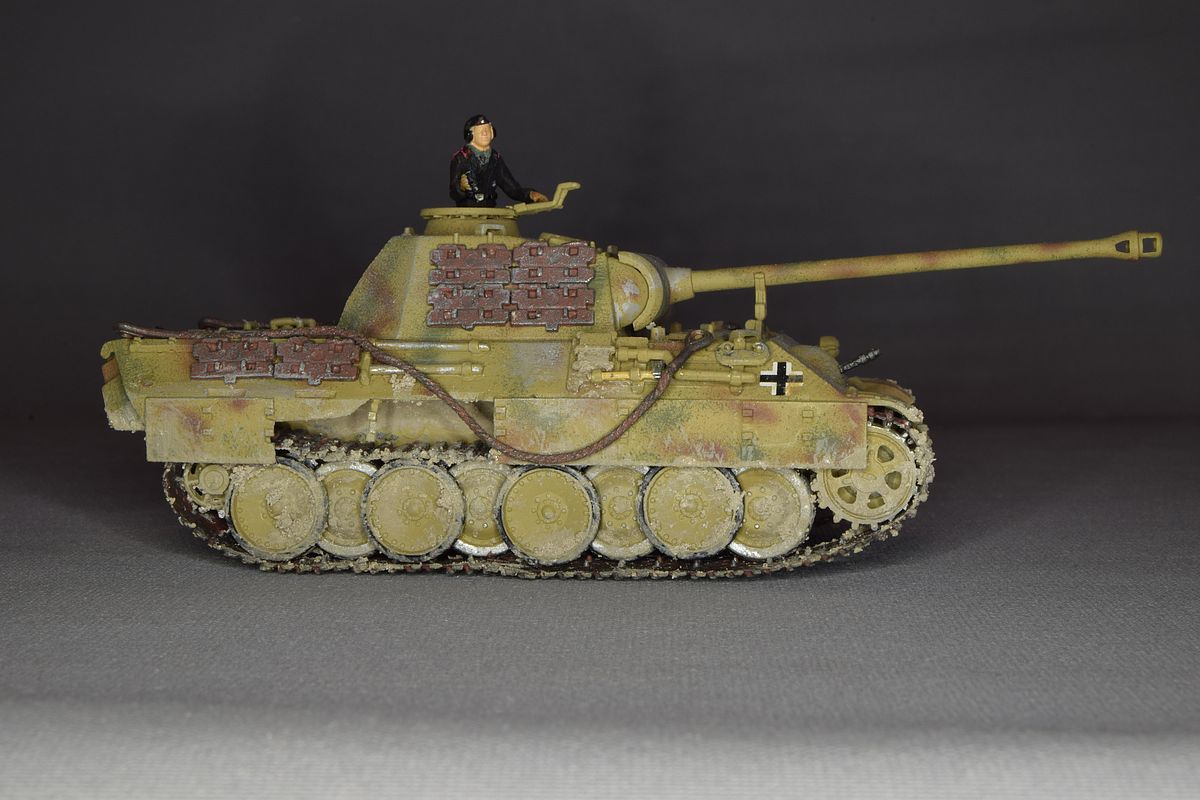
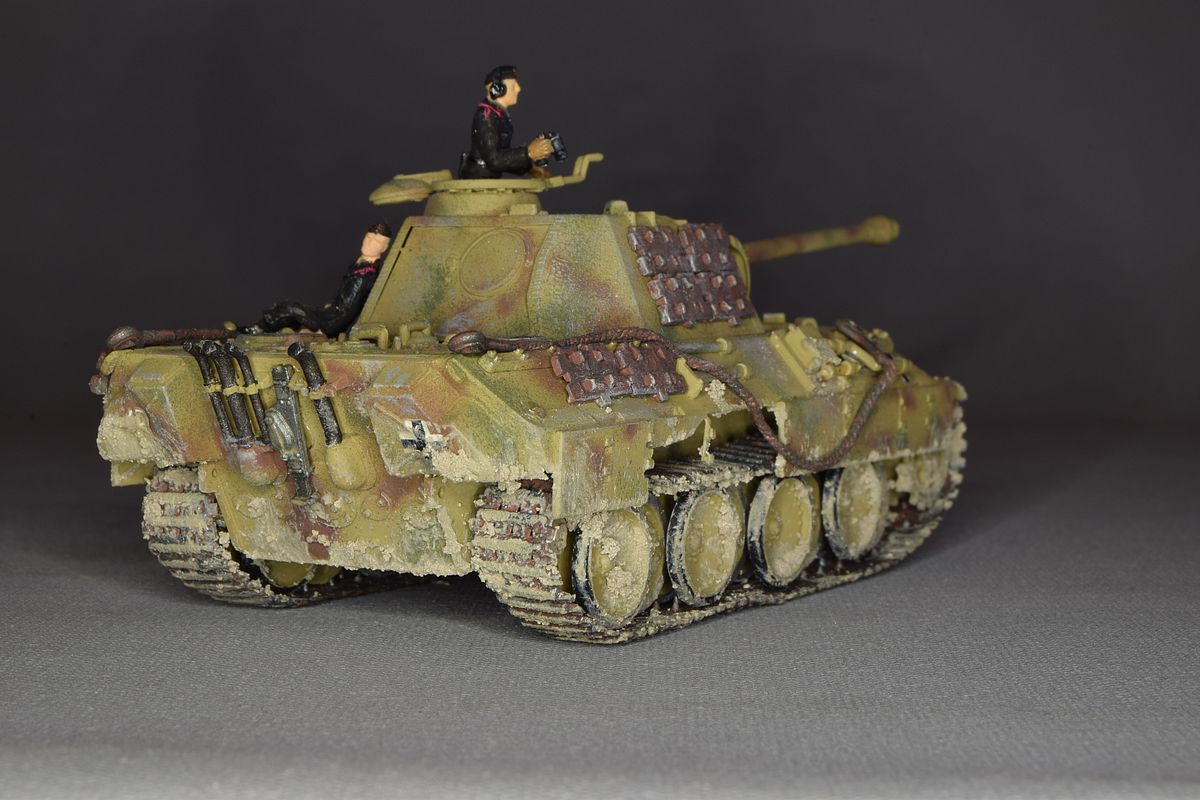
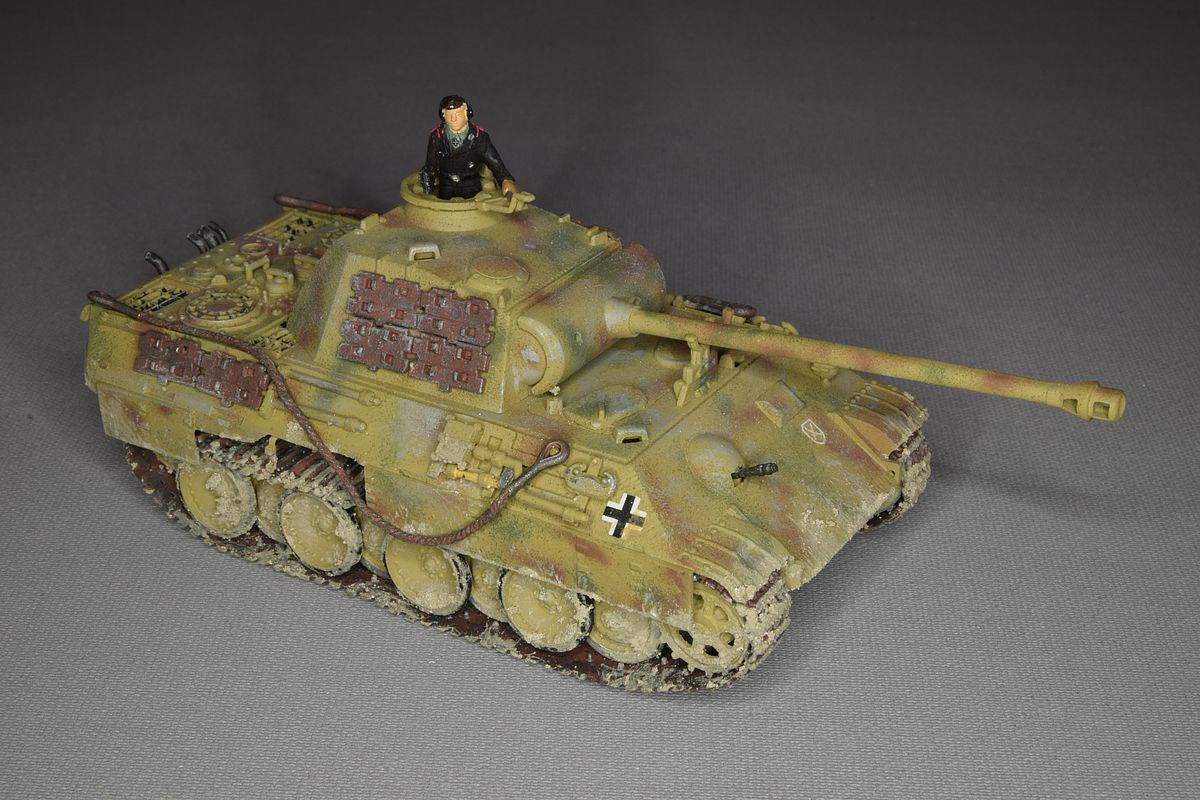
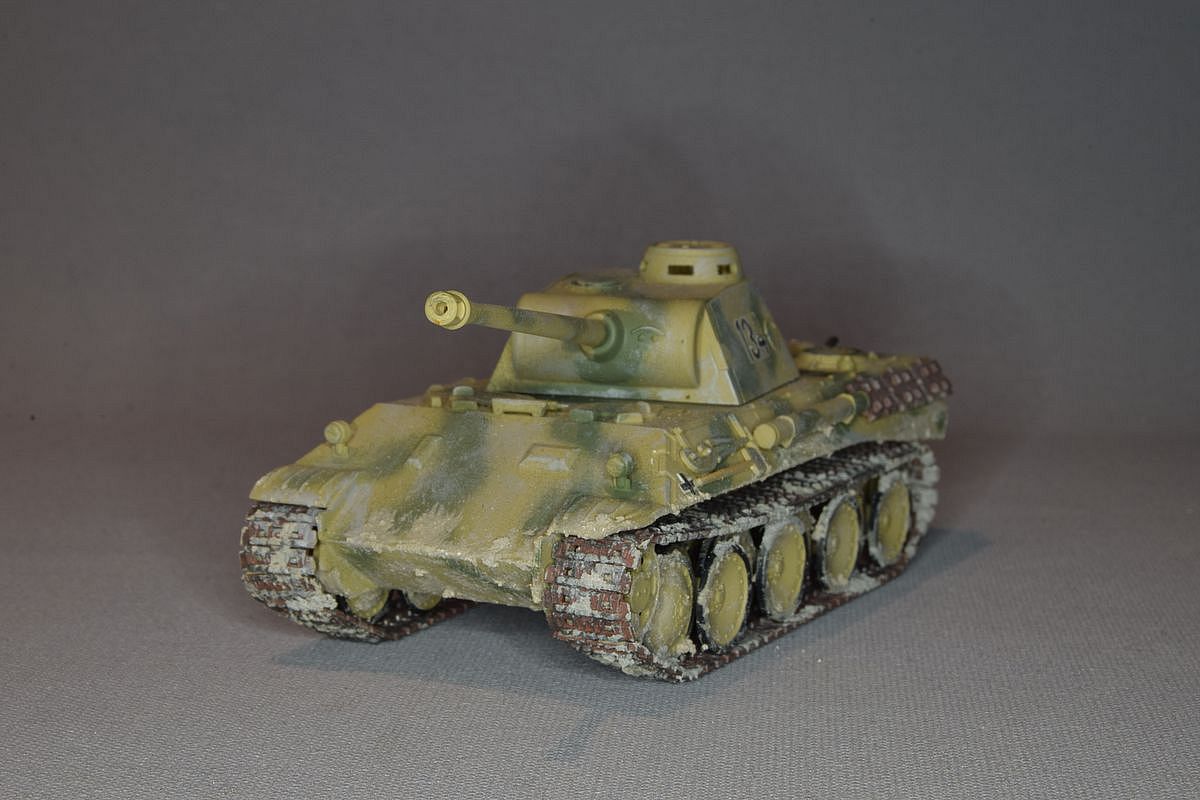
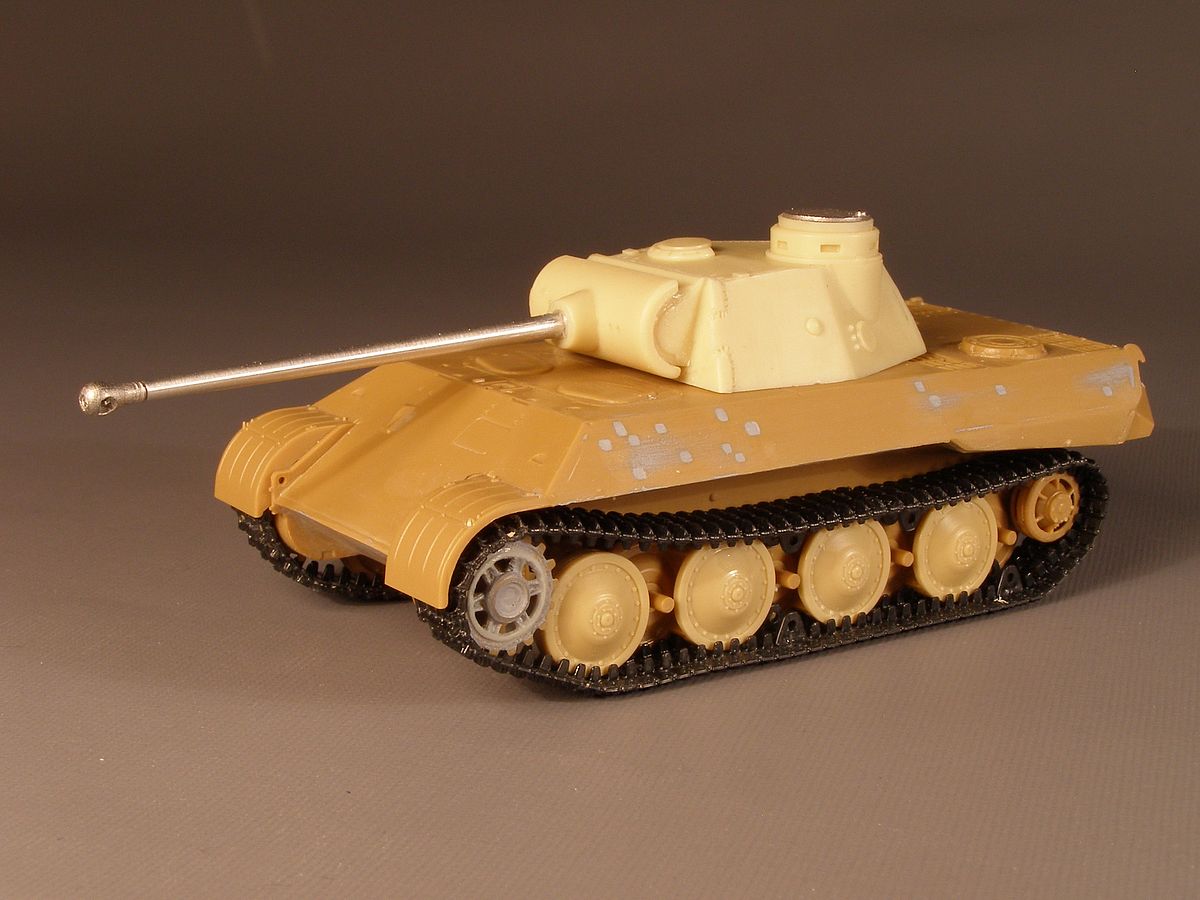
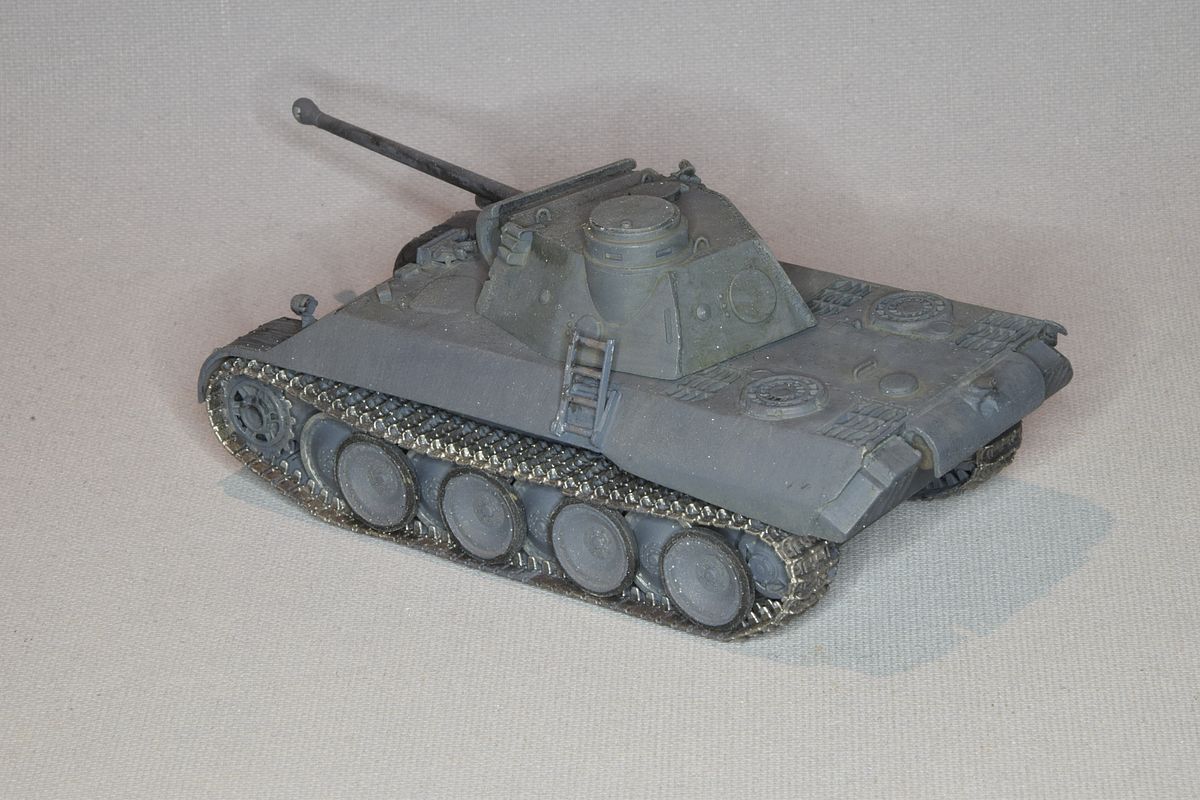
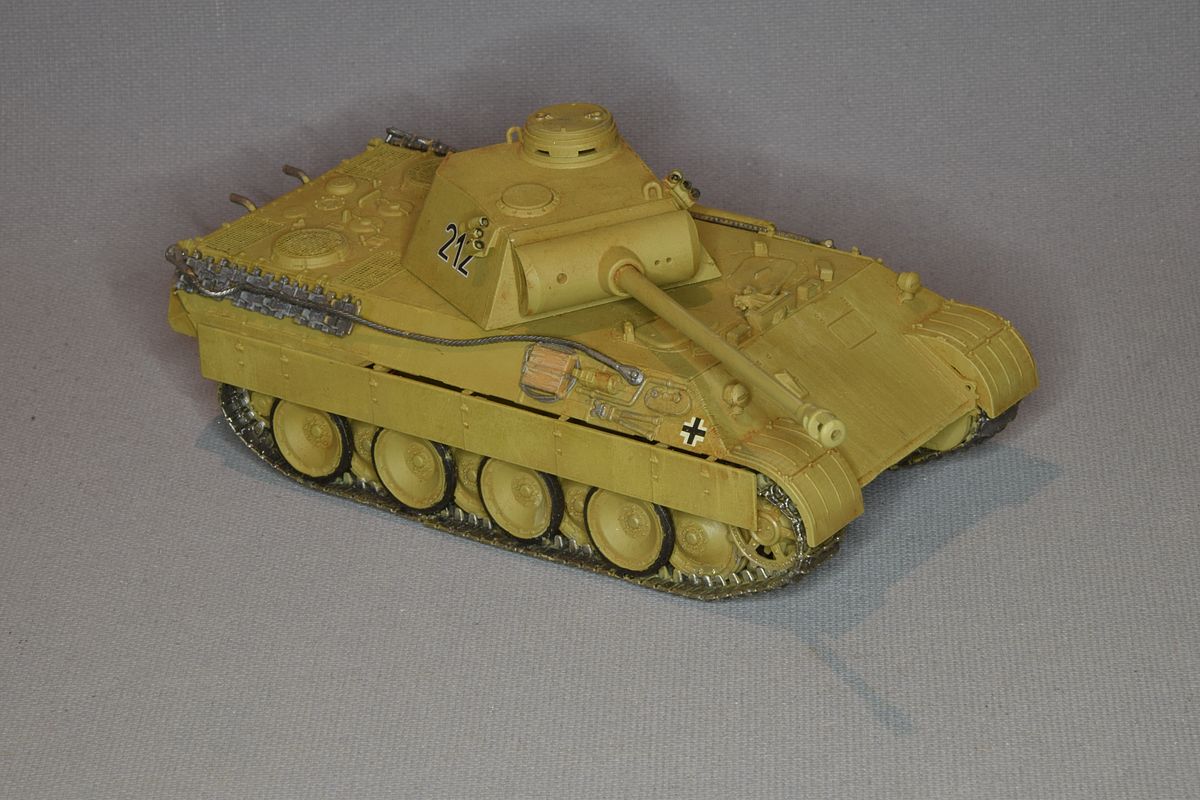
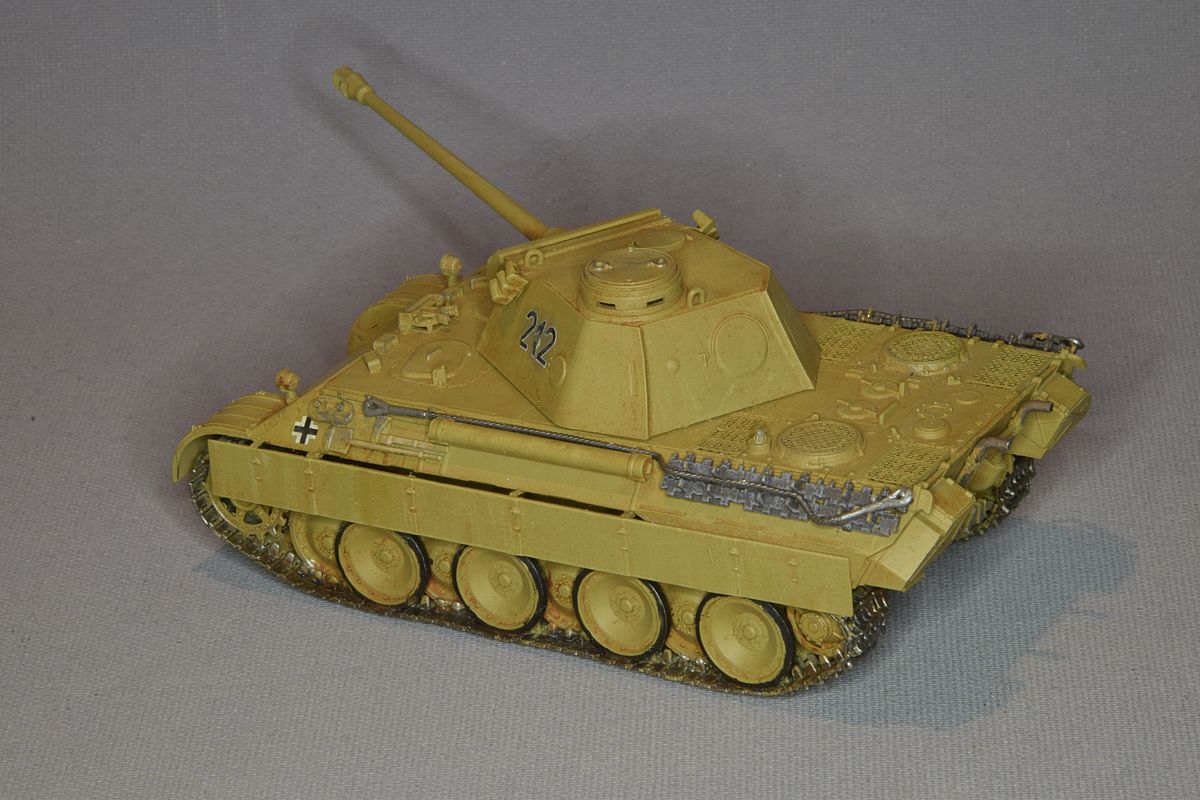
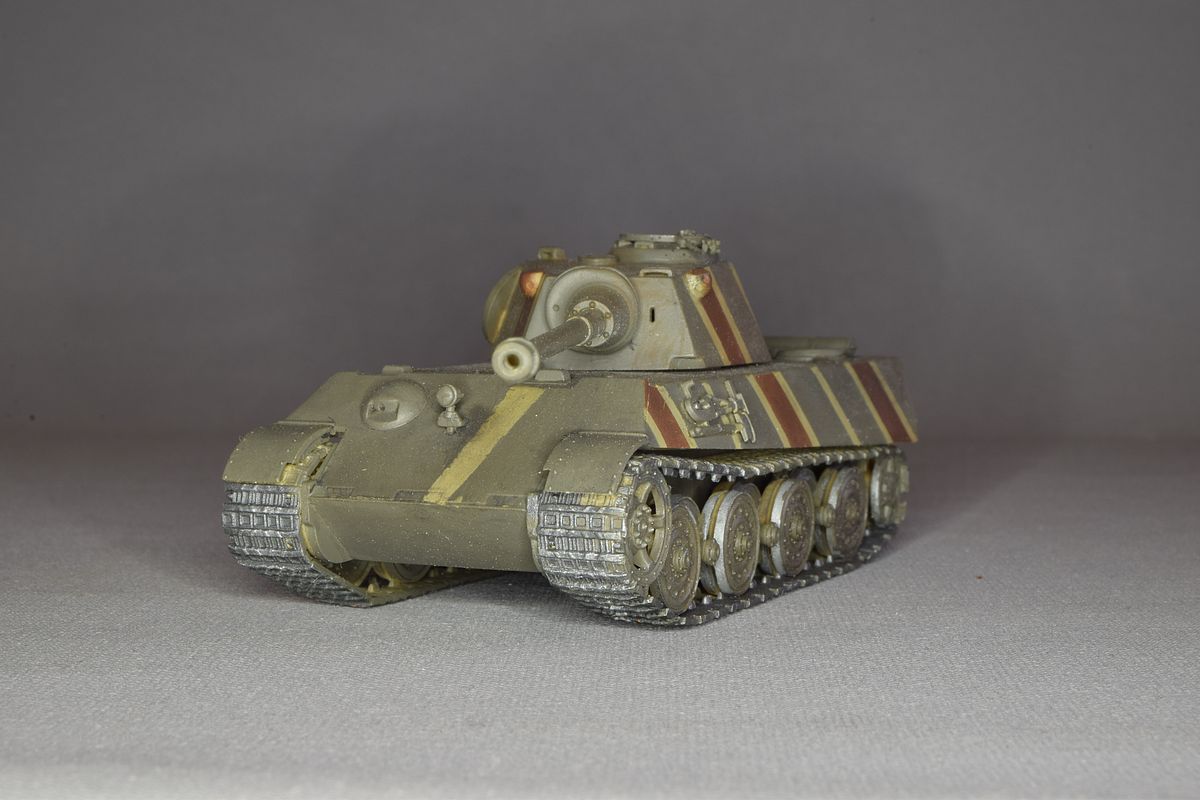
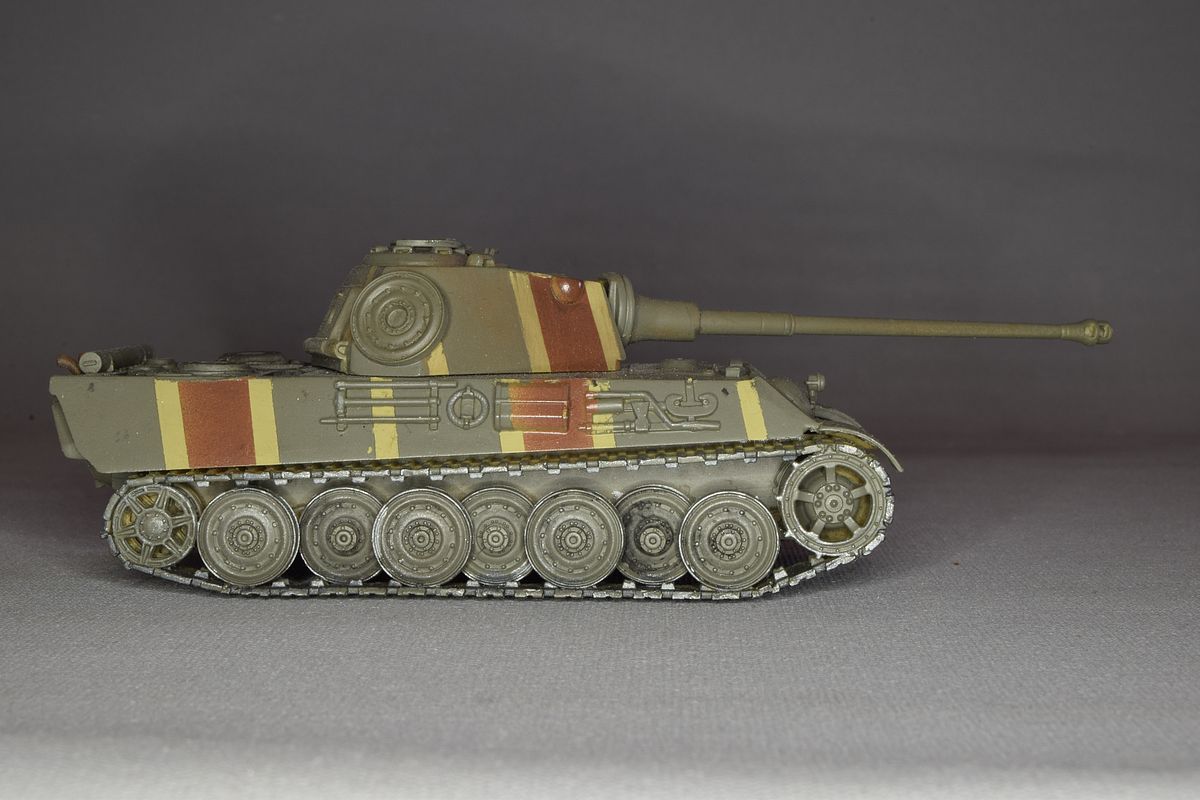
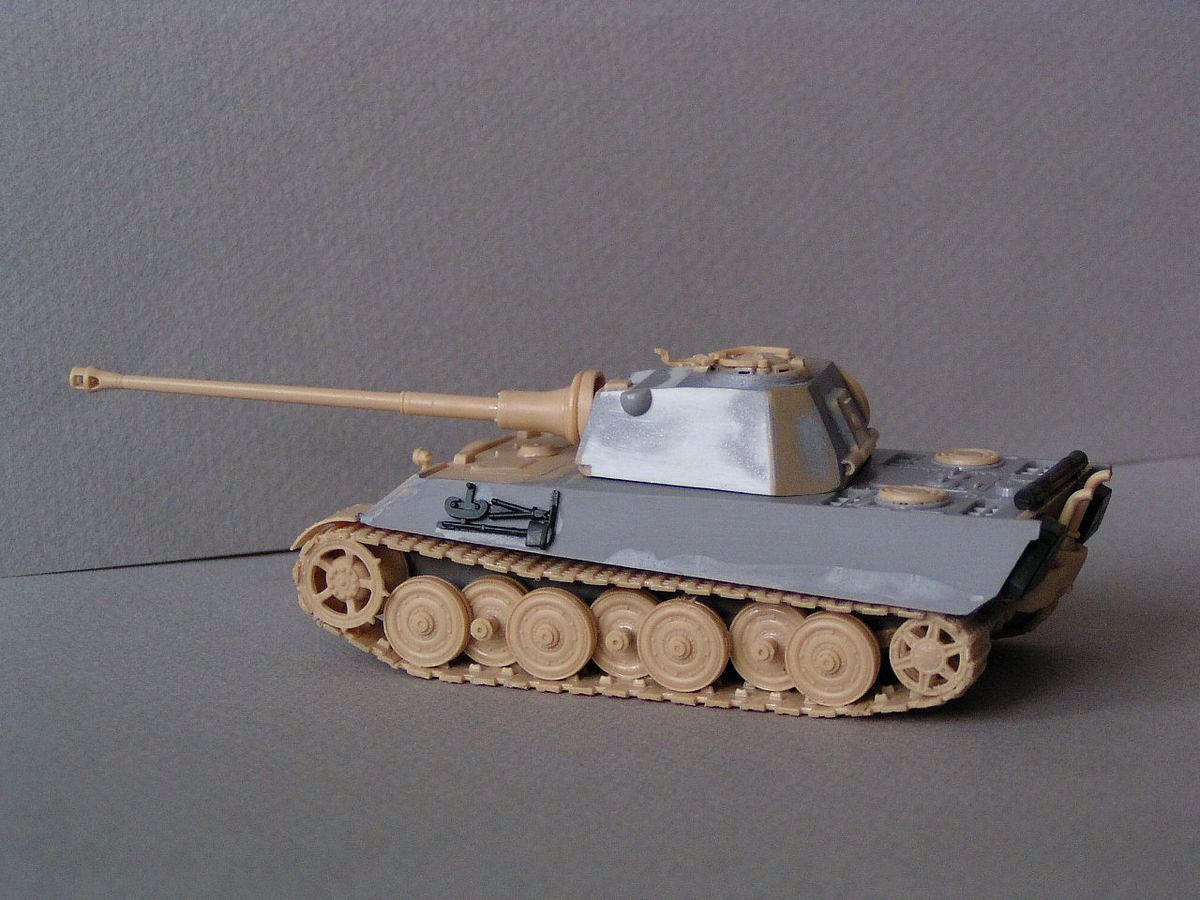
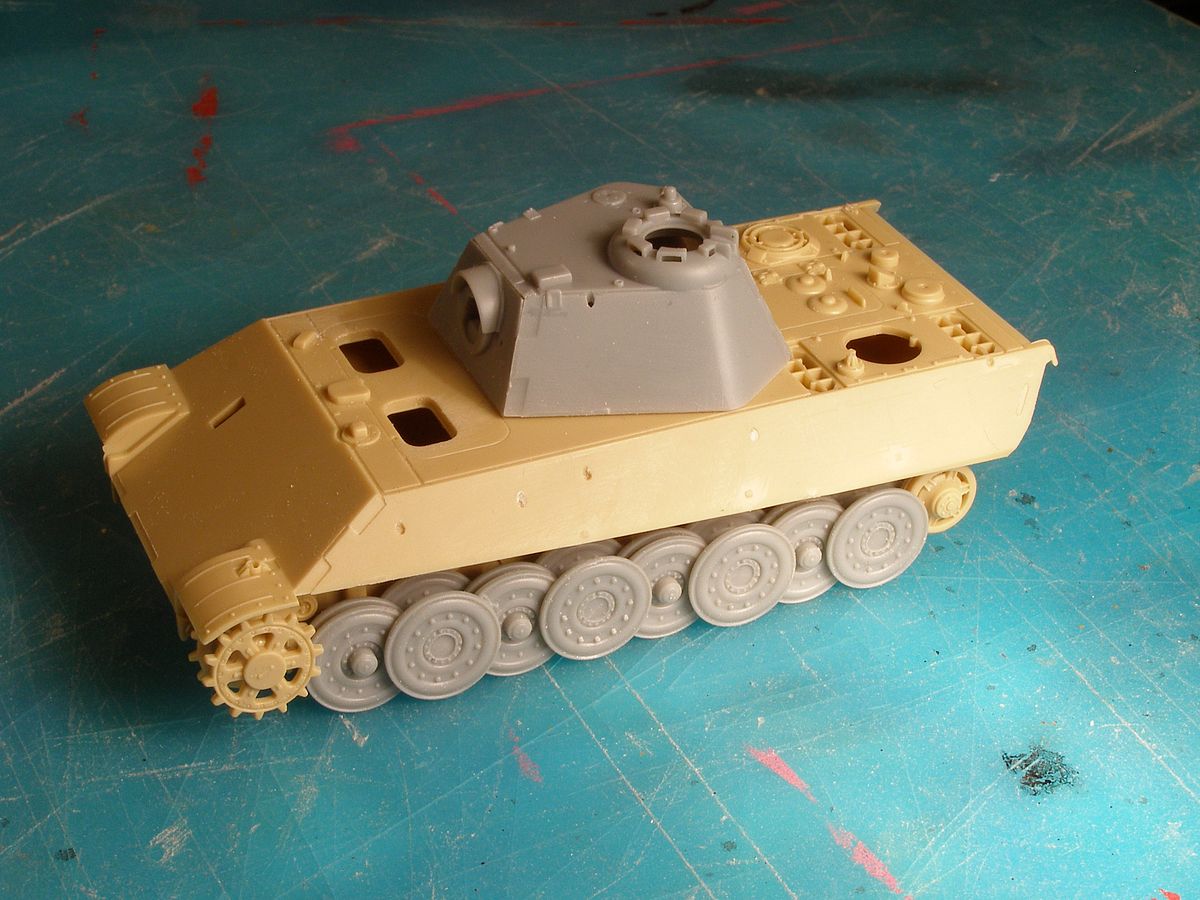
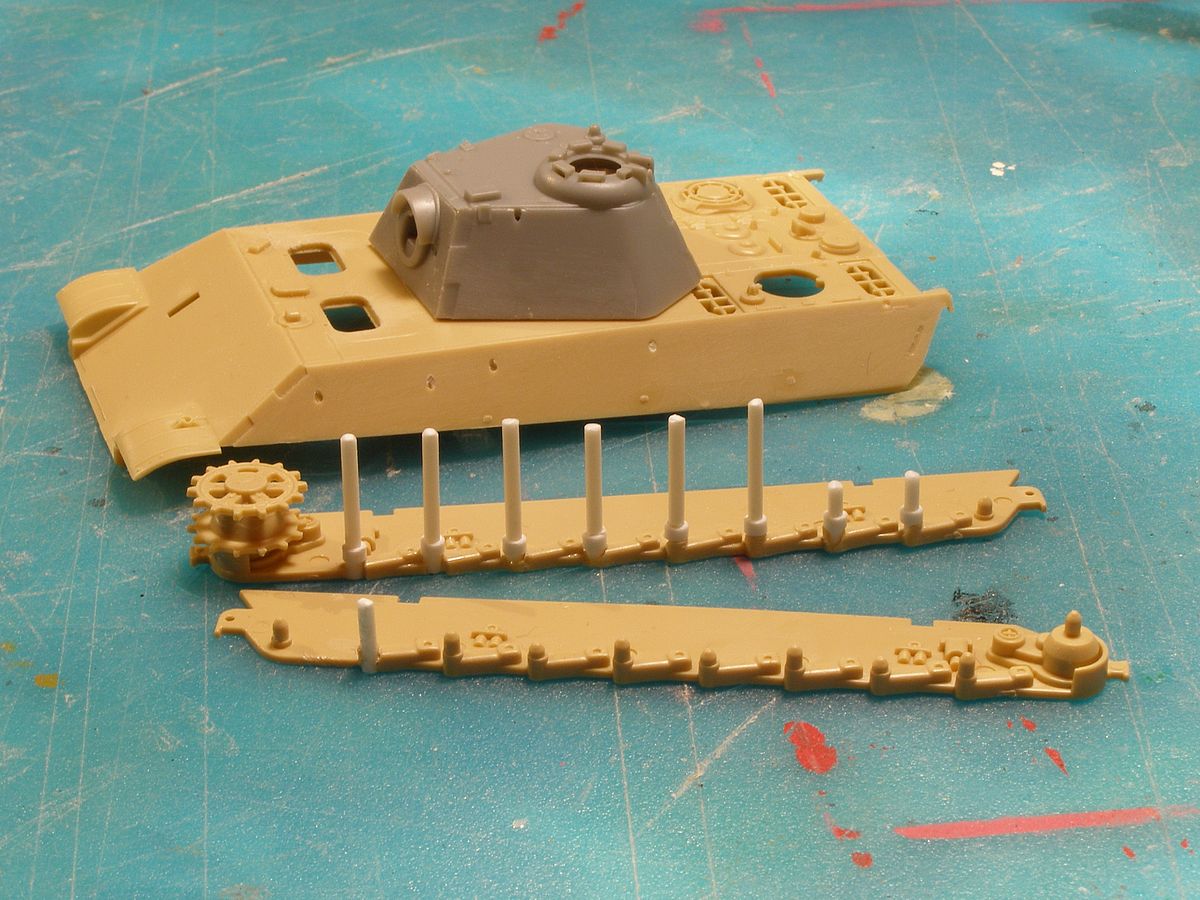
| In 2013 it had been some time since I built any armour but I got curious of the Snap kit Panther D from Zvezda. It looked nice looking at pictures so I started on one almost out of the box just to try it out. |
| (Model finished 2023) |
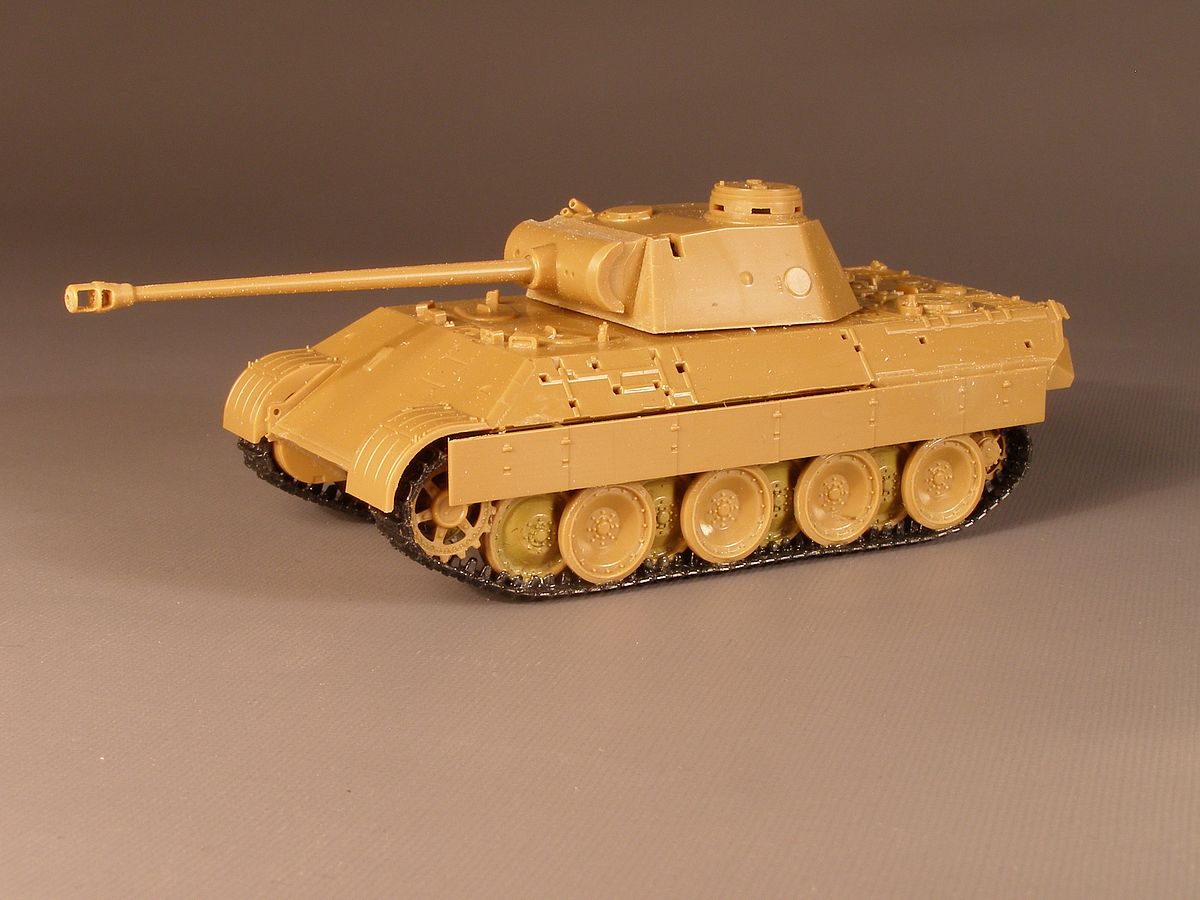
| It is a very fine kit, I don't know how correct it is though. It is important to follow the instructions for the wheels and track because it is easy to get the wheels in the wrong position if one isn't awake. Guess how I know. I found my prototype conversion so I bought another Panther for it. |

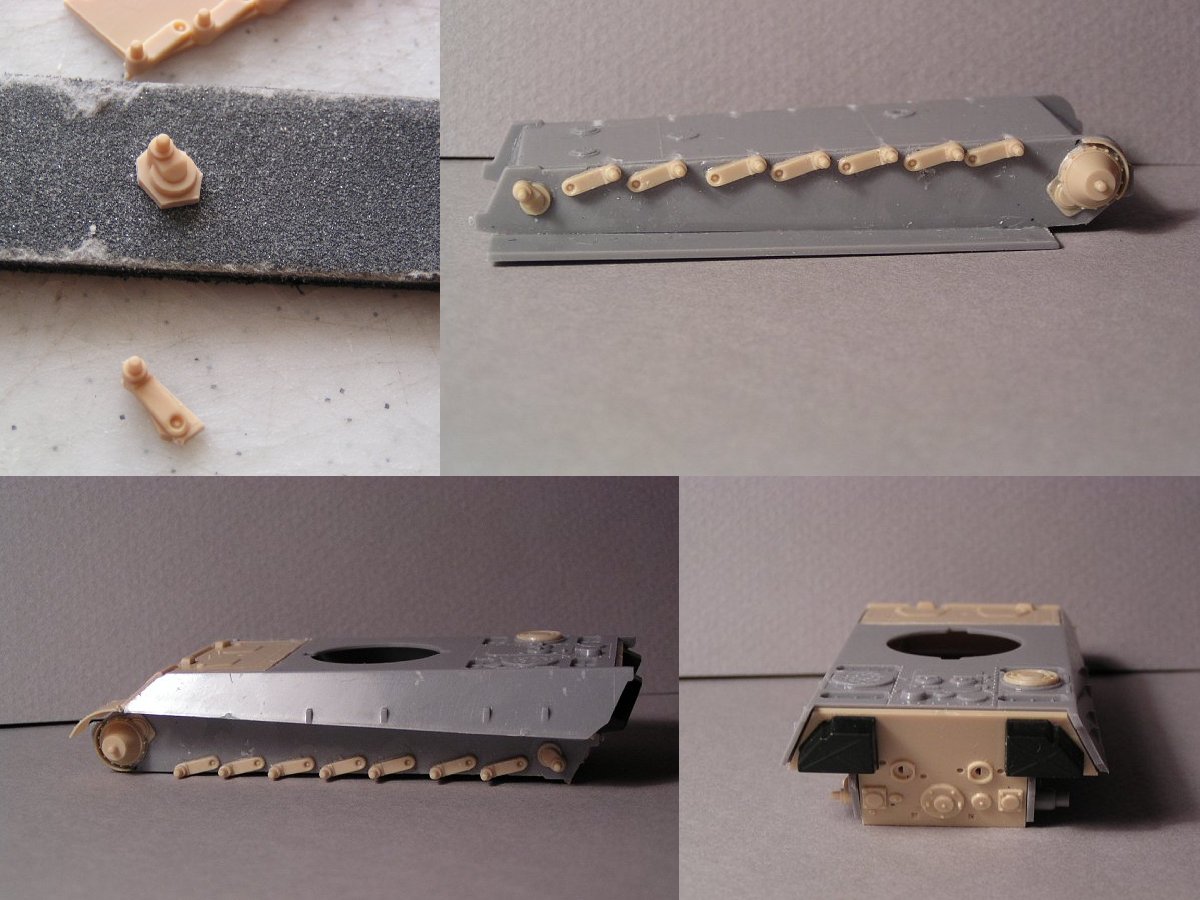
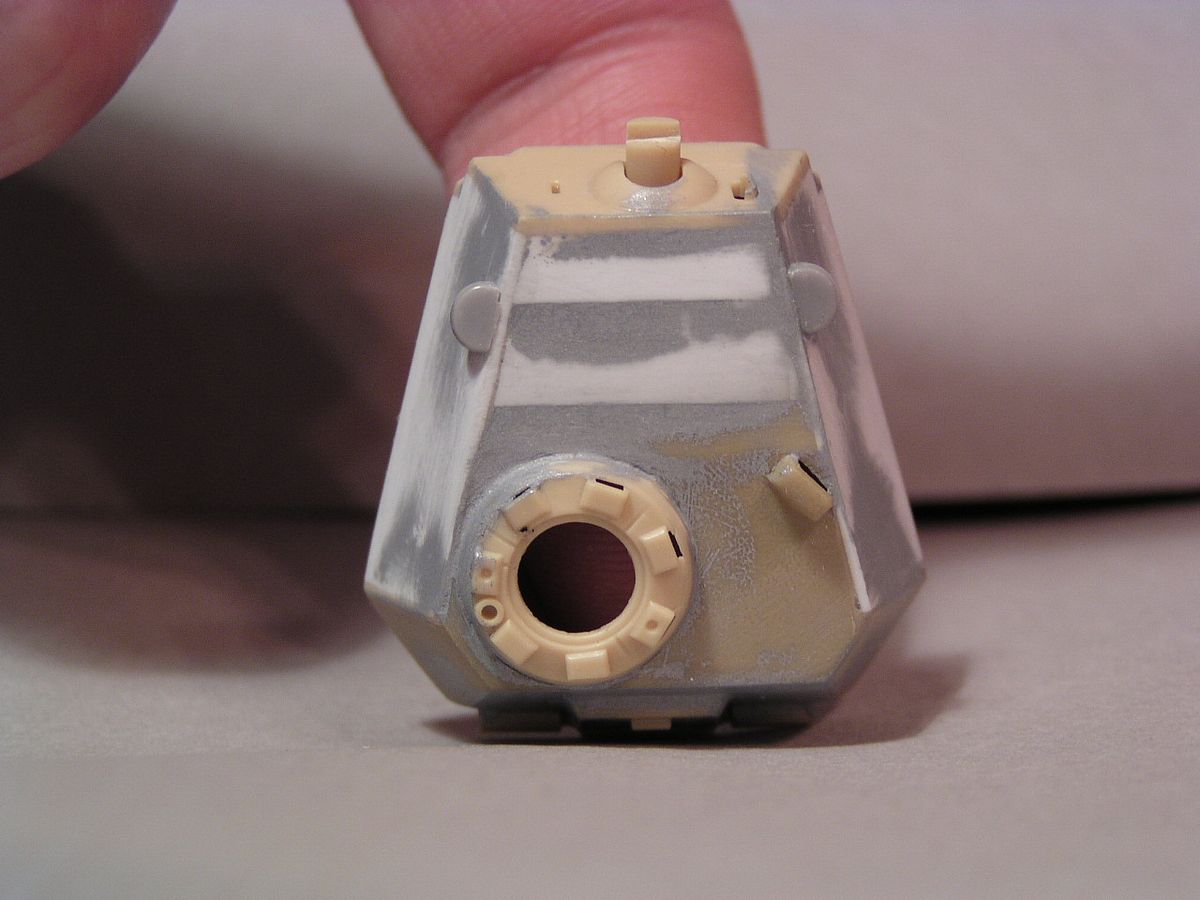
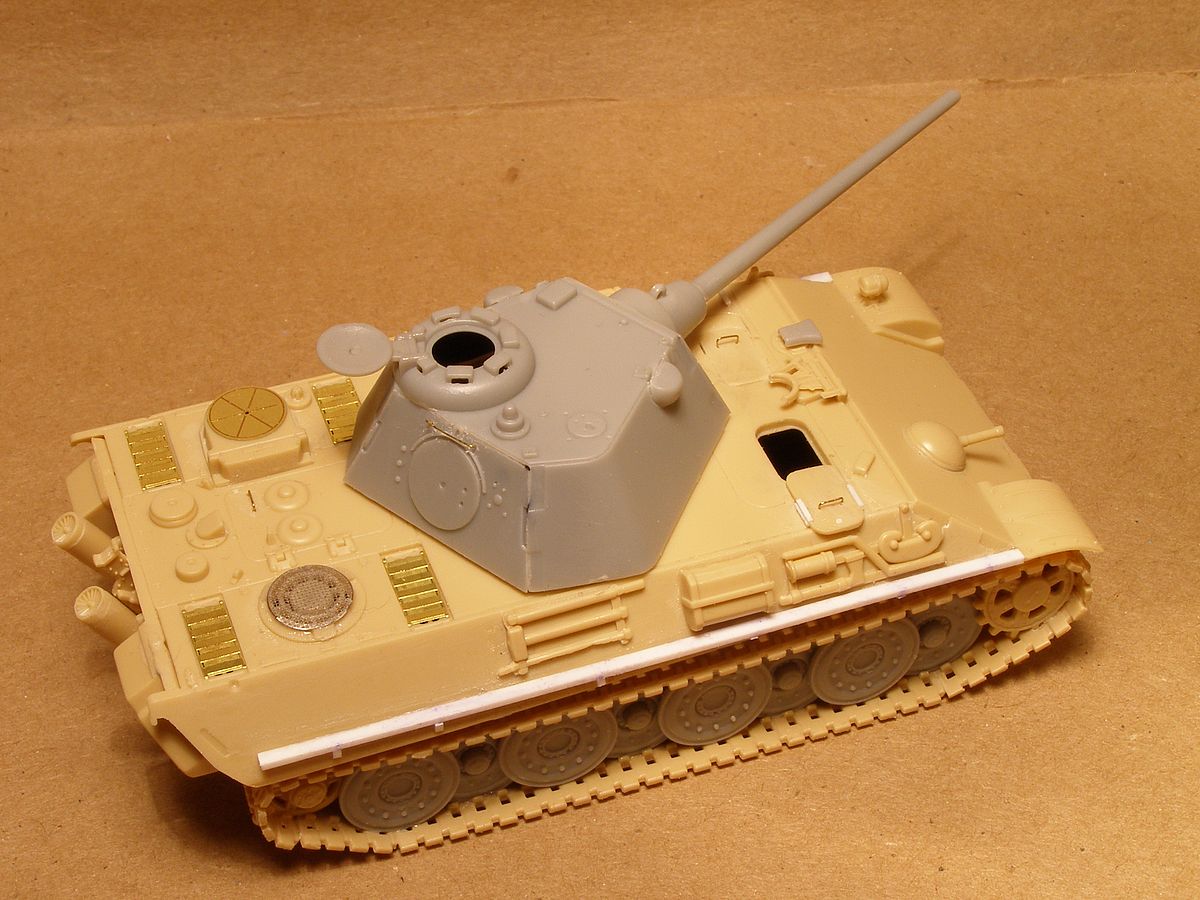
| The conversion is for the Revell kit so the hole for the turret had to be larger. Some carving with the hobby knife fixed this. |
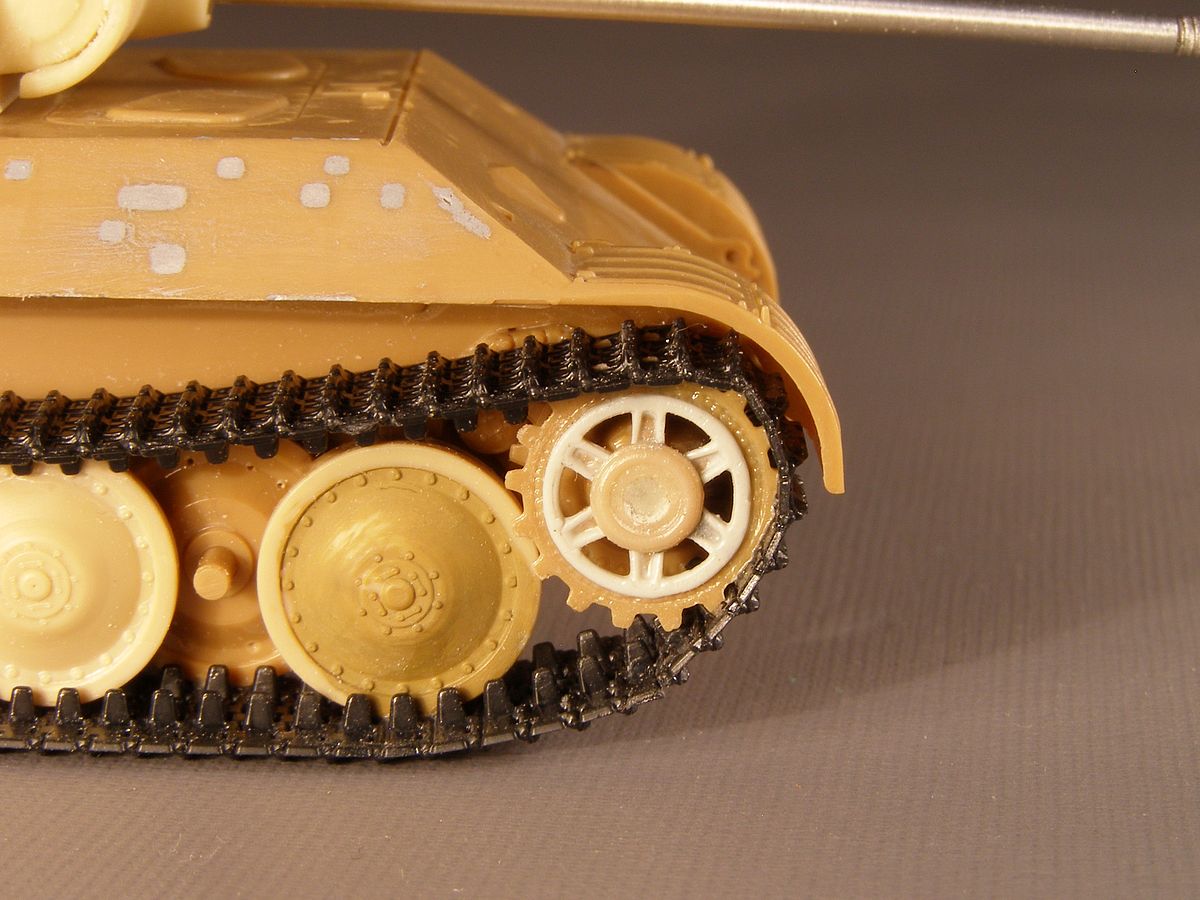
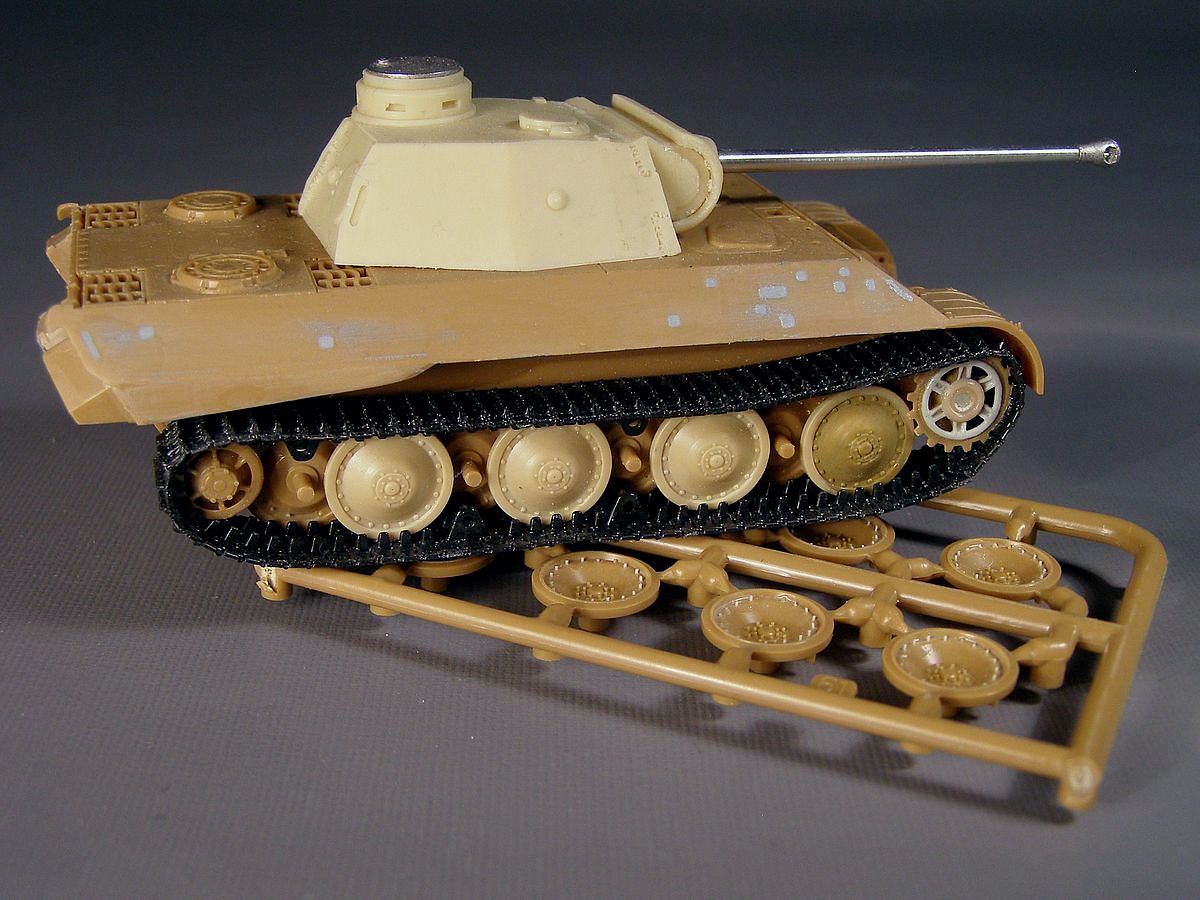
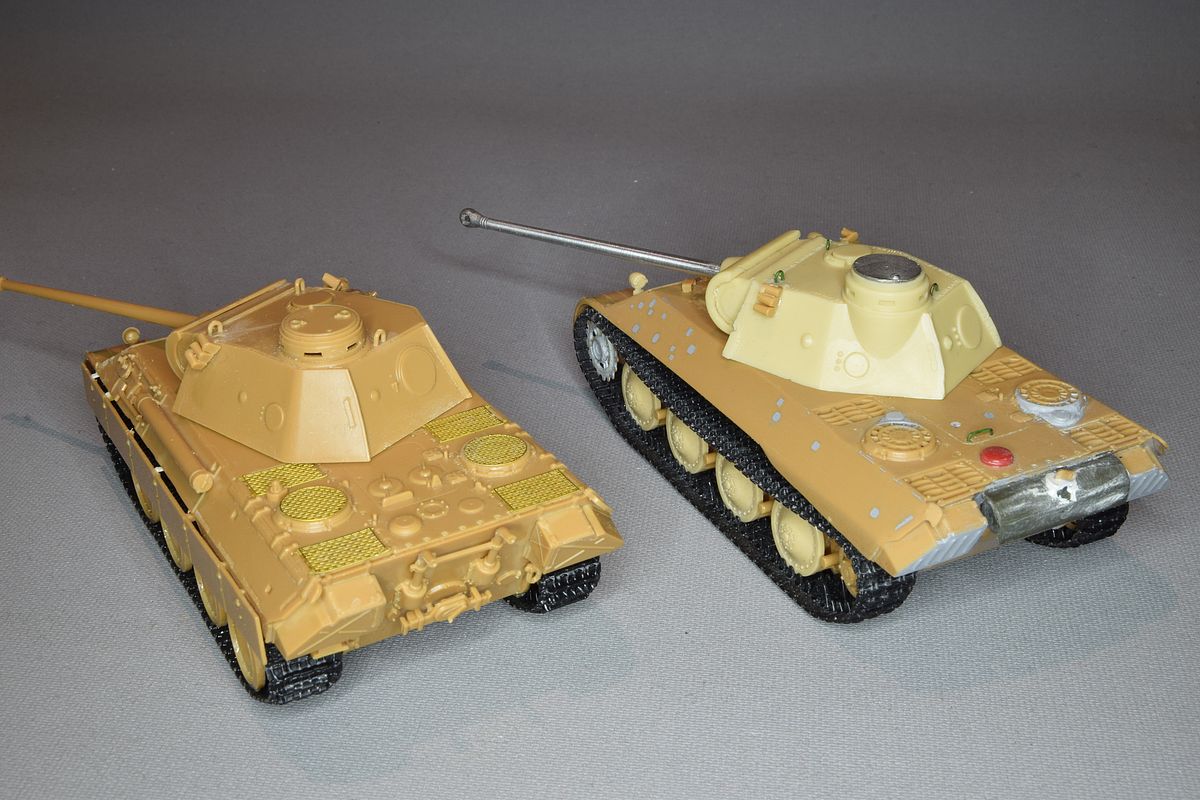
| The correct prototype sprocket wheels was supplied in the conversion kit as well as new idler wheels but I didnt think that the Zvezda tracks would fit the sprocket and there would also be some work needed to get the new sprocket wheels to fit so I choose another solution. |
| In took the Zvezda sprocket wheels and sanded them flat at the front. Then I took some Matchbox sprocket wheels and removed the "teeth" from them. I sanded the back of them so they got much thinner an glued them to the Zvezda part. Then I cut the centre part of some Esci StuG III sprocket wheels. After thinning them down as well they were added to the Zvezda/Matchbox sprocket wheels. Not entirely correct but the tracks fits. |
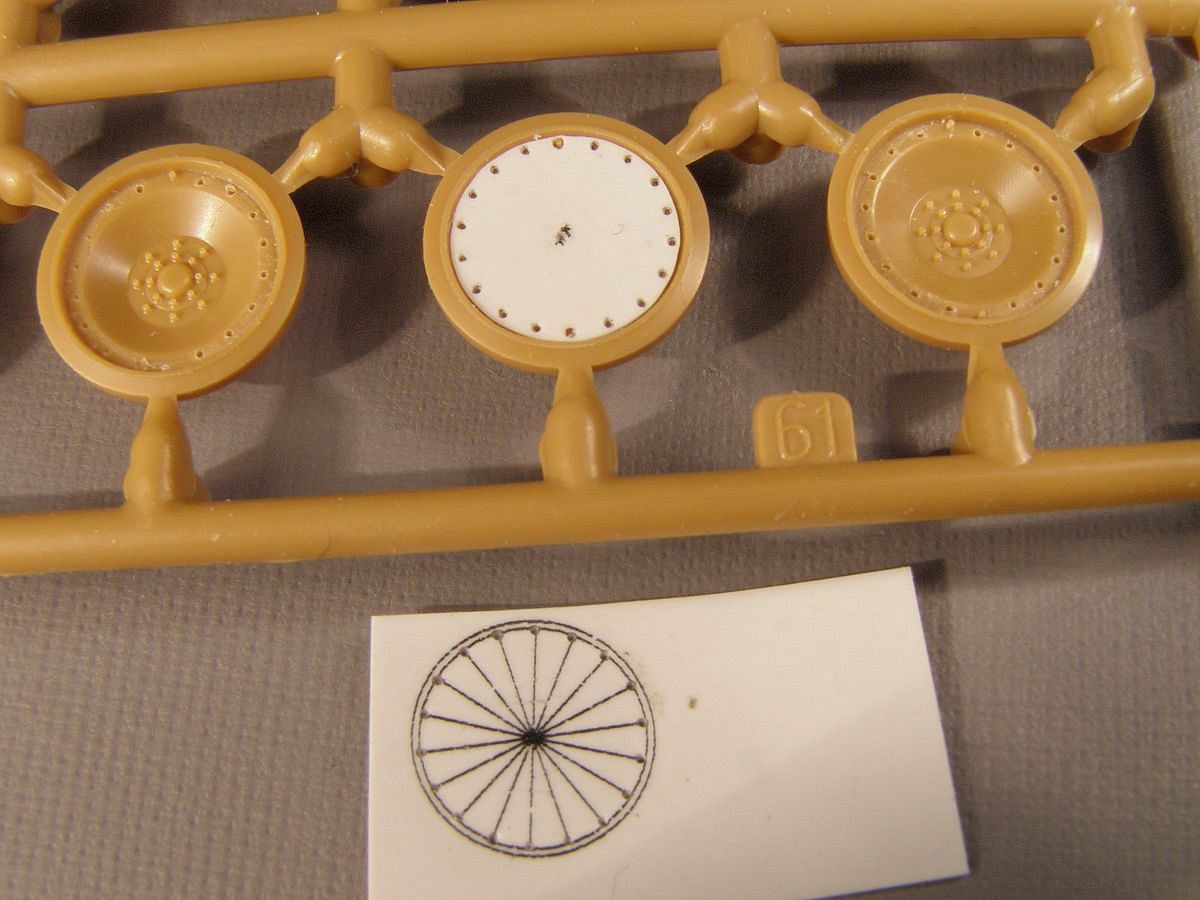
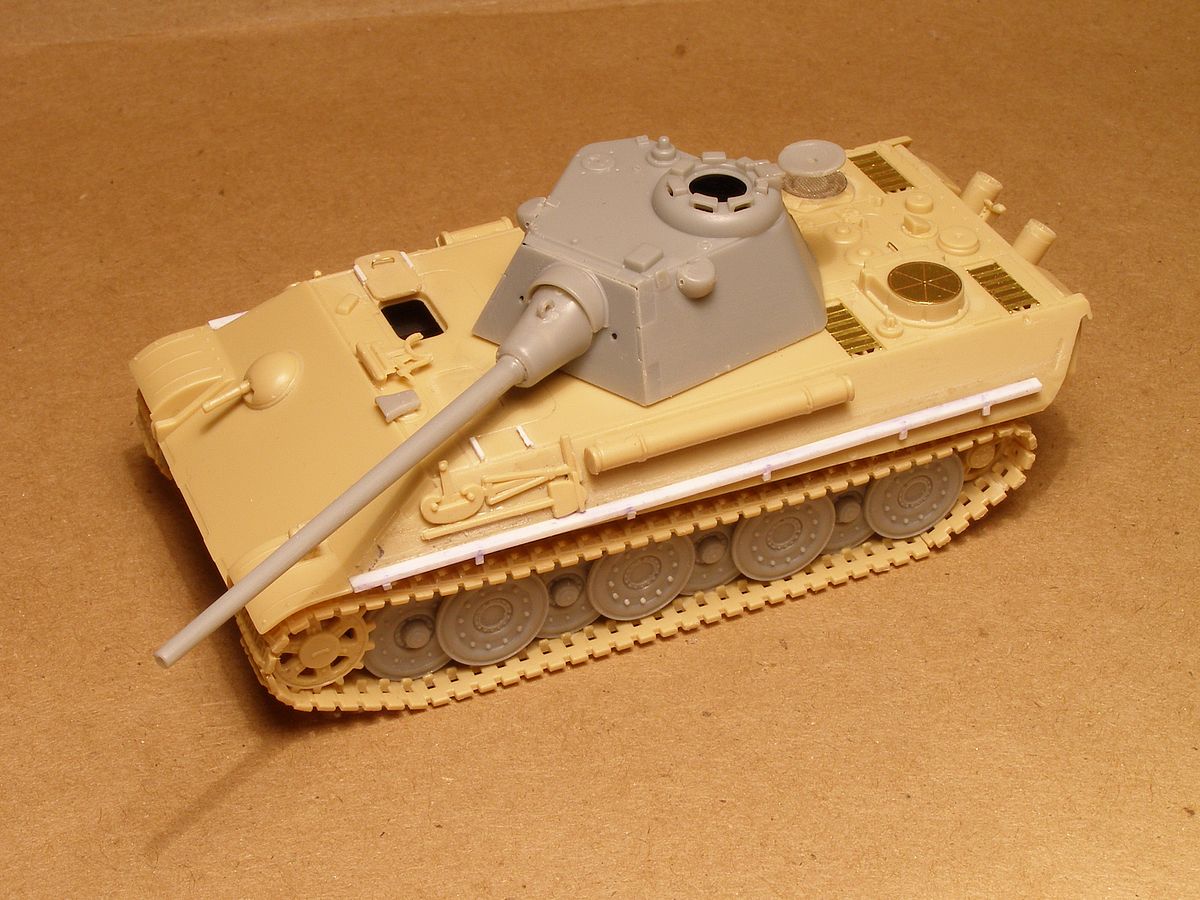
| Looking at pictures of the prototype I noticed that the road wheels differed from the production vehichles. The Zvezda kit has the correct 14 bolt wheels of an early D-Panther while the prototype had 18 bolts. So what to do? Forget about it and use the kit wheels? No one would notice. Perhaps use the wheels from the Revell Panther D? They are 20 bolt wheels, incorrect for every Panther I know of but it would give different wheels from the production vehicles but still wrong. Well since I am a fool/stupid/crazy or stubborn (take your pick) I decided to try another way. I removed all bolts except two, drew an template for the new bolts in the computer. The two bolts saved could now steer the template while making depressions for the bolts with an needle. Then I could drill holes and make new bolts from 0,3 mm plastic rods. But then I got lazy and decided to use the Revell wheels for the second, inner layer of wheels as only part of them will be seen. I like this kit so I am thinking of getting a third kit and build it as one of the first produced vehicles. |
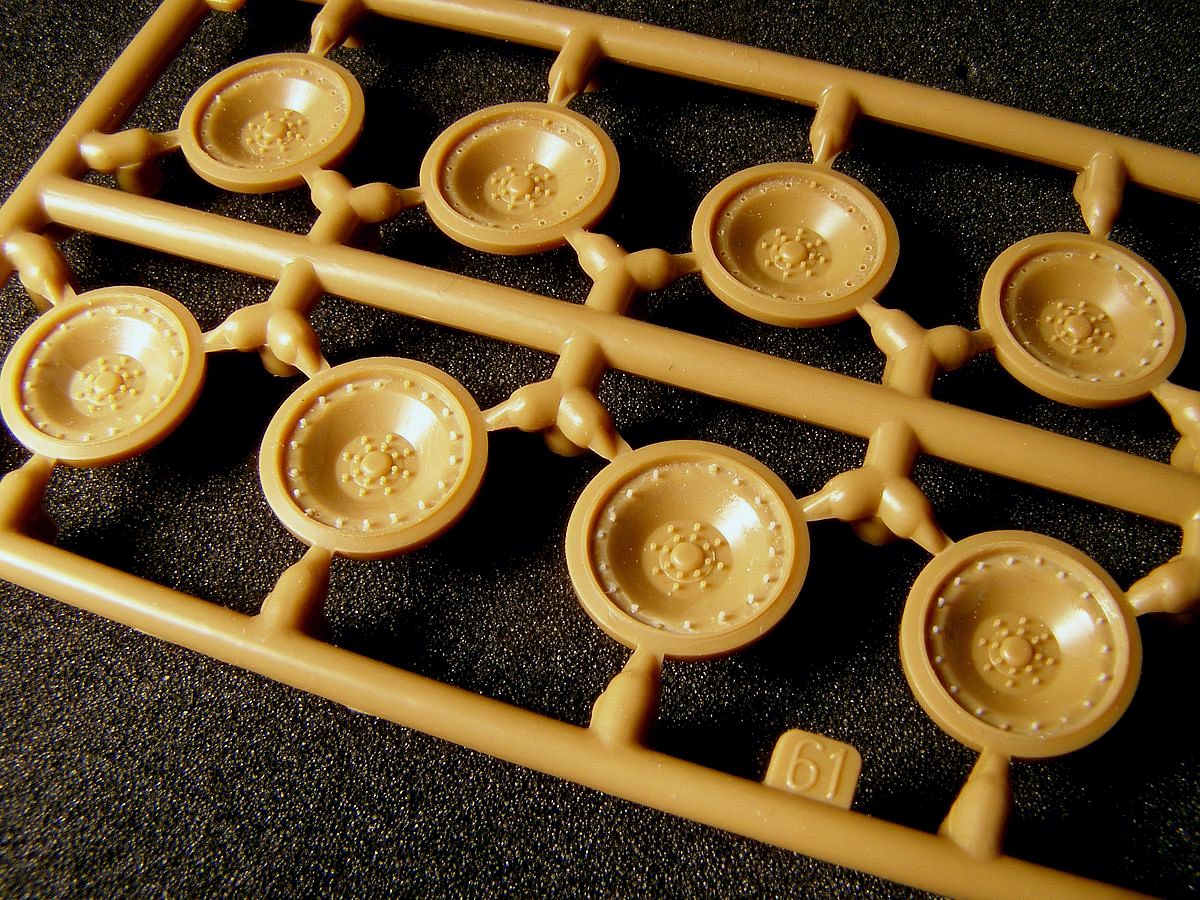
| Forward two month and the wheels for the Panther prototype are getting close to finish. Only three more wheels to do ?? IPMS Stockholm has meetings twice a month when we build and this boring work is perfect for those occasions. Madness? Absolutely |
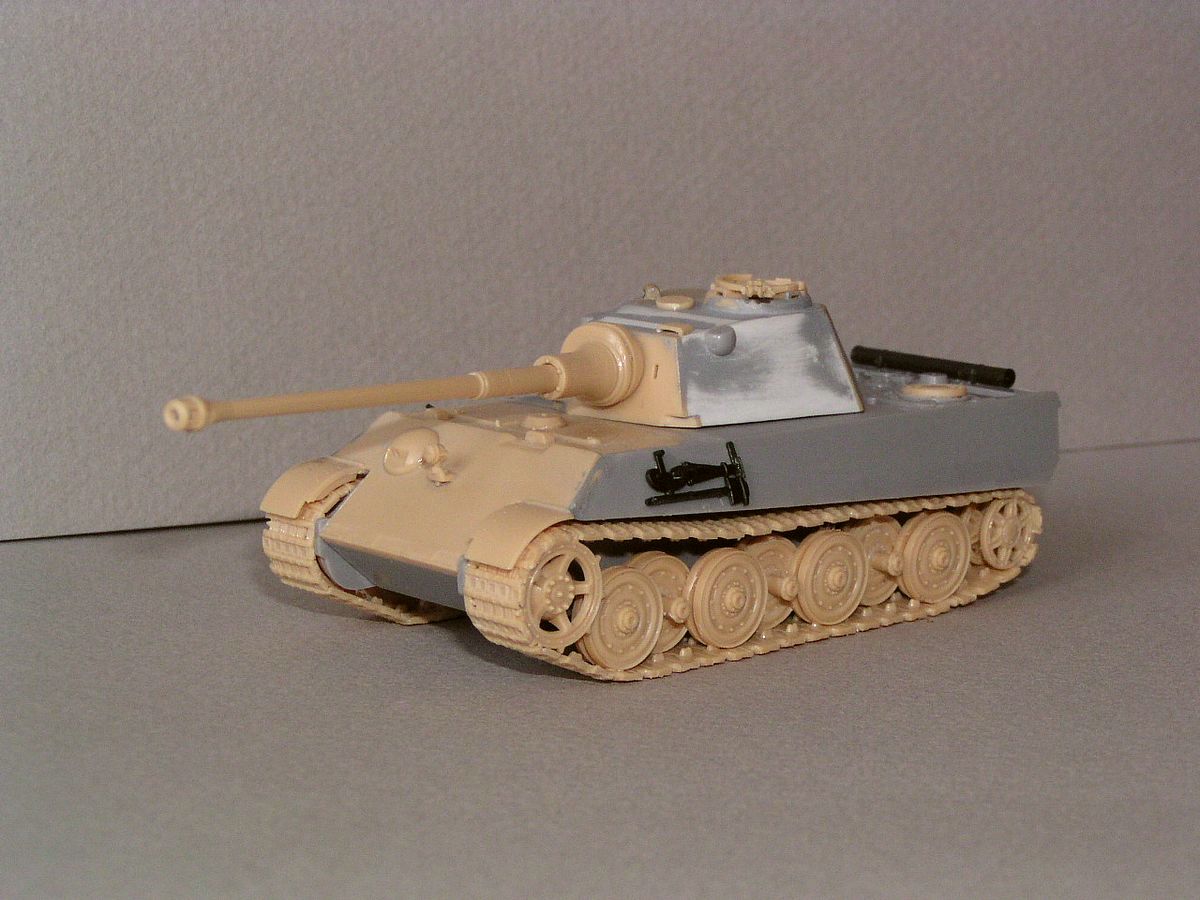
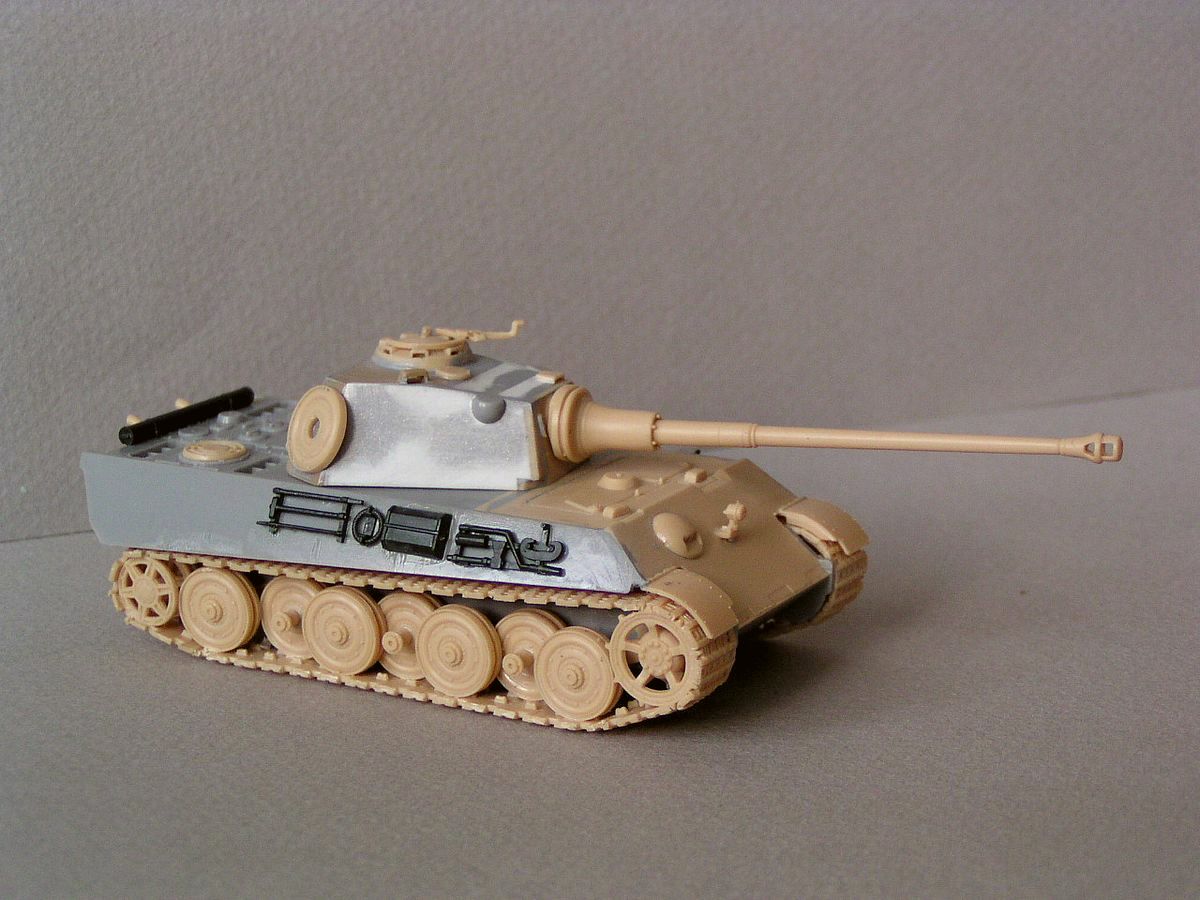
| After a five year pause I didn't remember exactly what I was going to do so I had to look for information again. |
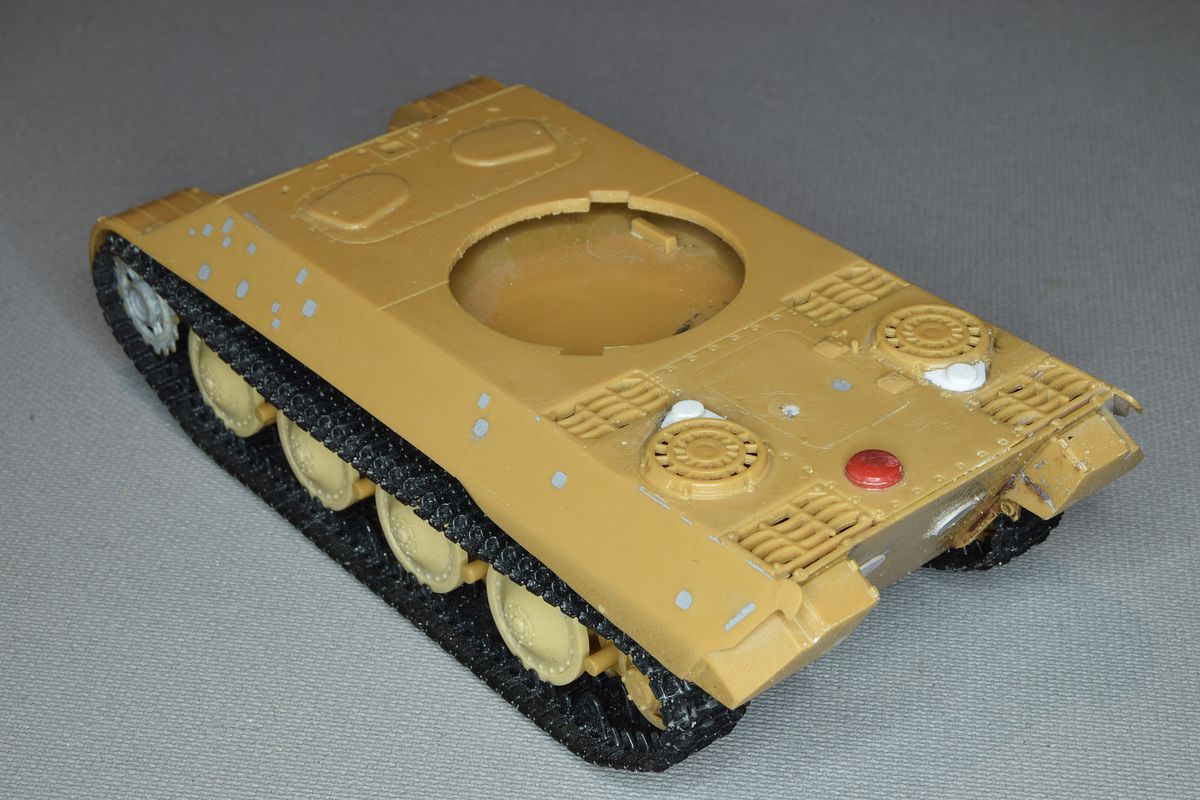
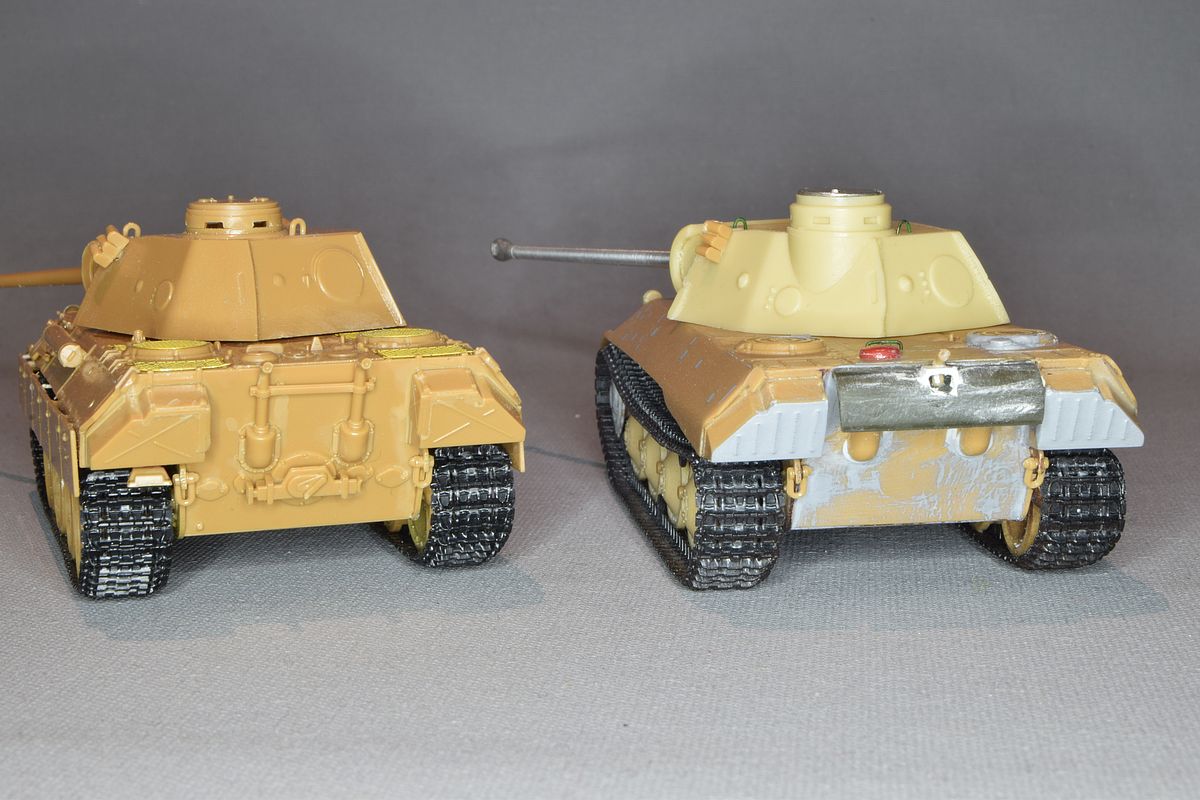
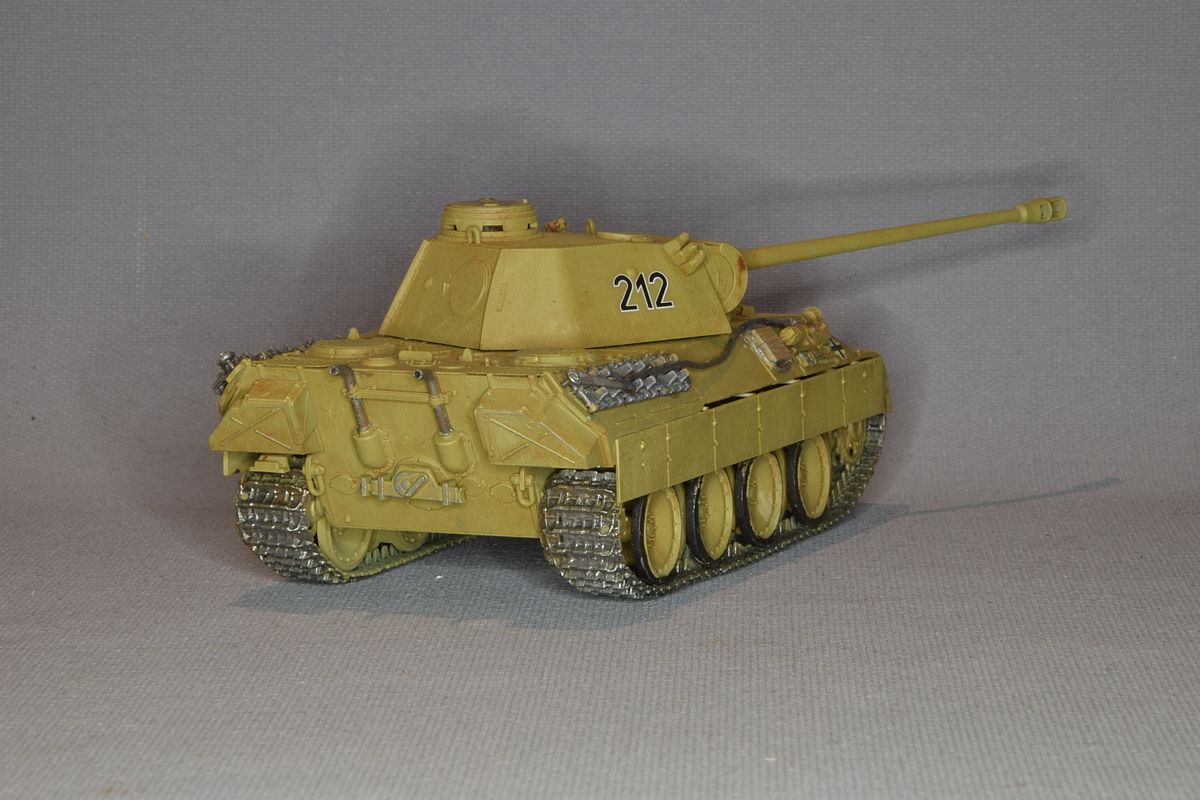
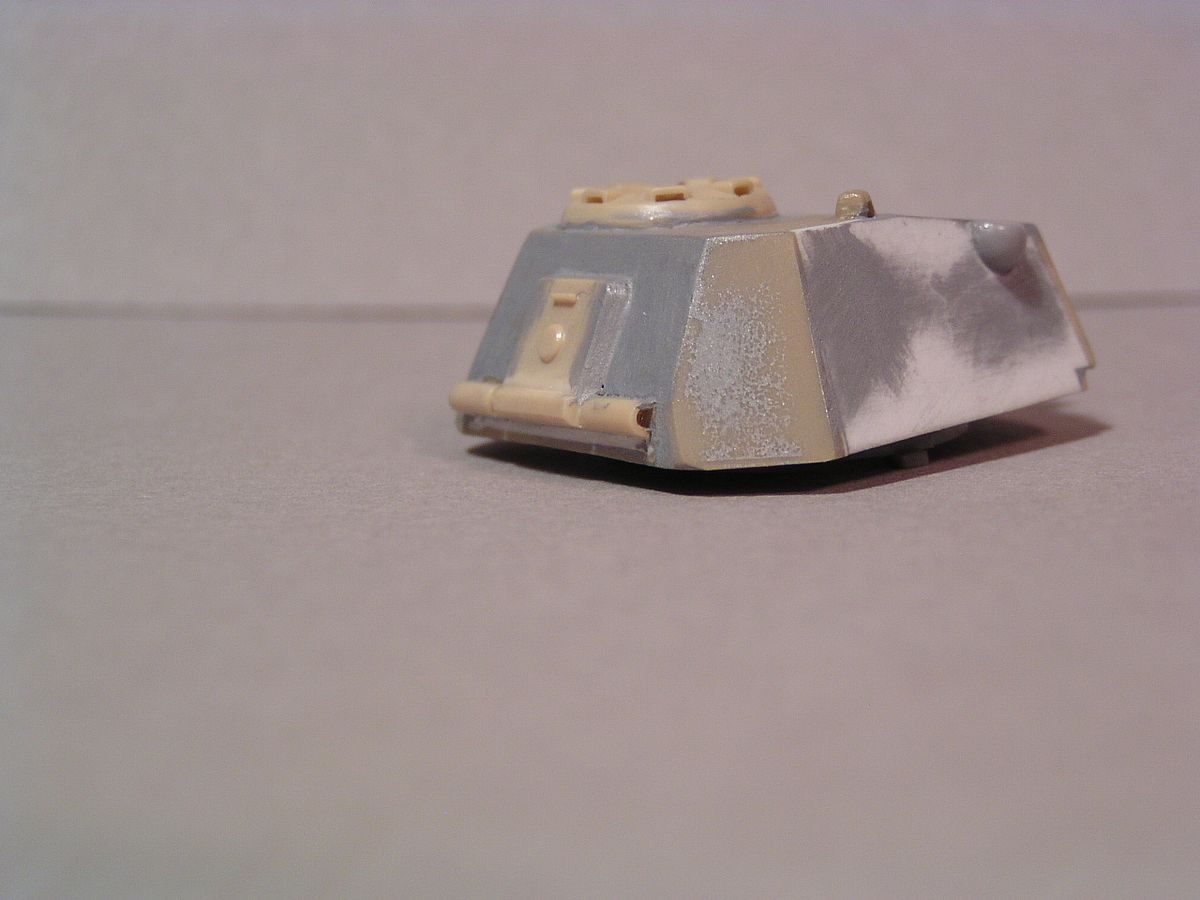
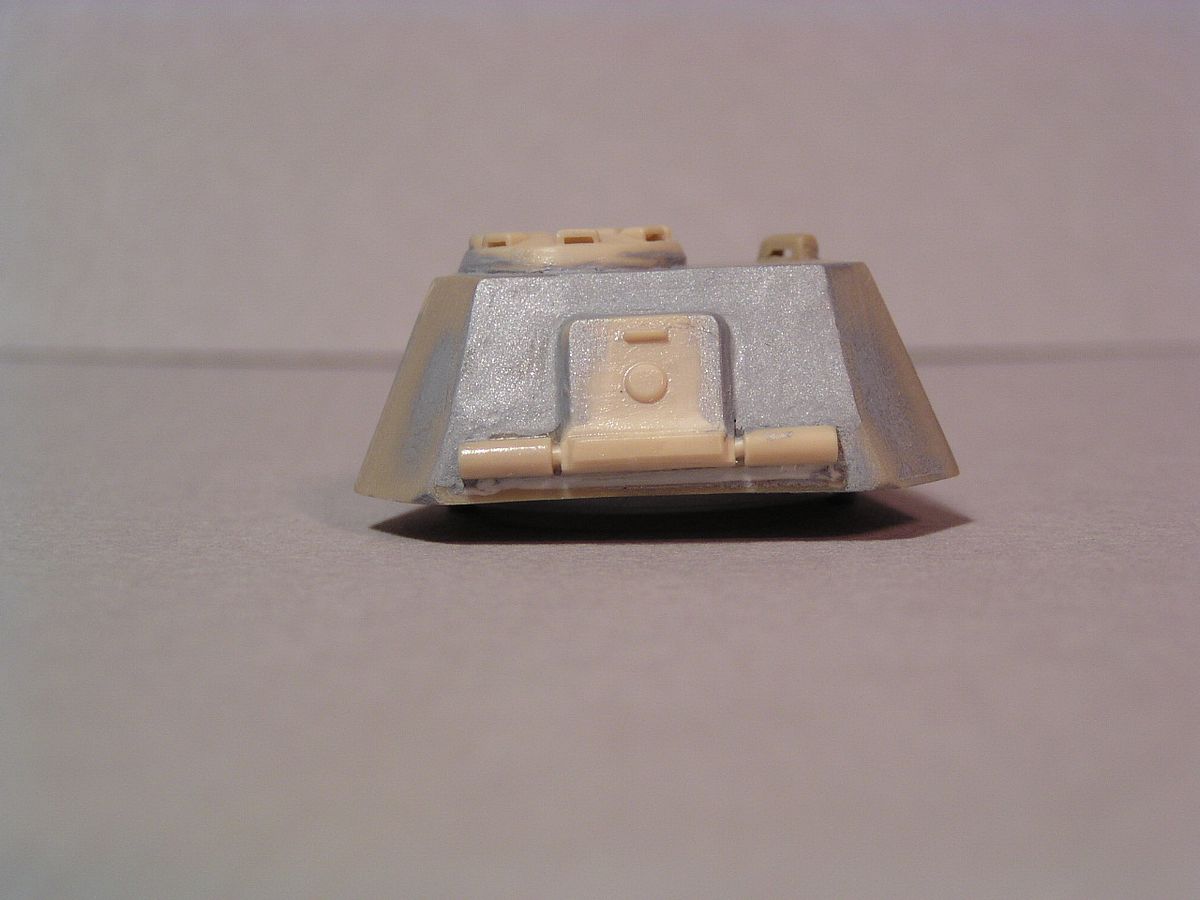
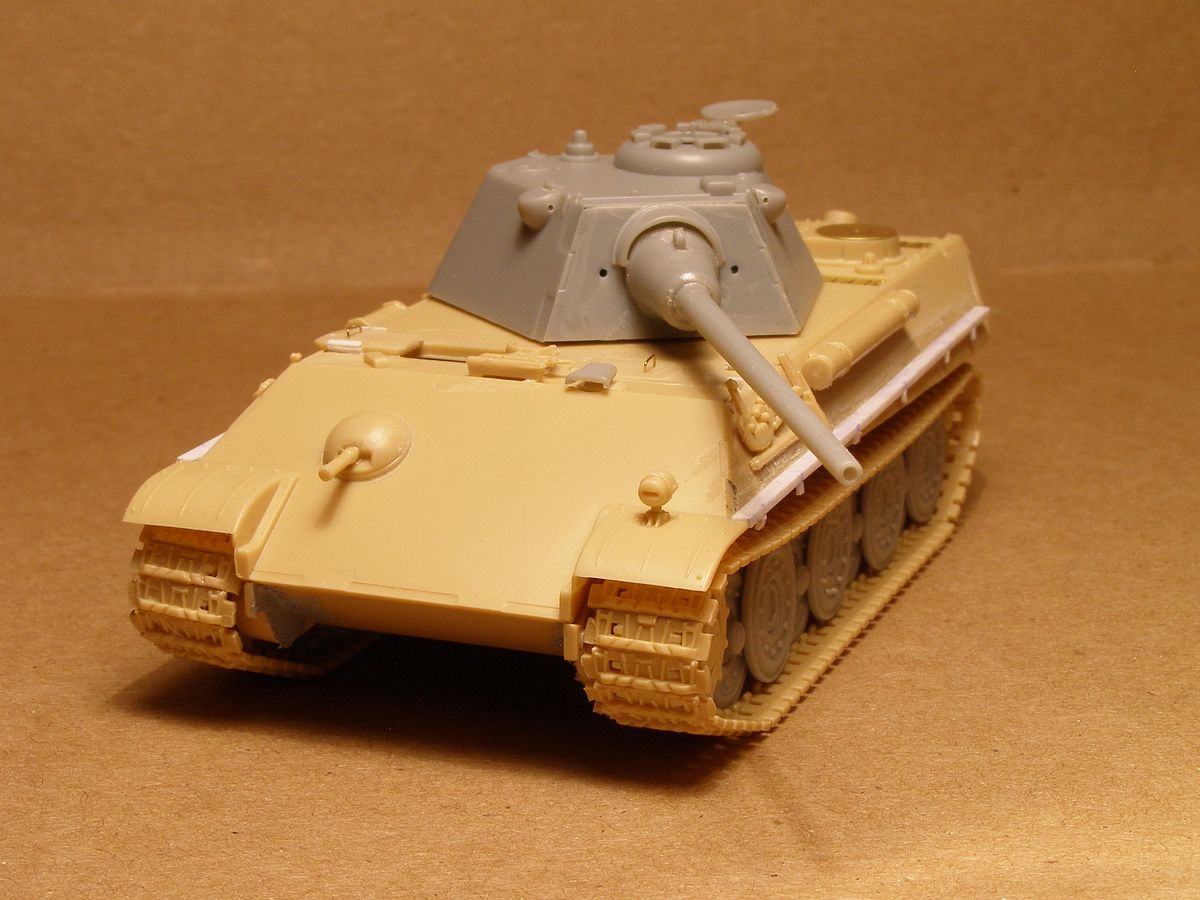
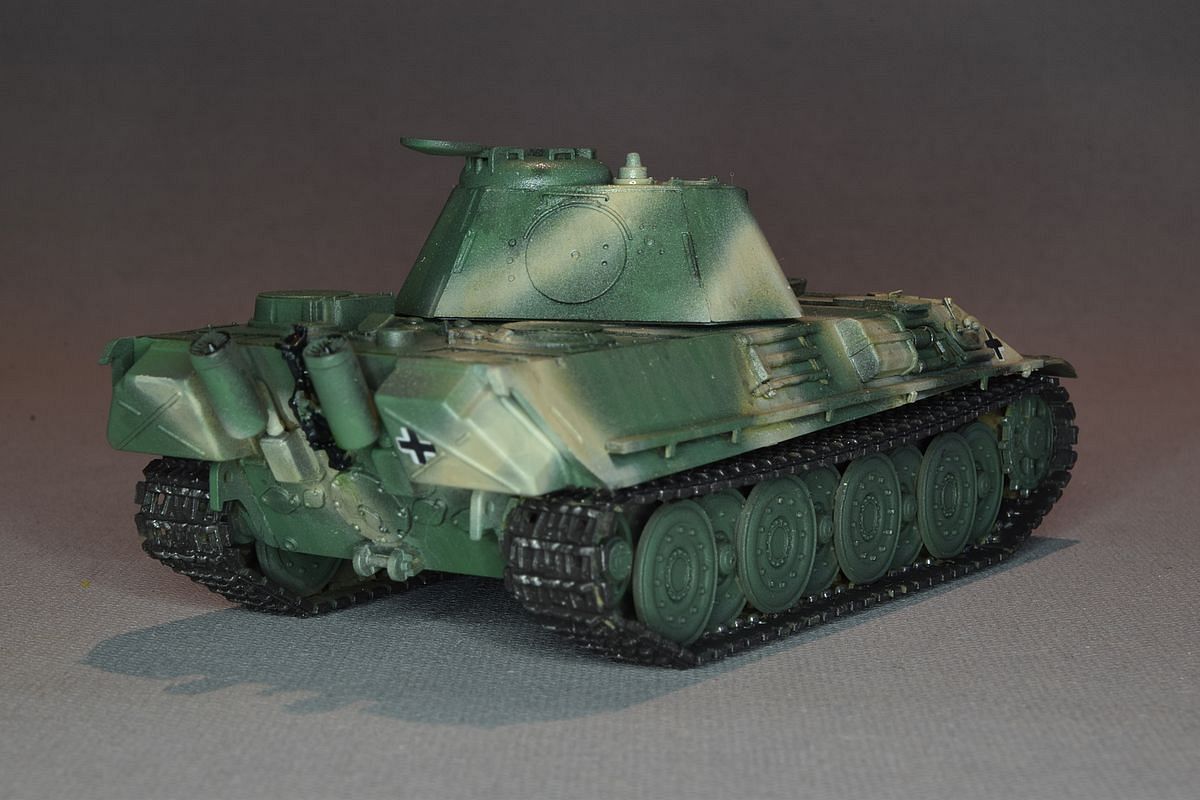
| I found a picture of the engine deck but still no pictures of the rear. I started with some changes do the engine deck. |
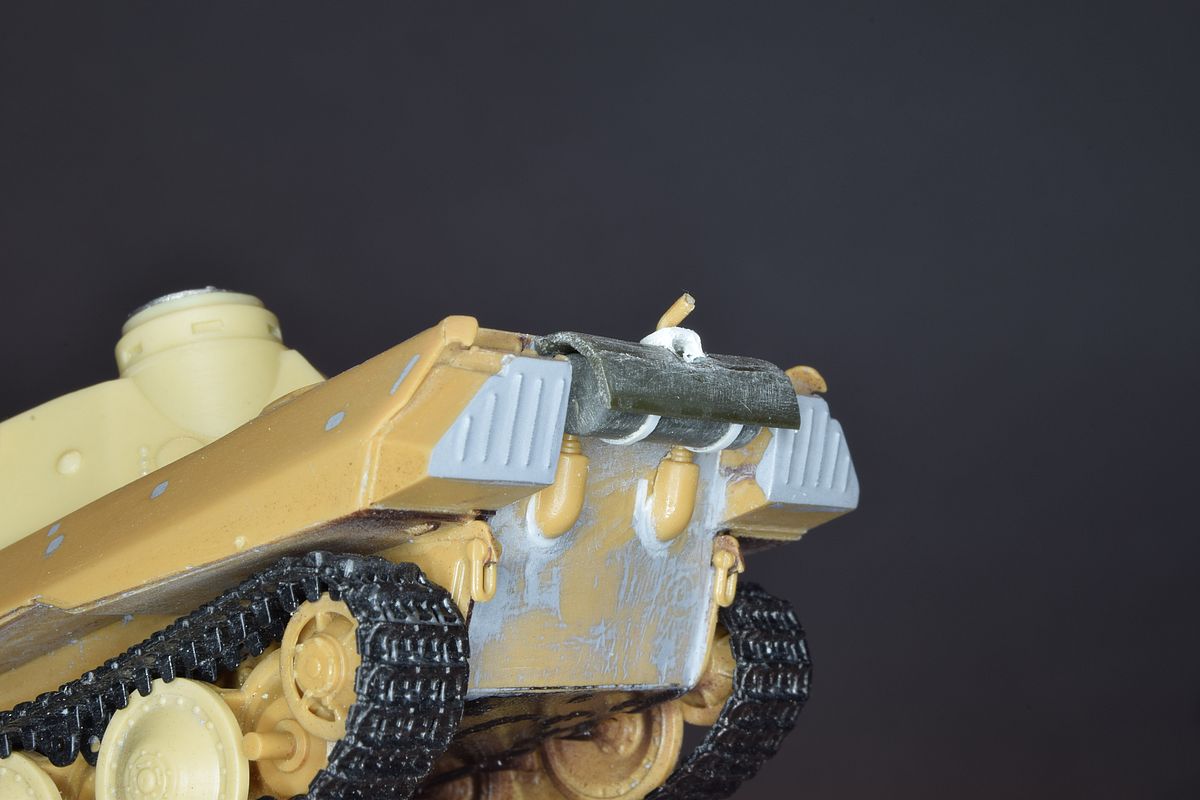
| OK, no pictures of the rear but I noticed that Dragon made the VK.3002 MAN in 1/35 scale so I used information from the drawings I had and of the Dragon kit. On the picture with the engine deck I noticed that it had a different exhaust system than the production tanks but could not see how it looked so I used Dragons variant on mine. The locker bins at the rear wasn't visible on the picture but Dragon had made new ones for their kit so I decided to alter mine just to make them different from my other Panther's. |
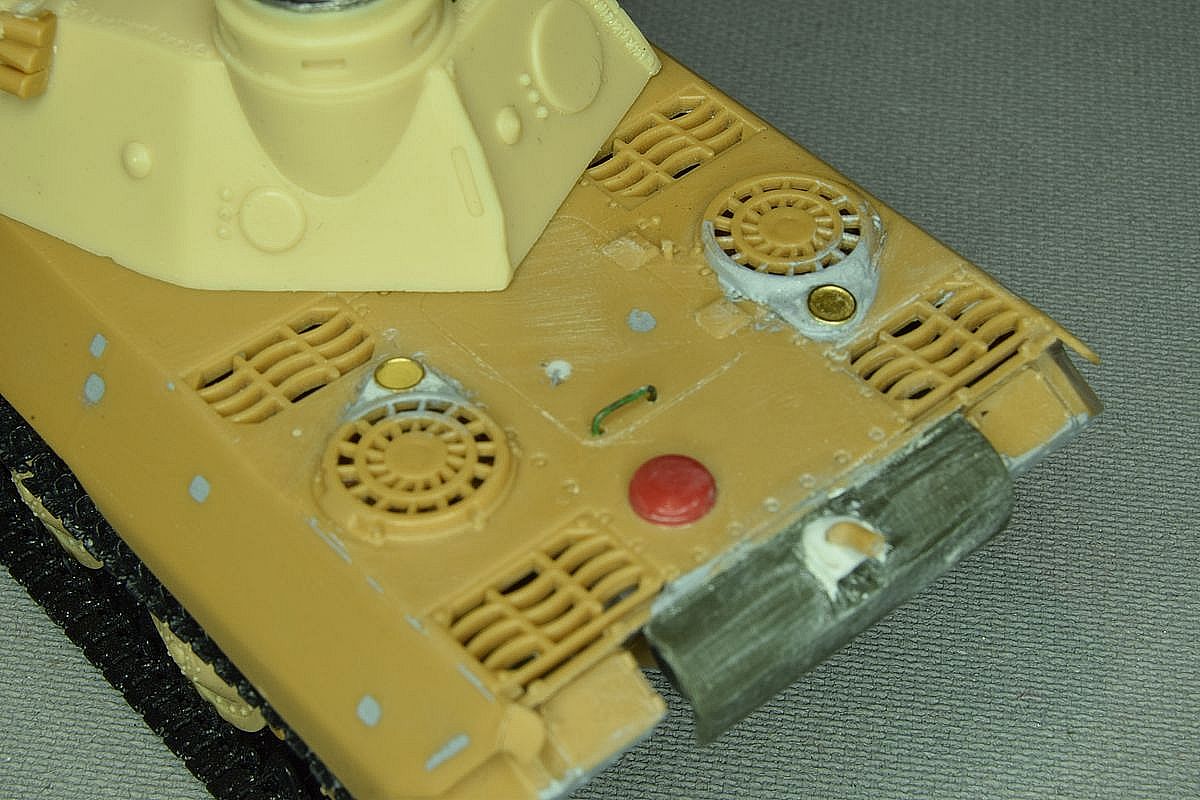
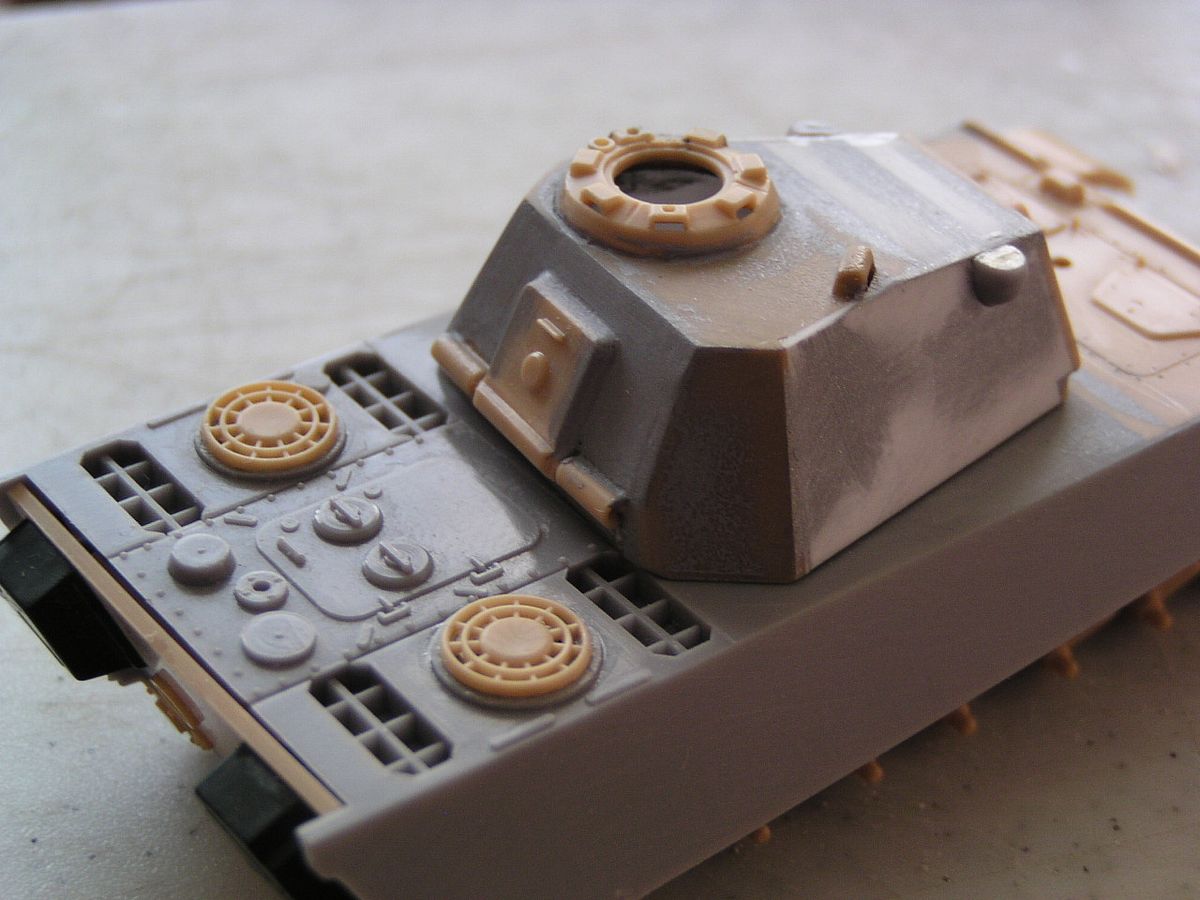
| Don't look to close. Much is "guesstimate". I found some round pieces on a Jagdpanther etch that worked better than my plastic roundels. |
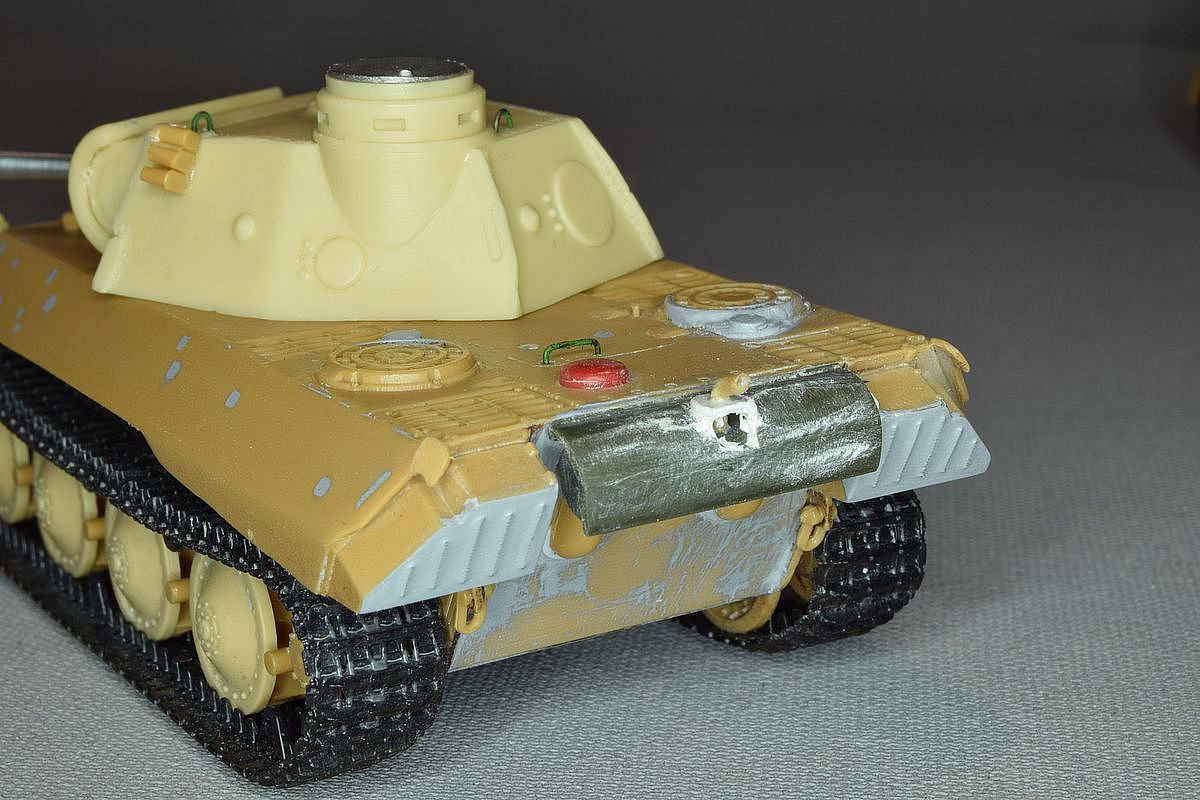
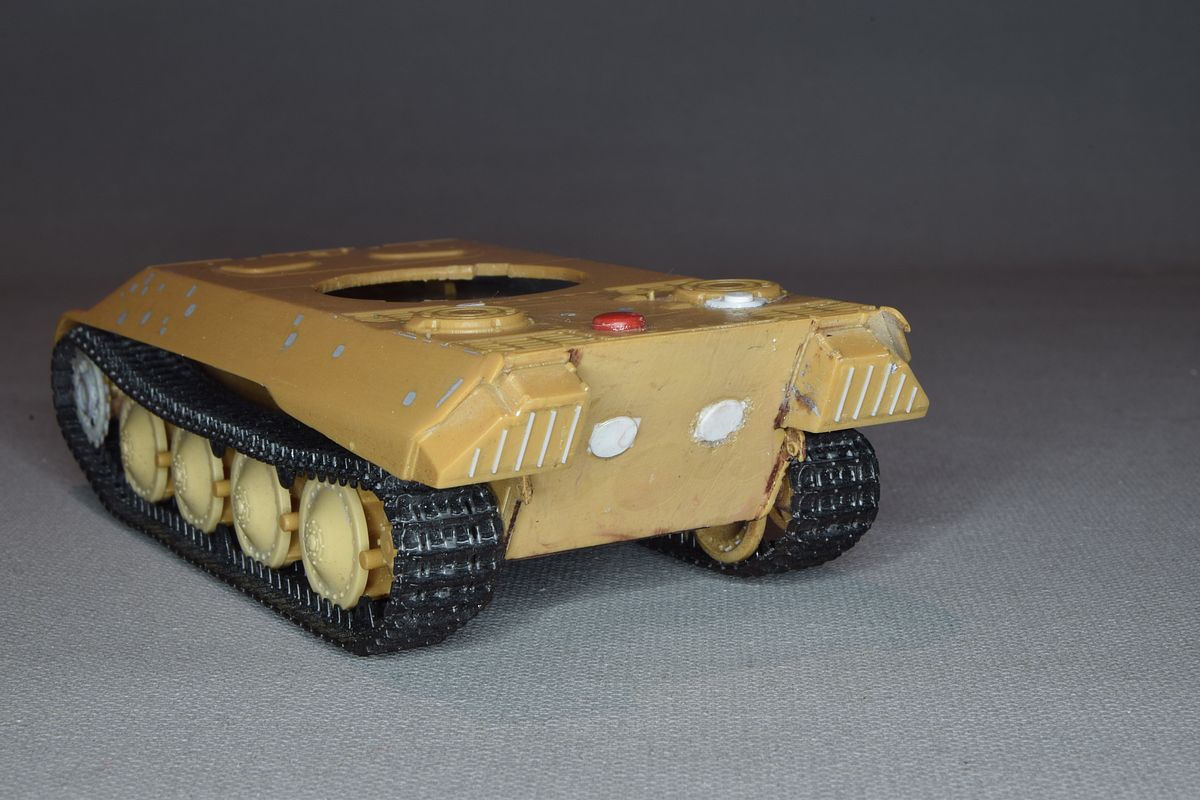
| The new muffler has been added. |
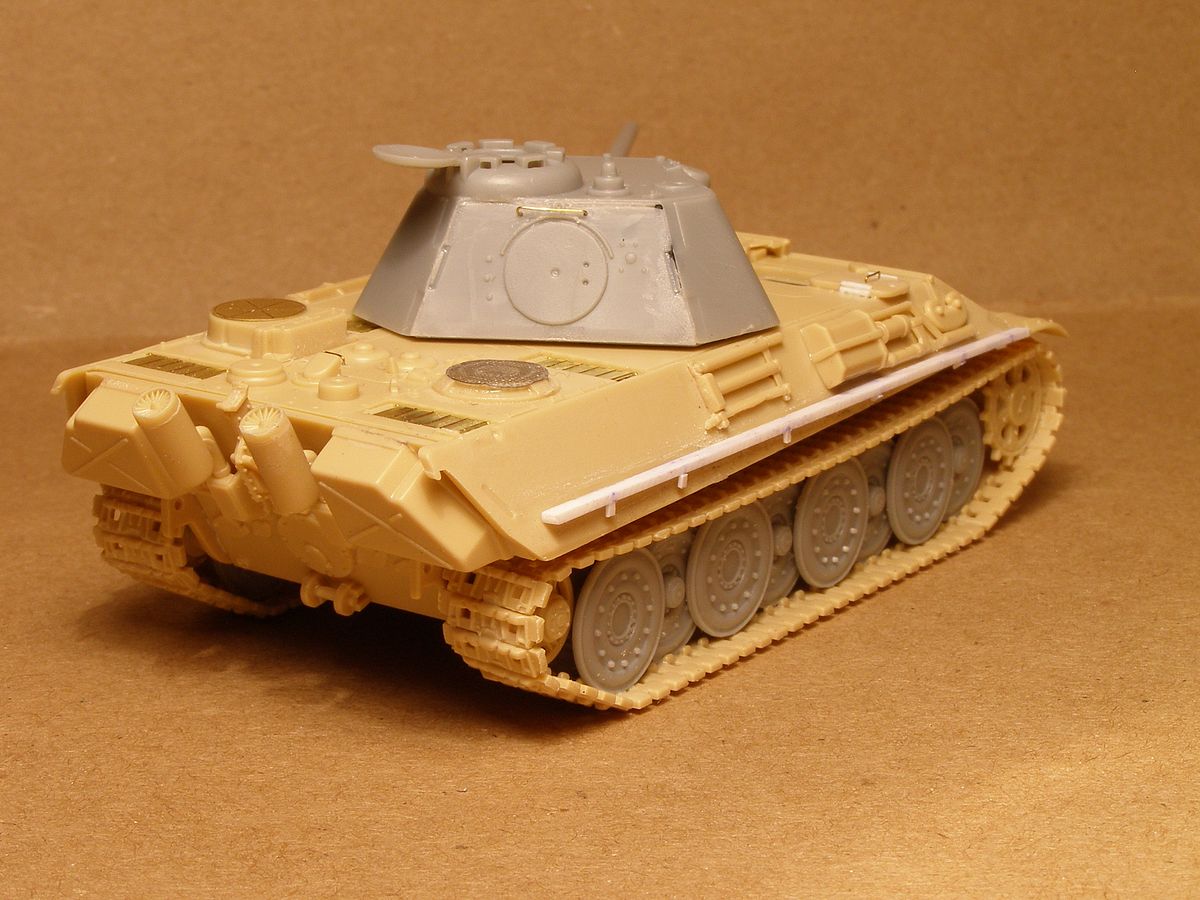
| Time to wash everything and paint it. |
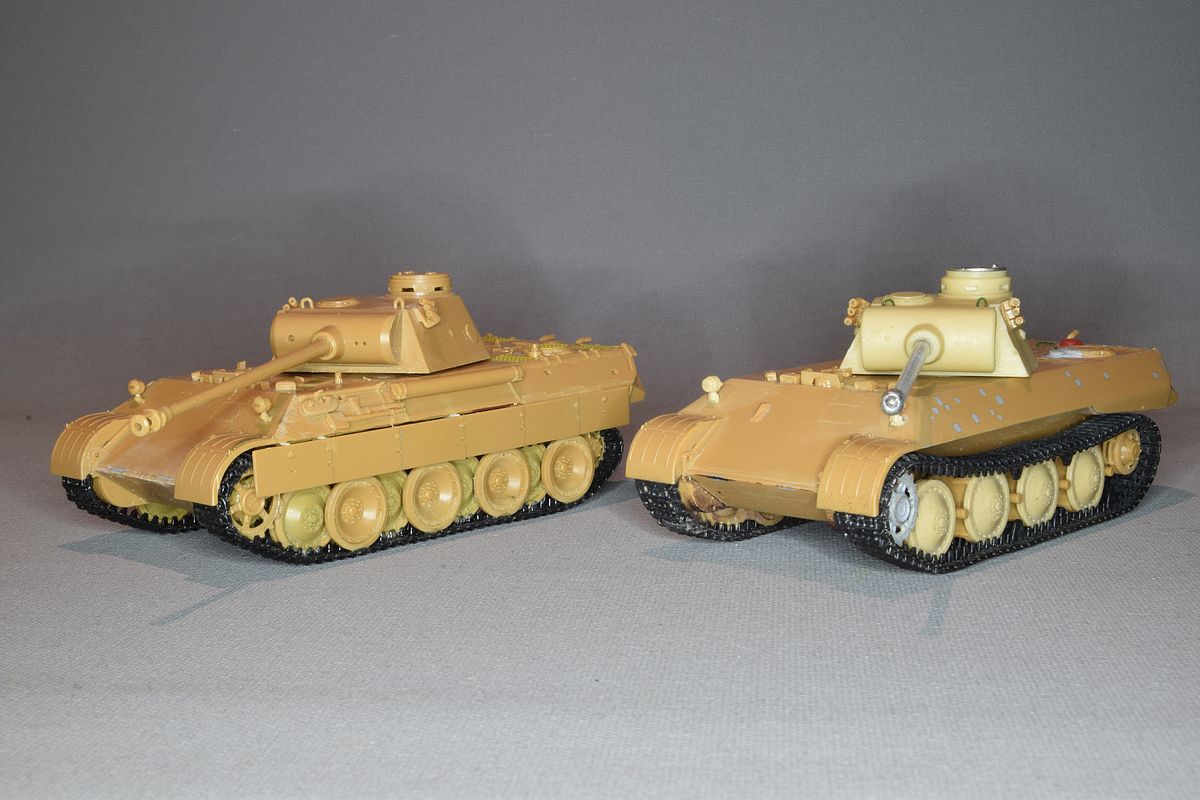
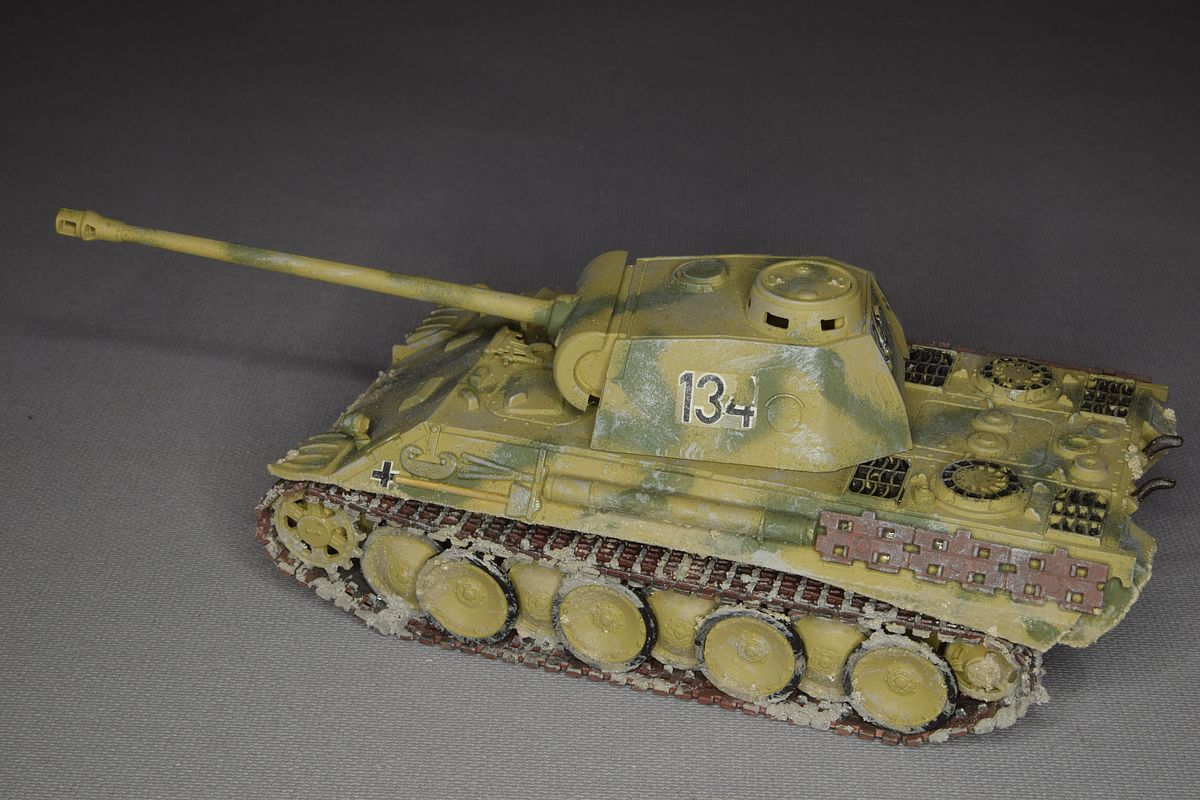
| The other Zvezda Ausf. D is also ready for paint. |
| Perhaps I mentioned it briefly but it is from MR Modellbau. The set also includes the long front fenders sprocket and return wheel and a muffler. I didn't notice it before I had finished mine. The muffler is different though , I based mine on the Dragon 1/35 kit. There are also two wedge shaped parts that I guess is to fill the rear part between the hull and the chassis. I think that this conversion was made for the Revell kit. |

| In 2019 after they gone to sleep again I brought them out to finally finish them, at least that's what I thought. I looked on some pictures as I knew that I had to make a license plate for it. Well. I noticed somethings that I had missed. The drivers periscope should be place more to the centre and there were no cut outs in the top of the glacis plate for the periscopes so I had to fix this. What a luck that I found this out before I started to paint. |

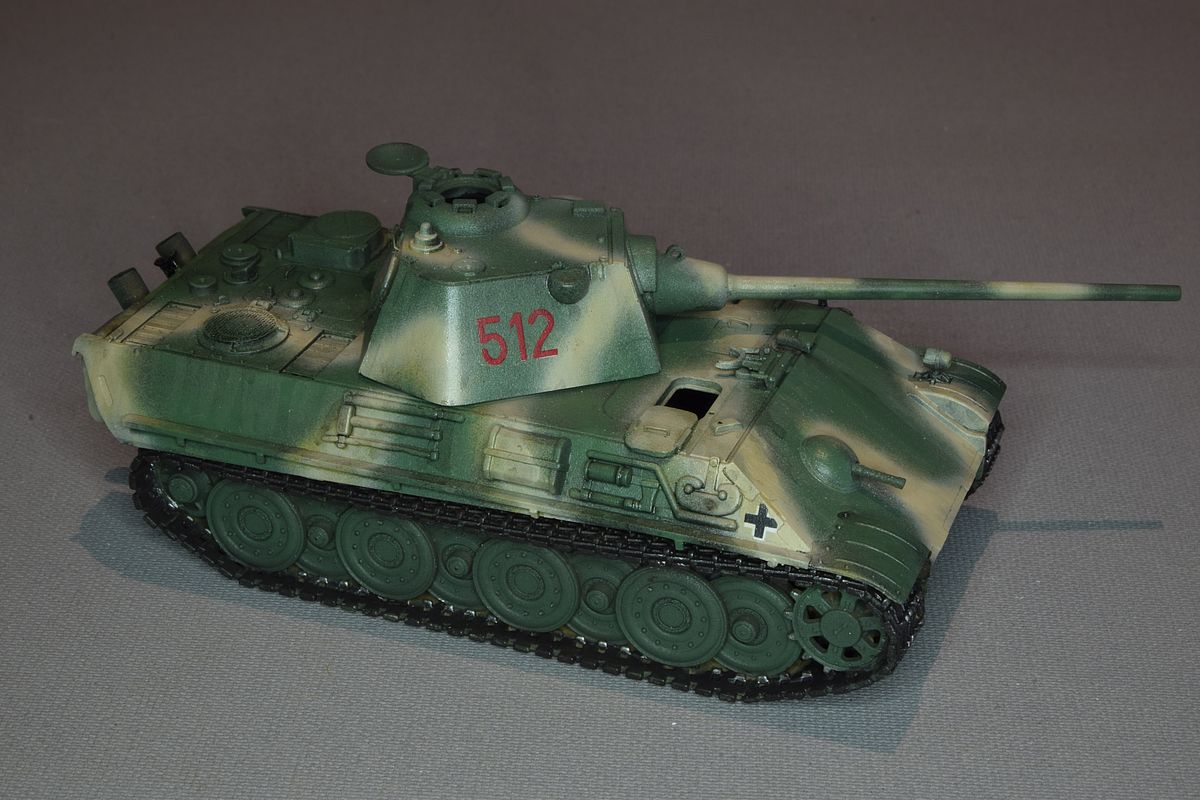
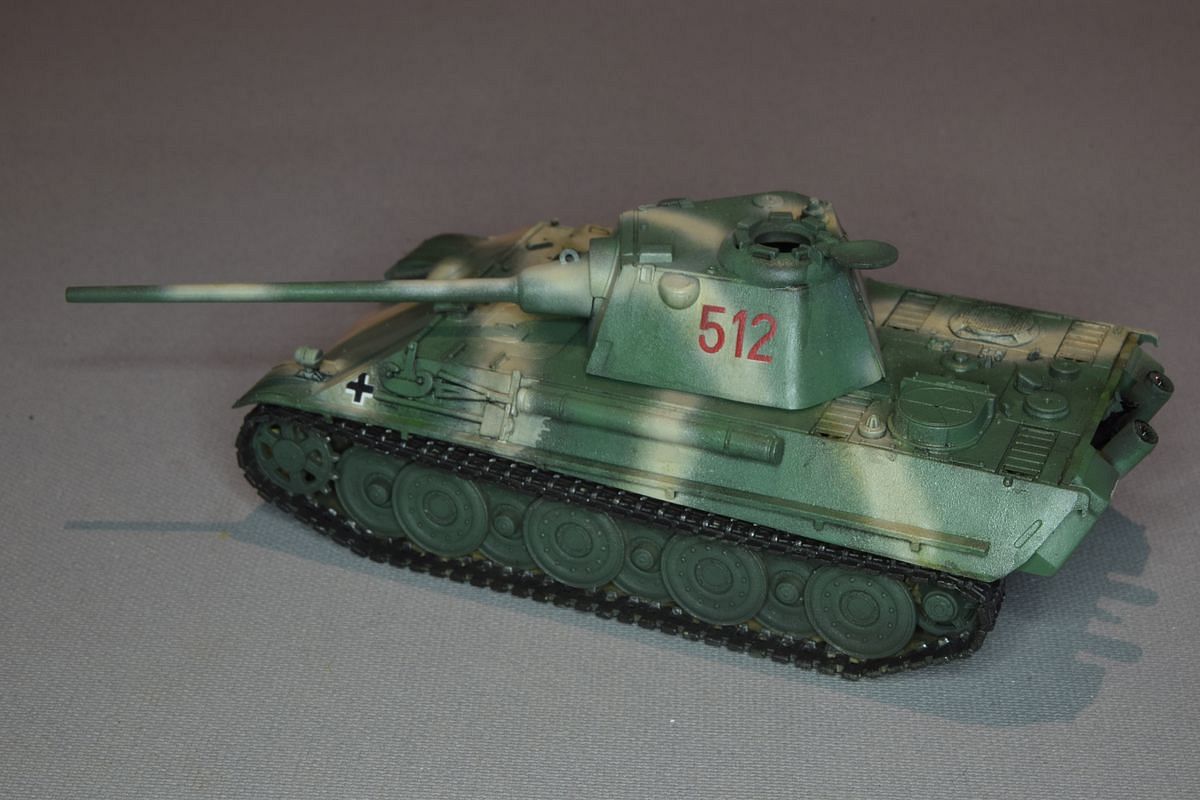
| Now we reached 2023 and I decided to get some kits of the table, out of sight as I lost interest in them. First one is the Zvezda Panther. |

| This prototype is something that I started back in 2013. "10 years to build a snap kit"! |
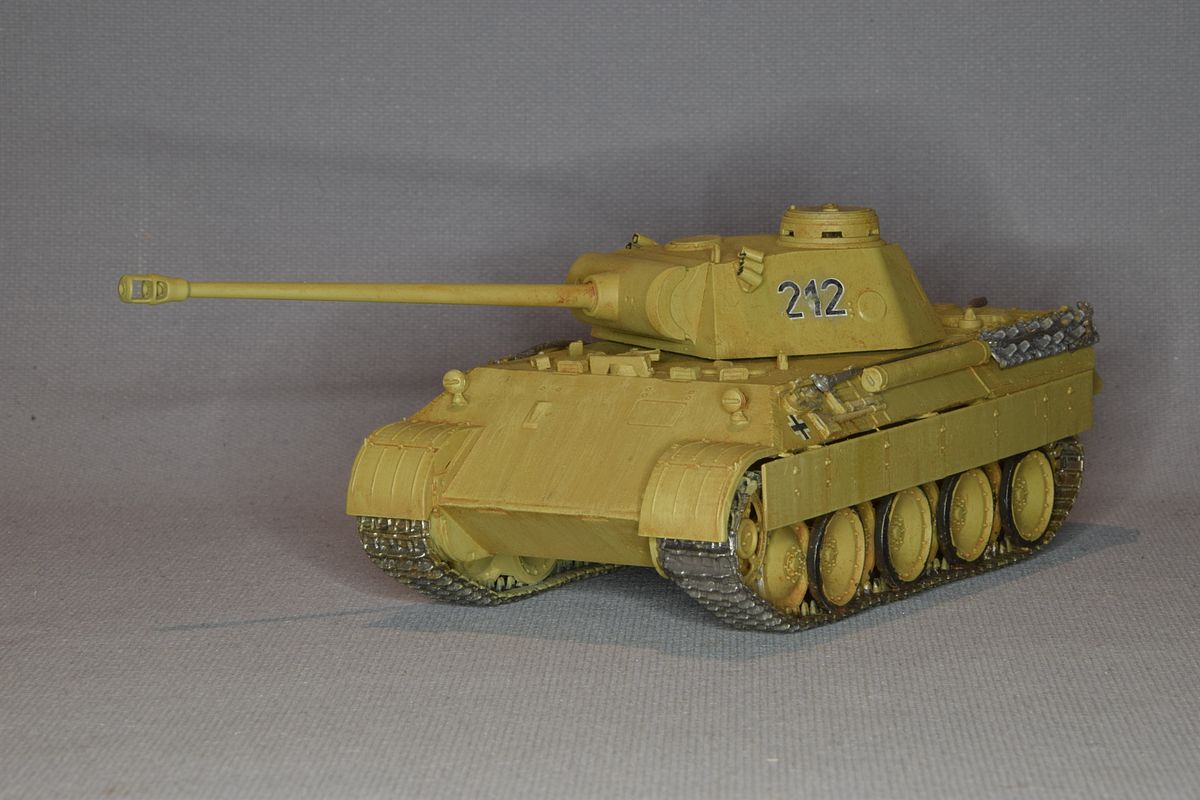
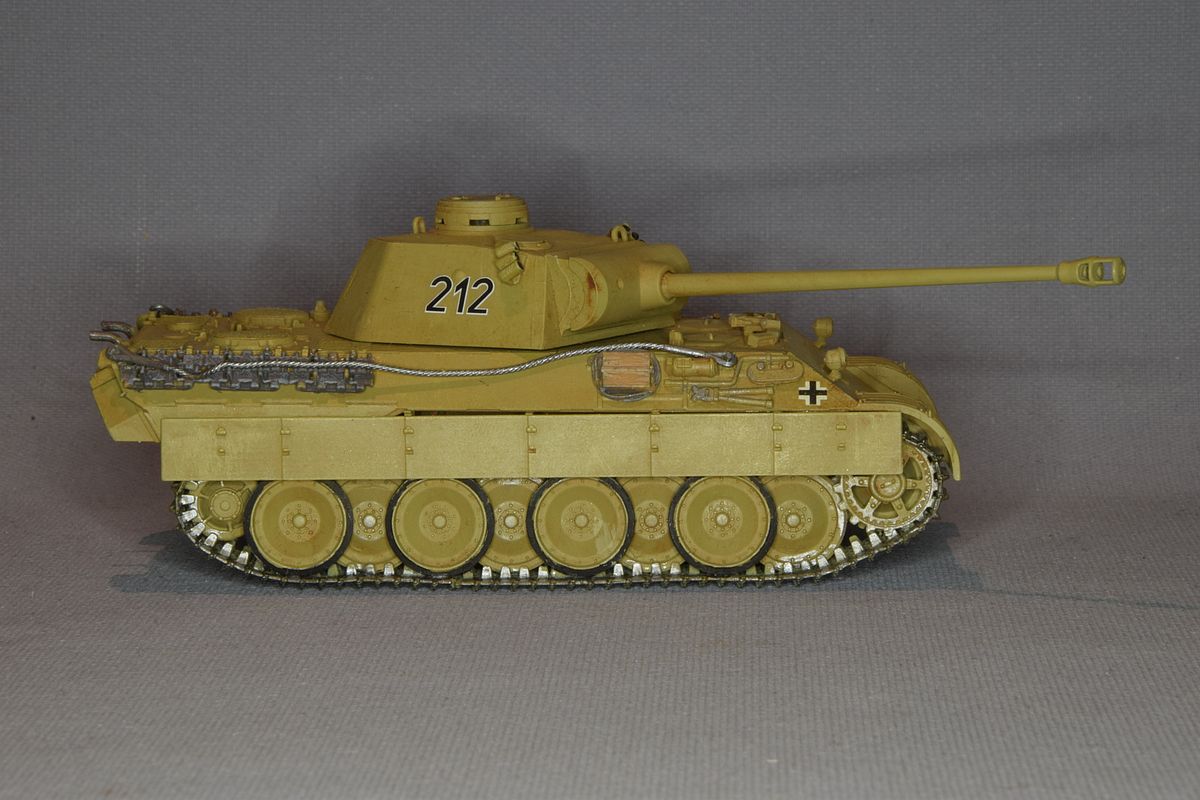
| But I "finished" them at last. |
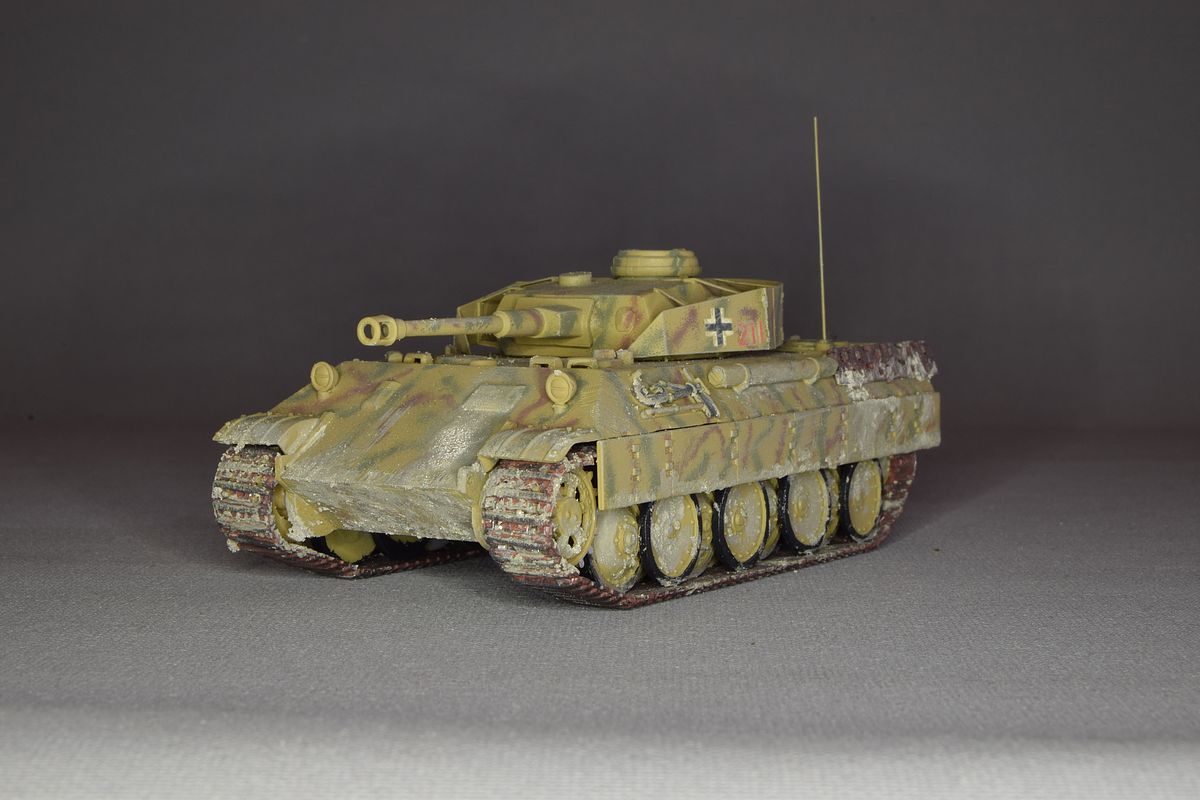
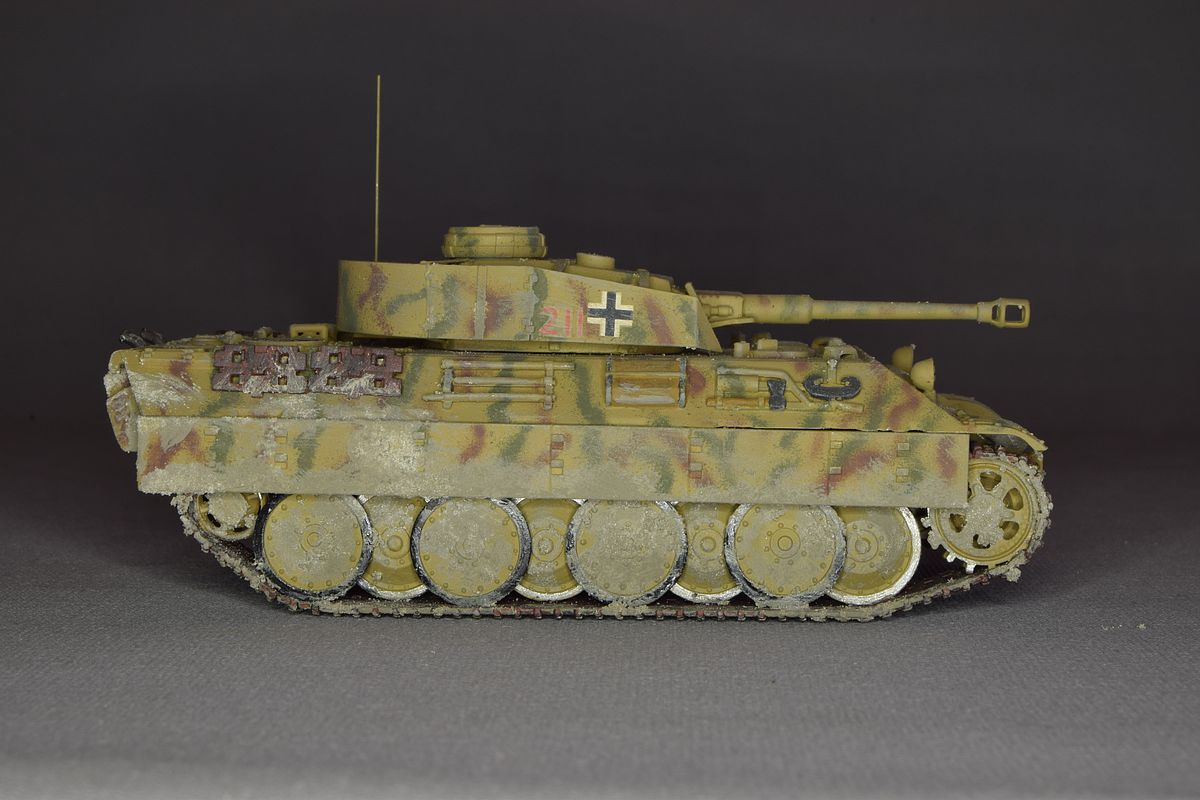
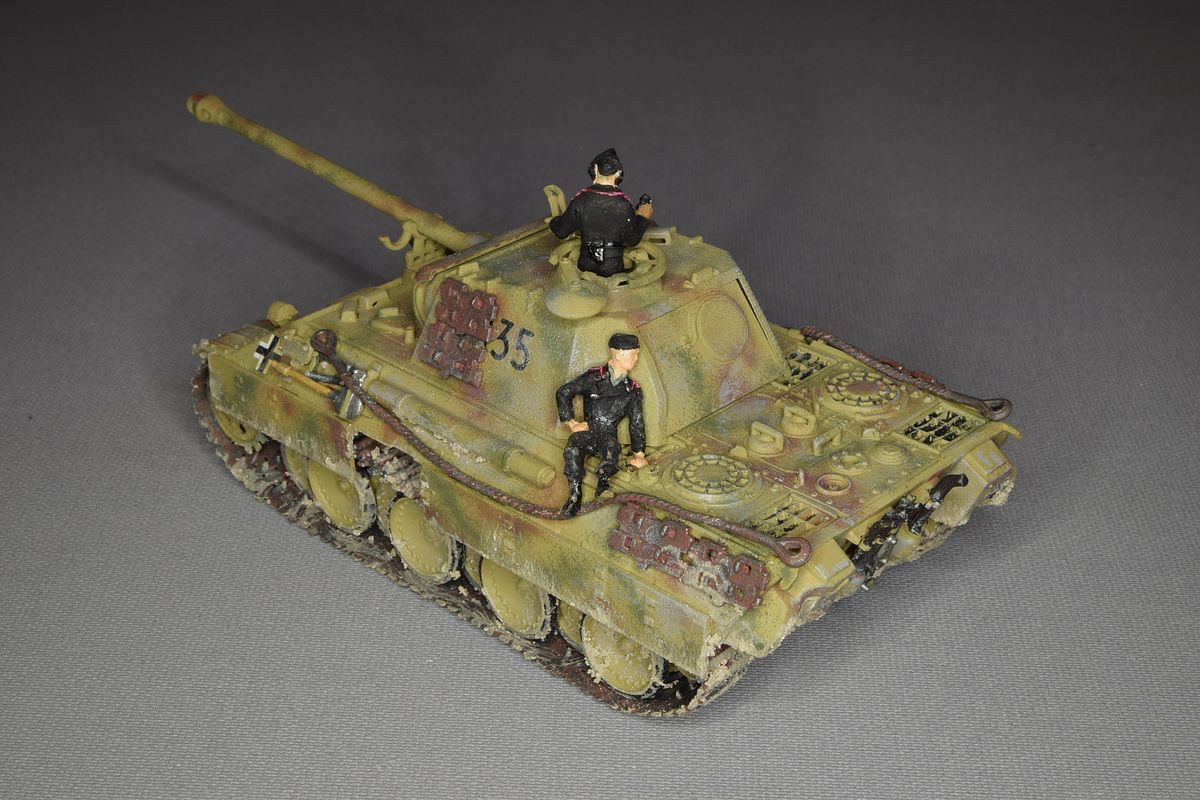
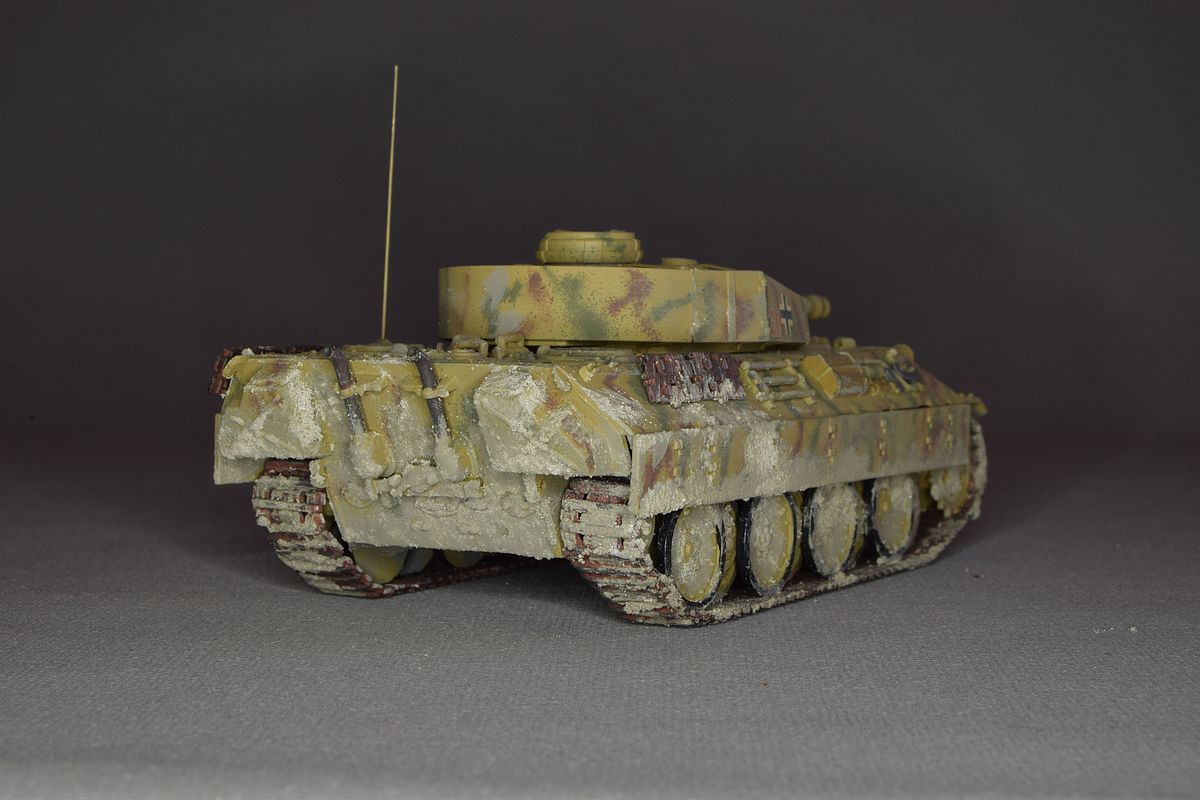
This is a special used by Schw.Pz.Jäg.Abt. 653. It was a Bergepanther that got a fixed mounted turret from a Panzer IV Ausf.G. The model is an ESCI Ausf.A that I backdated to an Ausf.D, wheels came from Hasegawa and the turret is Hasegawa's Pz IV.G with extra armour from Eduard. I just loved the look of this Panther at first glance. As it was a Bergepanther from the start I perhaps should have added a towing hook?
|
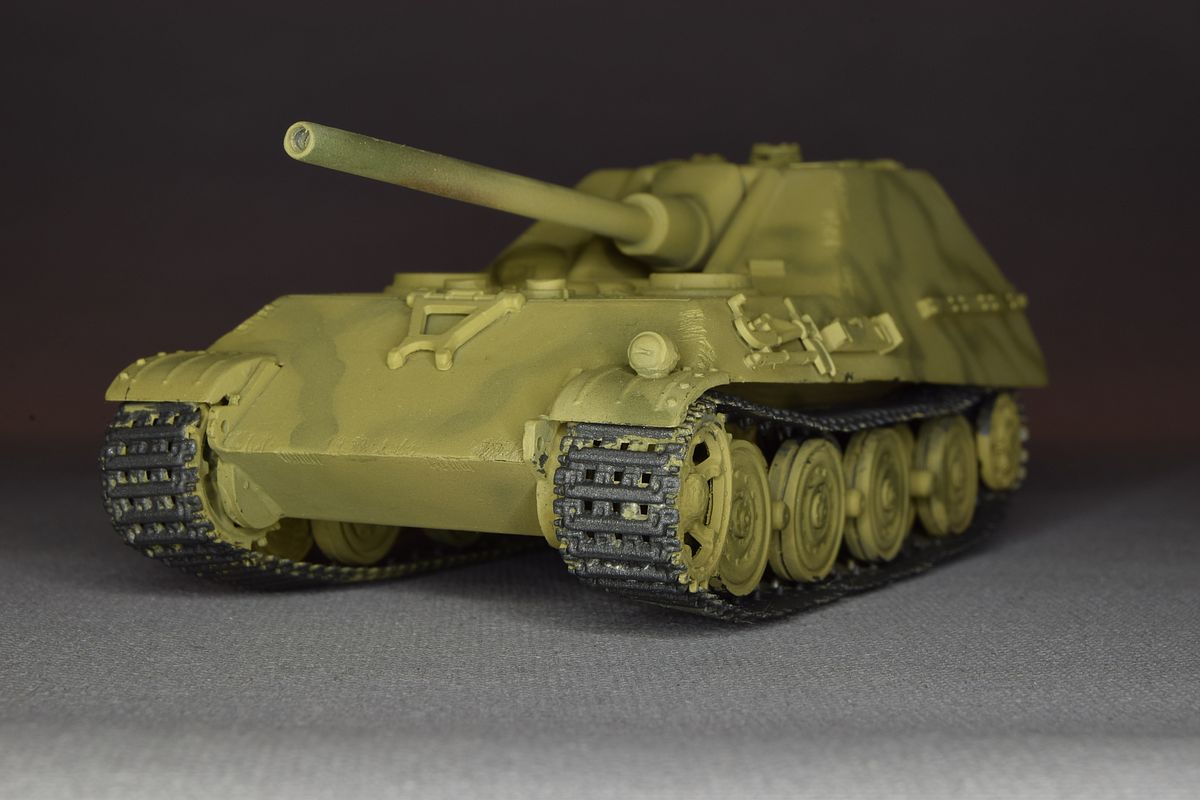
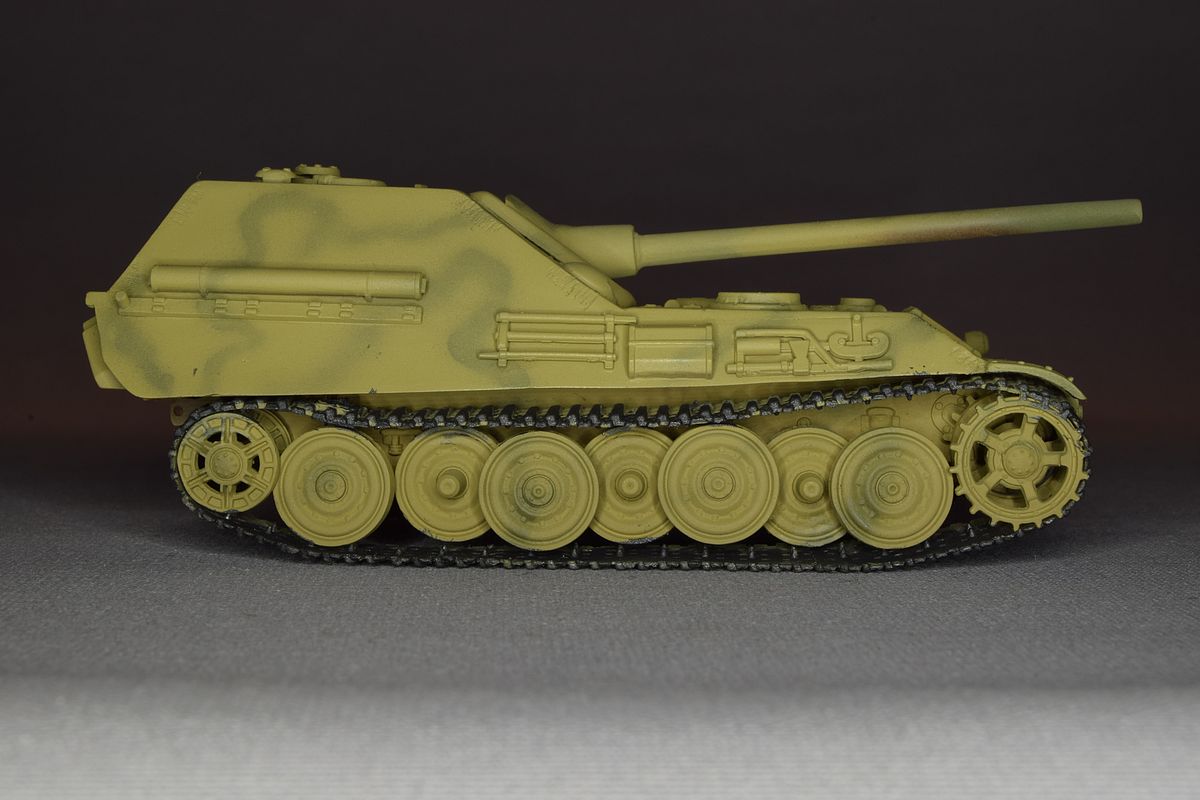
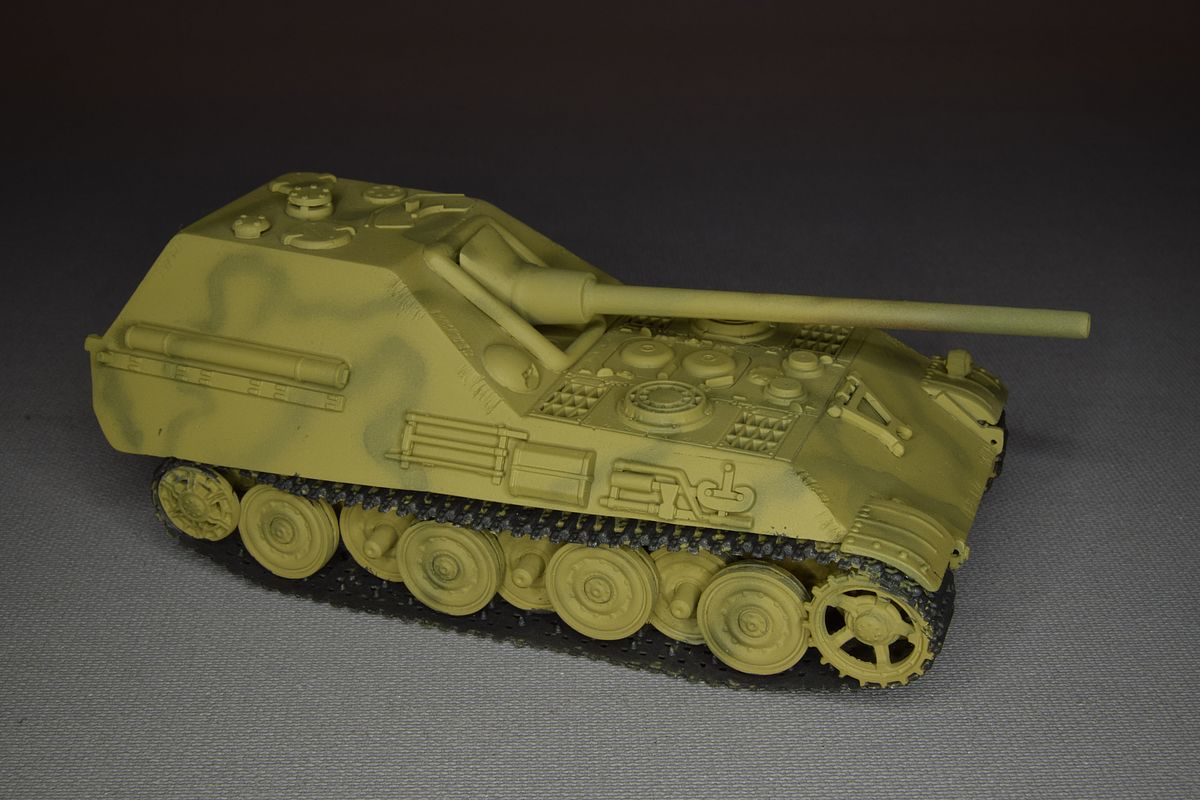
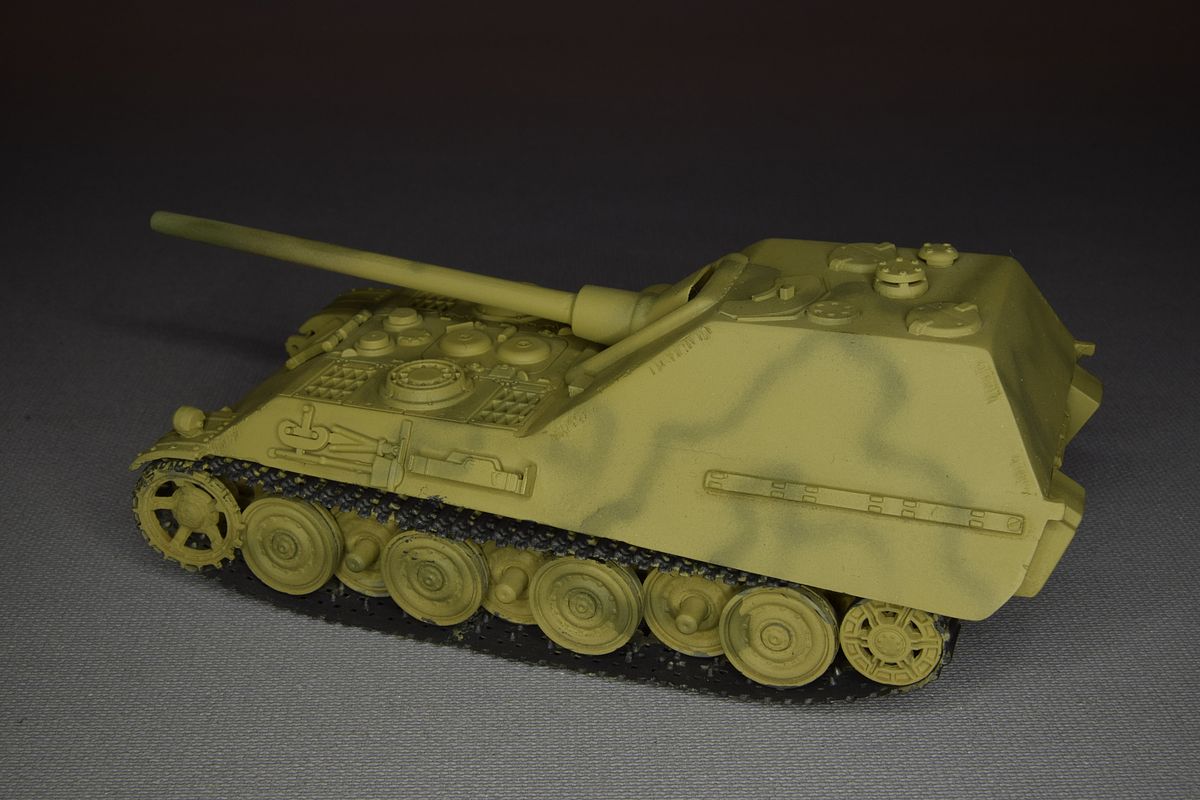
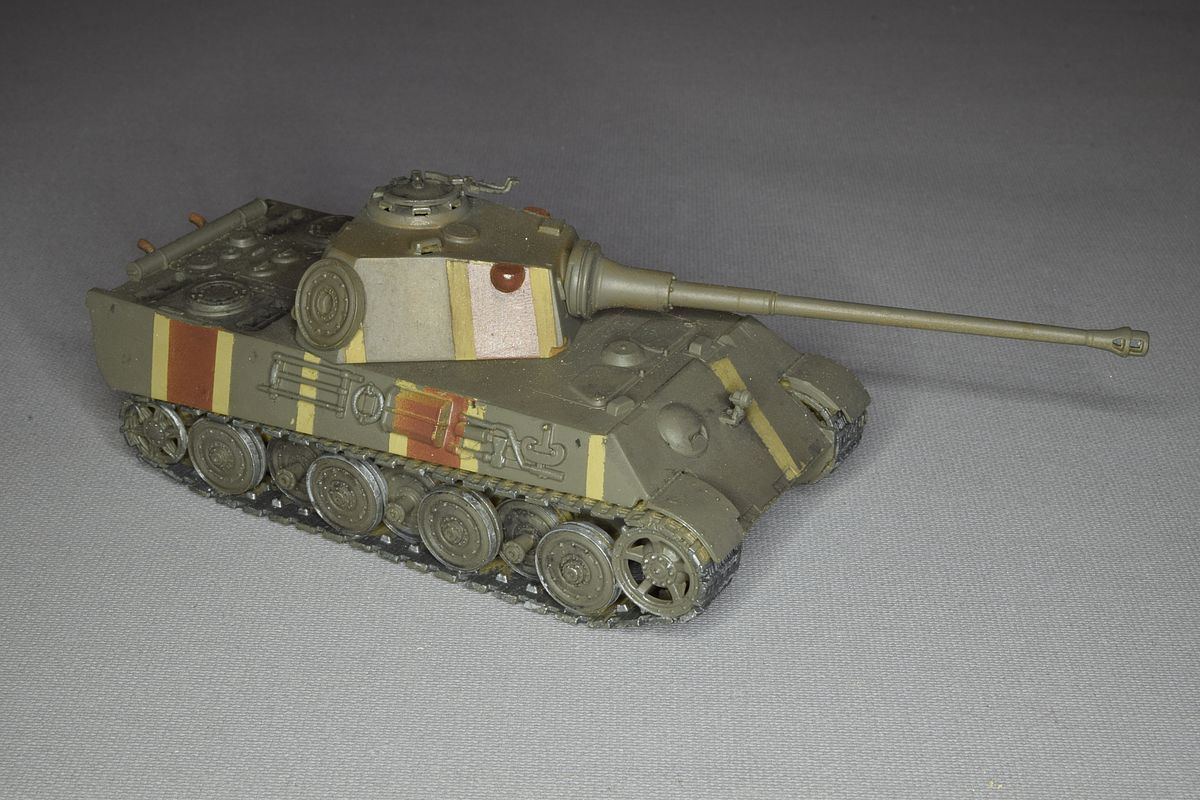
This was a paper product. It was a sketch for a proposal of a new Jagdpanther with a 12.8 mm gun. I slaughtered a Esci Jagdtiger wreck and mated this with another wreck, this time a Esci Panther. I then converted this to a Panther II chassis. Well if it's going to be a fantasy product why not walk the whole line? At least it's different, but I'm thinking of reusing the chassis for a Panther II later on.
|
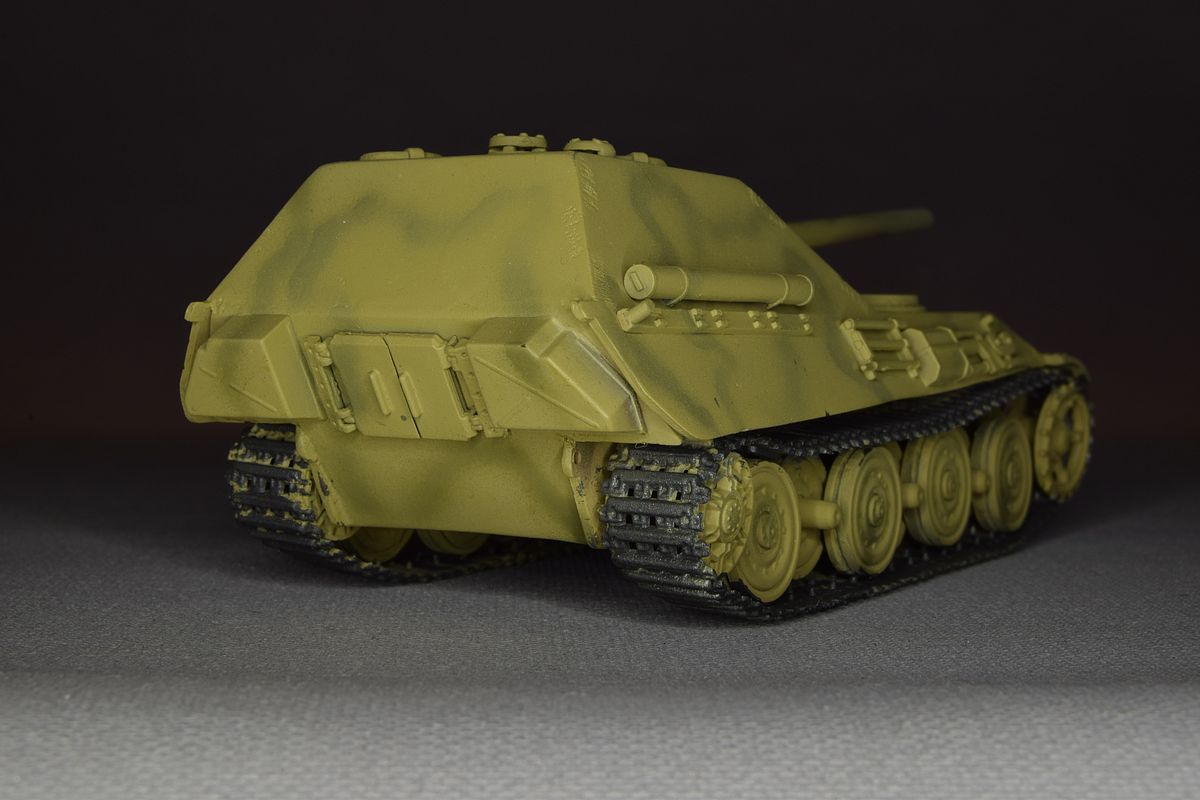
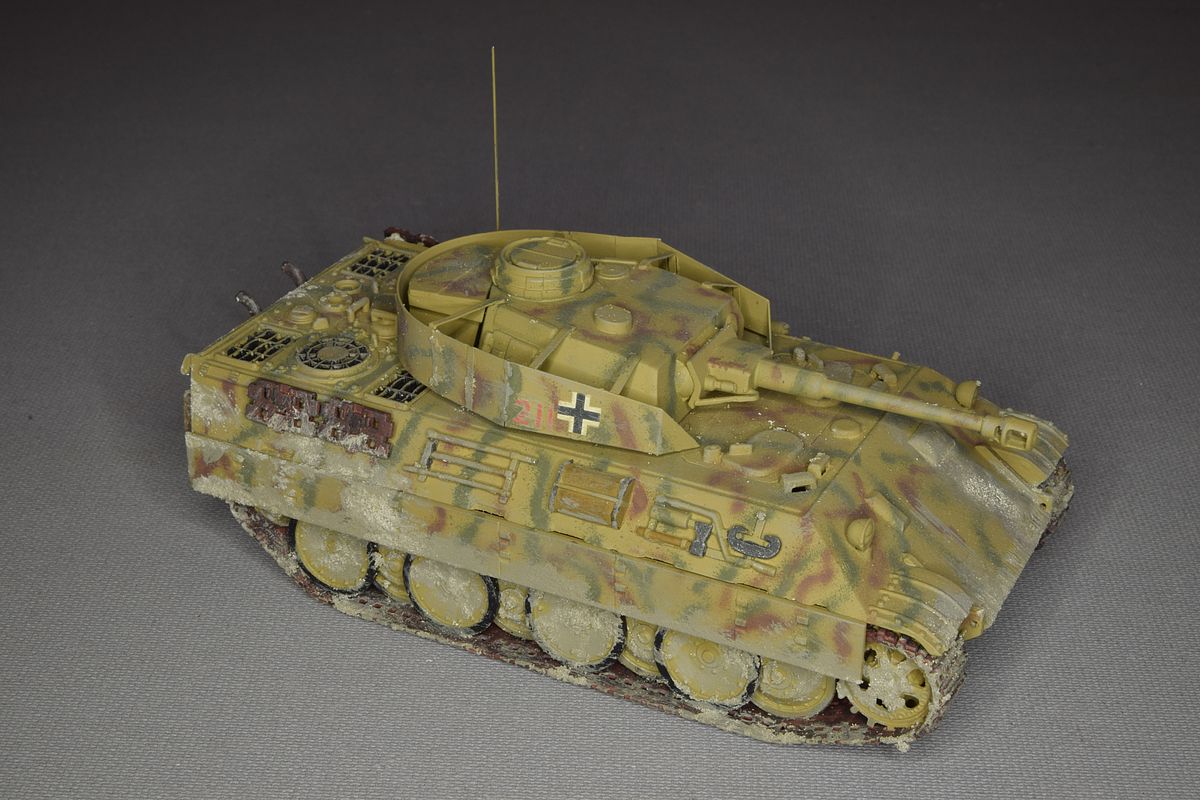
This project started as a way of using "leftovers" from earlier conversions. I was going to build a Panther II on the Hasegawa Panther Ausf.G hull and with wheels and tracks from a Esci Jagdtiger. Well it didn't work out that way. I decided to use the tracks from the Revell Tiger II instead, doing this I could use the wheels as well. When I managed to mix up the Panther II with the Panther Ausf.F and deleted the hinges on the drivers hatch I extended my plans.
|
The good thing of building something like this is that I feel that I can use some "artistic freedom" as there was only was one prototype built and it wasn't a complete tank. So, I decided to use the hatches from the Tiger II but it seemed easier to use much of its front as well instead of trying to remove hatches from both the Panther and the Tiger. I didn't like the rear hull plate on the Hasegawa kit, so I used the one from the Tiger II with boxes from a Revell Jagdpanther. Most of the tools come from the Revell Jagdpanther. The wheels on the Panther II are spaced differently to the original panther so I used details of the Tiger II chassis. |

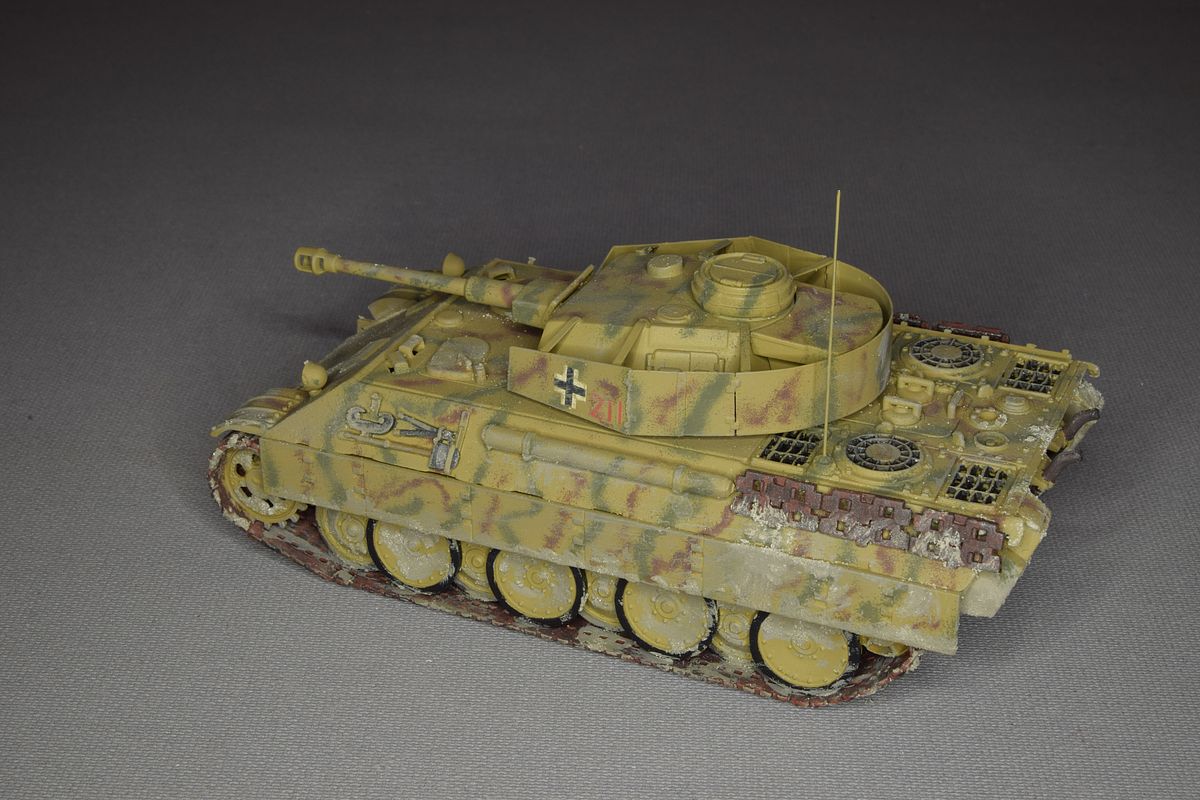
I had some trouble on deciding on what turret to use. Initial plans were to use the Hasegawa Schmalturm but then I thought of using the Tiger II 88 mm gun, so perhaps I should use the Ordinary Panther turret with a new front from the schmalturm. Or perhaps I could use the schmalturm and make it longer in the rear, (it could perhaps be tricky for the loader otherwise). I finally opted for a modified Panther turret. It is an Esci turret with the Tiger II front plate, gun and mantle from Revell. New side plates was made of plastic card. |
Yes, I know that the turret is very fictional. I went through the Jentz Panther book, but the turret is only mentioned in the text, with no pictures or drawings of a turret for a Panther II. |
Most of the tools come from the Revell Jagdpanther. Well after my foul up with the drivers hatch hinges I decided to do a version that has been standardized with the Tiger II, using as much parts from it as possible. That is why I opted for the Tiger gun instead of a standard Panther G turret. |
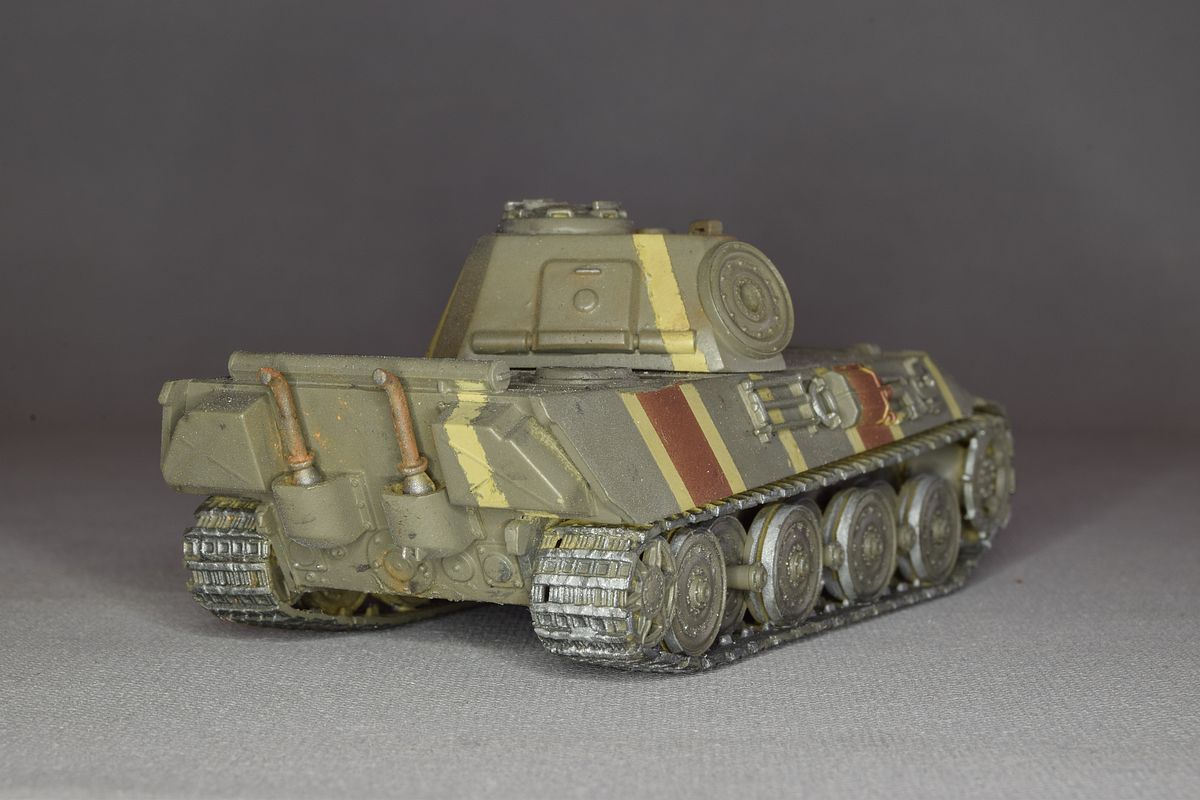
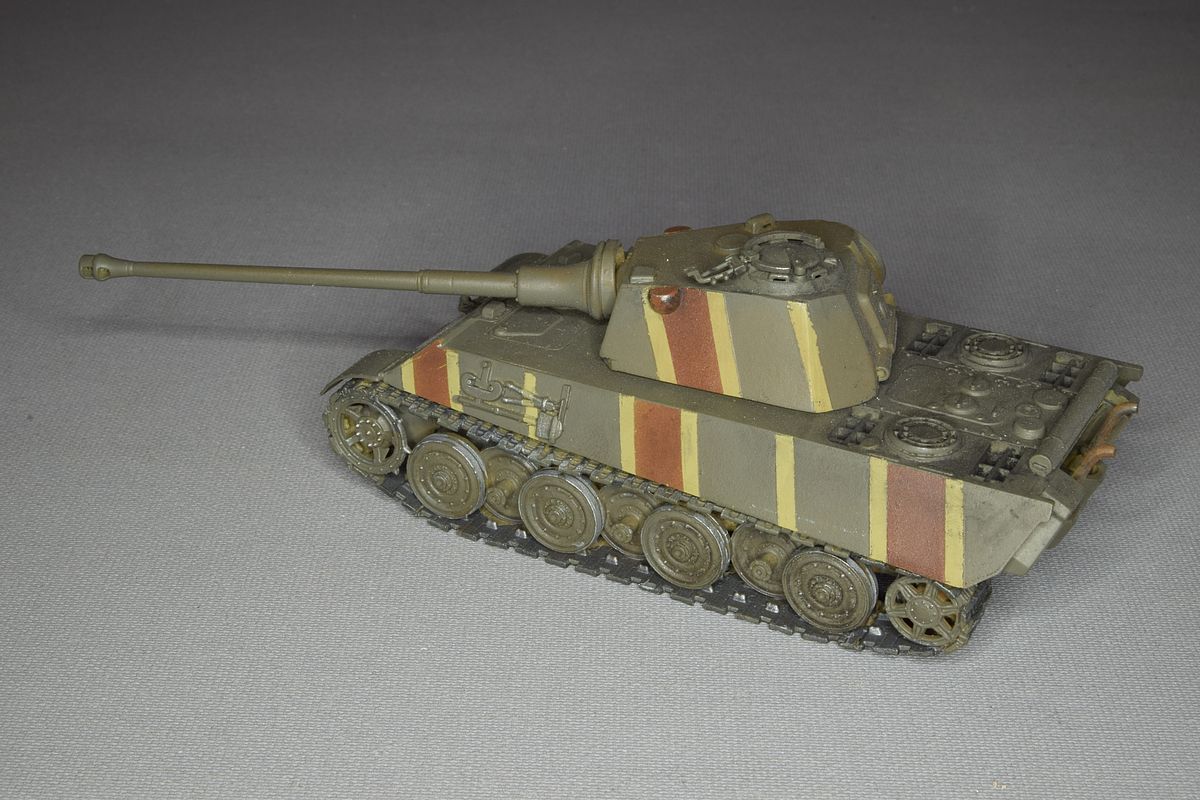
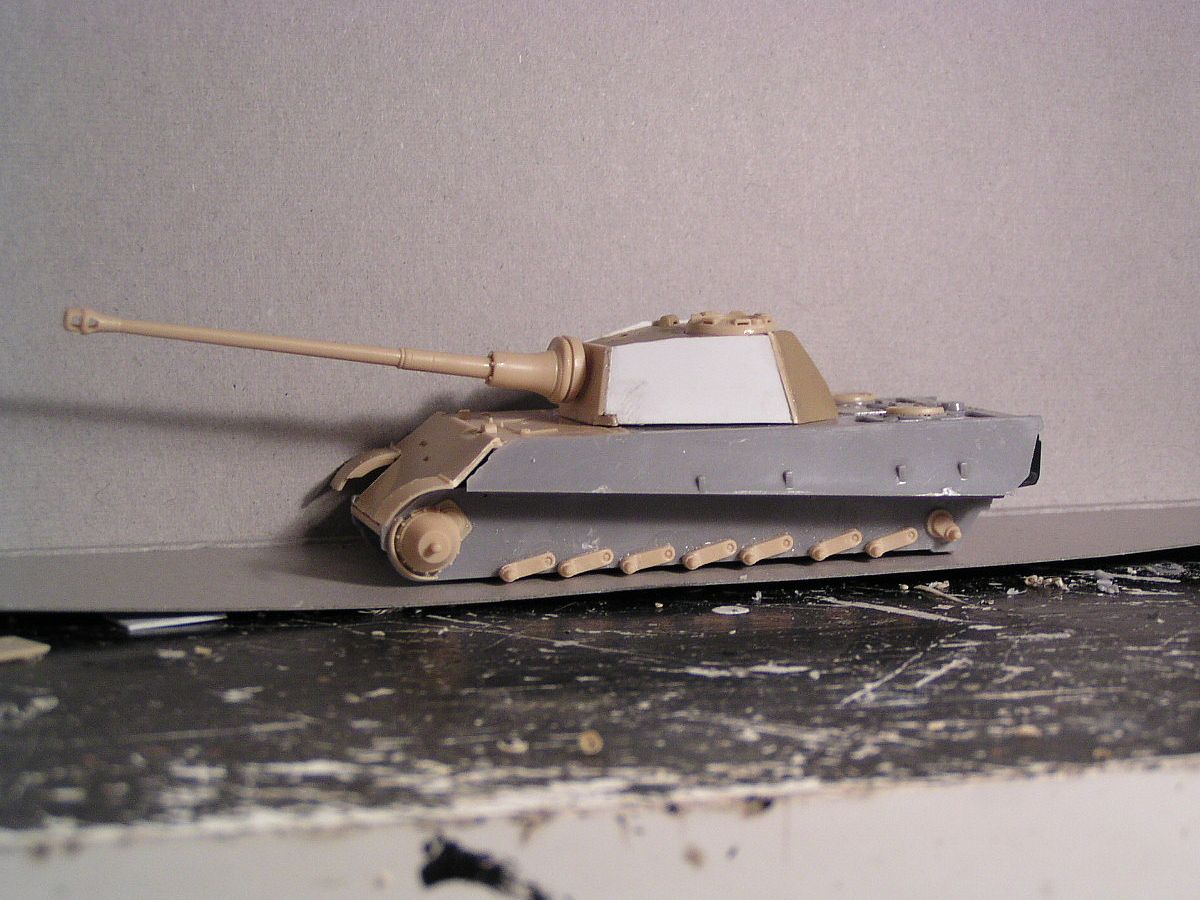
The Panther II was a project that ended with one single hull without turret. I tried to explain my thoughts for my model like this: "I made it as if the Germans decided to use the same parts for the Tiger II and the Panther for easier handling of parts for the factories. So, I decided to use as much as possible from the Revell Tiger II. I built he chassis with the Tiger II wheels and cut down the tracks to look like the transport tracks for the Tiger II. I also used the gun and the front plate of the Tiger turret together with the rear and the roof of a Panther turret, adding new sides of plastic card." I don't remember the reason for the paint scheme I used. |
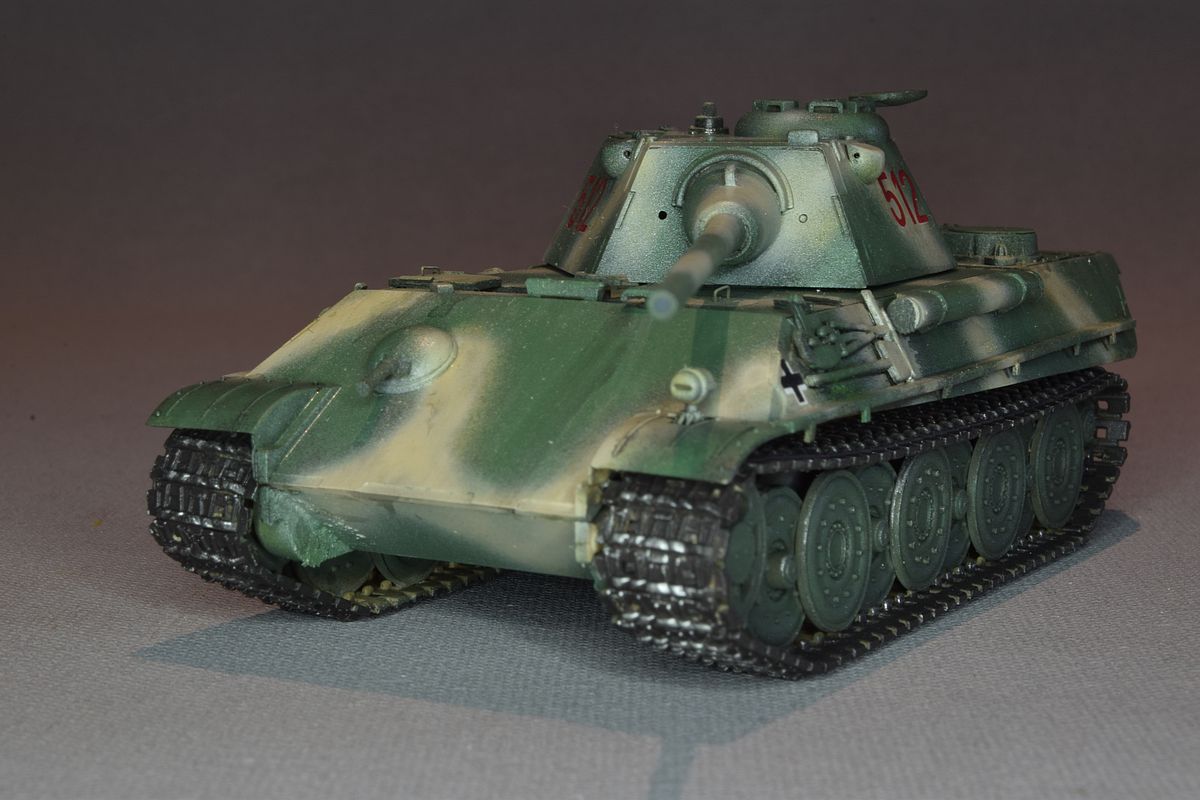

When I built this kit back in 2015 it had been a long time since I managed to finish any kit and even longer since it was a tank. So, I started to build quick easy models, most air planes just to get the feeling for model building back.
|
| The plan worked well. I built six models and felt that I want to get back to my normal model projects again. While doing these quick builds I found the parts for a Panther F on the shelf and decided to just build it and don't research too much. So, a Revell Panther G was to be connected with wheels and turret from a Dragon Panther F. |
| But as always it wasn't as easy as one thought. The holes in the wheels were larger than the axle stubs of the Revell hull so I had to replace the axles. |
| I added a couple of etched parts from Voyager and made some parts from plastic strips. |
| I removed the hinges from the drivers hatch and built them as sliding hatches. |
| I just grabbed some jars of green and sand and painted it without concern about the correct colours. The whole meaning was to keep the build simple. I think I will restart on my Panther D that is sleeping somewhere. |
| Stockholm March 10, 2014 |  |
Updated January 12, 2024 |
----------------------------------------------------.::.
vehicles .::. civilian aircrafts .::. military aircrafts .::.
miscellaneous .::. home .::.------------------------------------------------------ |