
|
-----------------------------------------------------------.::.
vehicles .::. civilian aircrafts .::. military aircrafts .::.
miscellaneous .::.---------------------------------------------------------- |
| I found this kit cheap, so I bought it in an attempt to back date it to the 1914 version. I didn't want to start a conversion on the body before I knew that I had wheels for it. |
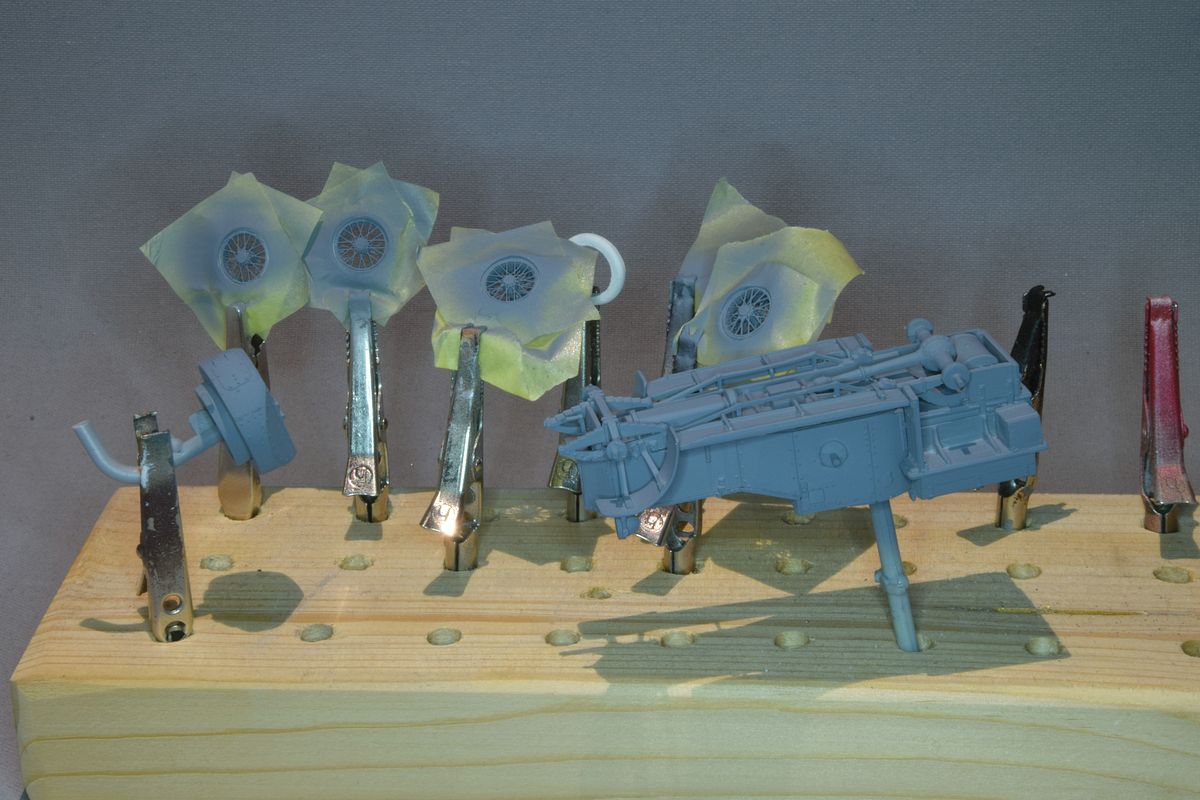
| I took a look at the spare part boxes even though I had little hope of finding any WW1 wheels. Needing eight wheels doesn't make it easier but I found three sets from the Junkers F13 that I could use, and I have another kit that will be built with floats so I will try these wheels instead. |
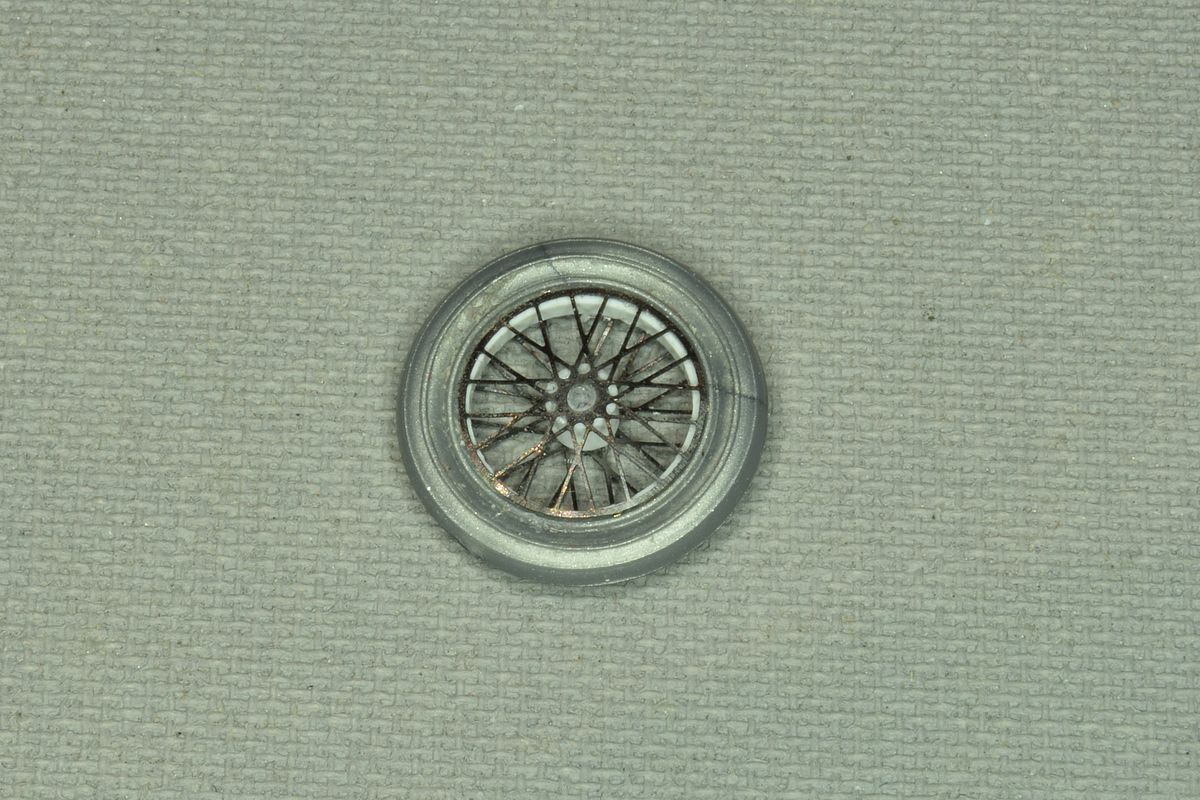
| Etched spokes from Eduard. I guess this could work. But what about the turret in the Roden kit? It is hard to tell in this scale, but I think it is the higher 1920's model. I don't trust the drawings I have, they show the same turret on both the 1914 and 1920's cars. |
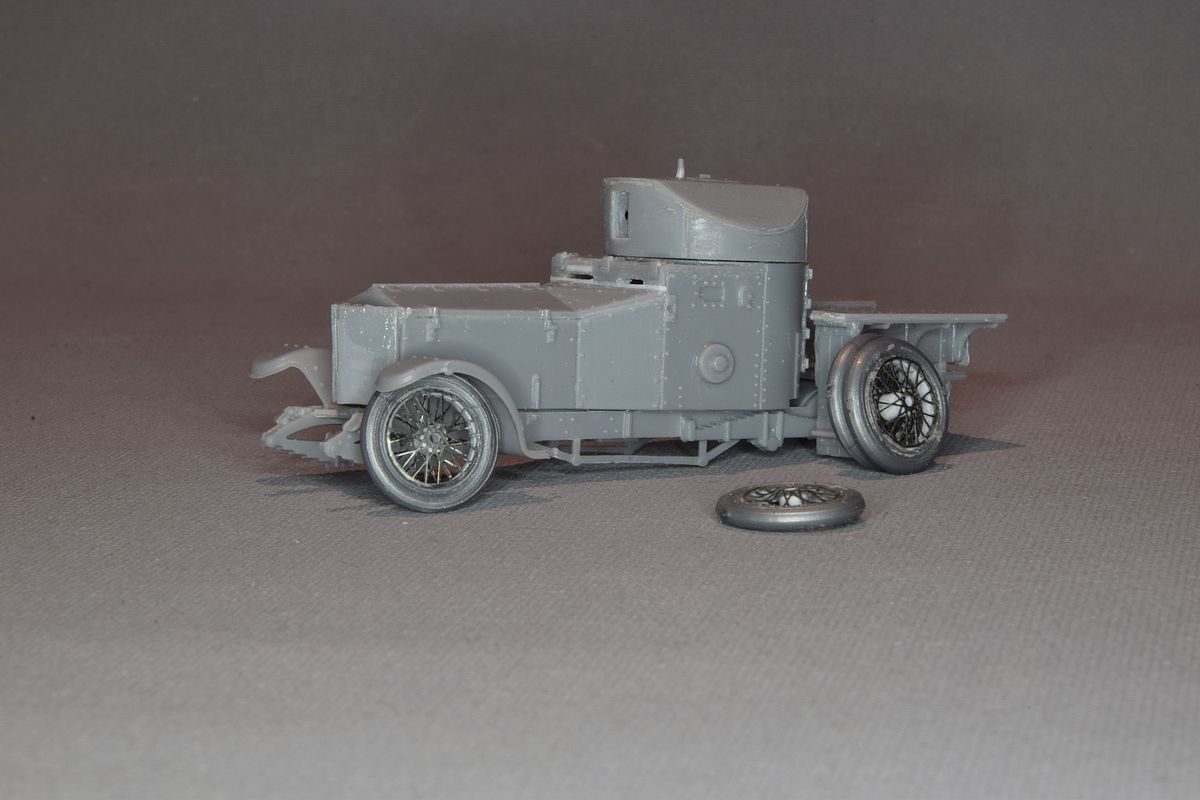
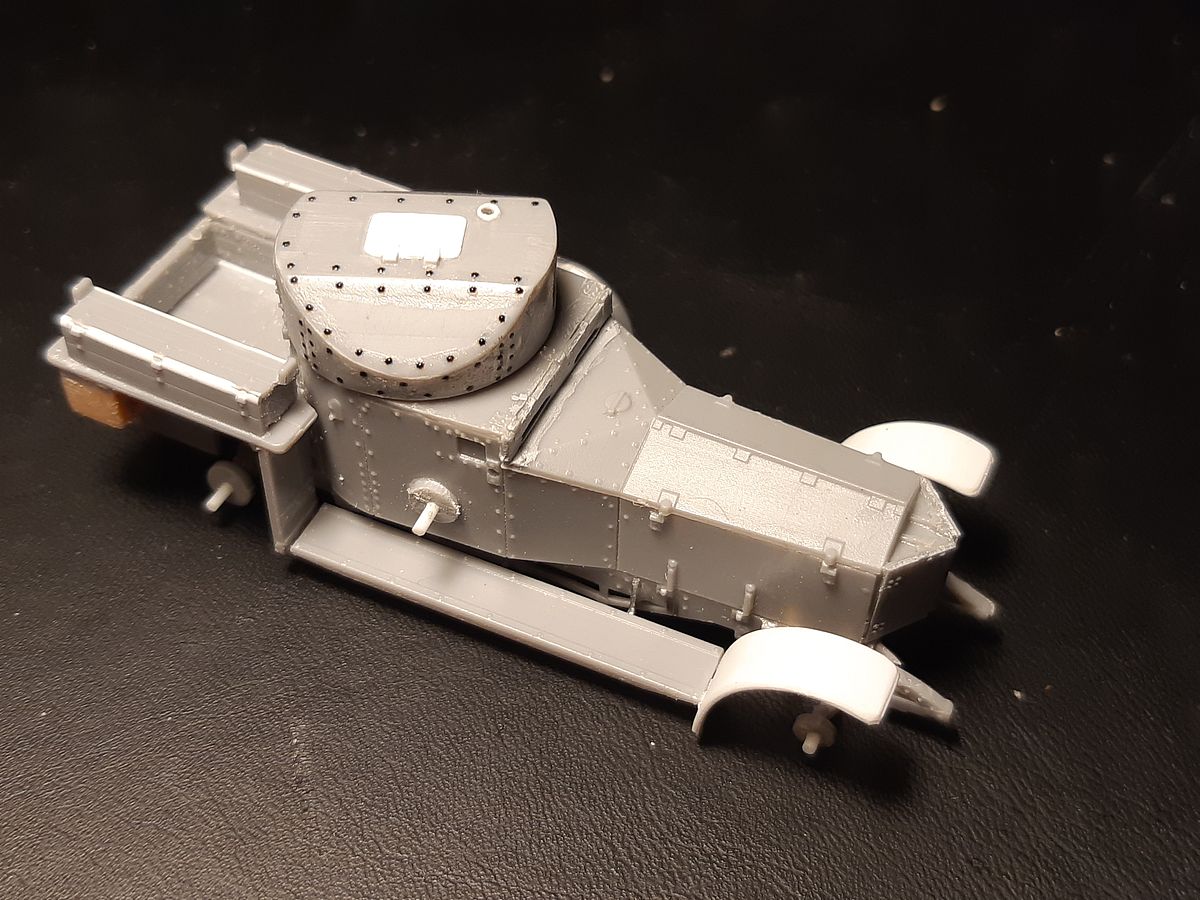
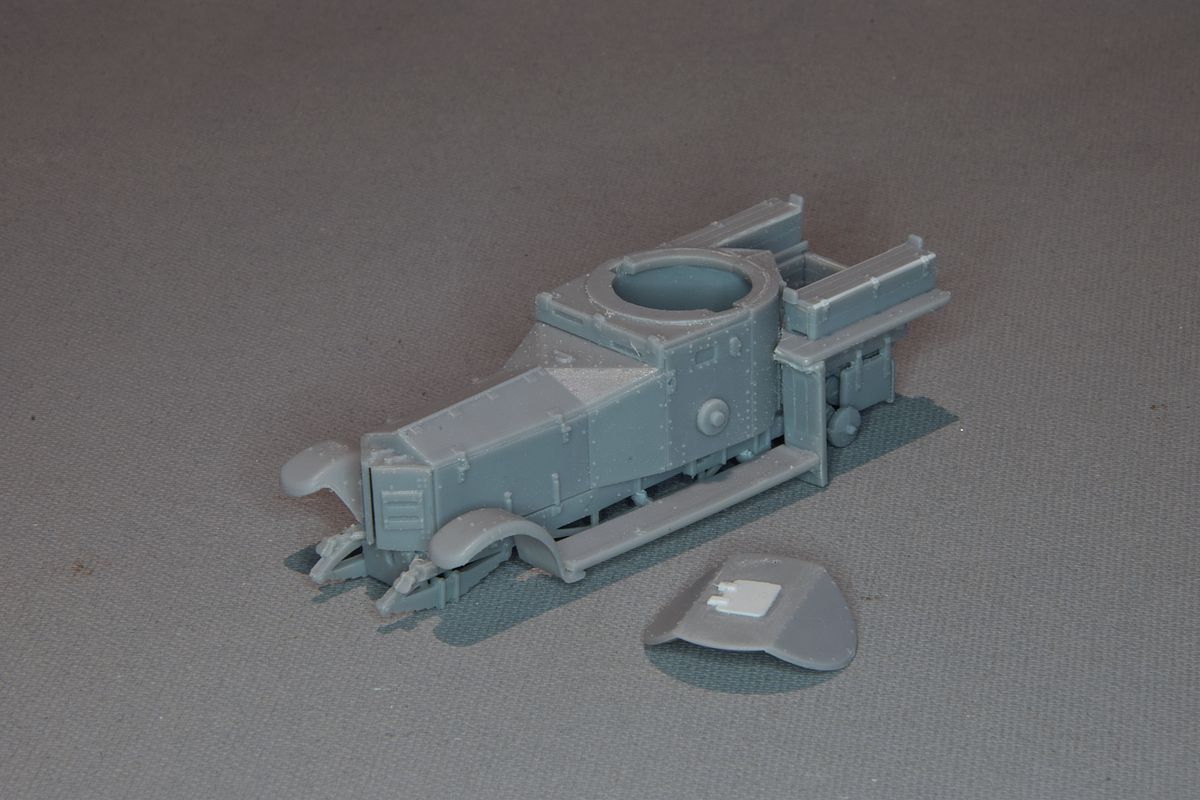
| I finished the wheels, so I decided to go for the conversion. The turret has been lowered and the vision slit for the driver was moved down. I have also removed the slats in the radiator hatches. |
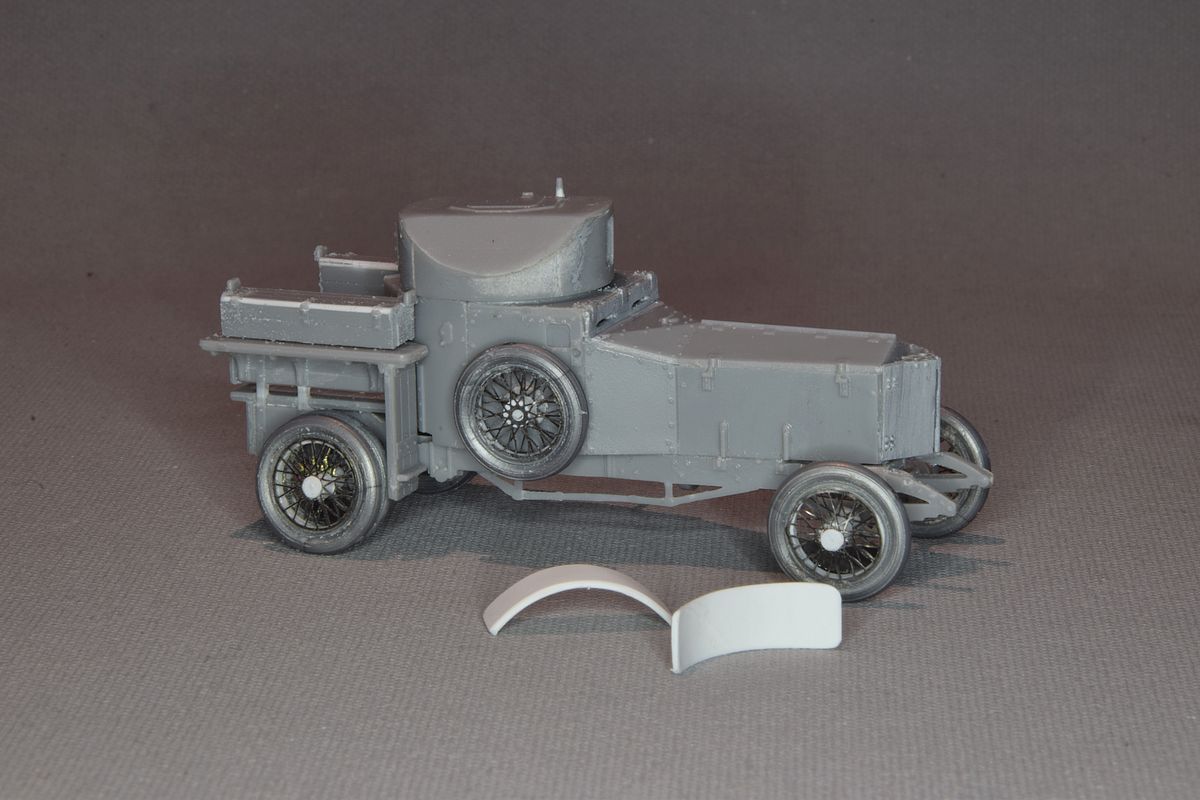
| If I had been braver I would have converted the Roden wheels as they have some thread marks but I wanted to keep them as a backup if my spoke wheels had failed. I have reached the scary stage with the new front fenders. The old ones were cut away and new fenders made of two layers of thin plastic card. Now there is no other options than to fix this. No backup plan left. I think that I will make a new hatch in the turret as Roden missed one of the hinges. |

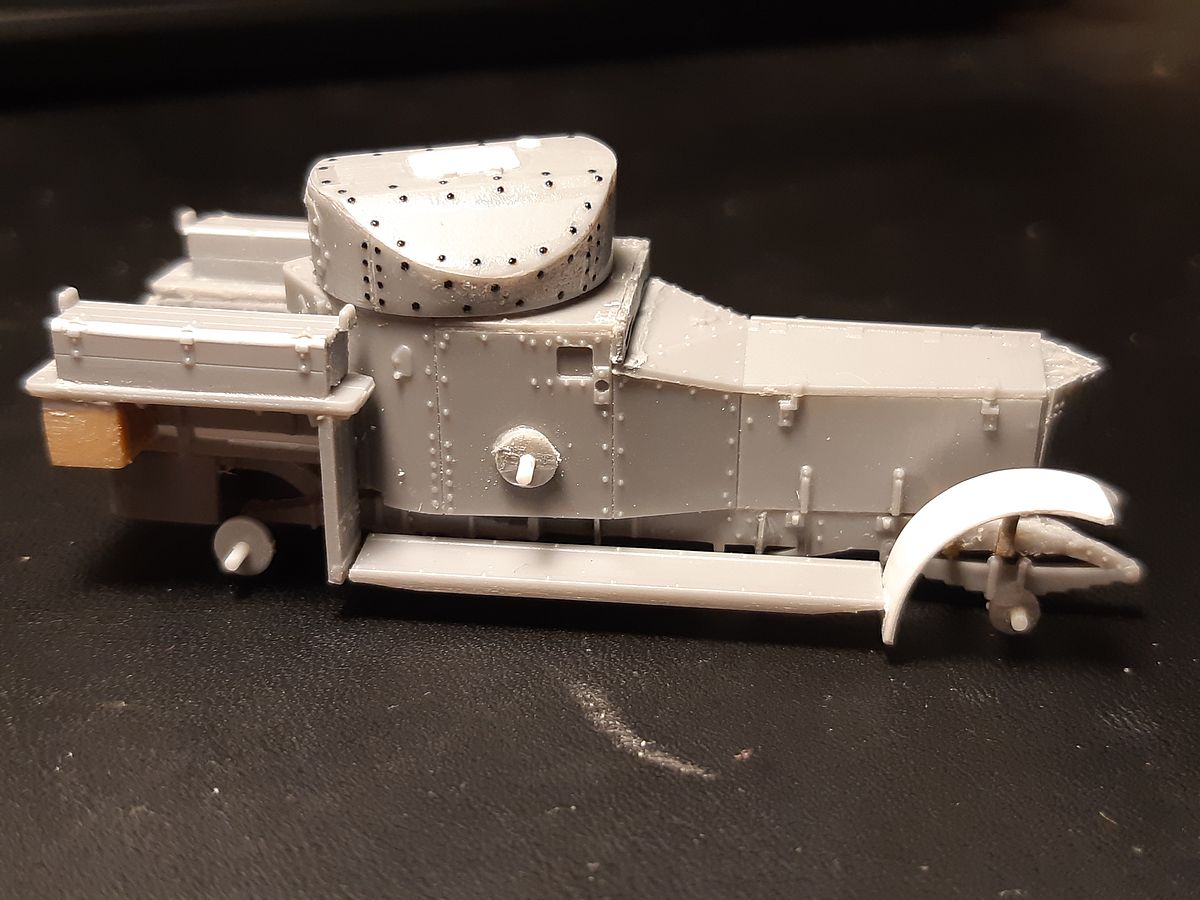
| While looking at pictures to see how the front fenders were attached, I noticed that there were small boxes under the rear fenders. On the build table I had a sprue from the Esci Opel Blitz that I used parts from on my A7V build and luckily enough there were some part usable for the boxes. But I have trouble with how to attach the front fenders. Everything is to small and flimsy. I am not happy with the shape of my fenders, I am thinking about making new ones. |
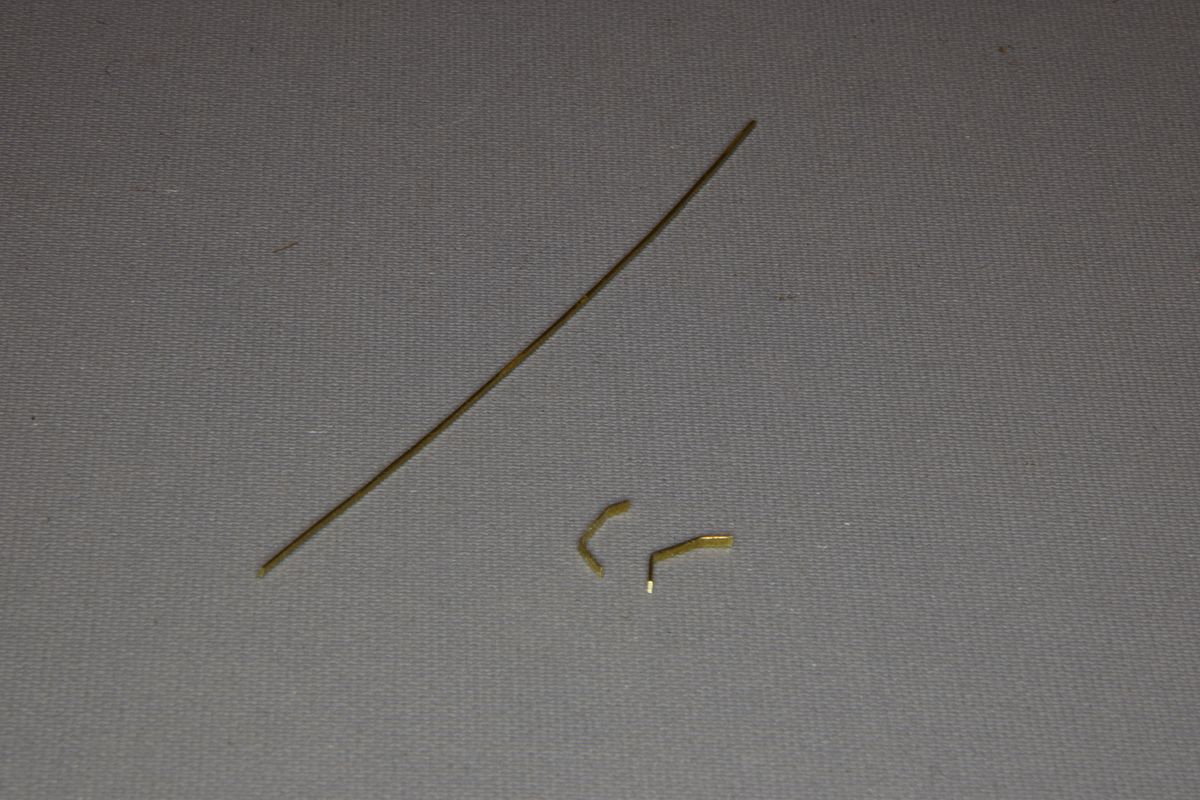
| I tried brass wire, but it didn't work well so I made an experiment. I stretched brass thread so it hardened. Then I flattened it with the help of a hammer. Now I got a hard flat brass wire that I could bend in the right shape without getting distorted when handling. |
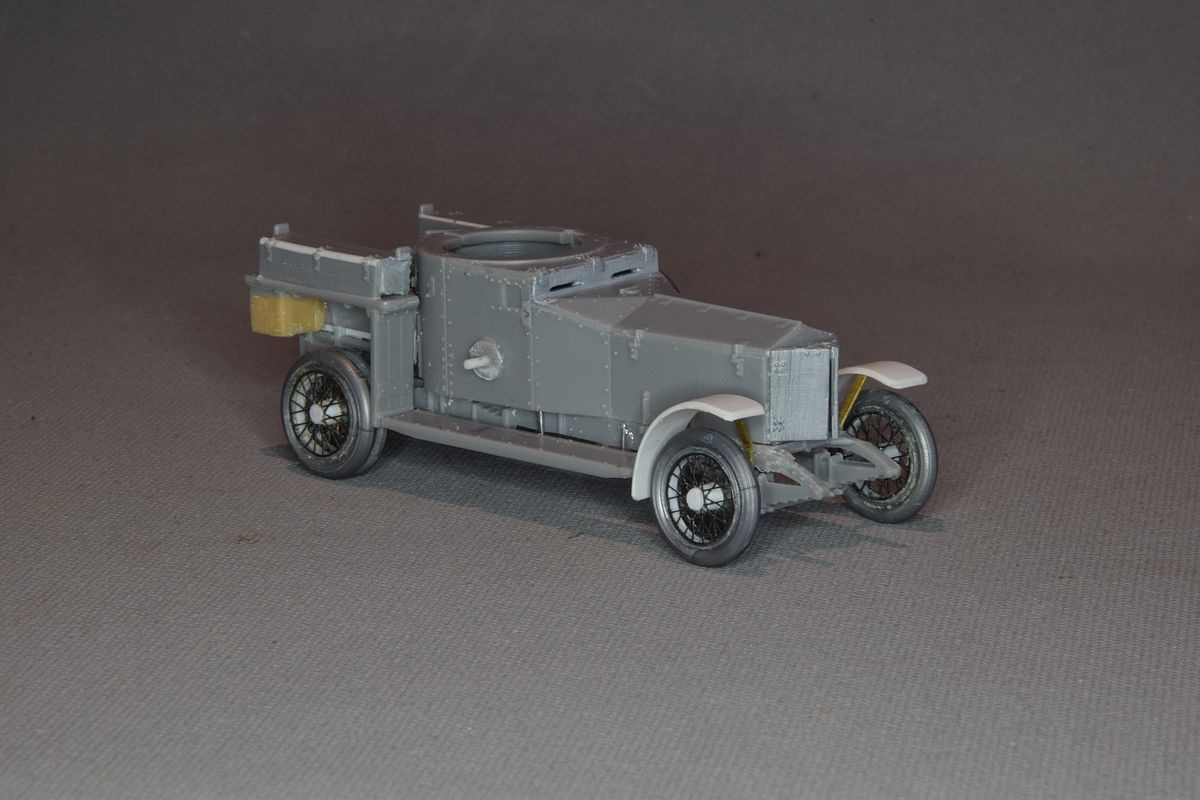
| I cheated and glued the fender to the running board. Now with the fenders mounted to the brass supports and the running boards I can remove the wheels and add the second support. Those brass supports are probably too wide but at least I got the fenders in place. |
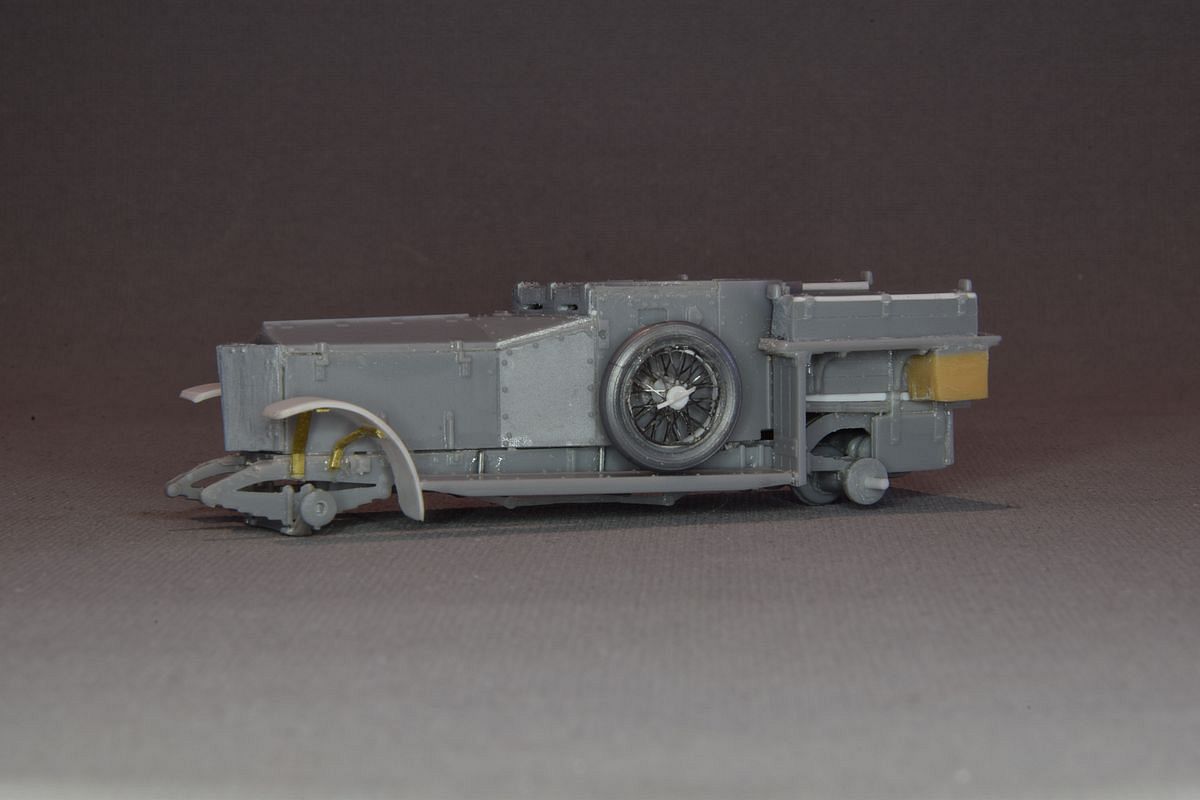
| I managed to get the rear fender support in place.It was a little tricky to to. First to get the bends right then they also needed to be twisted. |
| Halfway through the rivets. There were more rivets than I expected. |
| I'm using rivets from Archer Fine Transfers |
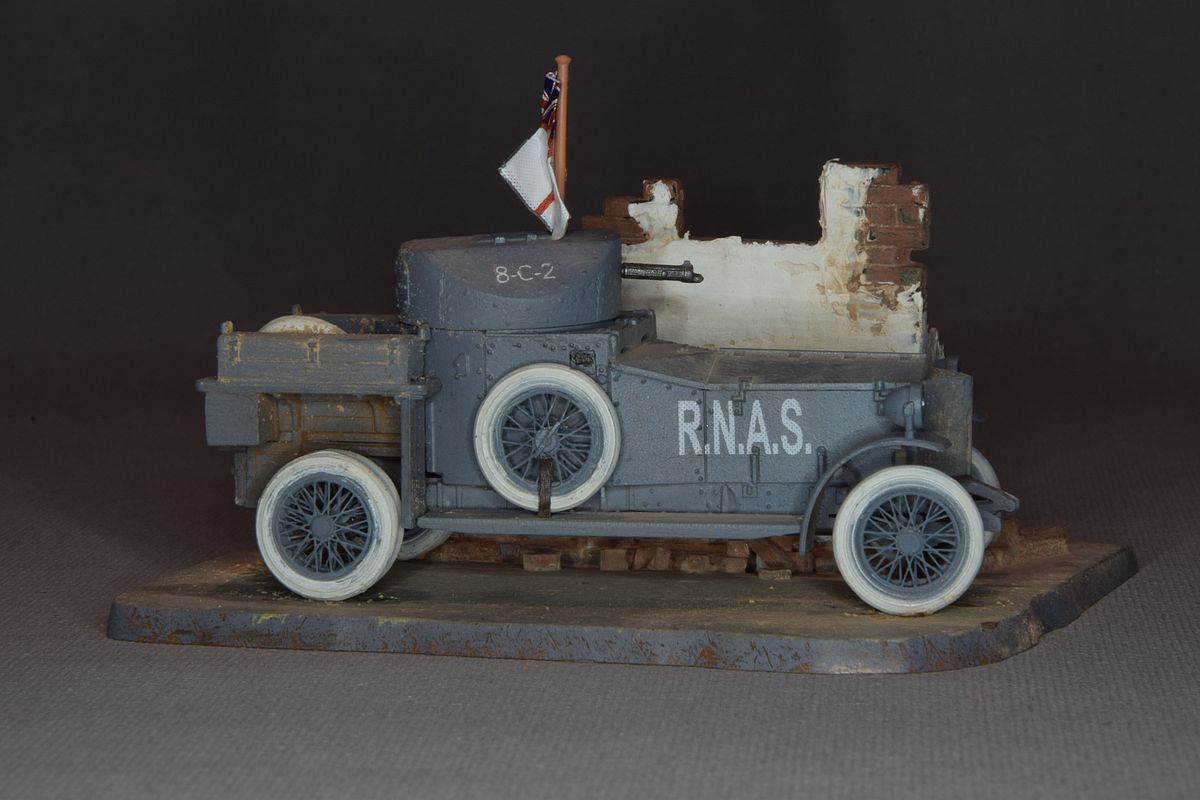
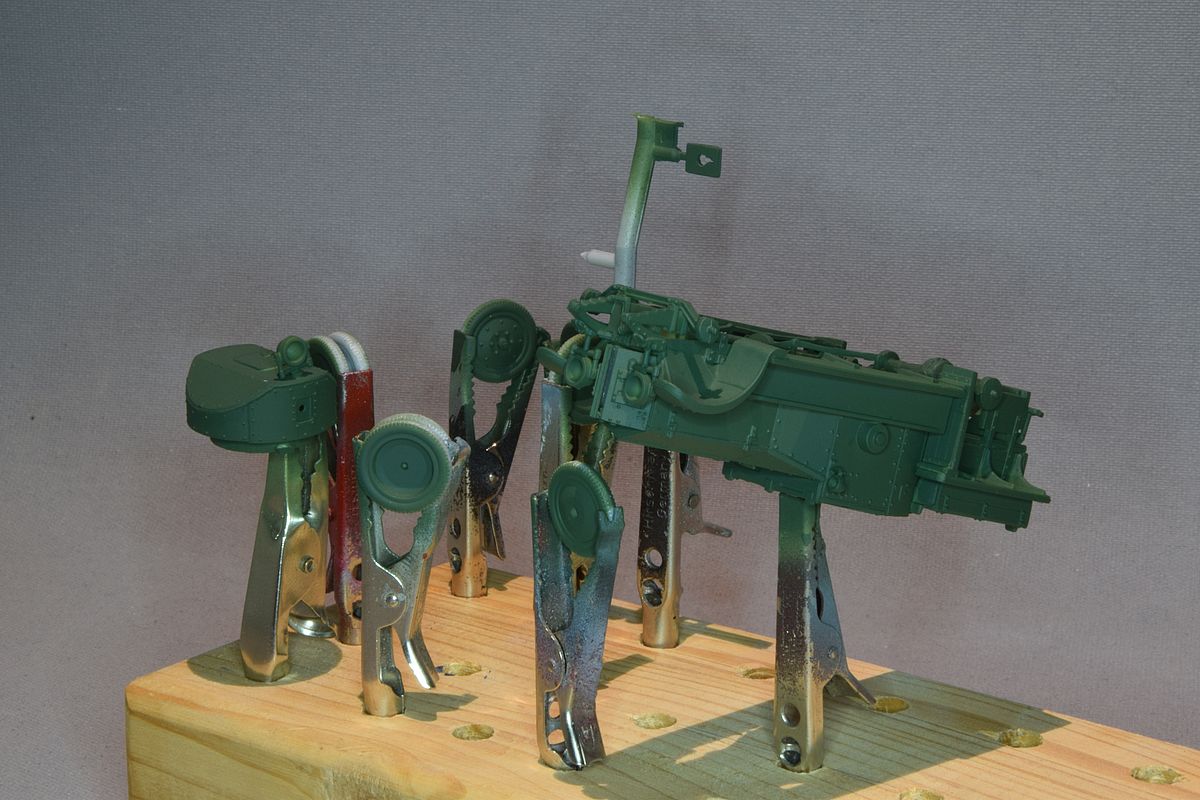
| I've reached the point where my builds usually stalls. I hate to paint but I managed to push on and slab some grey on it. |
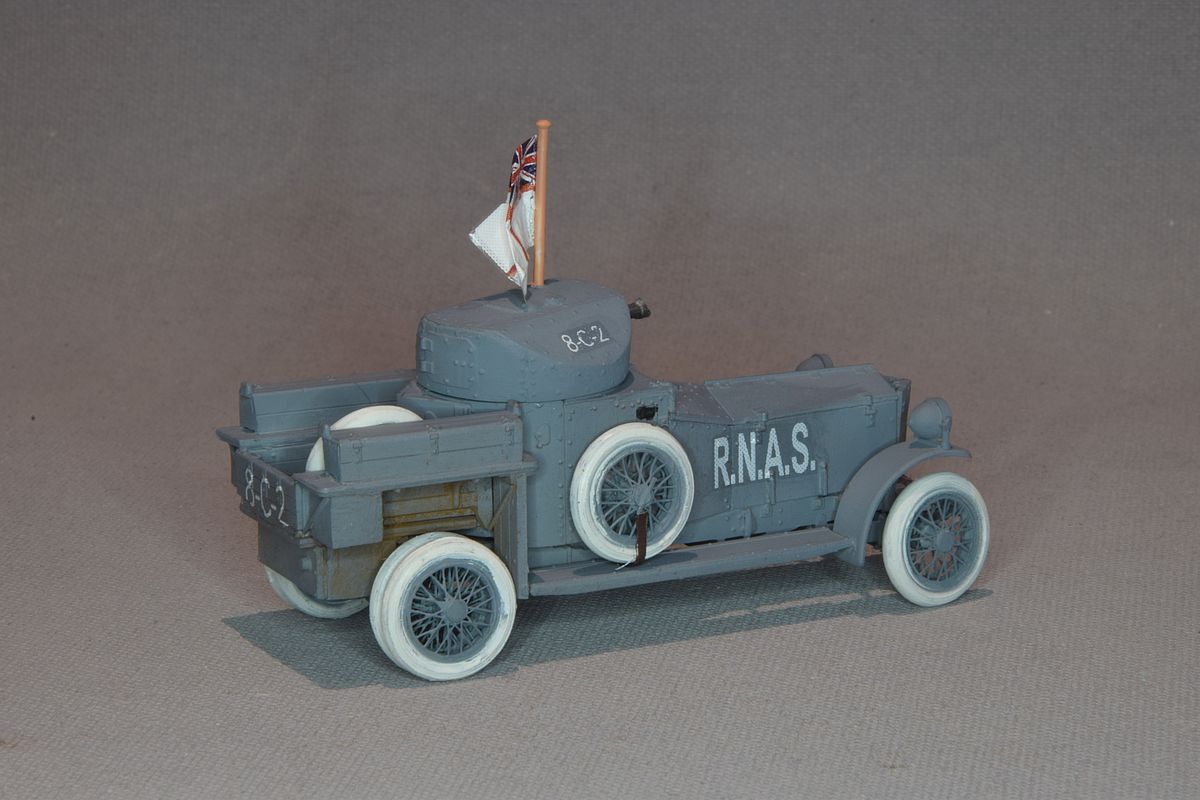
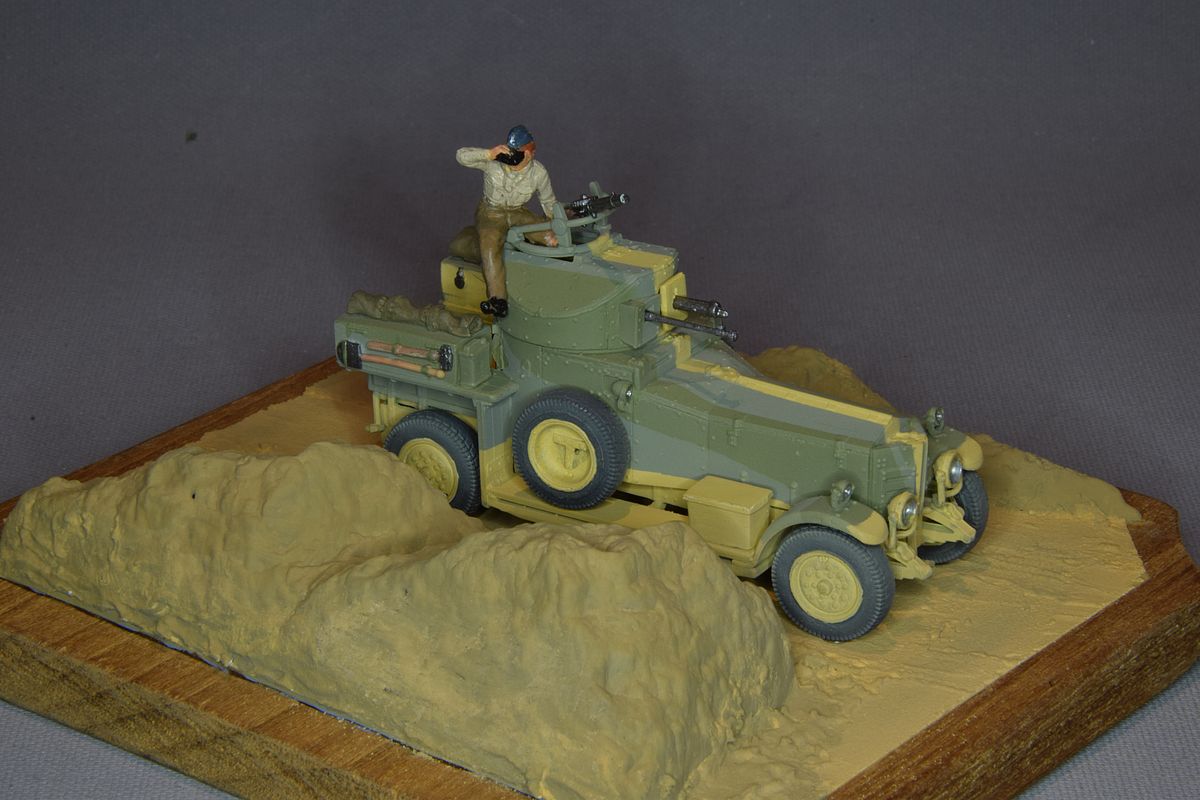
| Almost there |
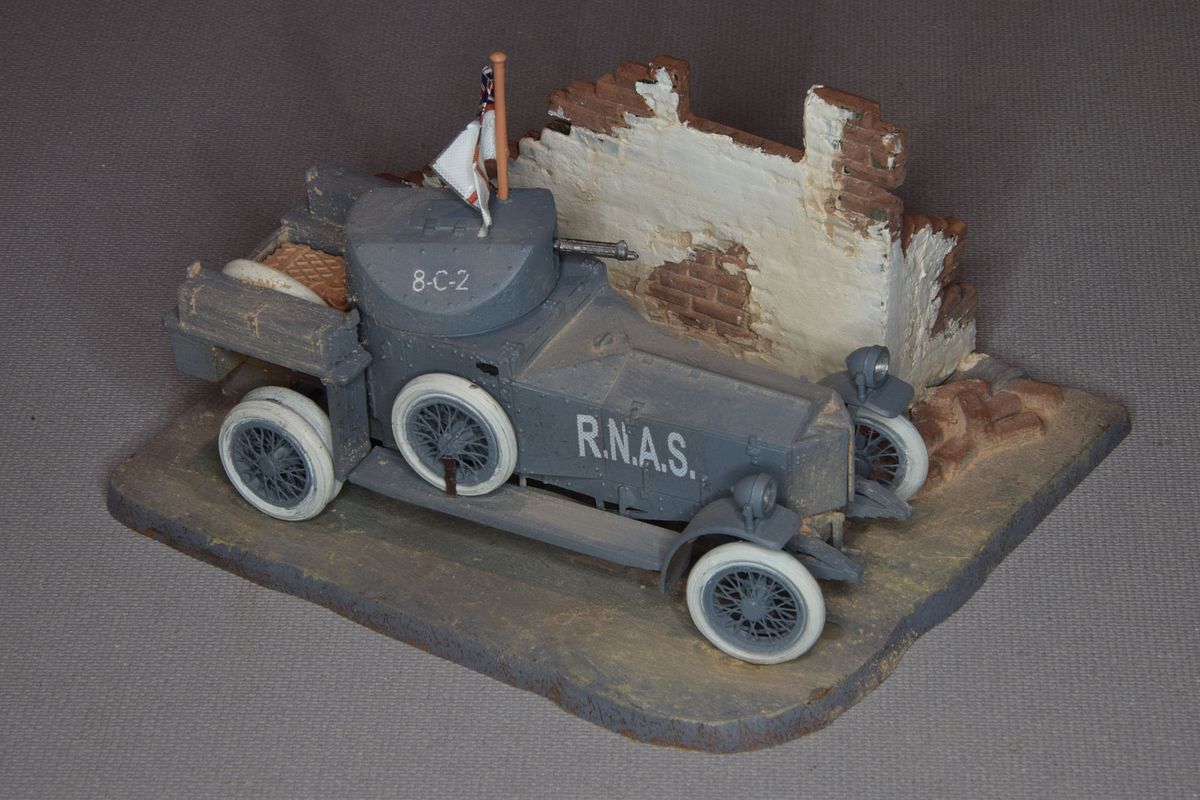
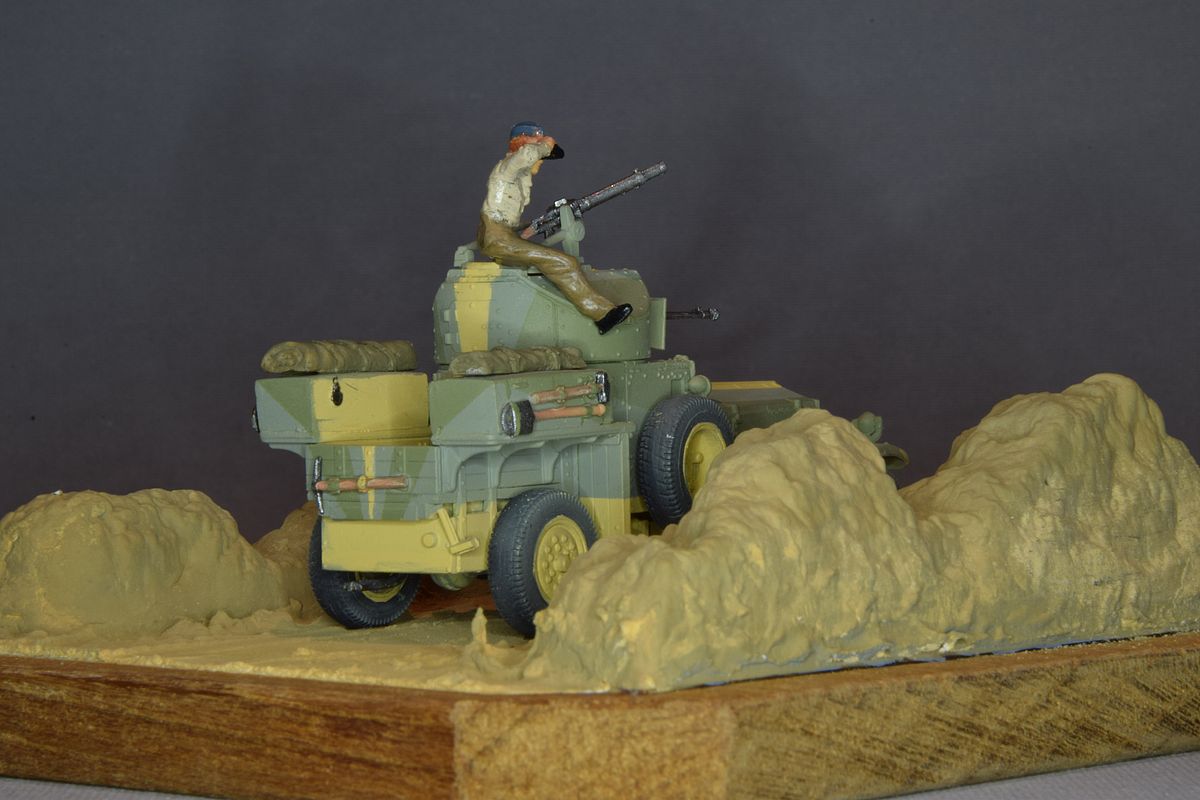
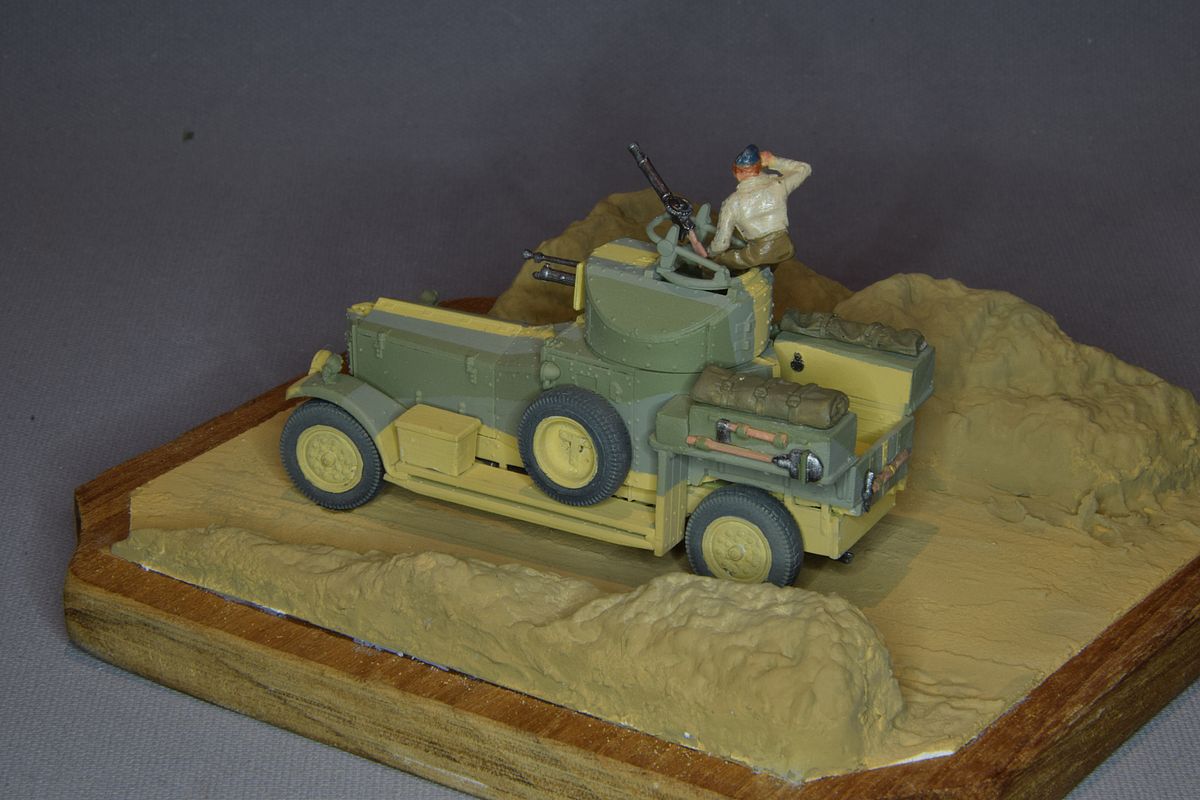
| Lets call it finished. There are more kits to build. |
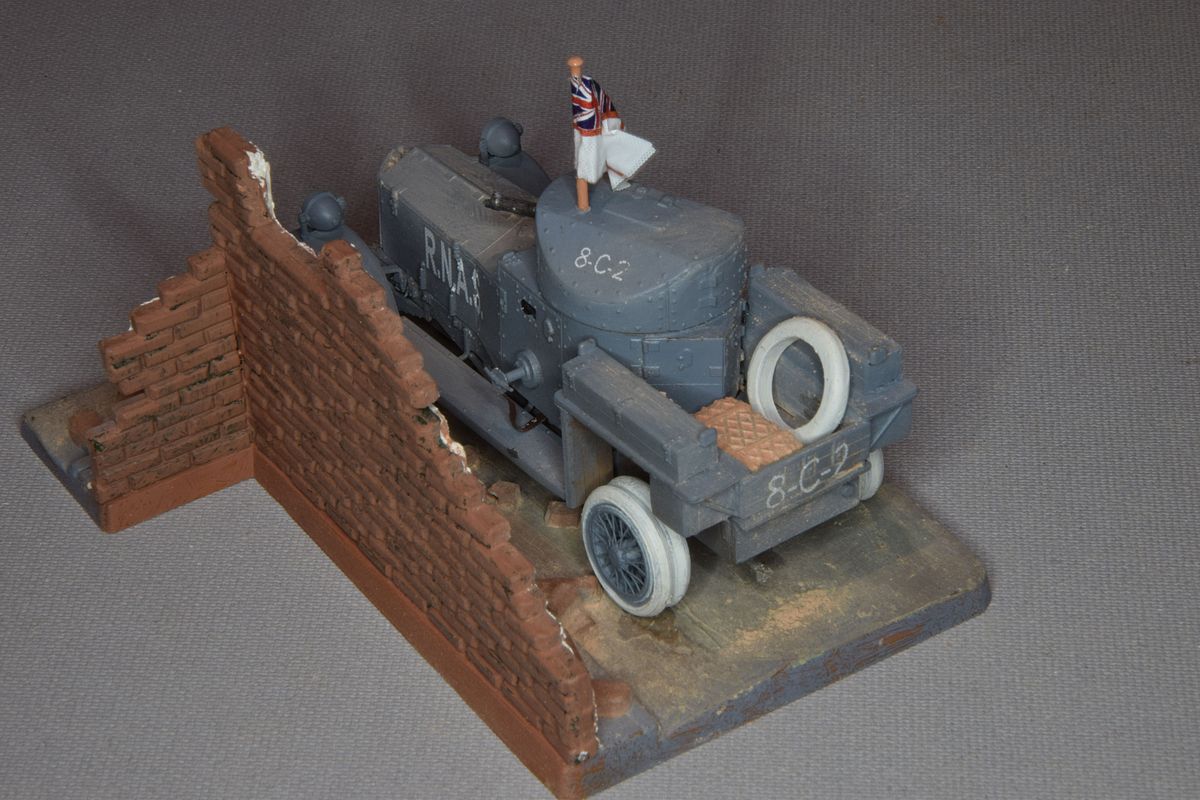
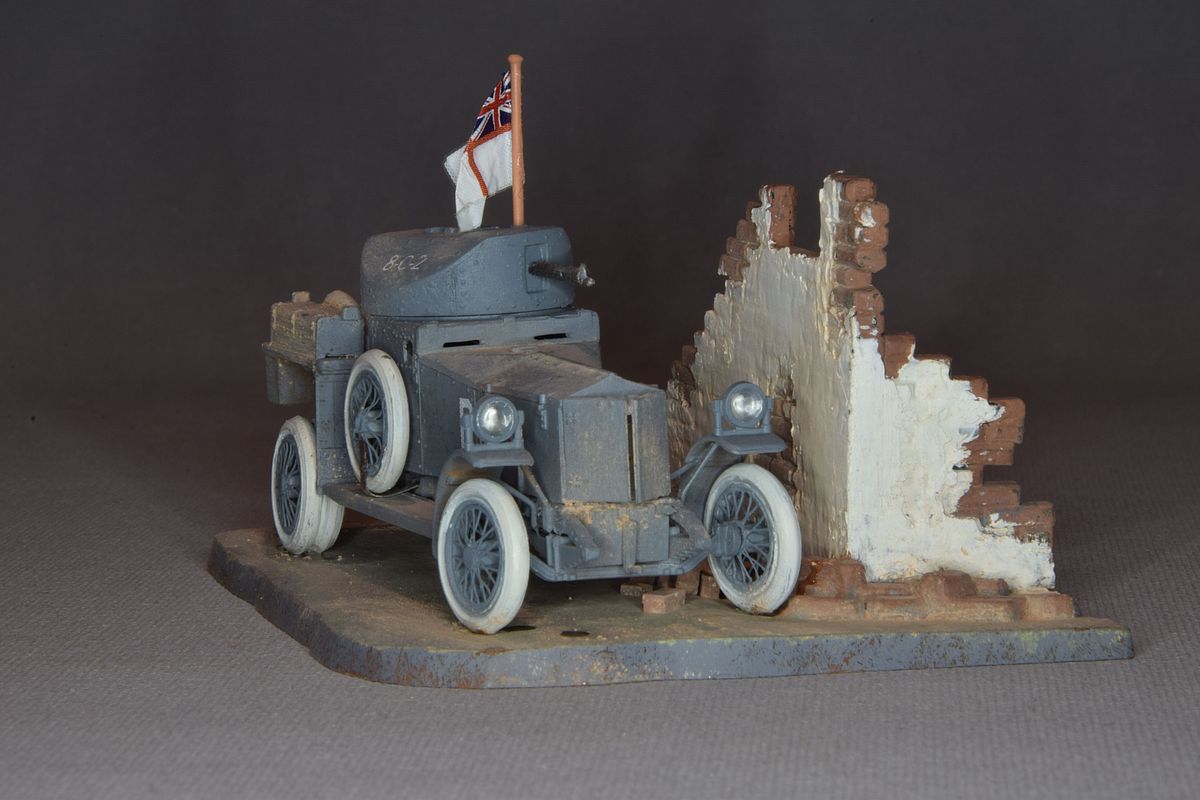
| I used a base from a Matchbox kit |
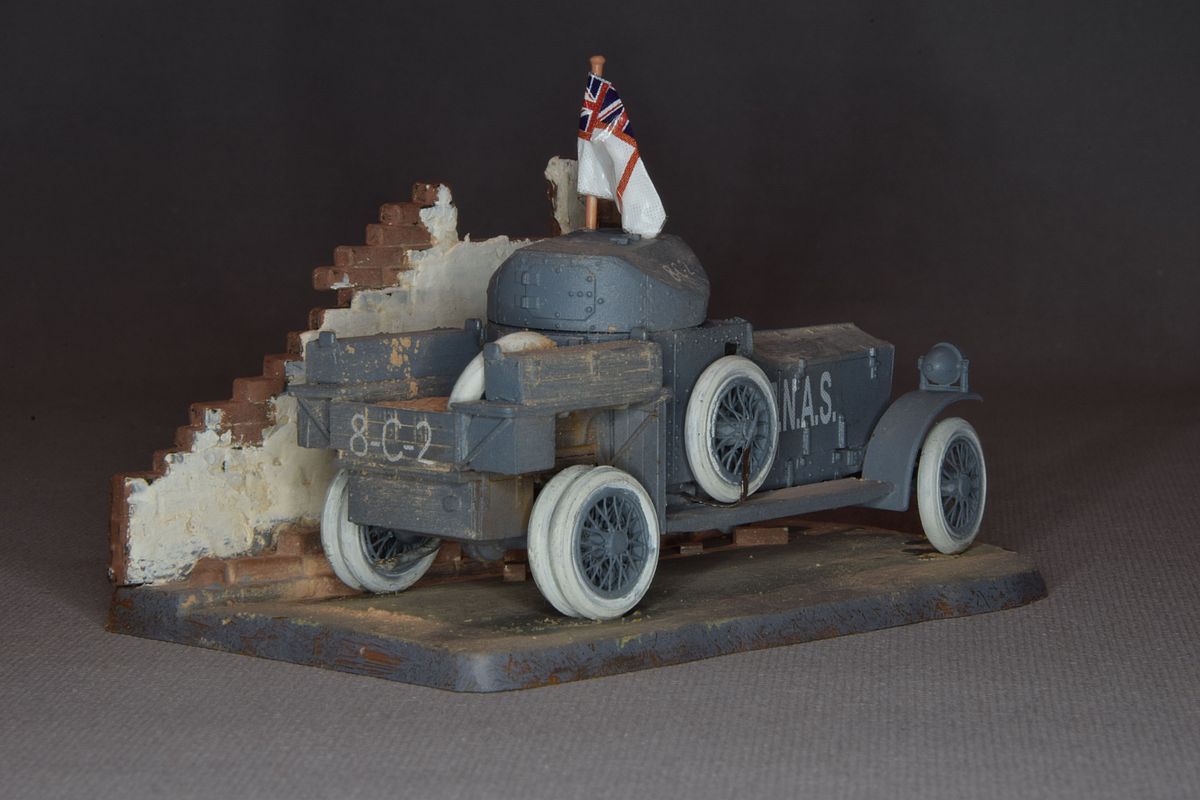
| When I saw how this would look like I just had to get a second kit to build as a 1920 version. |
|
I bought a second kit with the intention of an out of the box build but me and OOB-builds has never been very compatible. When I was building my 1914 car I learned that the hexagon under the turret hatch had to go. It was a repair of the turret when a cupola was removed and is present on the preserved car in the museum. I reckoned that a 1920 model would not have this hexagon plate either so I removed it and built a new hatch when I had a look at the marking options in the kit. There is no option for a 1920 car, all three is from the WW2 era. I'm starting to lean toward an Irish car but some sources said that they would be a greenish grey colour while the restored car ended up in something like blue grey. In black and white pictures the cars look very dark so the blue grey is perhaps right? |
| In the end I realised that I preferred it in green. But as I used the modified turret roof and will use the decals in the kit it will probably be incorrect. |
|
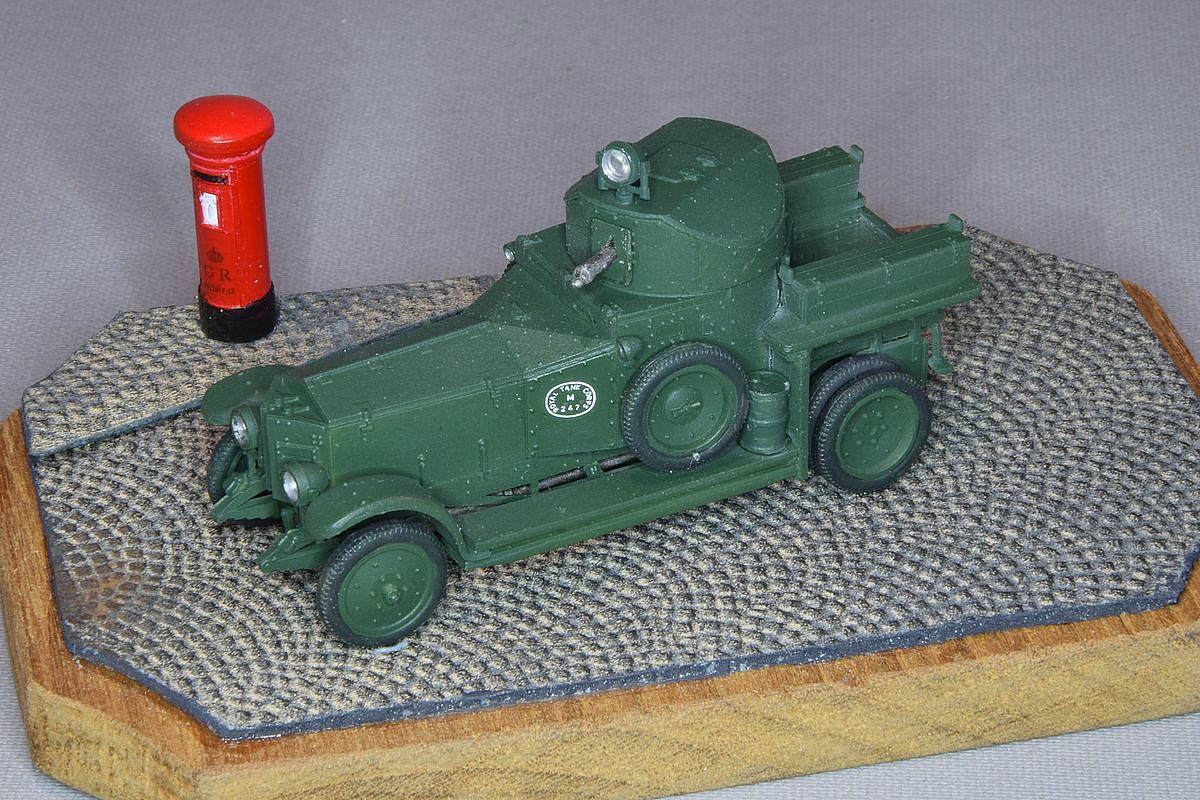
As I settled for a green car I decided to build a small thing that I could put on a base. Some scrap parts was brought out and with some plastic strips added to it I ended up with this. |
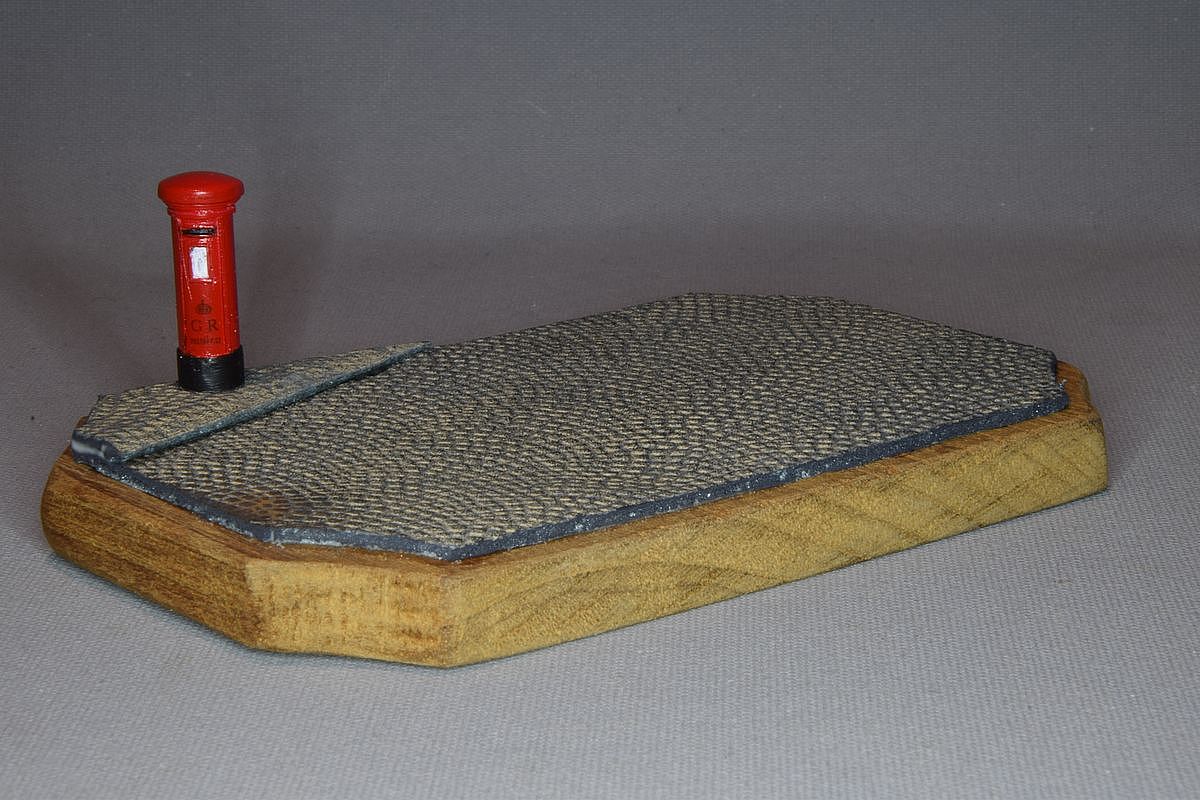
| Home front WW2. The base for the car will be like this. |
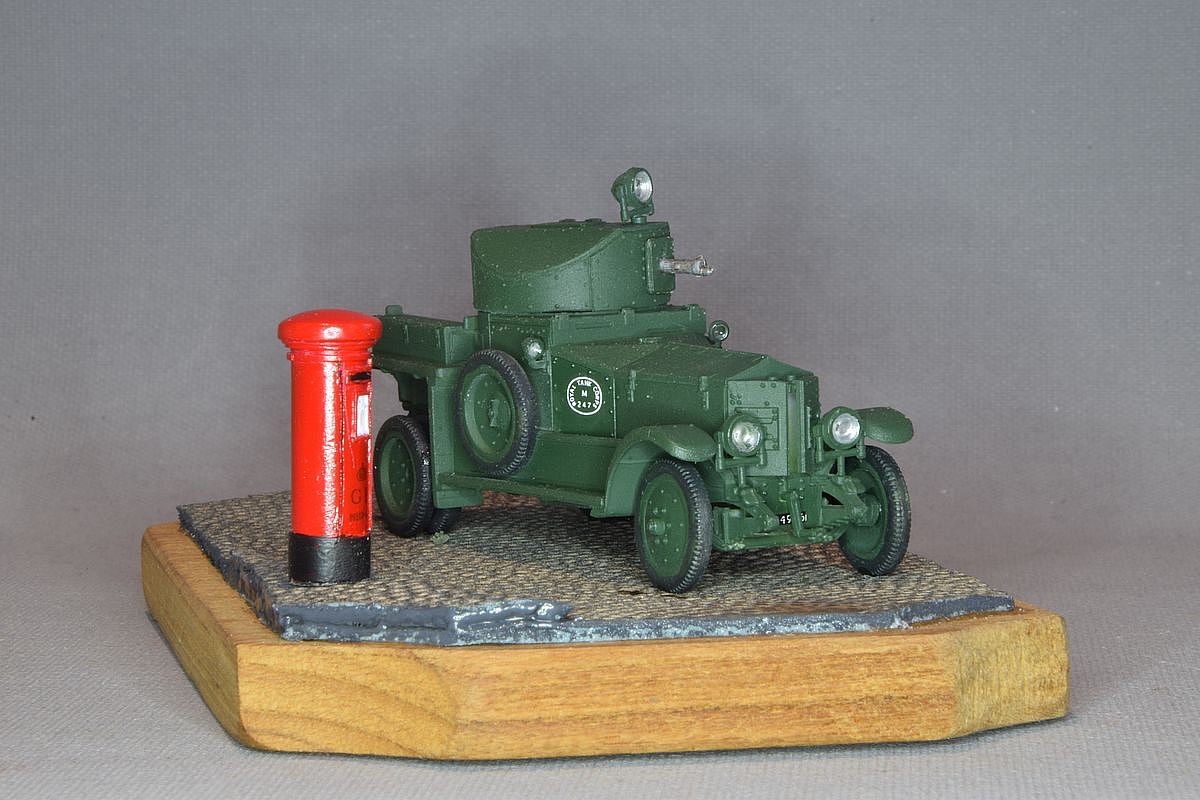
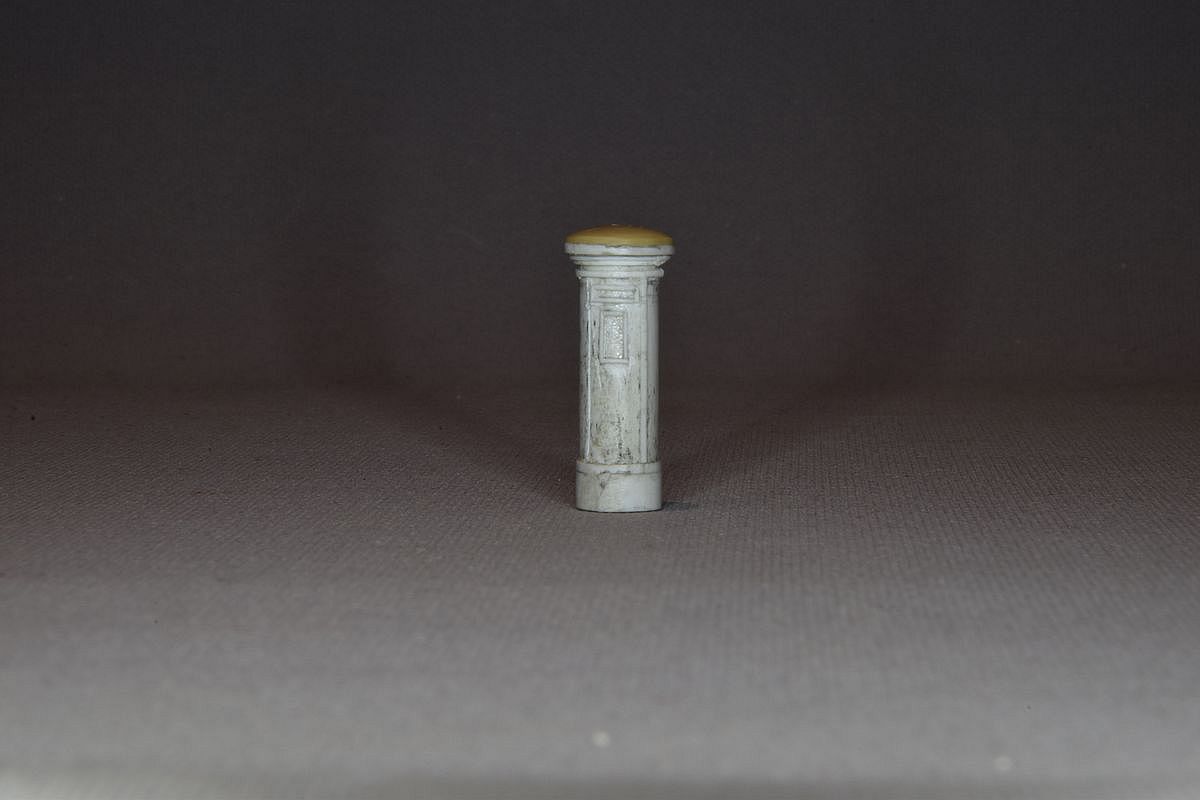
| The red trash bin is a British letterbox. |

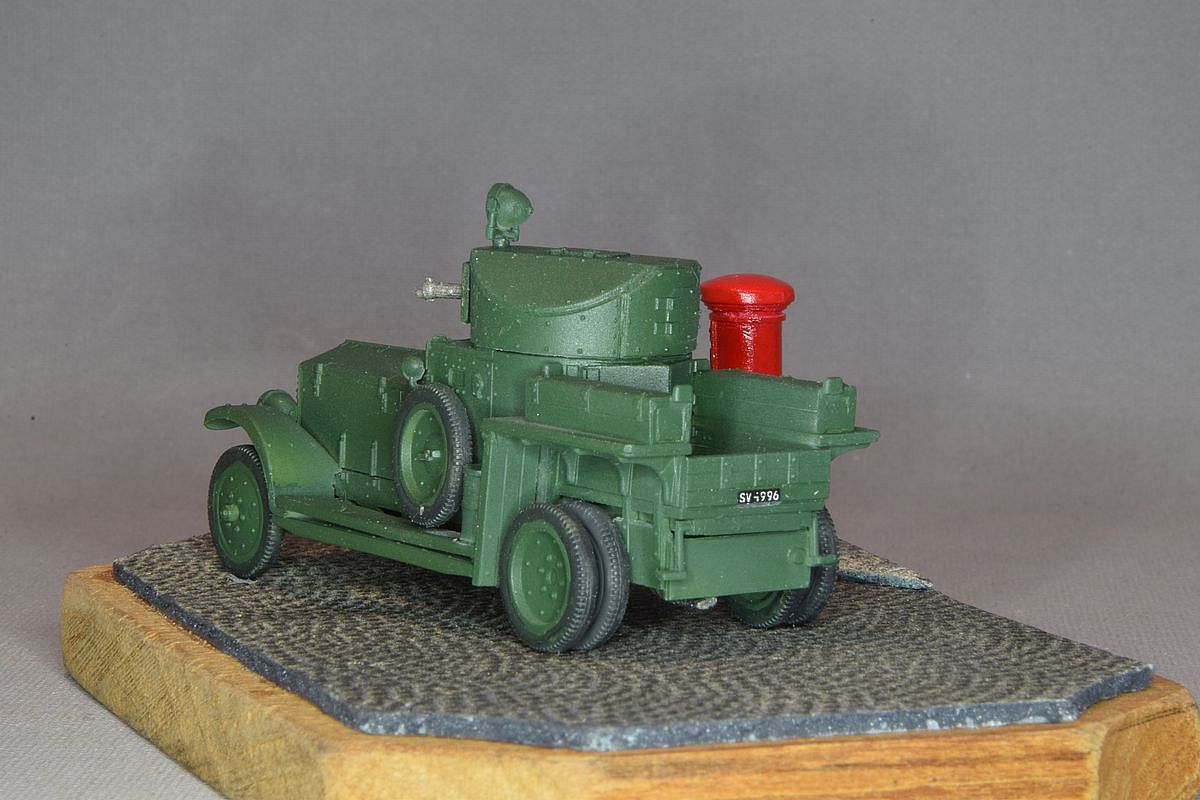
| As I didn't find out how I should paint and mark a 1920 car I built it with the decals in the kit. England during WW2. That is why I needed the letterbox. |
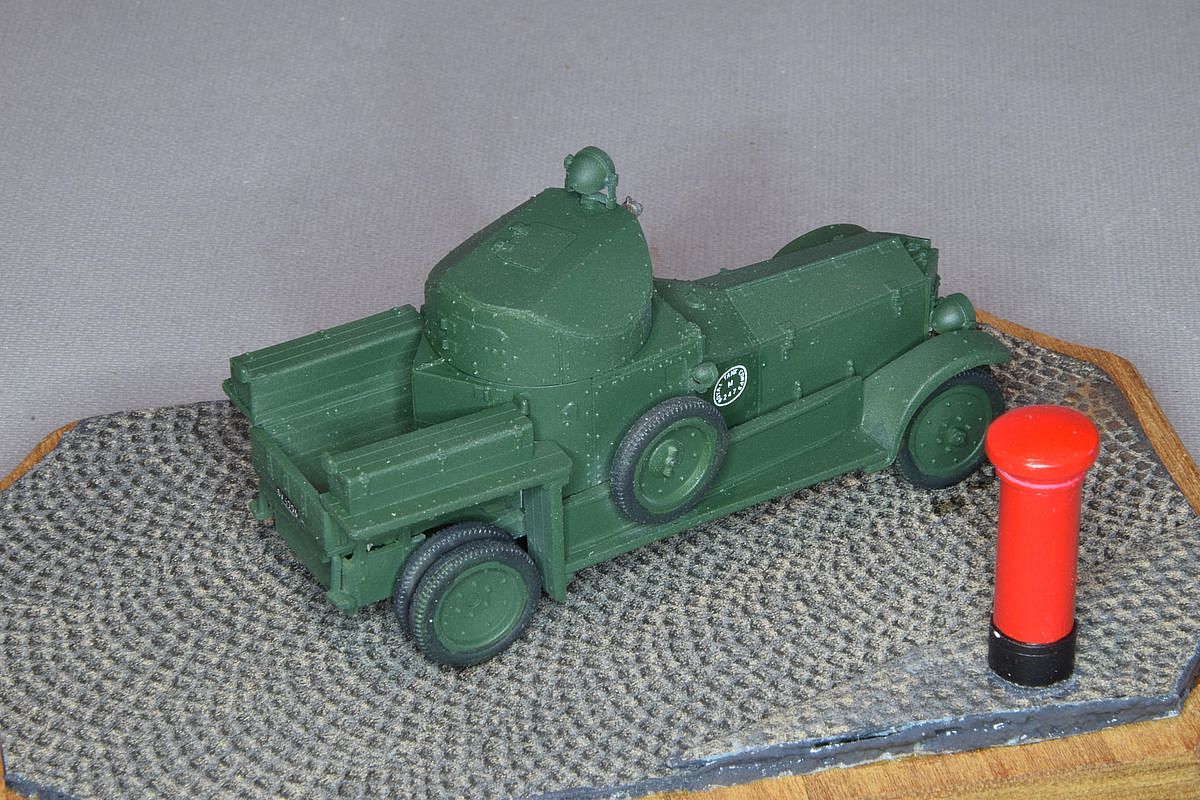
| But as this car is the one in the museum my car is little wrong. The hexagon on the turret roof should have stayed. |
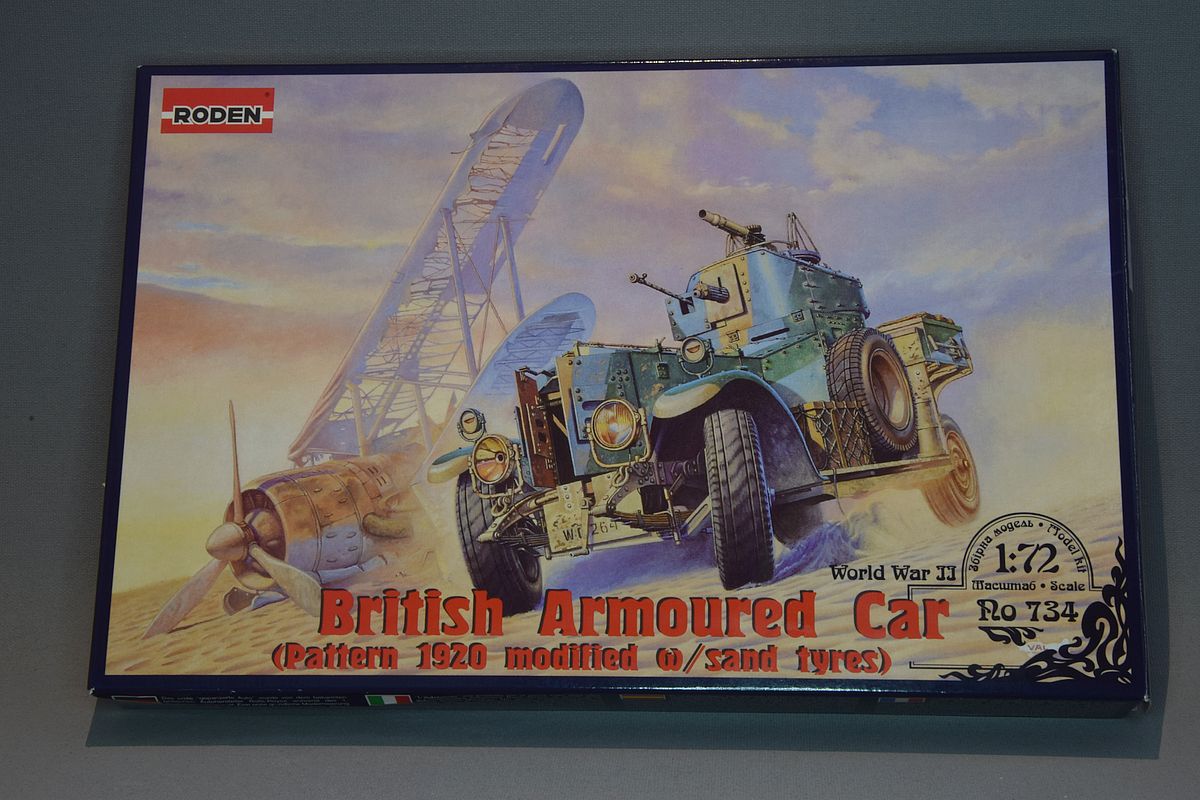
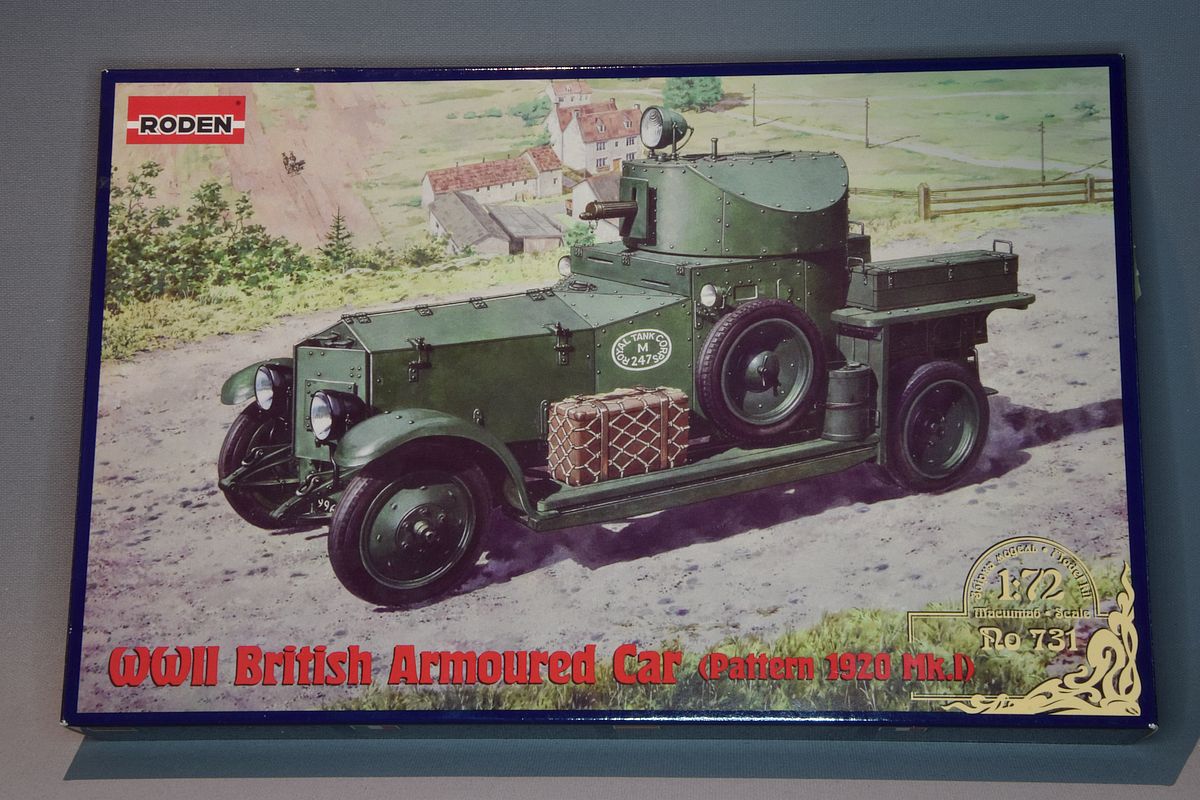
| I might as well start on the last Rolls Royce in the stash. Another 1/72 scale kit from Roden |
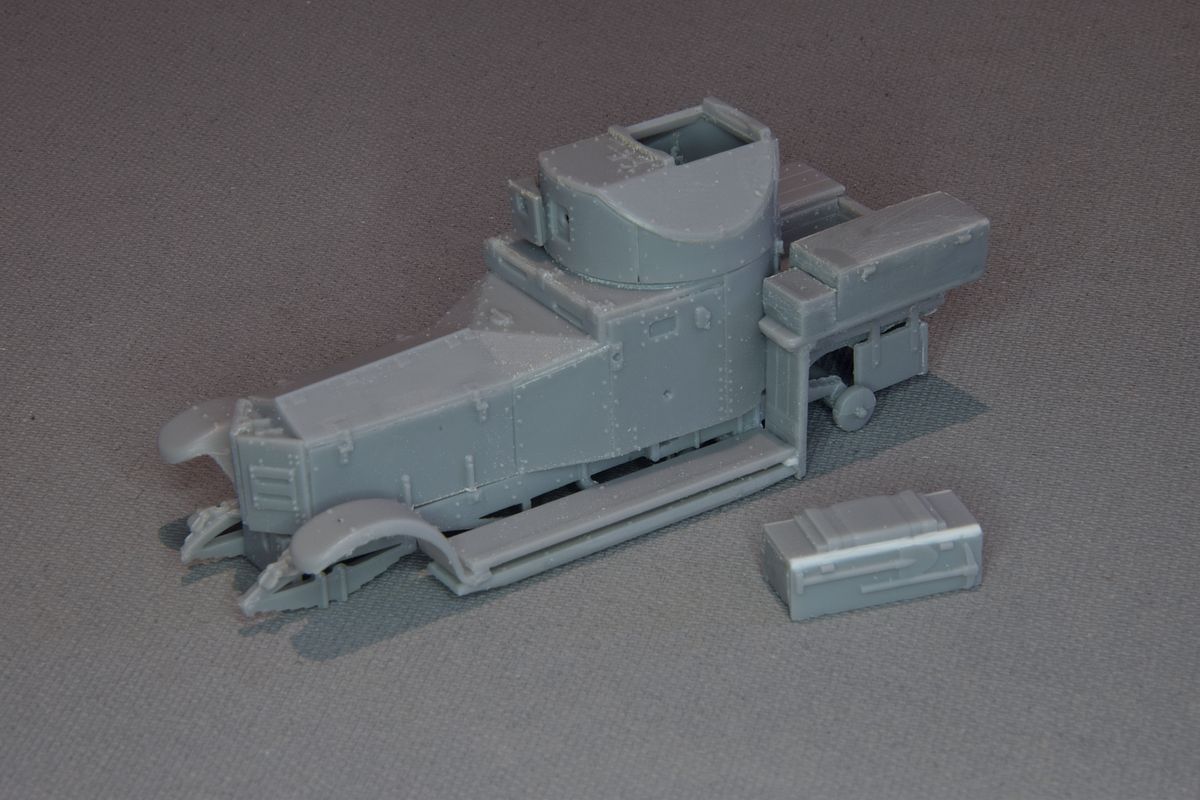
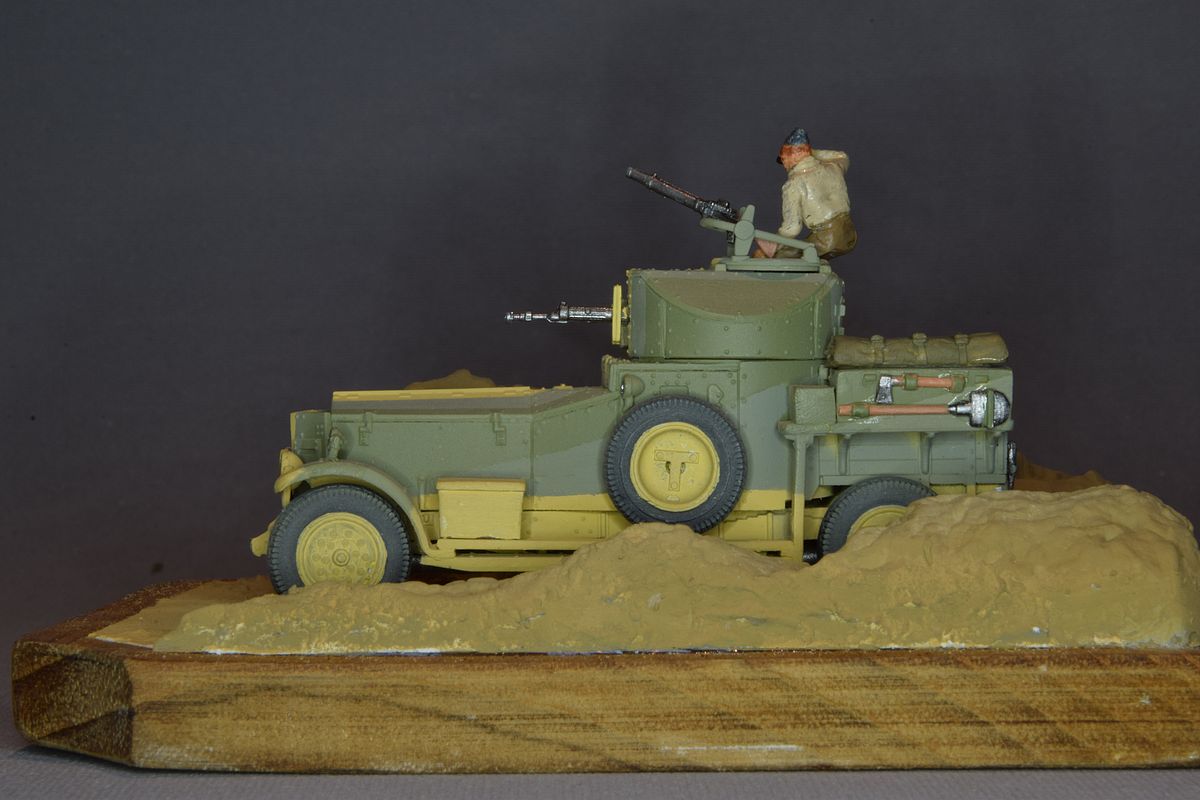
| I don't like the tarps moulded to the top of the boxes. I will remove them and replace them. As I have to make some surgery to the boxes I will also replace the tools. |
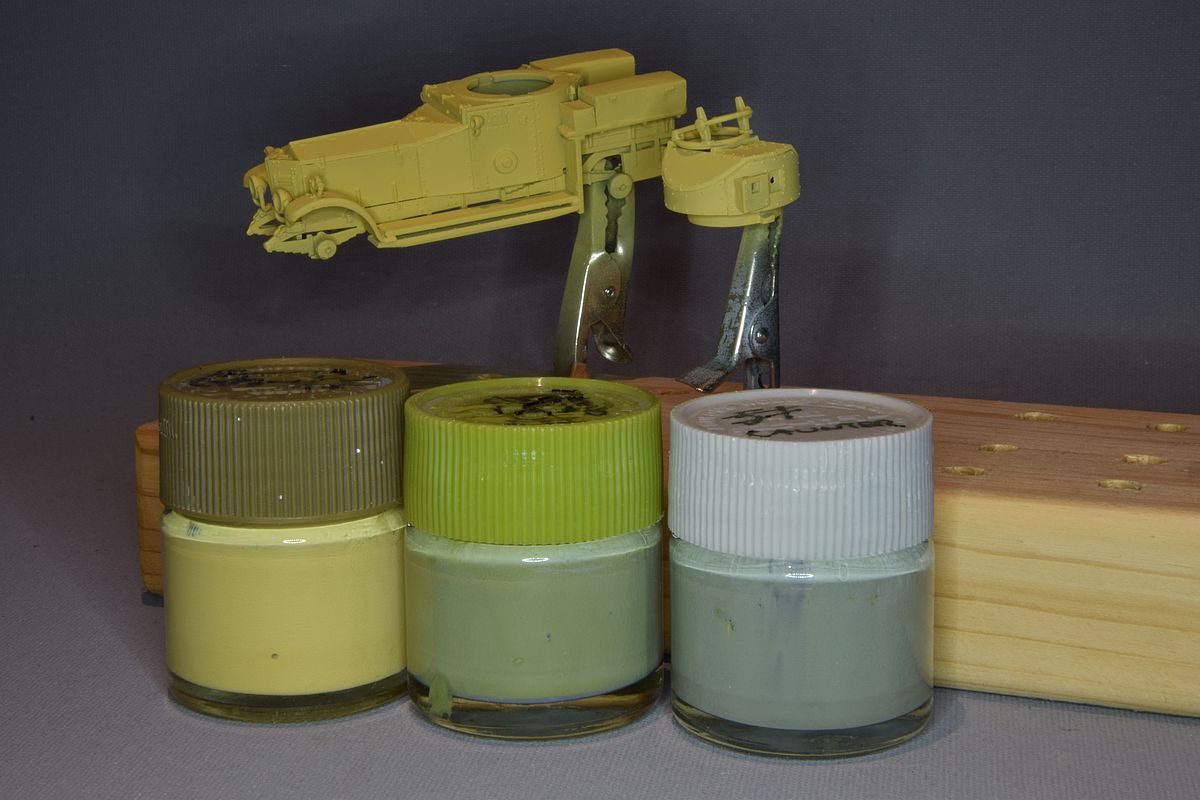
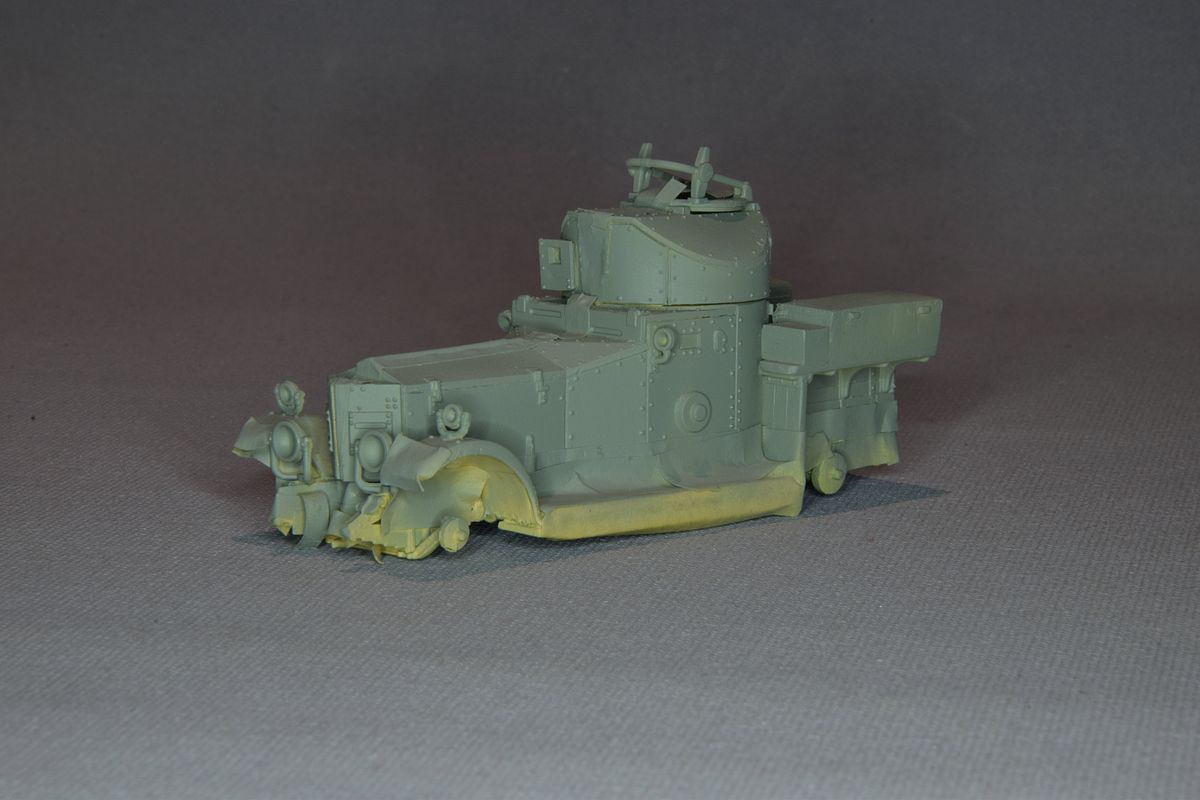
| Mixed paint from the Starmer instructions found on the net but I think that the slate became to light so that has to change. But the first coat of paint is on. |
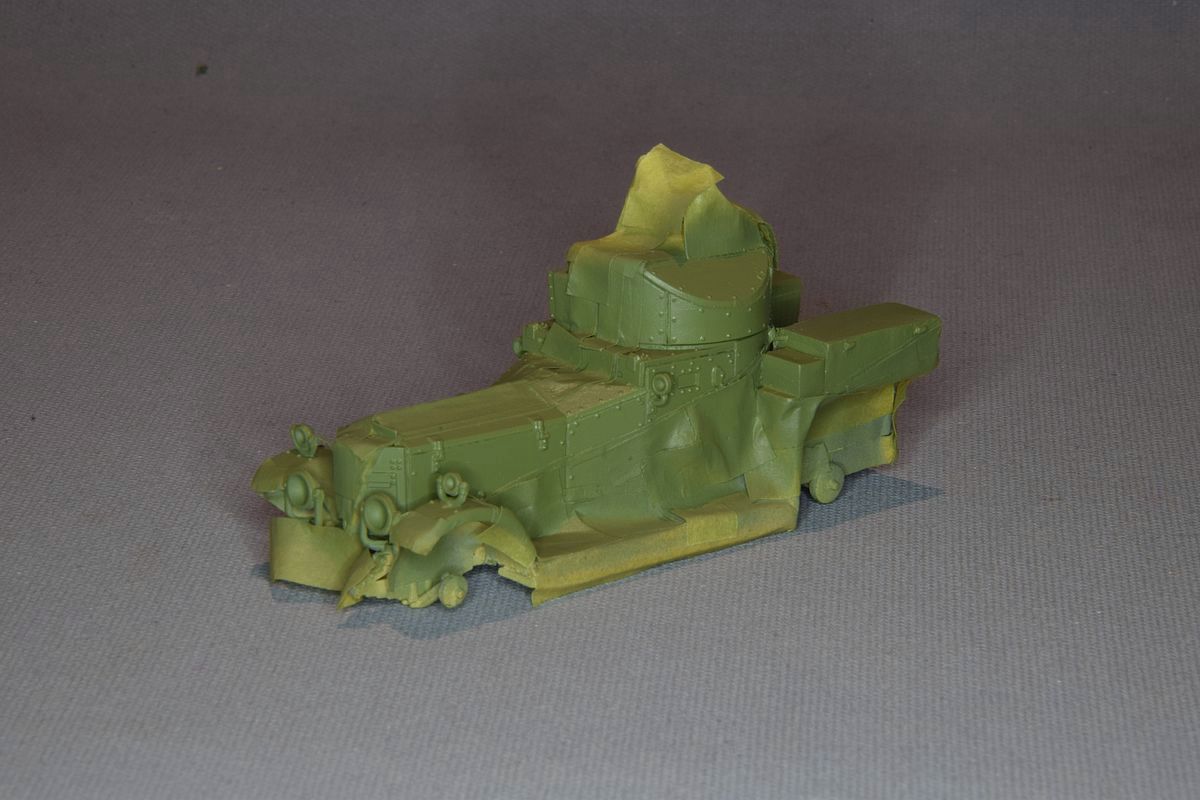
| Second coat of paint. I knew that I would regret doing a caunter scheme. Not fun trying to mask it in this scale. |
| I finally got the third coat of paint on. |
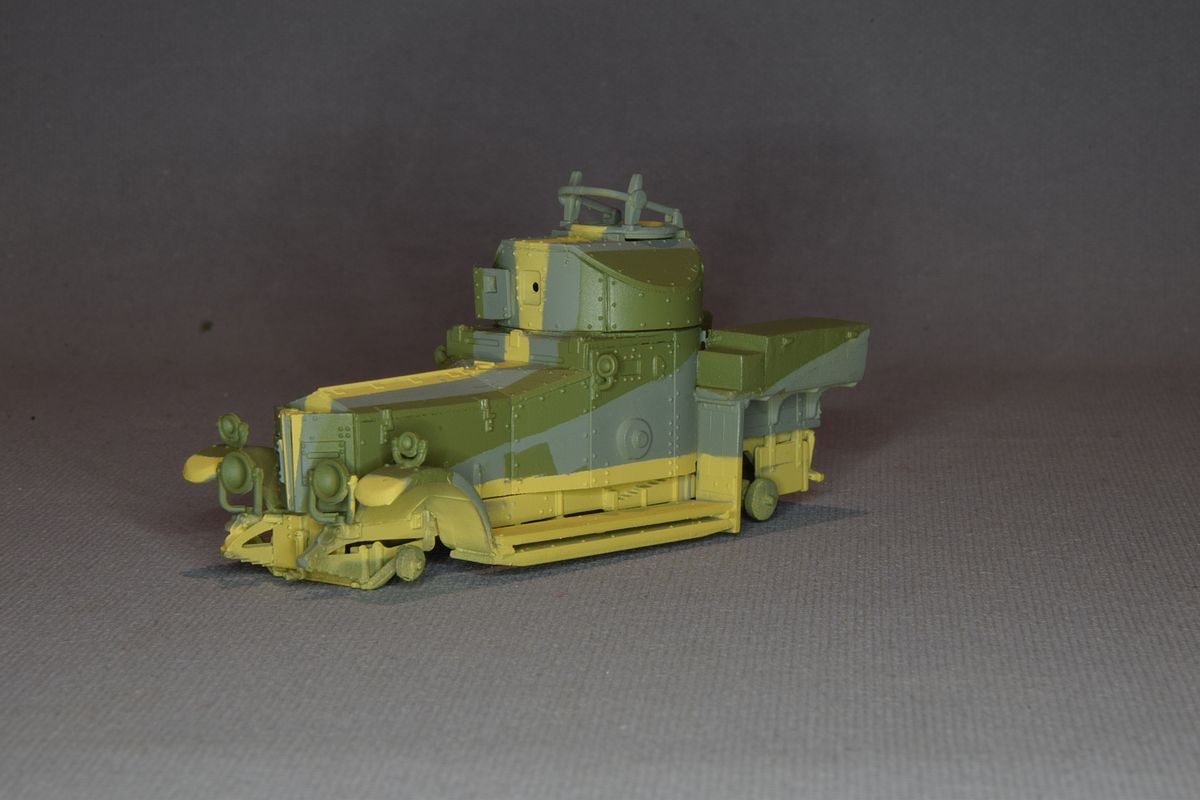
| Starting to remove the masking. It is always nervous. But it seems that it isn't a complete disaster. Some touch up is needed but much less than I had expected. |
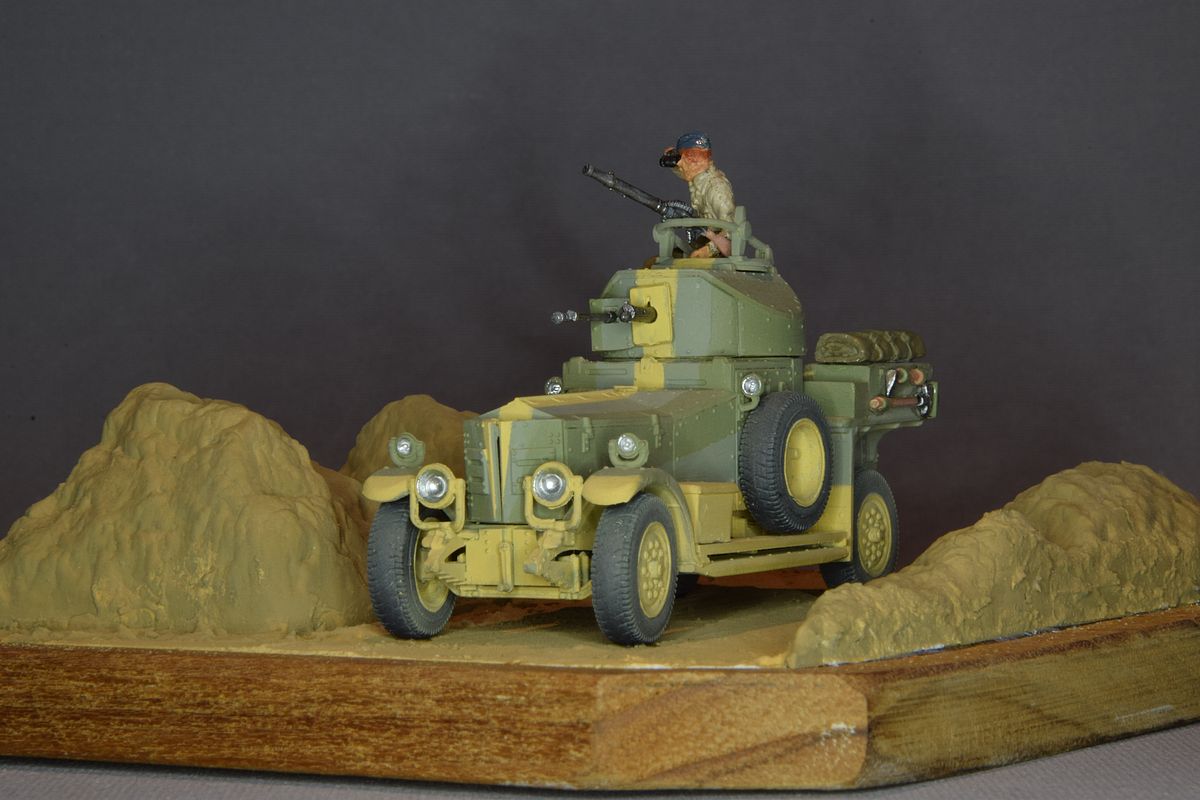
| I mounted it on a base partly made of parts from a Matchbox kit. |
| There are some small things to fix but in general I would say it is finished. |
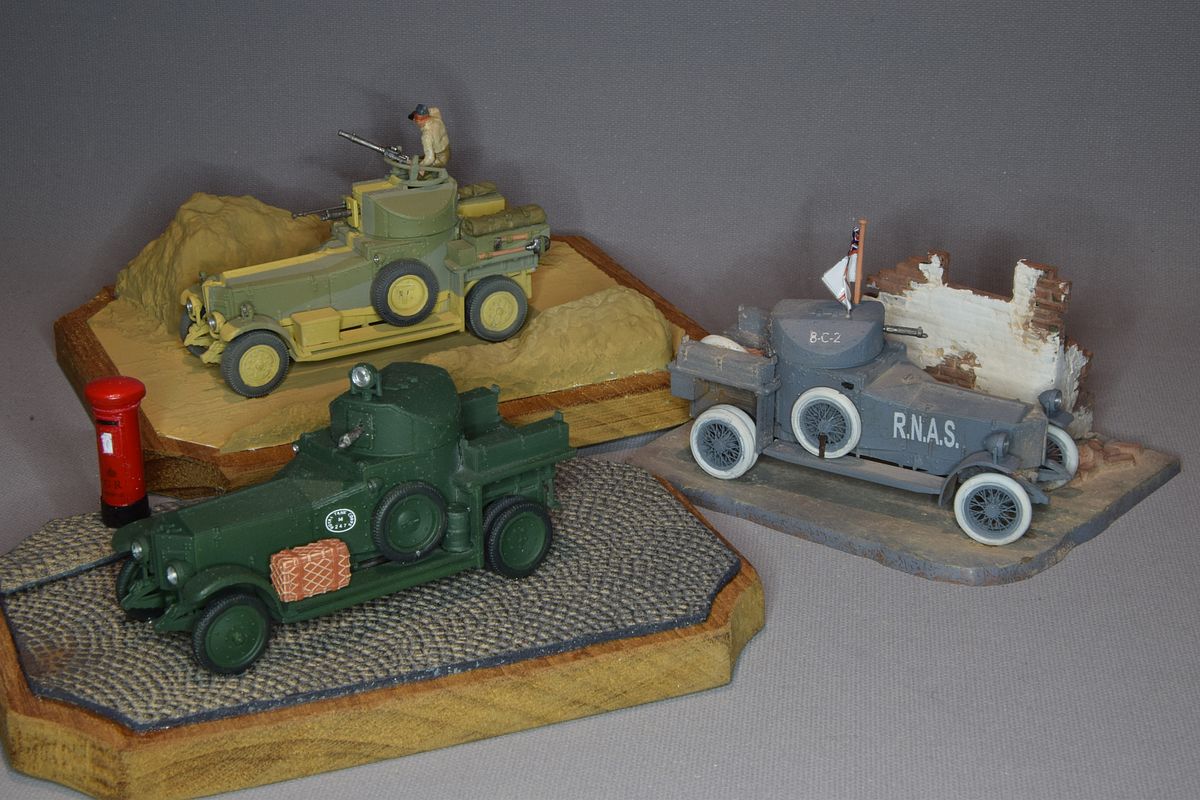
| Lets end with a family portrait. |
| Stockholm September, 2020 |  |
No updates |
----------------------------------------------------.::.
vehicles .::. civilian aircrafts .::. military aircrafts .::.
miscellaneous .::. home .::.------------------------------------------------------ |