
|
-----------------------------------------------------------.::.
vehicles .::. civilian aircrafts .::. military aircrafts .::.
miscellaneous .::.---------------------------------------------------------- |
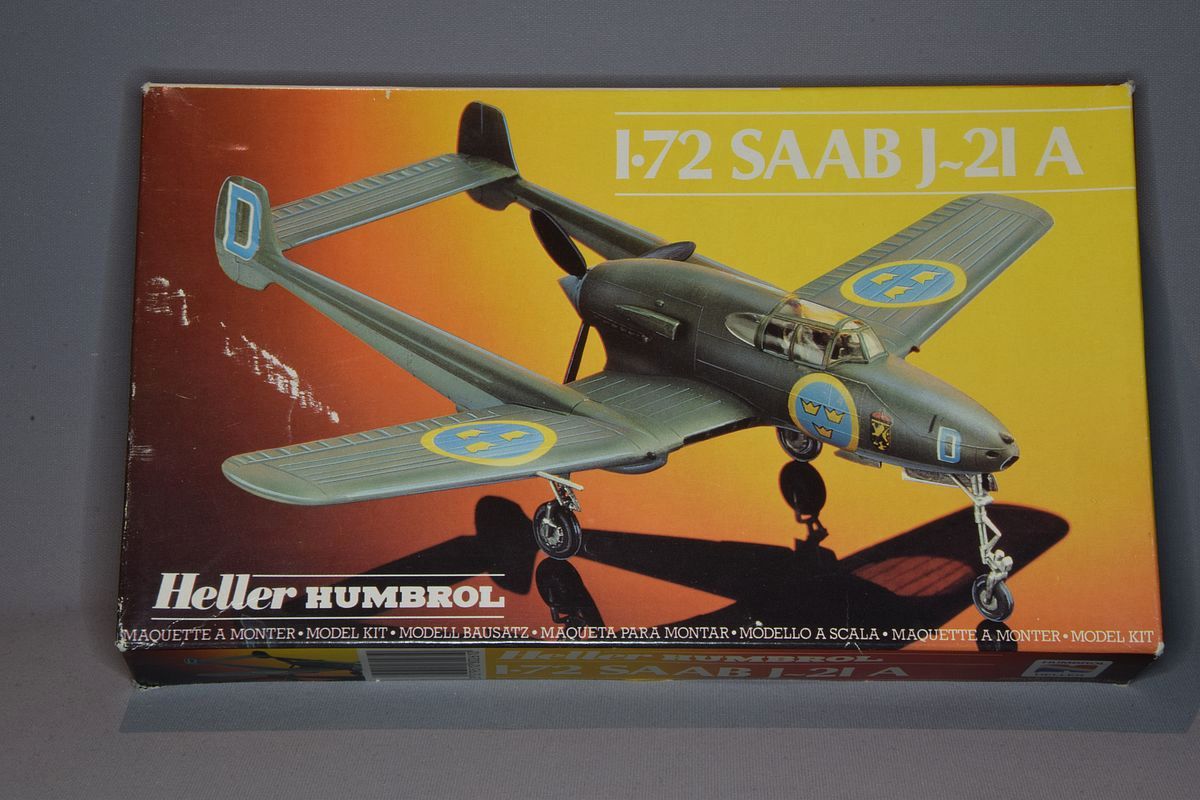
| I have built some of the Heller SAAB 21 kits. |
| (Model finished 2015) |
| My first one was built sometime in the 1980's with silver painted landing light's. The pitot tube was moved so I guess it is a machine from the mid series, a J 21A-2 while my new builds will be a J 21A-1 and a A 21A-3. |
|
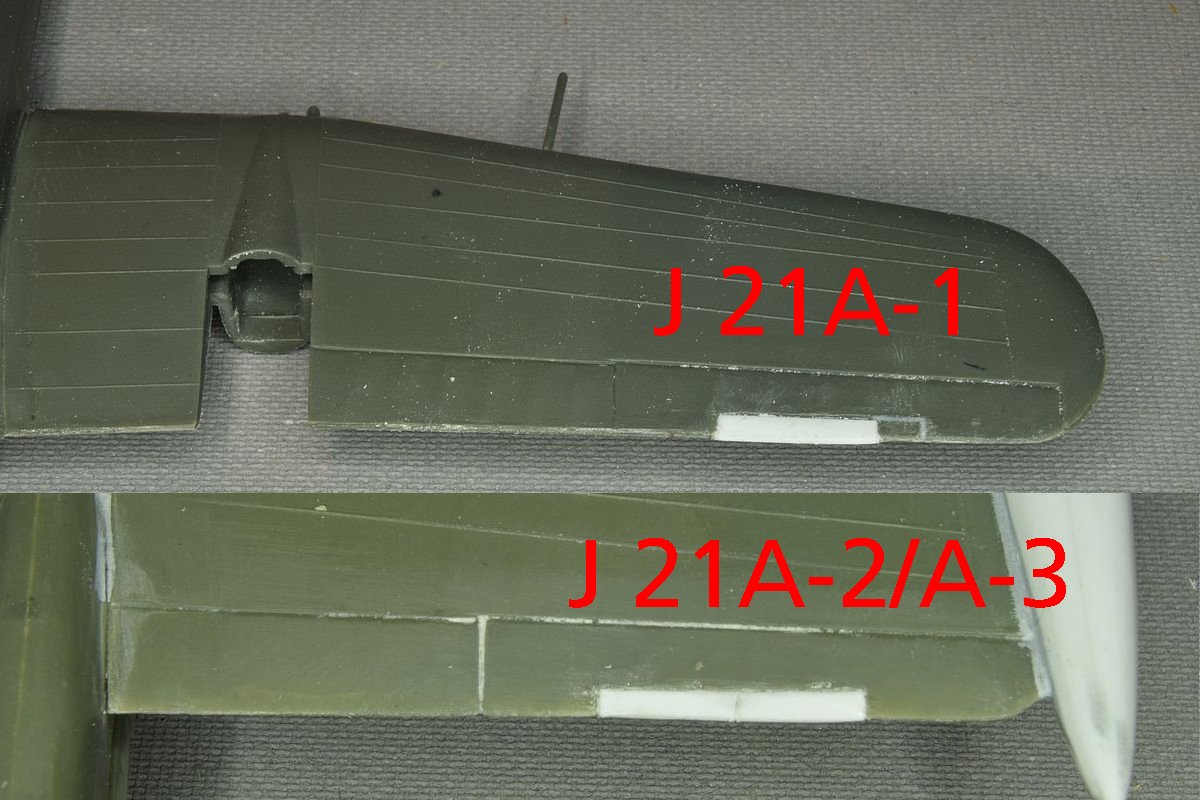
The propeller version of the J 21 was built in three versions. 21A-1, A-2 and A-3. To make it easy one can say that the A-3 is an A-2 with the capability to carry bombs, rockets and wing tip fuel tanks. Between the A-1 and A-2 versions there are some differences that are visible. The things I found are: The instrument panels differ. The cooling flaps under the wings were changed. Trimtabs differs and so do the placement of the pitot tube. The A-1 had an Hispano-Suiza gun while the A-2 got an Bofors. Much of the information is from drawings in books so they might not be correct but here it is. I'll try to list what I did with the Heller kit. The instrument panel in the kit is more of the A-2 version. The A-1 seems to have a flat panel. The cooling flaps in the kit works for the A-1 version. Some filling and scribing would be needed for the A-2 but it is hardly visible so one might leave this out. There is a tim tab in the ailerons but on the A-2 the right one got doubled. Looking at photos I got the feeling that the trimtabs ar placed wrong on the kit (and most drawings). The A-1 only had a trimtab in the right aileron. It also had only the left trim tab in the elevator. The pitot tube was mounted in the right wing on the A-1 as on the kit while it was moved to the left wing on the A-2. I guess that the muzzle of the gun is different between the two types but it is hard to tell in the pictures. I'll try to show this with pictures of my attempts to make the changes to the kit. |
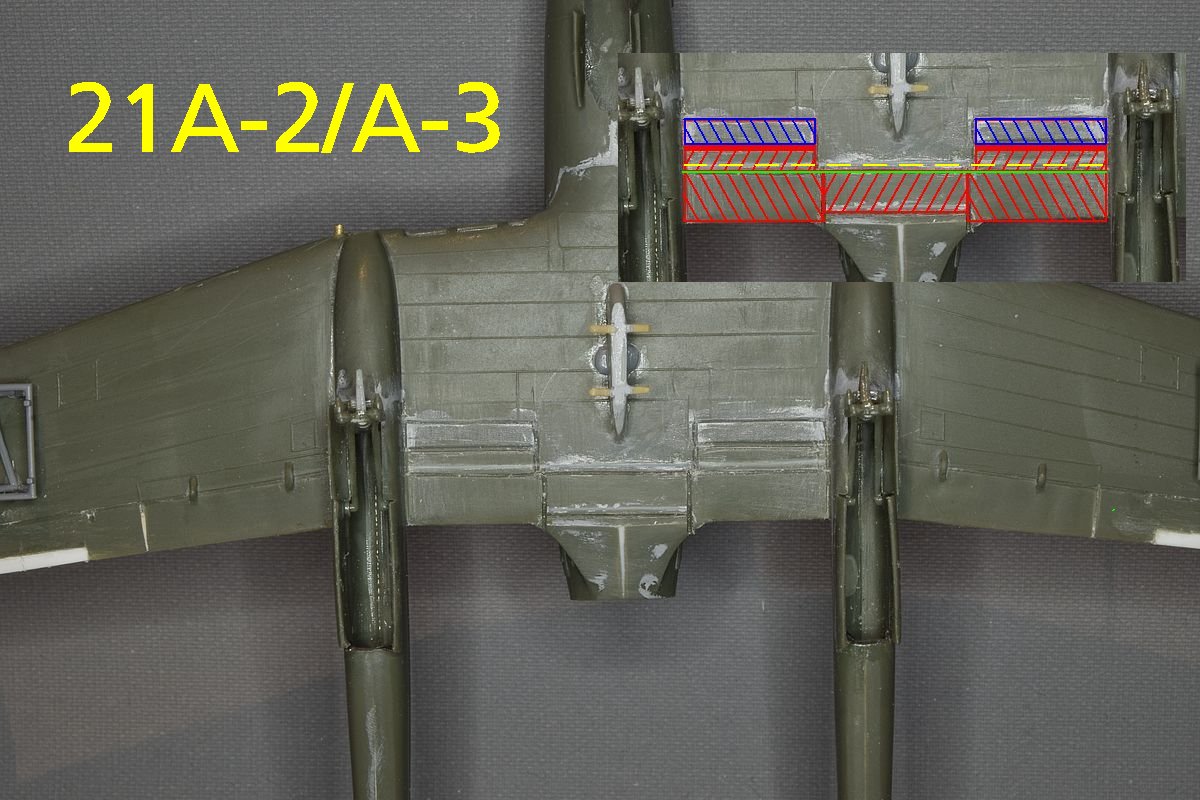
| I moved my trimtabs one rib closer to the fuselage. The right tab on my A-3 I enlarged one rib towards the wing tip to be able to fit two tabs. |
|
This is what I came to. It looks that there are five flaps on the A-2 and I marked them in red. I think the blue is where the radiators are placed On the A-3 i filled a panel line (the yellow line) to be able to move it back (the green line) somewhat so that the dimensions of the forward flaps look more like photos. |
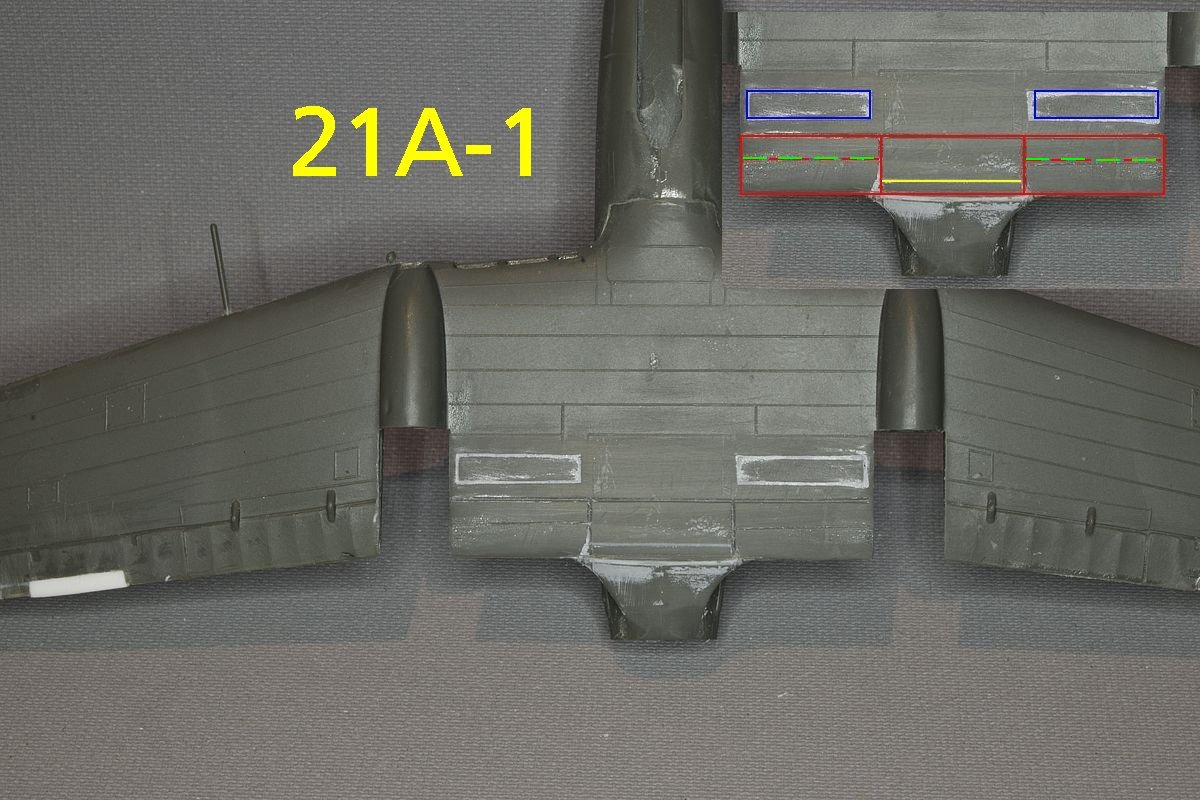
| On the A-1 I scribed a thin line (the green) in the flaps to simulate the hinged flap and filled a line (yellow) on the centre flap. |
| (Model finished 2015) |
|
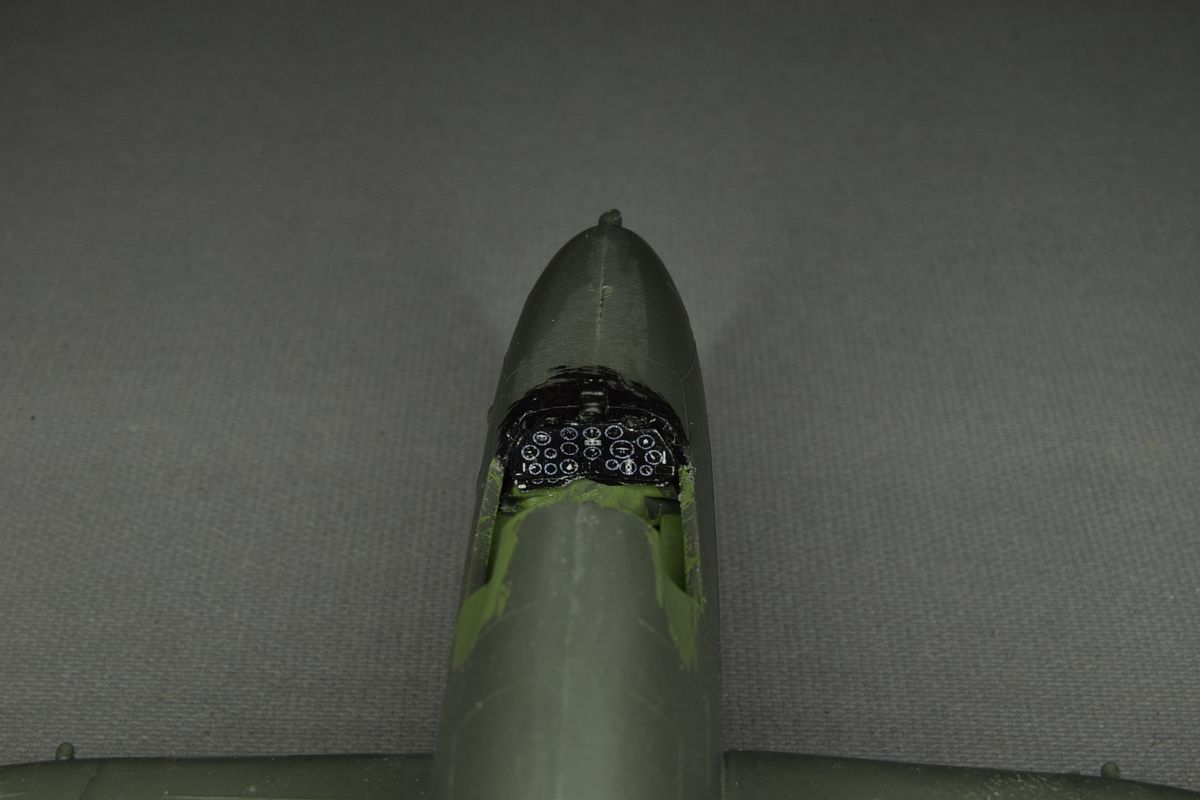
I've drawn instrument panels that I printed on paper to add to the A-1. I sanded the kits panel flat and glued the paper panel in place.
I also drew panels for the A-2 and A-3 as well. They can be found here: https://baecklund.eu/scalemodels/72/papercockpit.html. Don't take everything I write for an absolute truth. This is only my conclusions patching together mixed information's, and also what I choose to use on my kits but I could easily have got things wrong. |
|
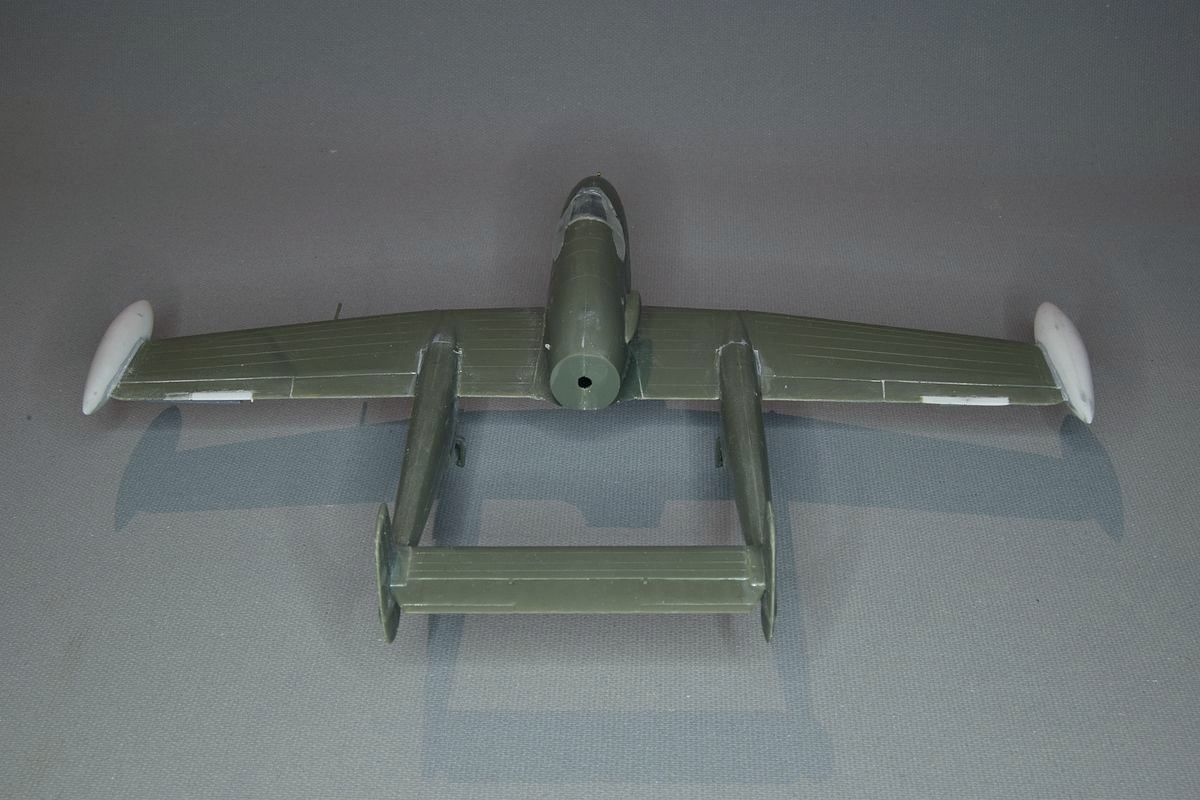
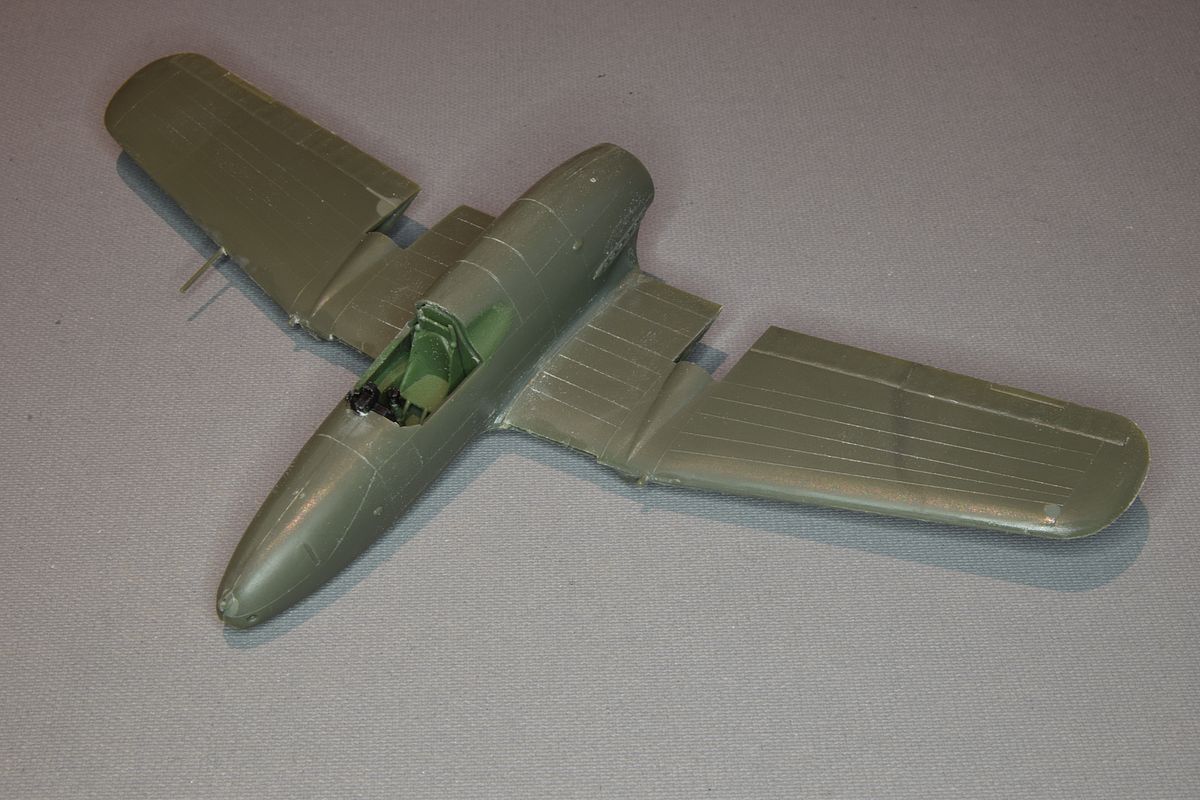
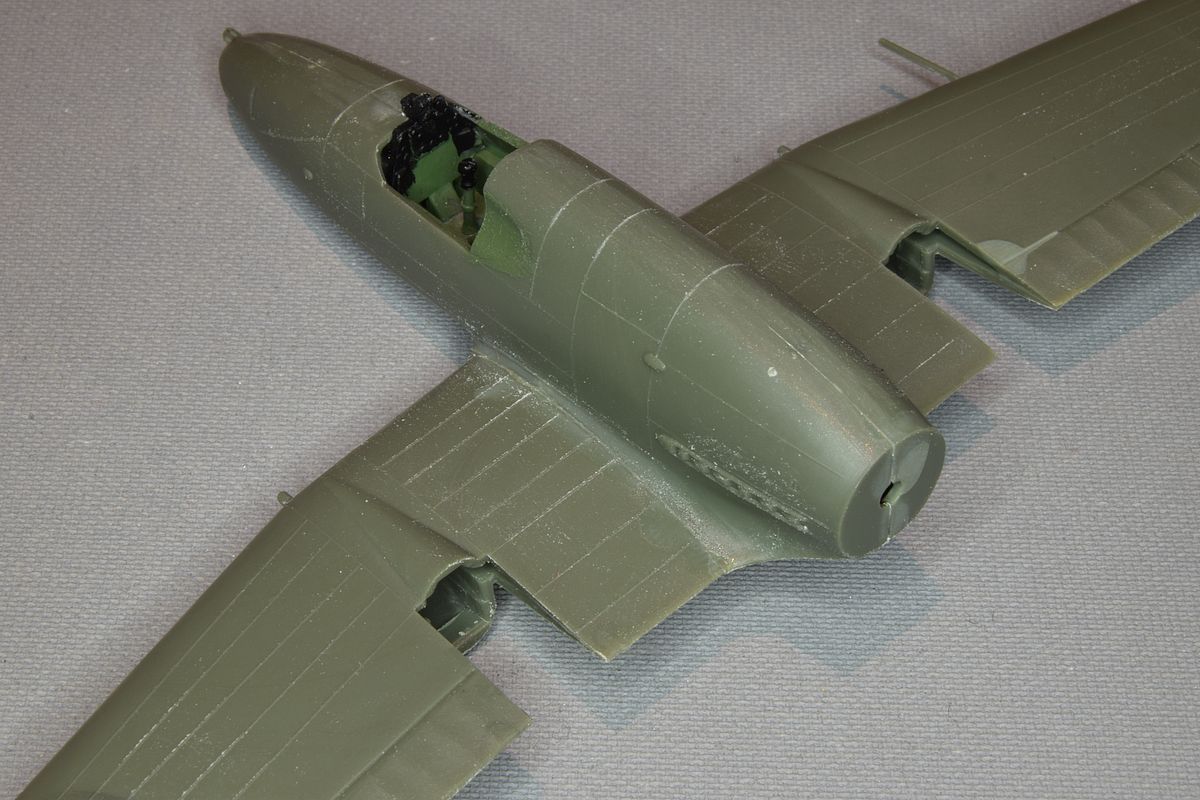
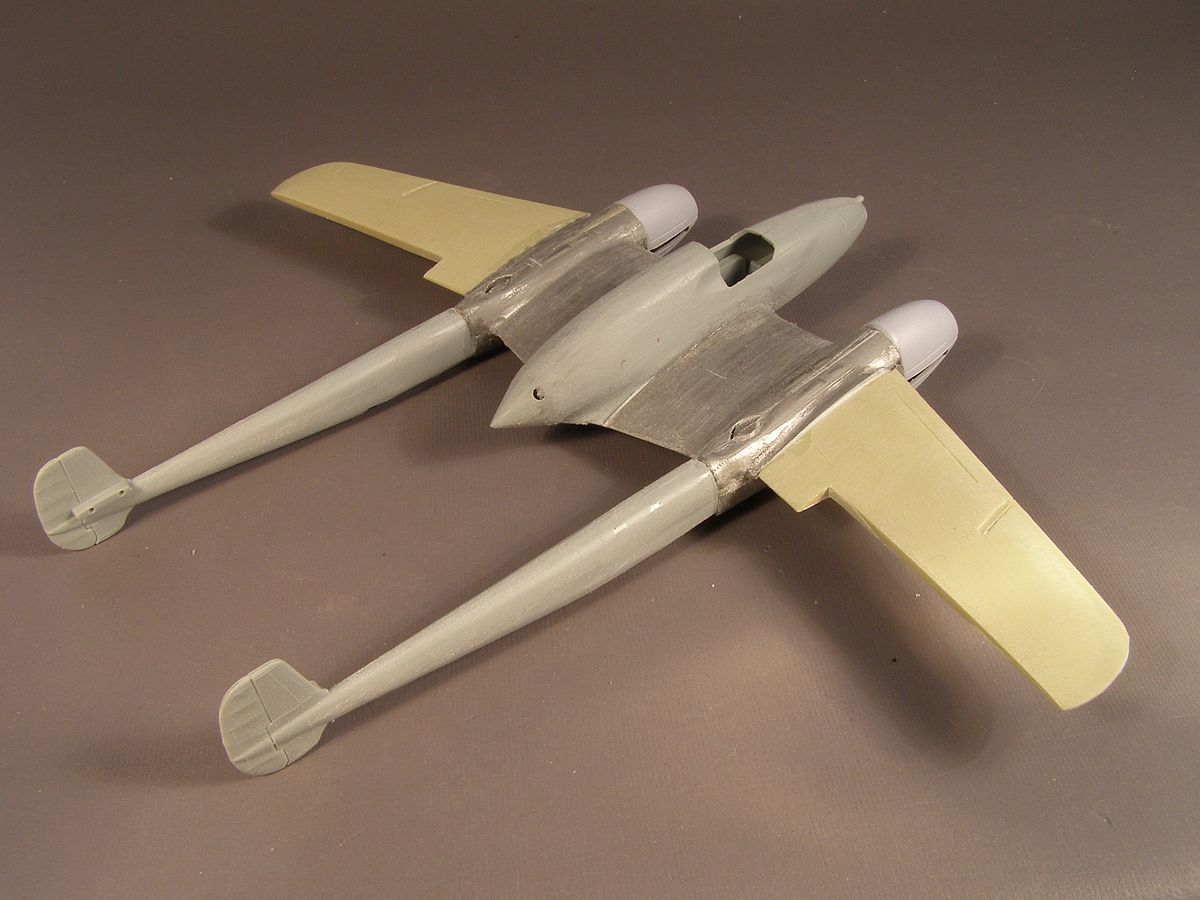
Here are some things I learned while building the kis. I decided to try different approach attaching wings to the fuselage. The wings are in three parts, one large bottom and two parts for the top so I started by building them together as I always done before. But when I got to the fuselage I only glued the part in front of the cockpit and let it set. Then I glued the fuselage to the wing assembly leaving the rear of the fuselage unglued. This way i could press the fuselage out to the wings leaving no gap to be filled. When the glue had set I glued the top of the rear fuselage together. |
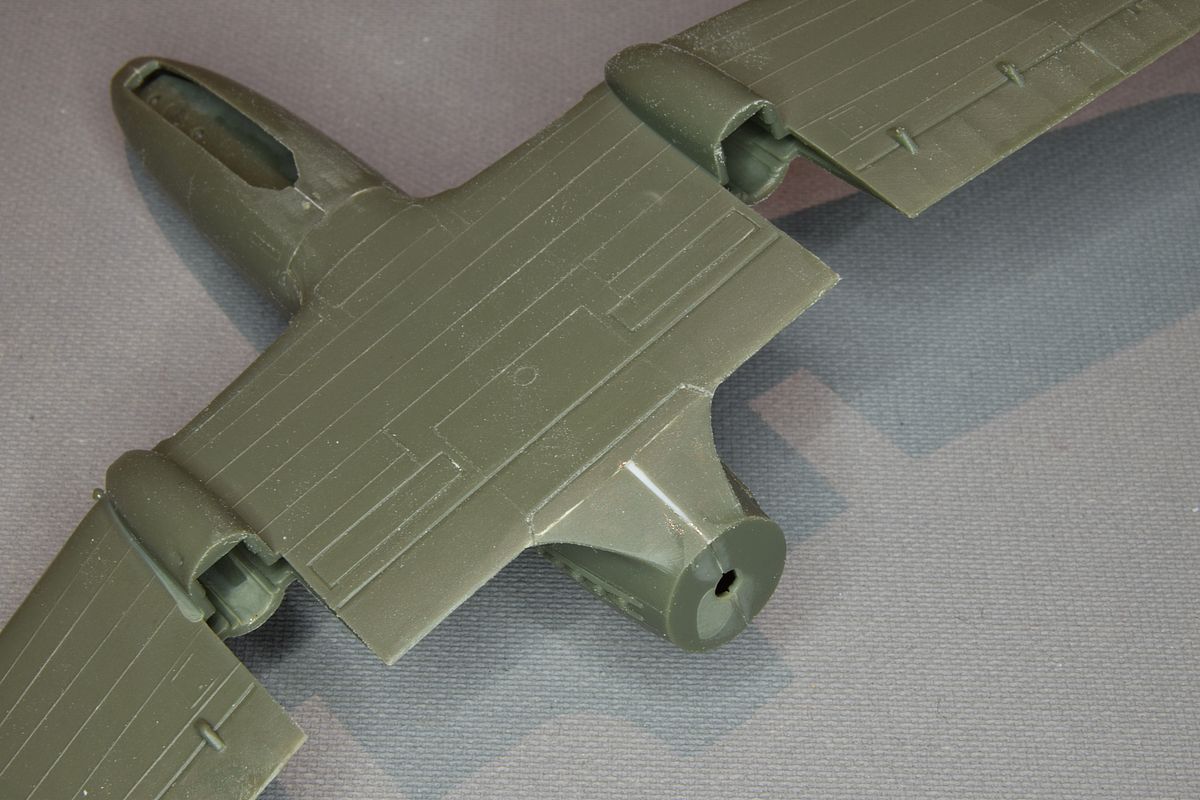
| Then I had to add a small wedge of plastic card under the rear fuselage but I found this easier to sand after I add filler to it than to fill and sand a fuselage-wing joint. |
| I've made holes in the front of the booms for landing lights. With the booms still off I can build landing light inserts an mount them from behind. I have also made a hole on the left wing for a new pitot tube. As I'm building a late version (A 21A-3) the tube was moved from the right wing to the left. I managed to break of the gun in the nose, and while looking at pictures I noticed that the gun isn't mounted exactly in the centre so I'll fix that when I build a new gun. |
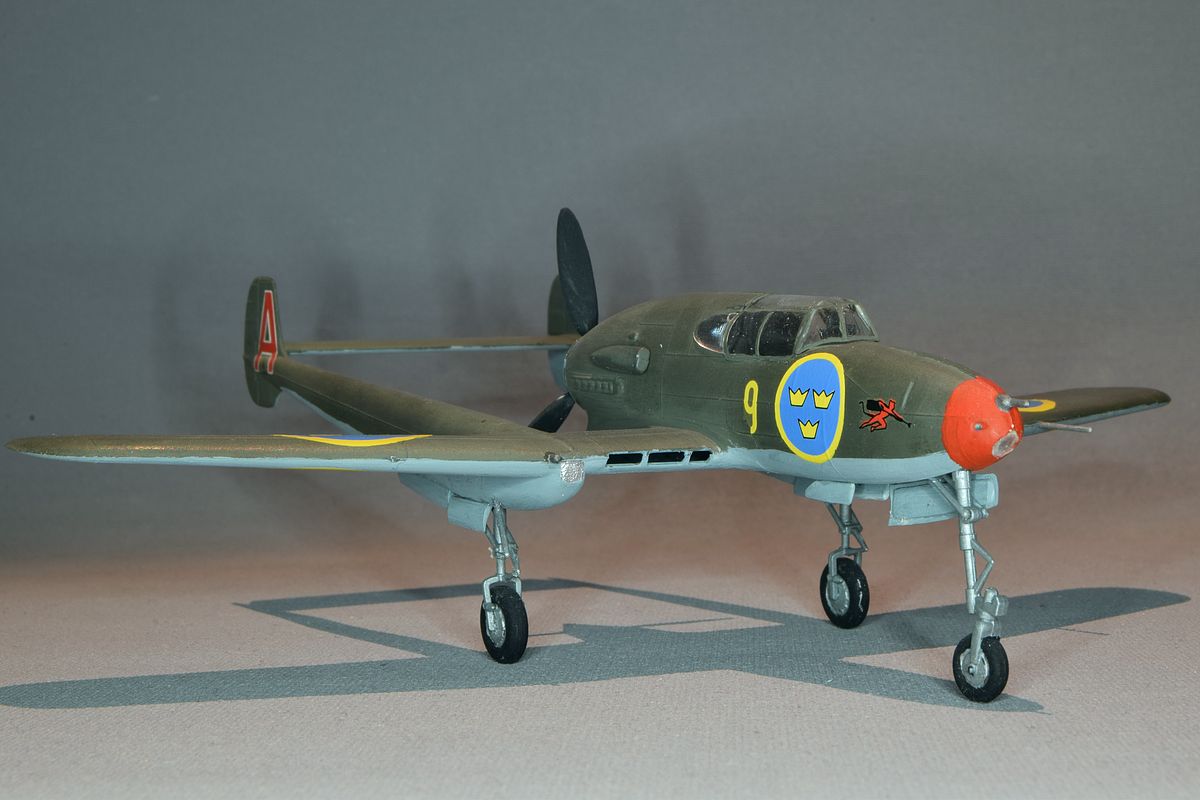
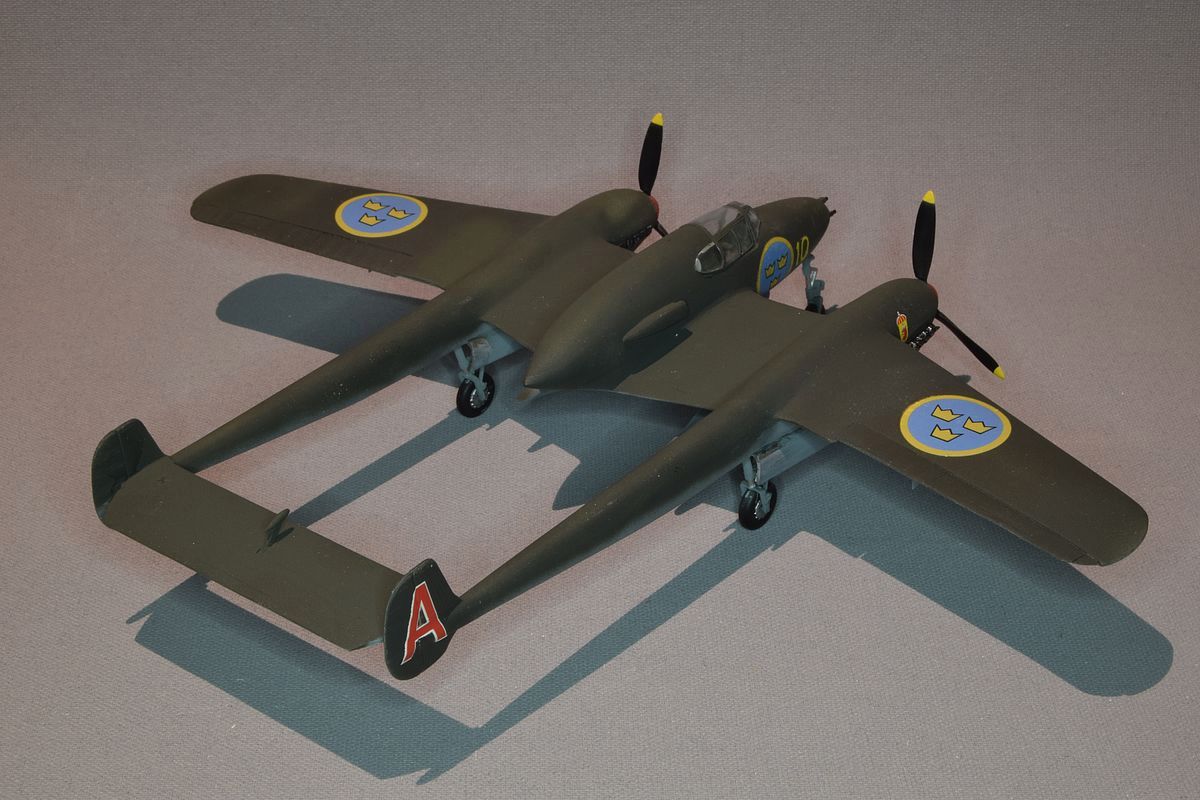
| Here is the A-1 variant. |
| (Model finished 2022) |
|
I had a small setback with the A-1 version. I forgot the different tab placements on it and had to remove some trimtabs. I first thought that I should ignore this as it was more or less finished but I knew that it would irritate me so I tried to fix it. |
| Filling and sanding was not what I wanted after I had added antenna and wire. |
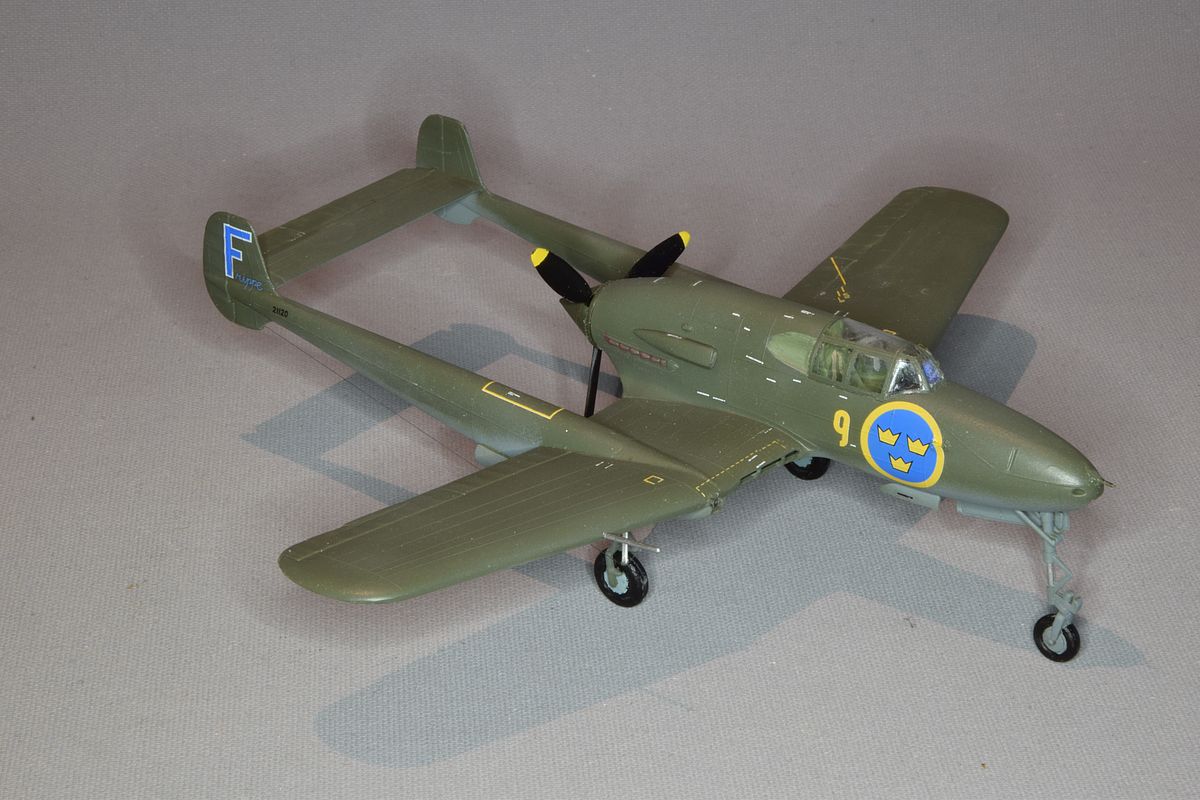
| But I managed to save the antenna and restoring the rib pattern wasn't a compete disaster either. |

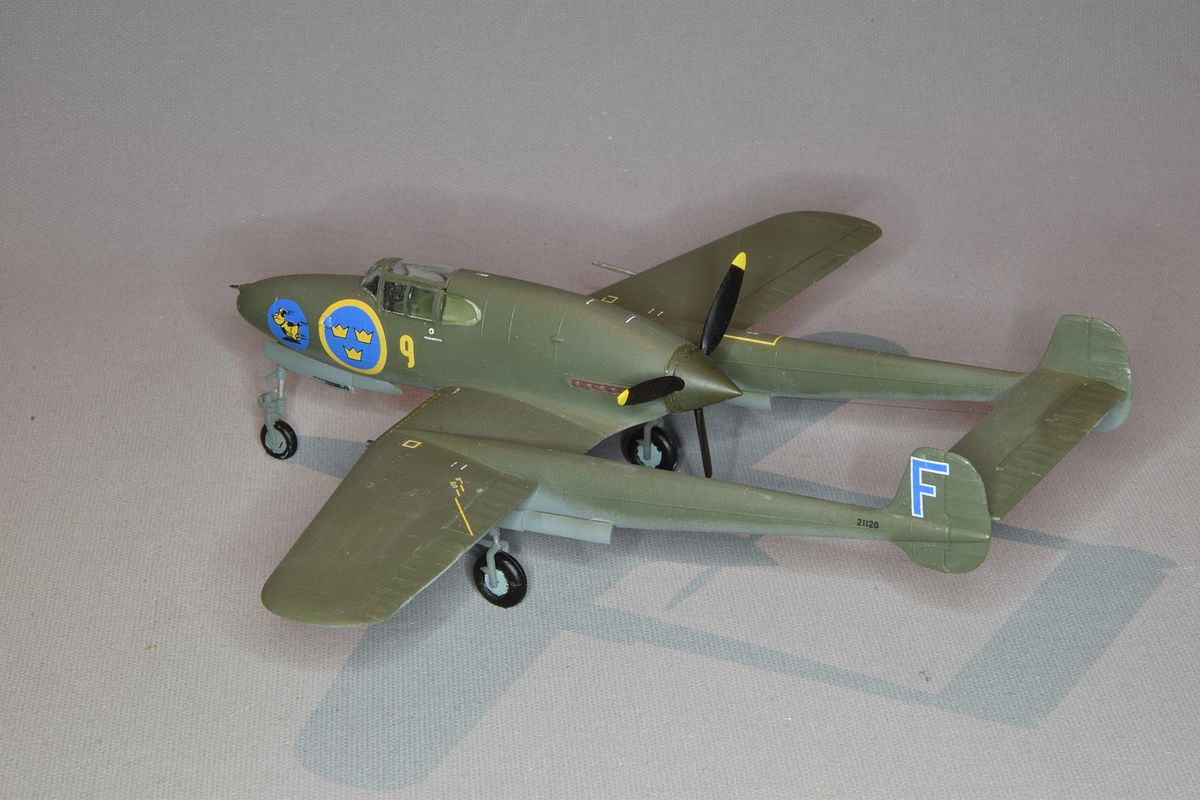
| Decals are from Moose Republic for a J 21A-1 from the second division of the F9 wing. |

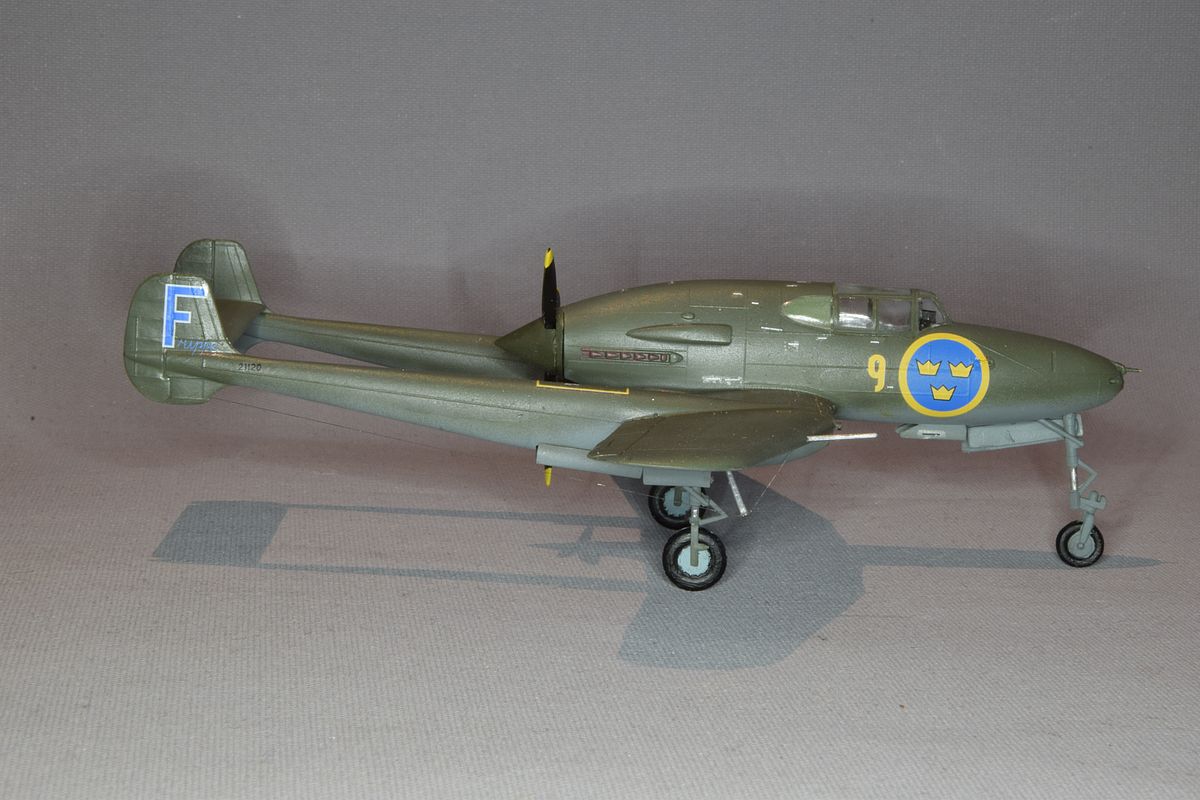
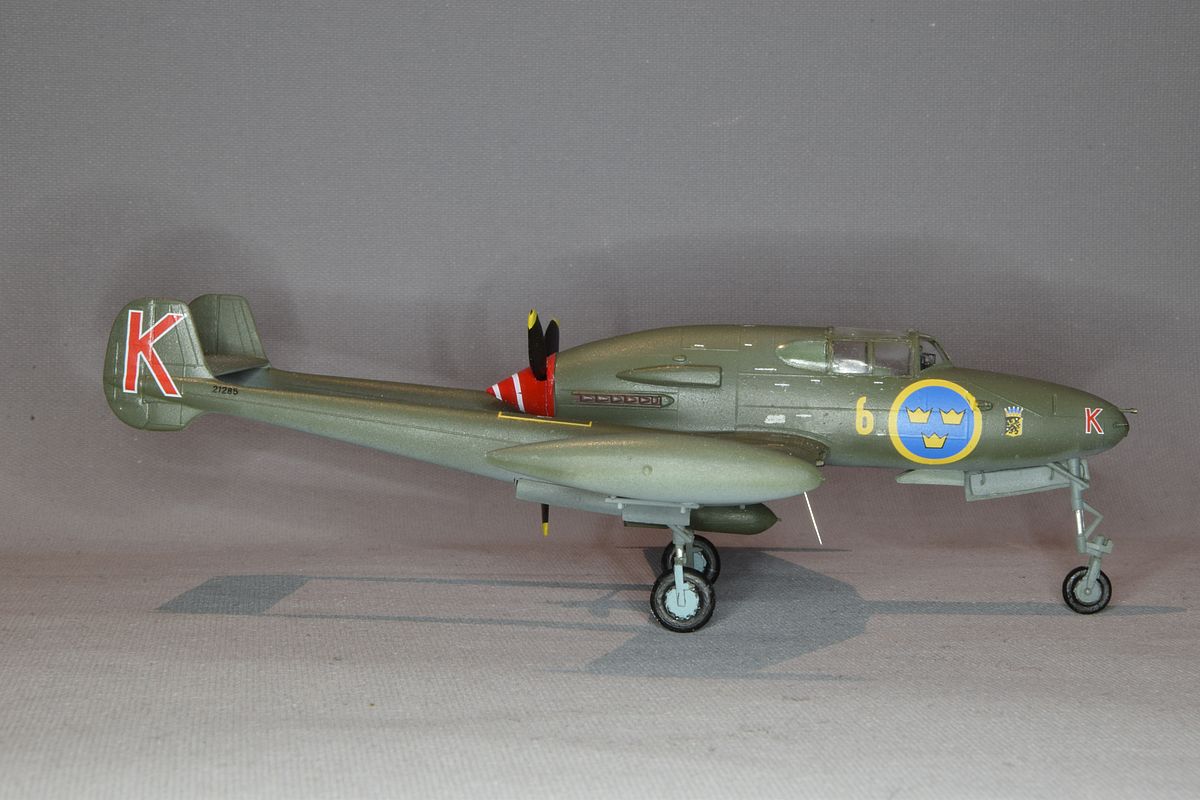
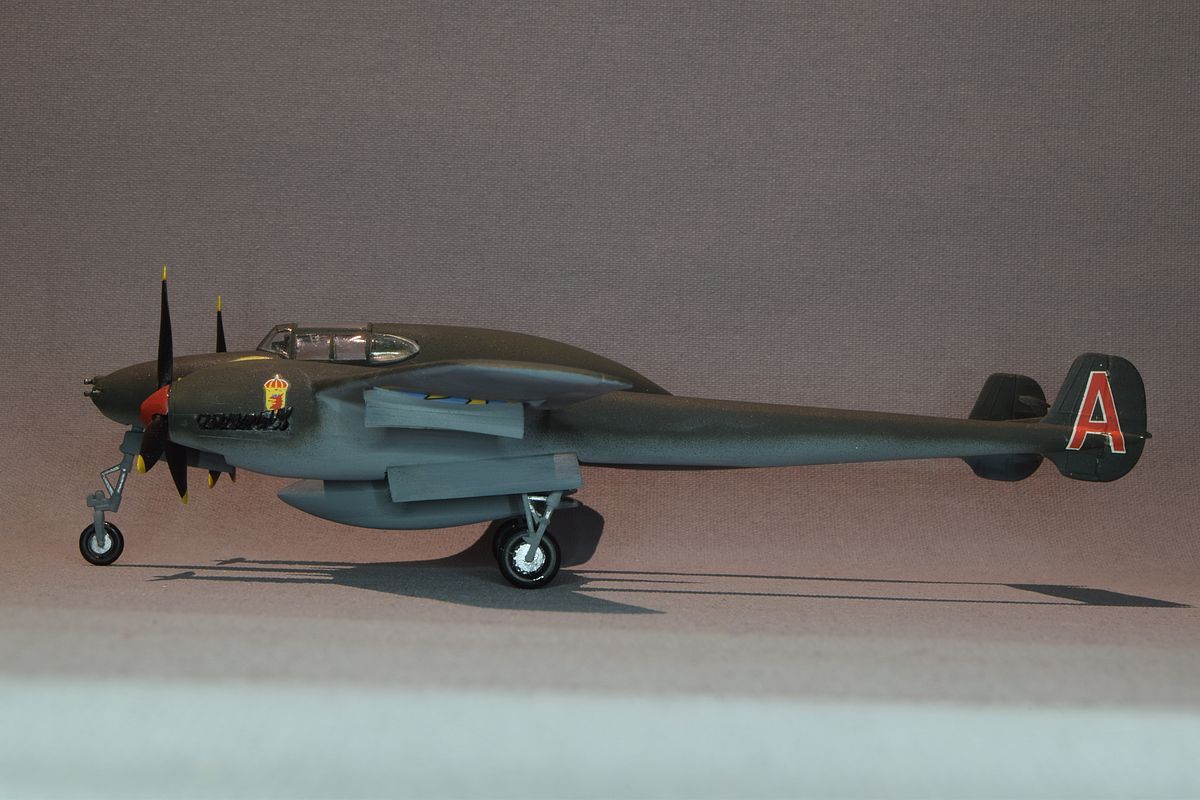
| Here is the A-3 variant. |
| (Model finished 2022) |
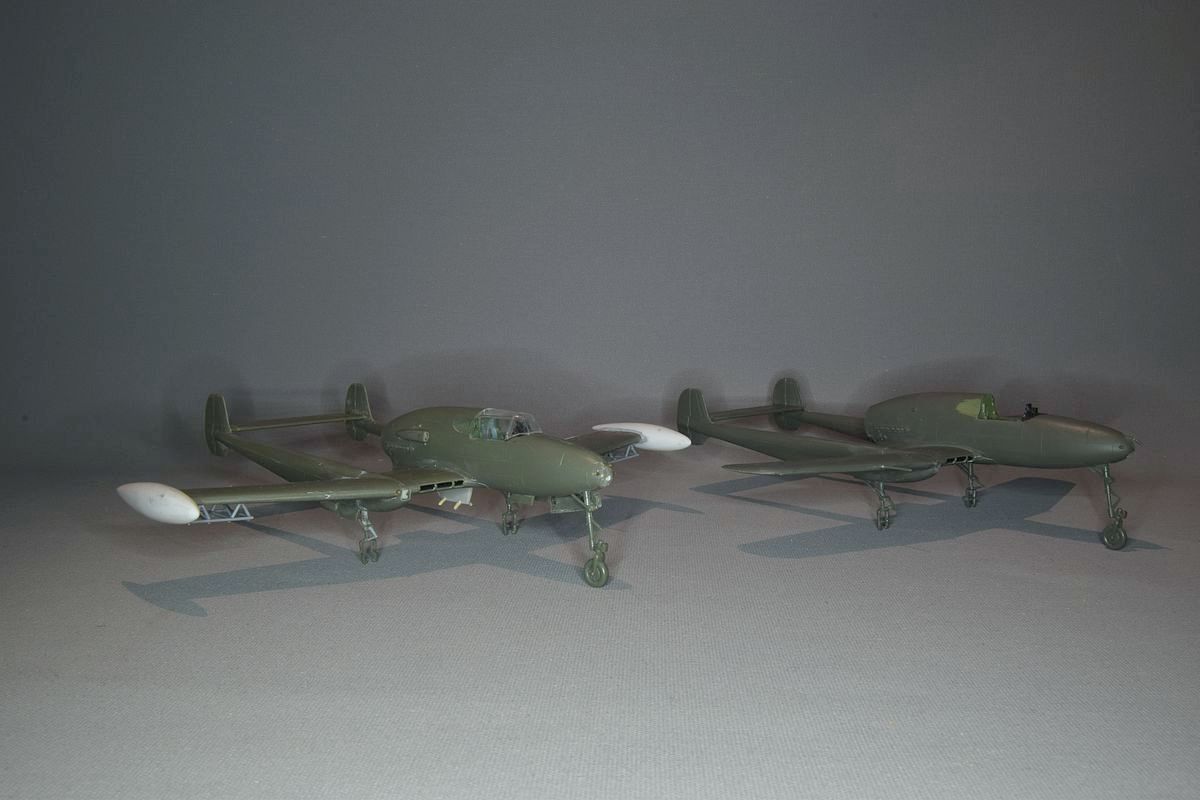
| I sanded away the structure on the aileron's as I'm building one with ailerons made of metal. My old build was unmodified as you can see. |
| I built a bomb pylon using a F-18 pylon as a base. |
| Left over wing tanks from the Broplan J 21R conversion set came to use. |
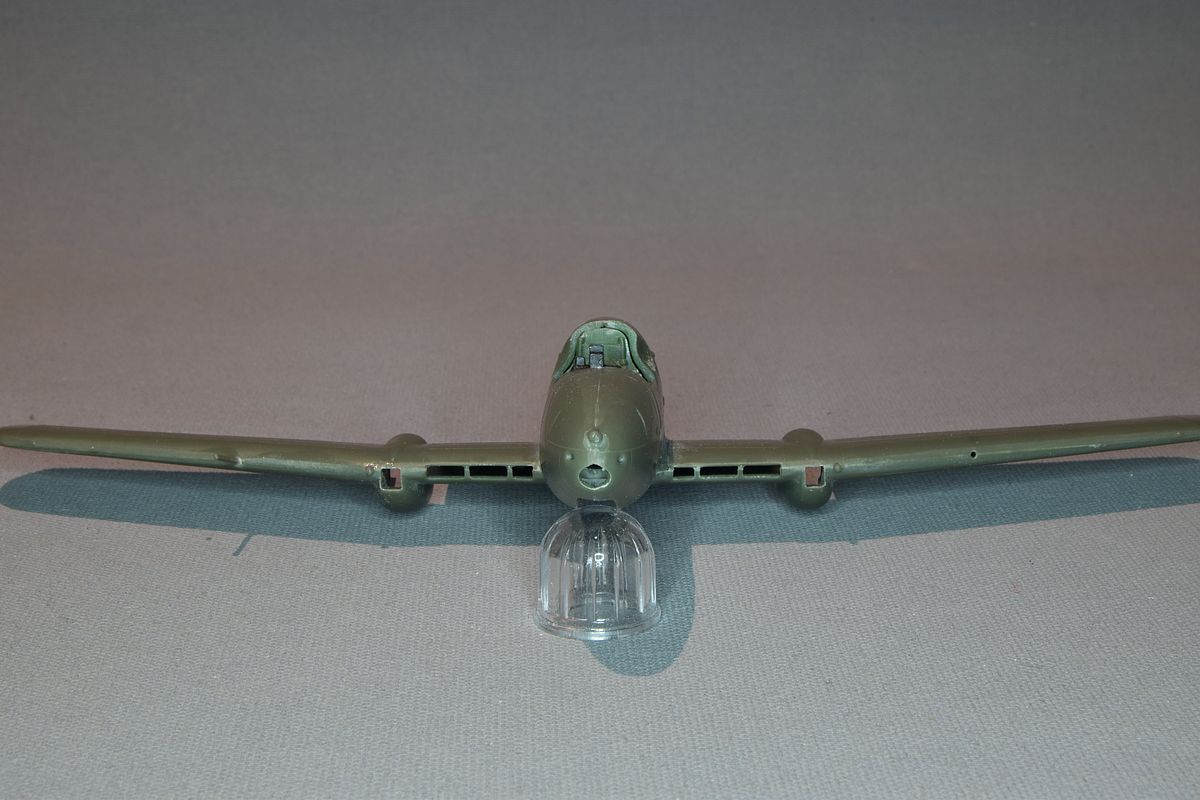
| The air intake on the fuselage side was drilled out a bit. Guns was replaced with brass tubing. |
|
The kit is rather OK. I had to add some filler to the boom/wing joint but the big problem with this kit is to build the canopy trying to fit the parts together. I have added some rocket mounts that was leftover from a Special Hobby J 21R. |
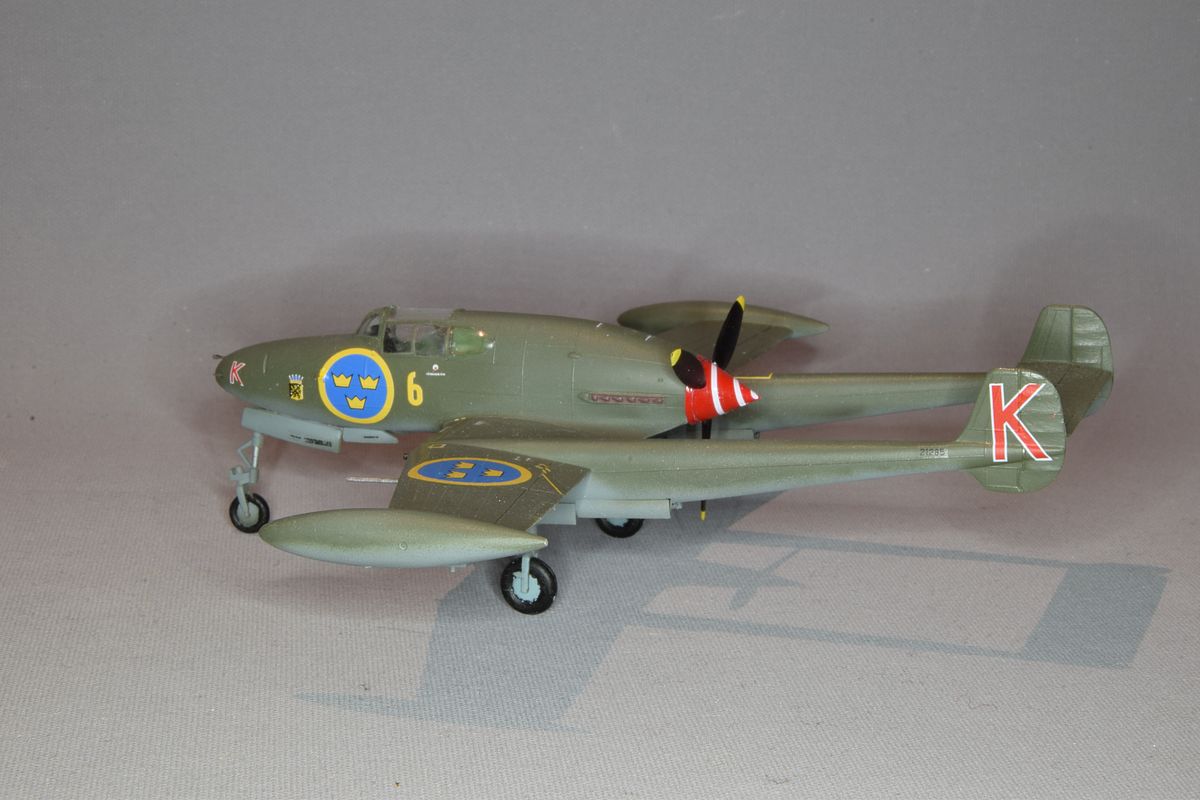
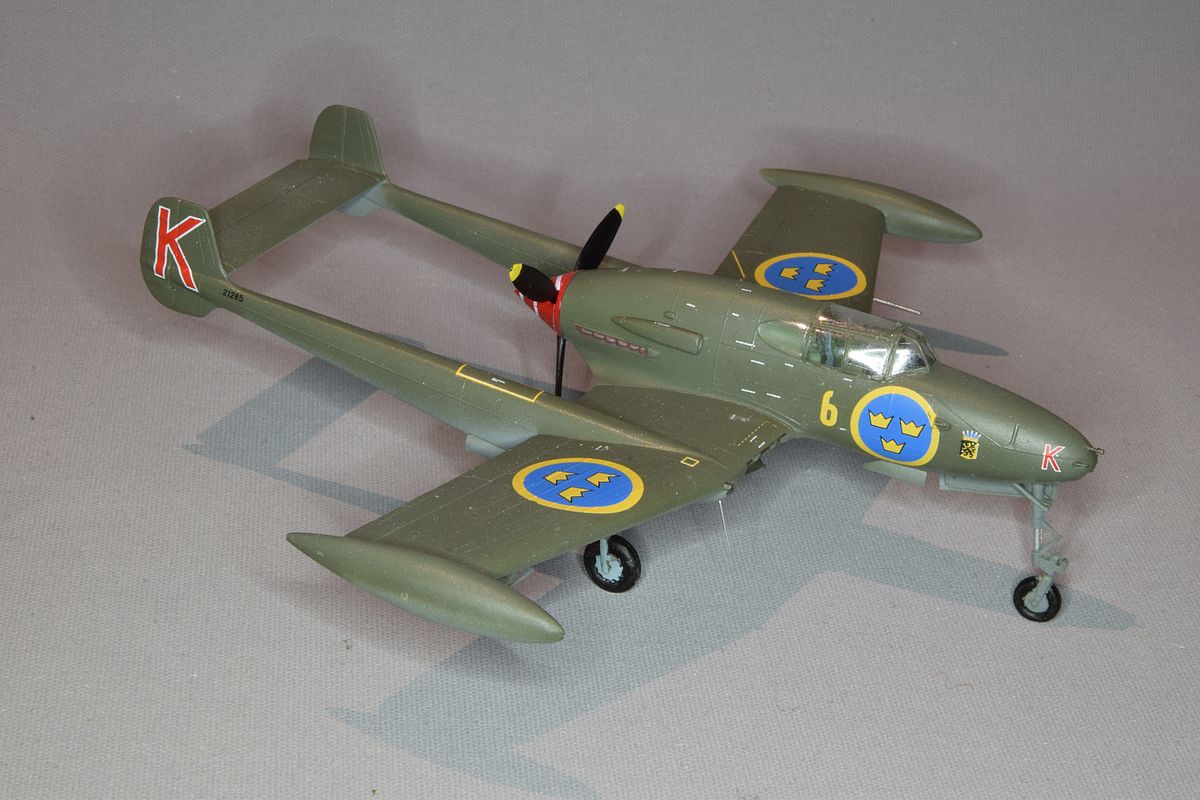
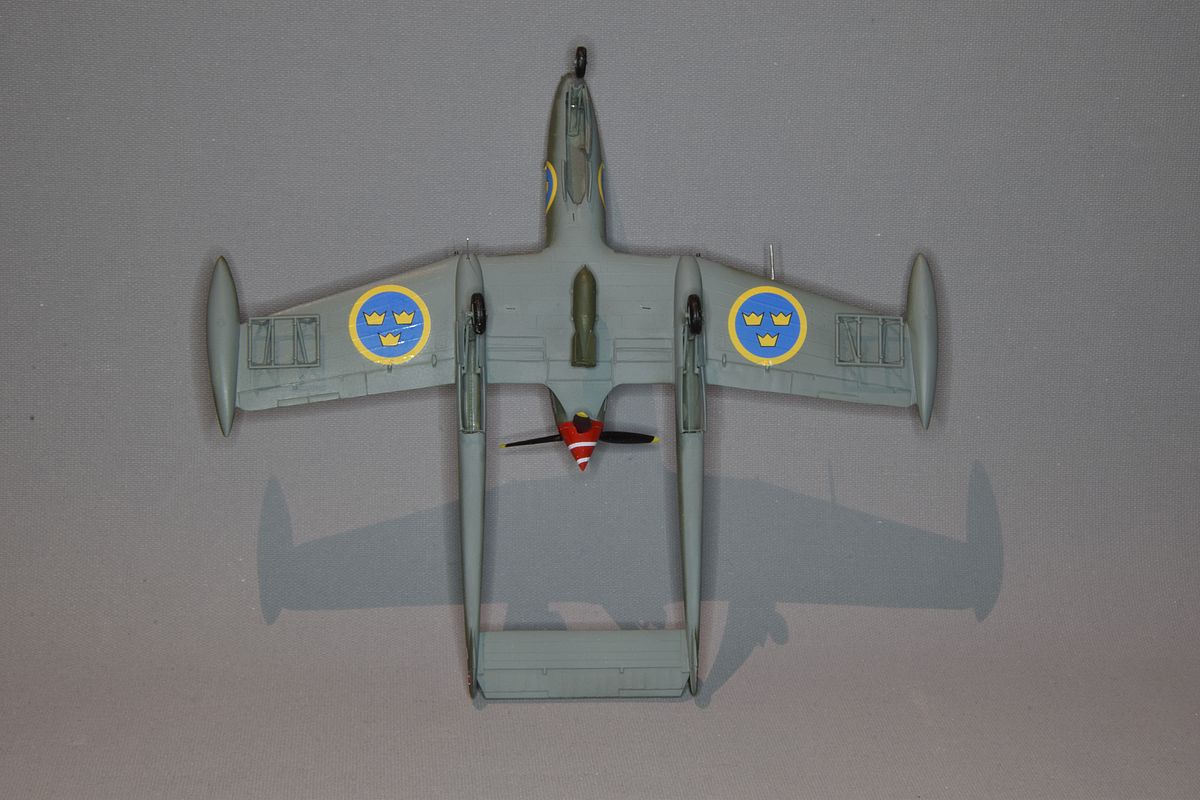
| The Finished A 21A-3. |
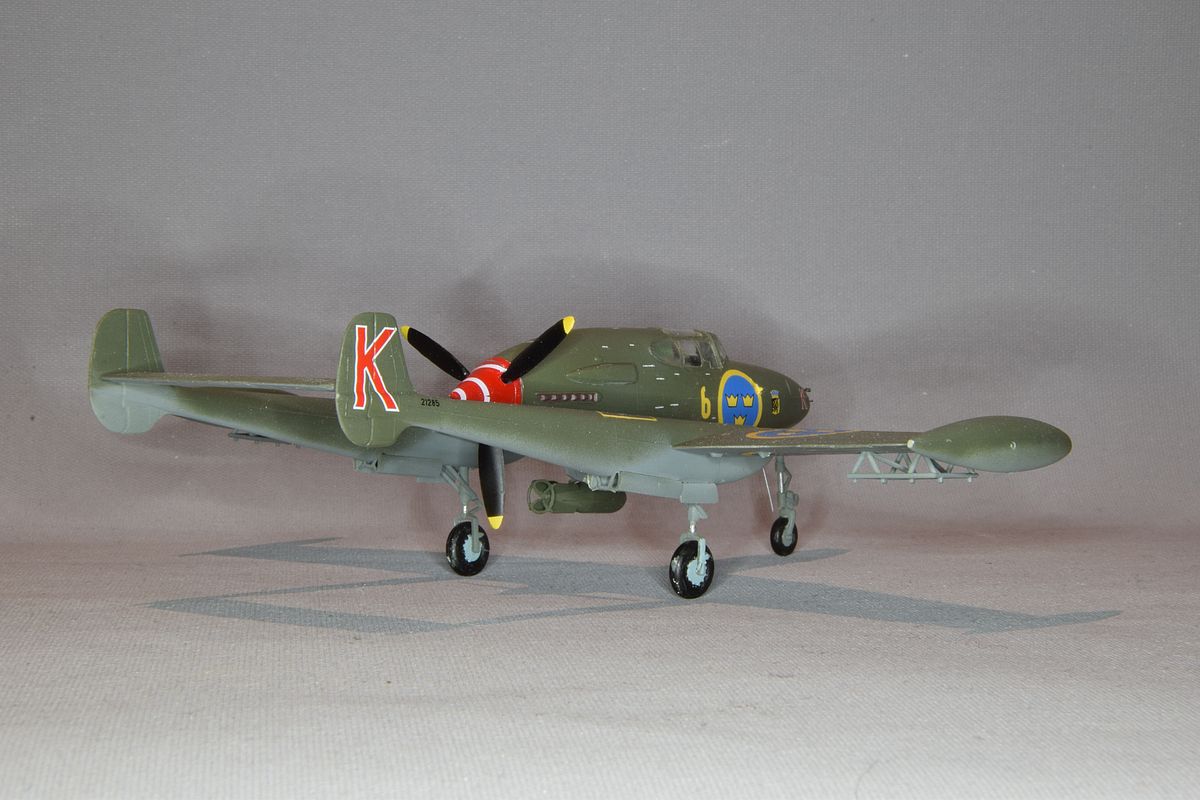
|
As this is the attack version of the plane I added a 500 kg mine bomb under the fuselage and rocket rails under the wings. Decals from Moose Republic. |

| Red K from the first (red) division of the F6 wing in Karlsborg. The bomb is from Maestro models and decals from Moose Republic. |
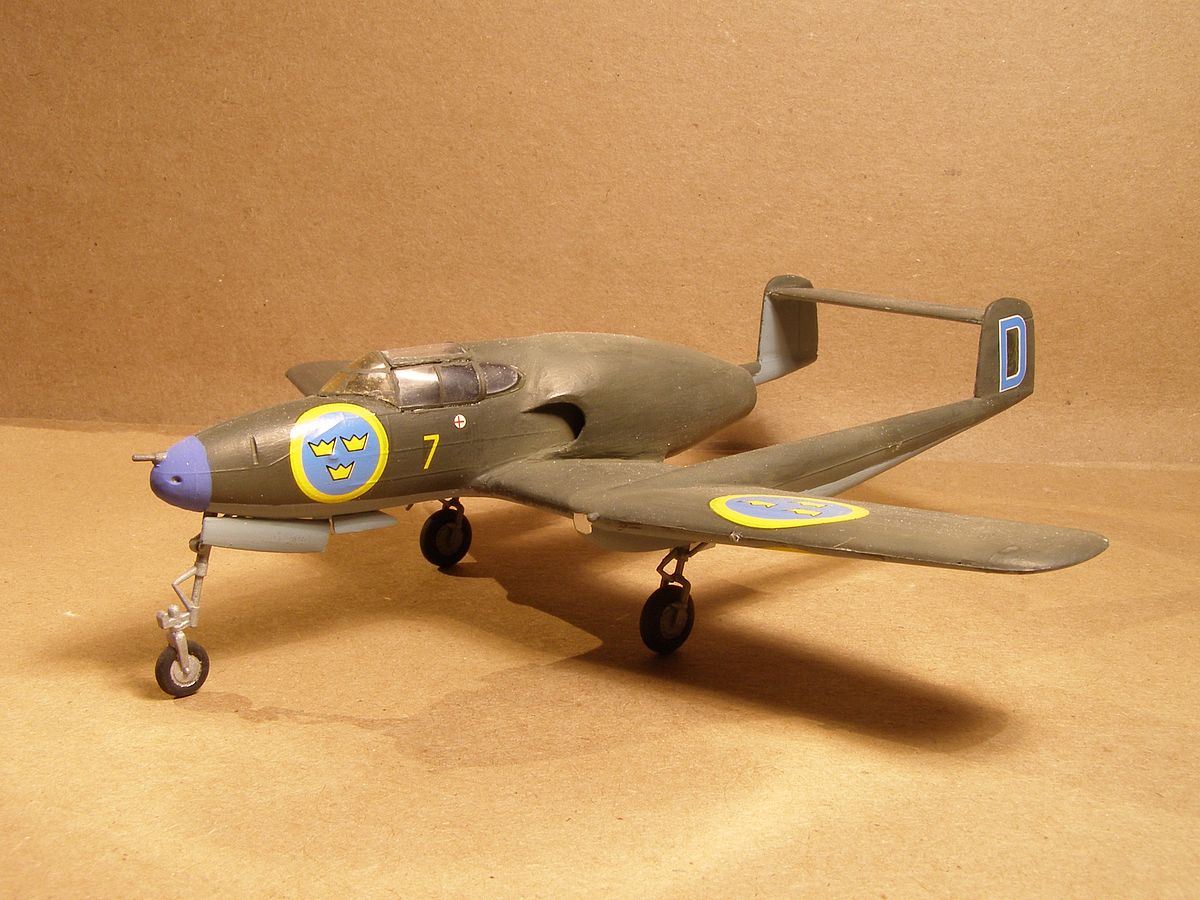

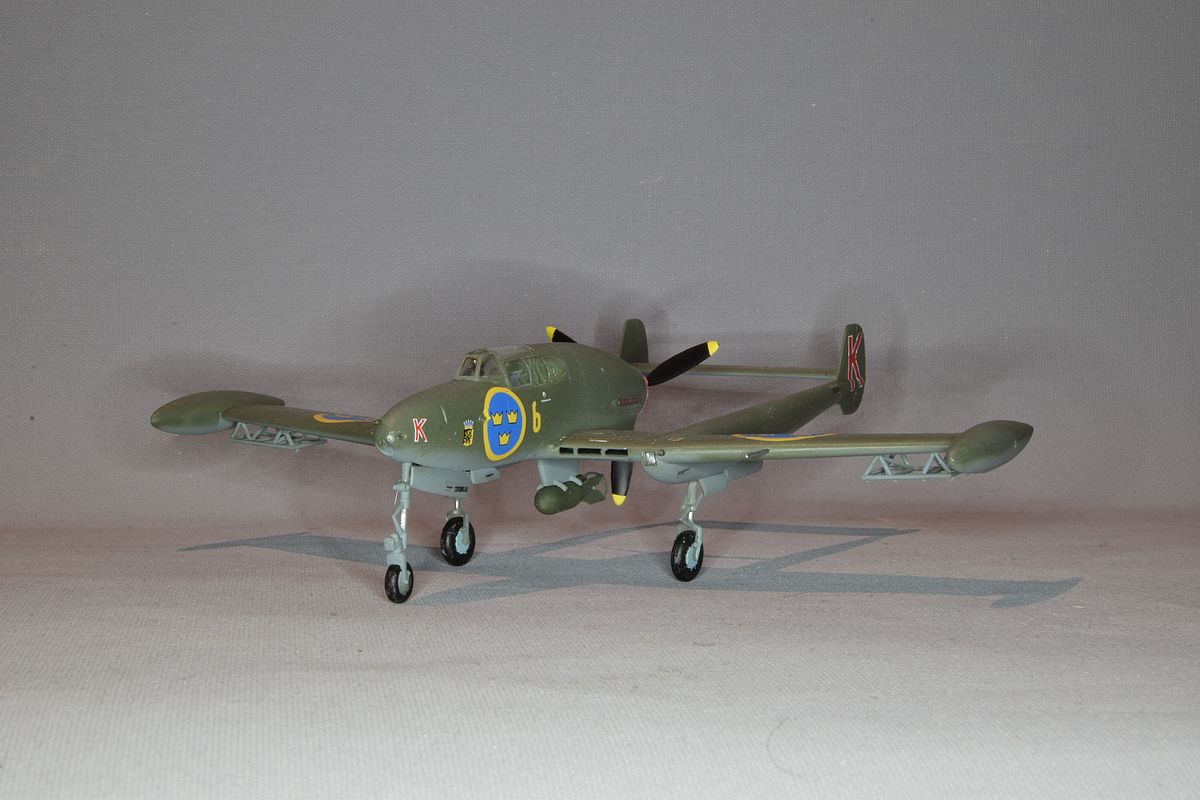
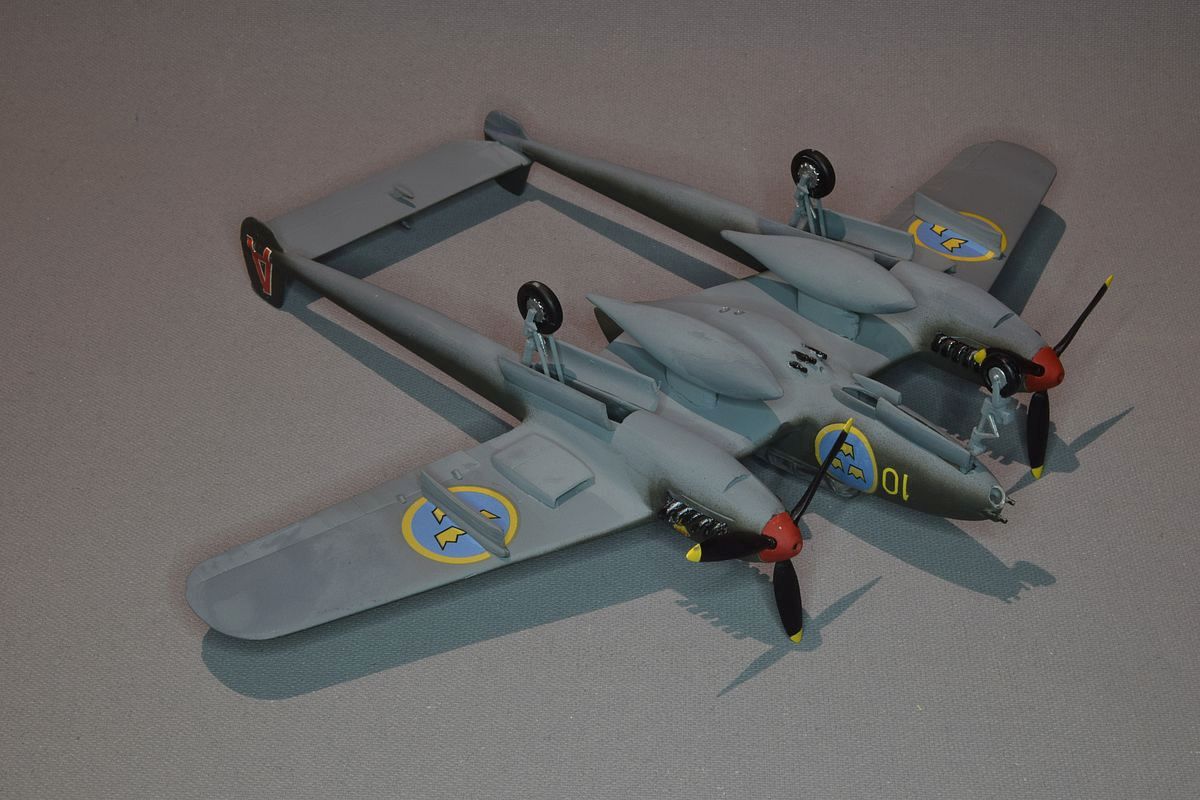
| Later on, Broplan released a vac conversion for the J 21R and I bought it. But the interest for it vanished when Special Hobby released their kit. |
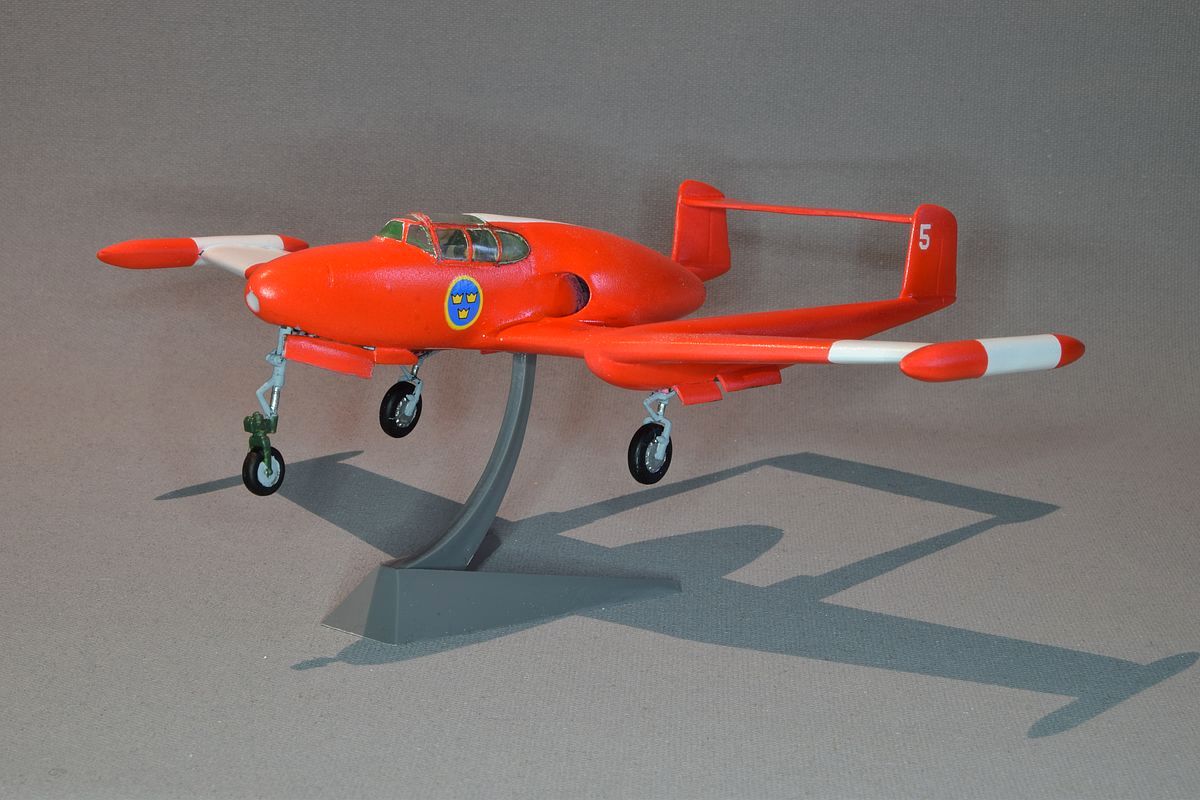
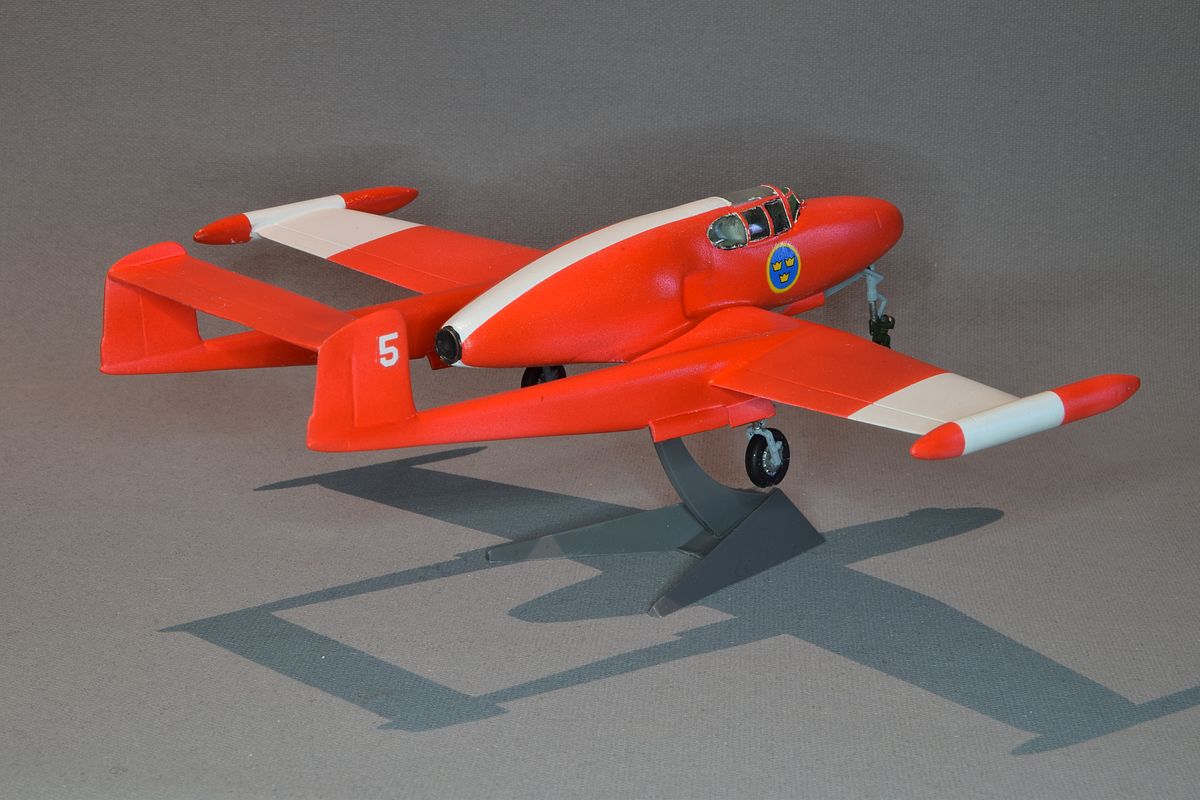
When I stumbled on an article about target drones in Sweden I learned that there were plans to convert six J 21R into radio-controlled drones. The project was cancelled but it inspired me to do something with the started conversion.
|
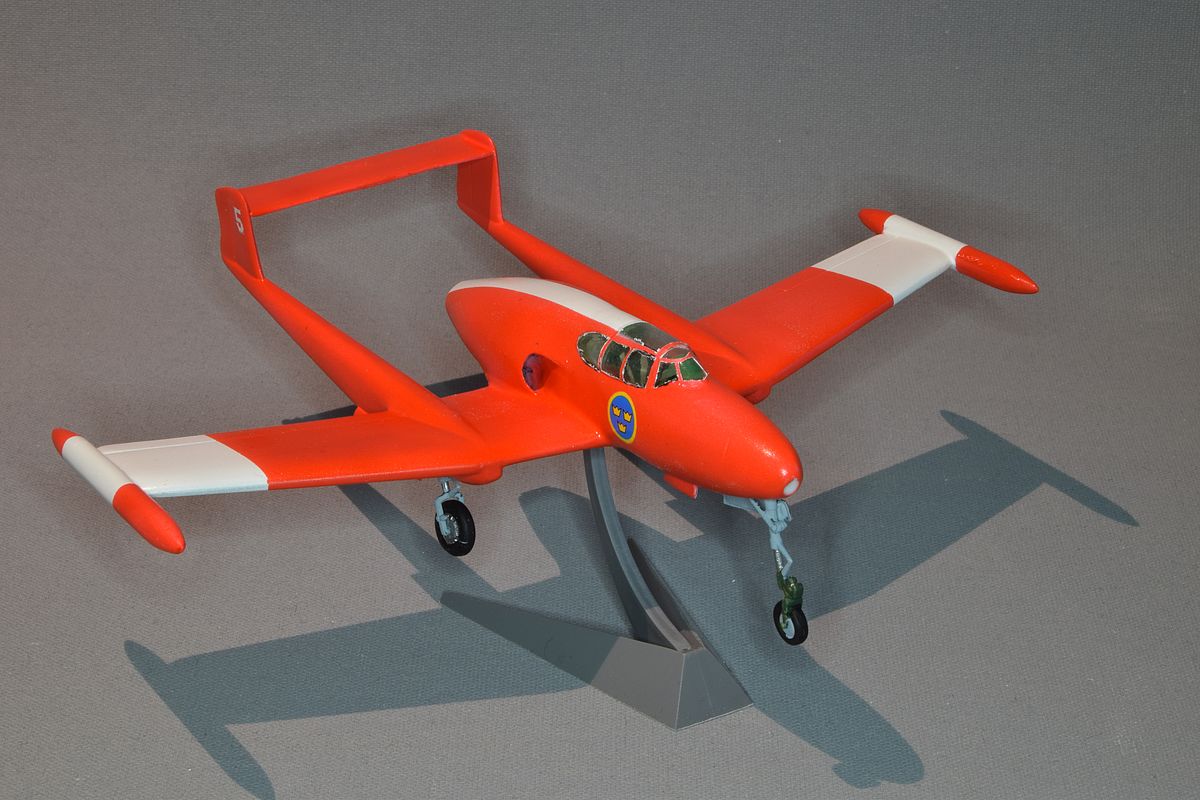

| I just added some pods to the wing tips and painted it red like a drone. Finished as flying without a pilot. A kit saved from the shelf of the doomed. A SAAB Rb 21R a WHIF but not a WHIF. Well at least it is colourful. |
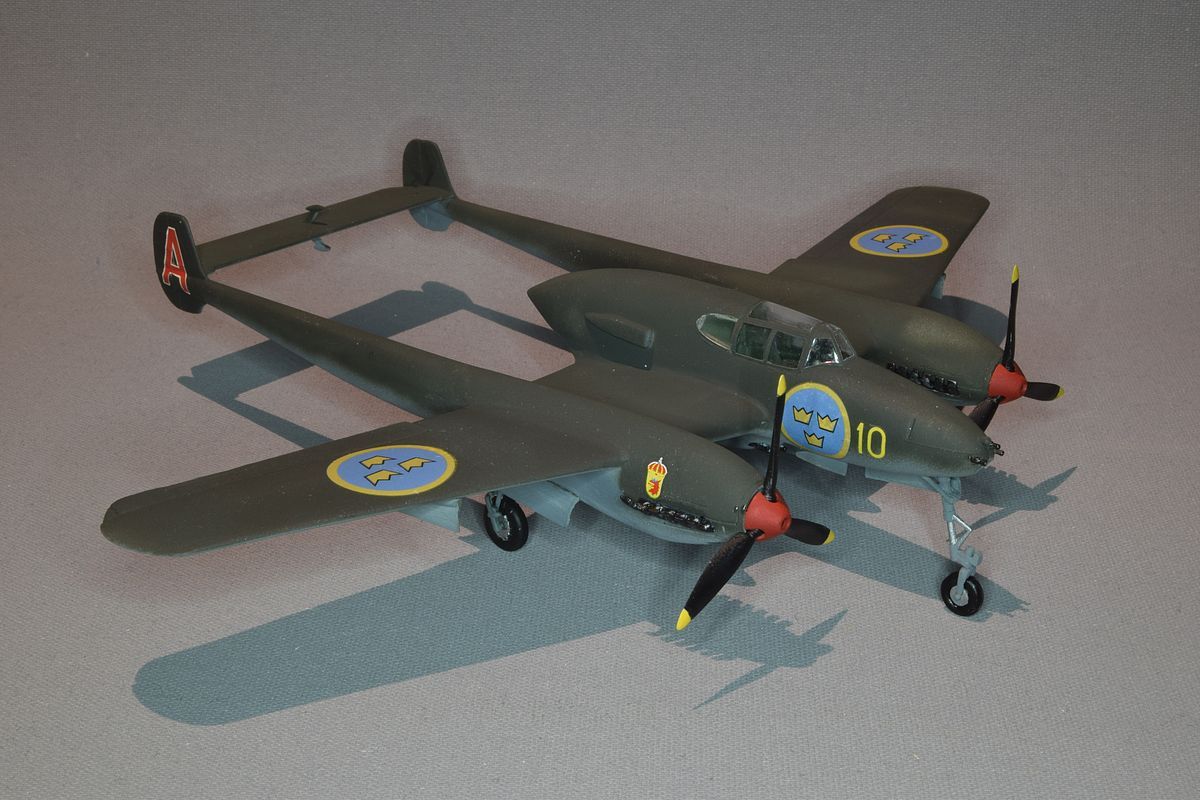
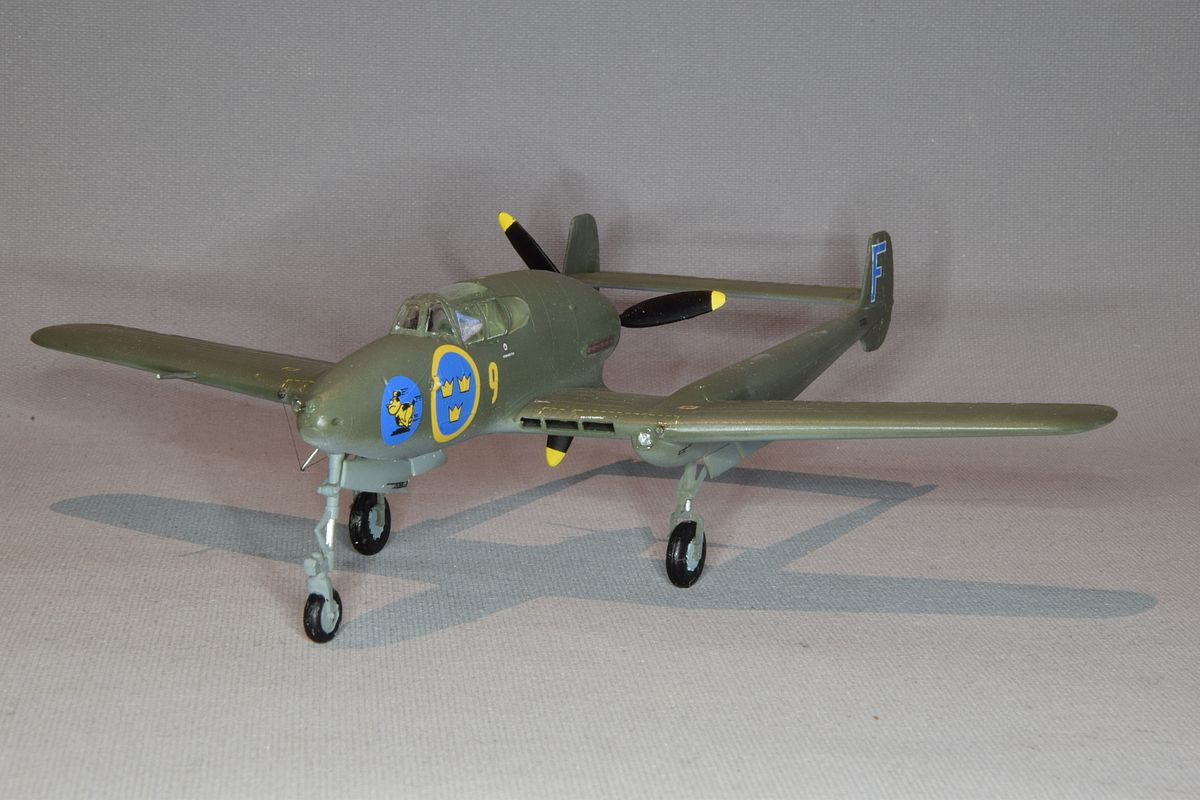
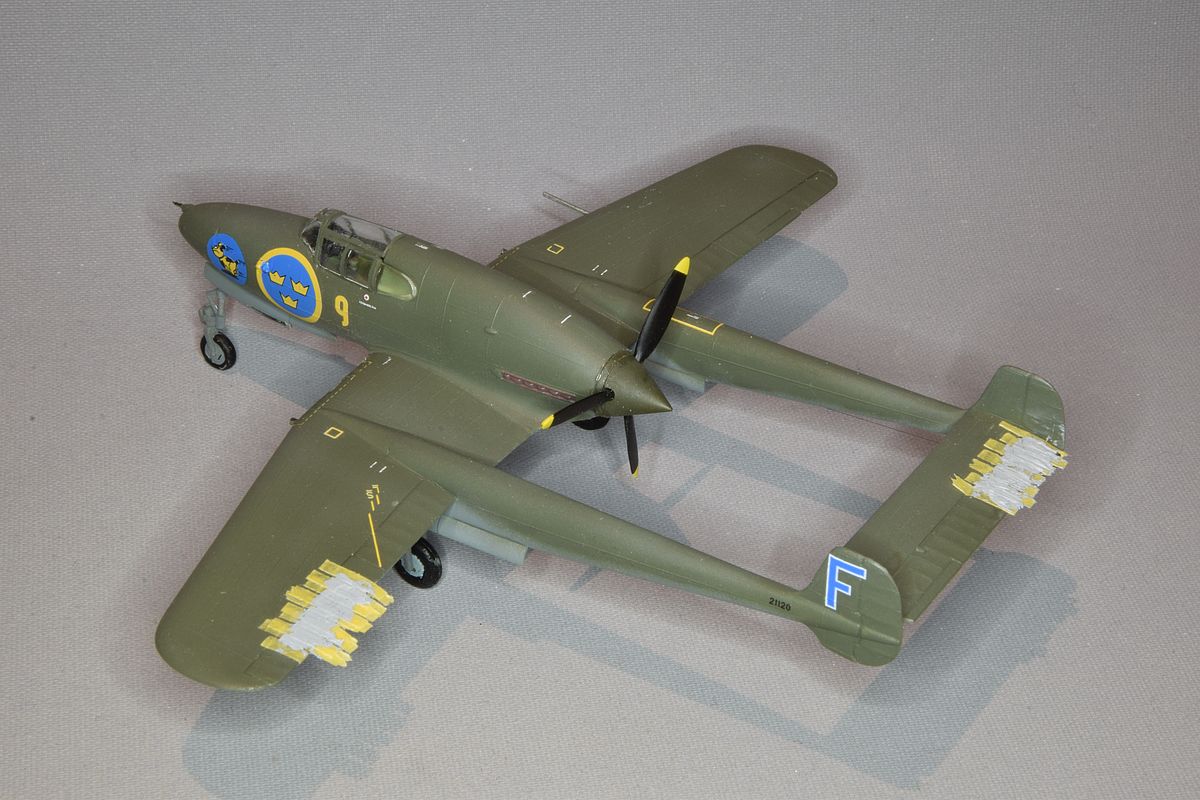
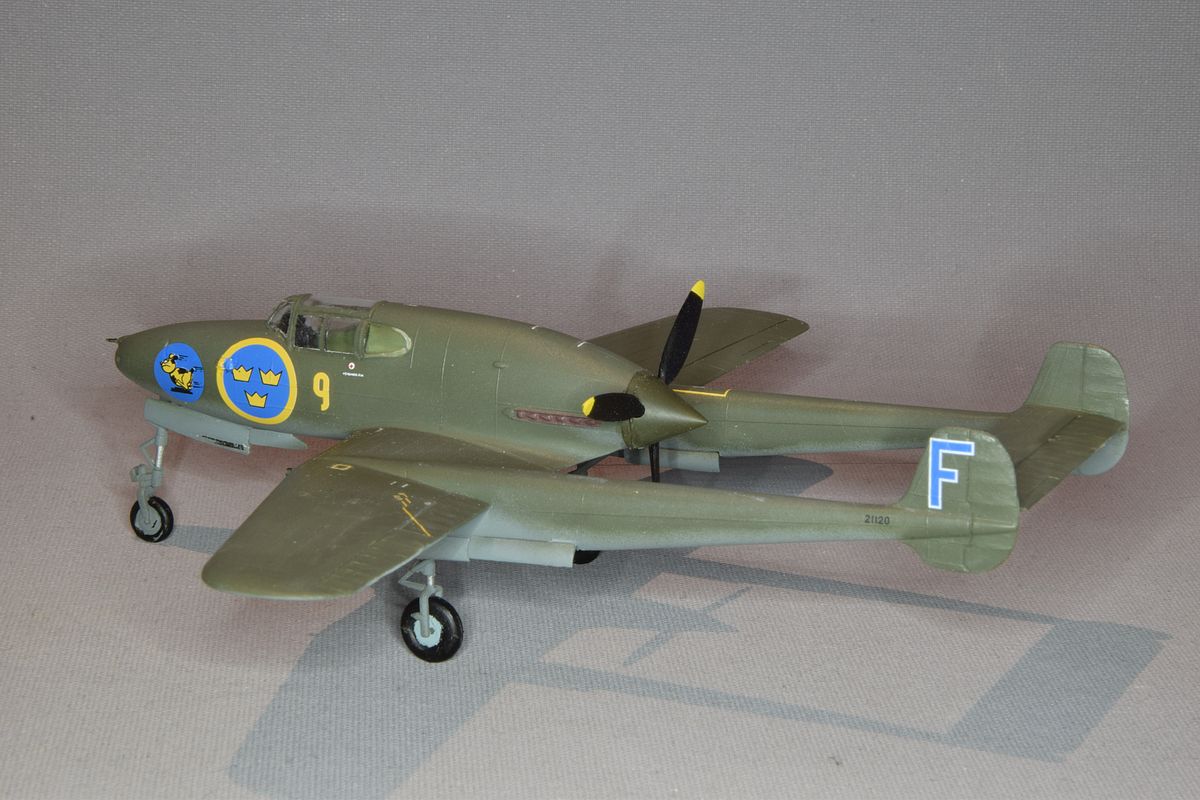
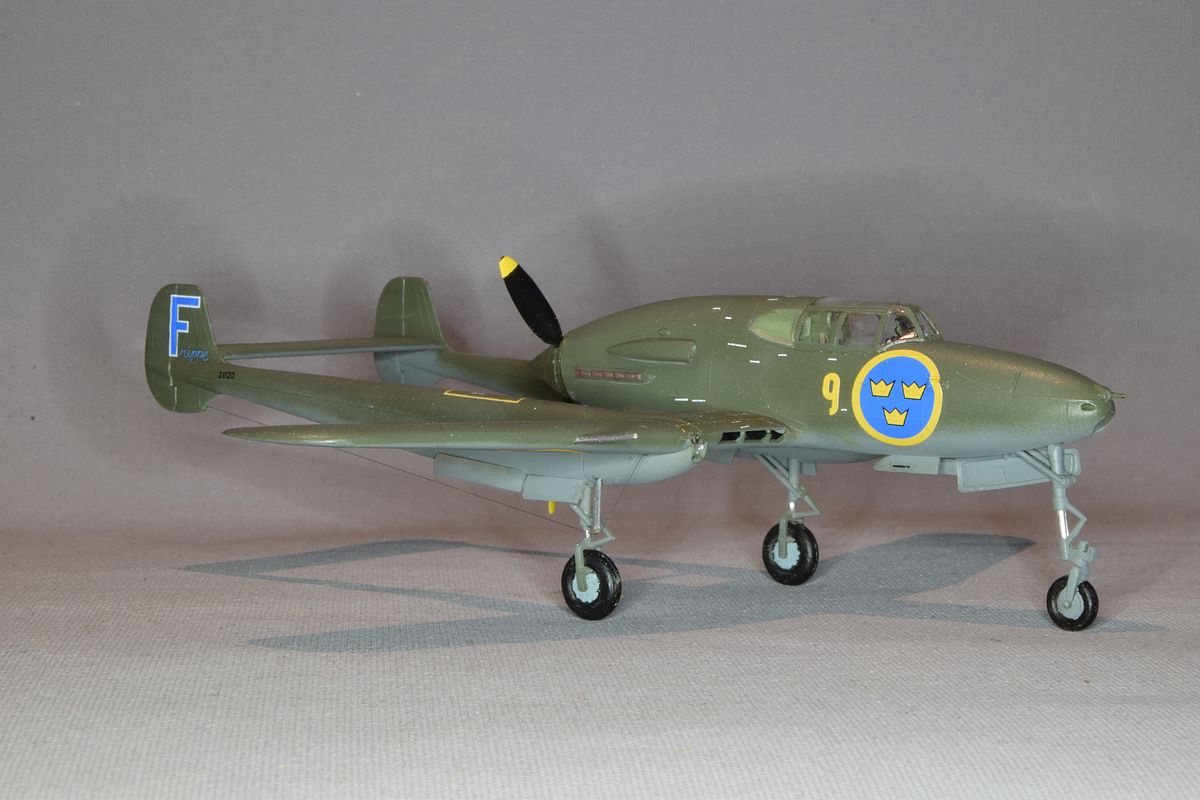
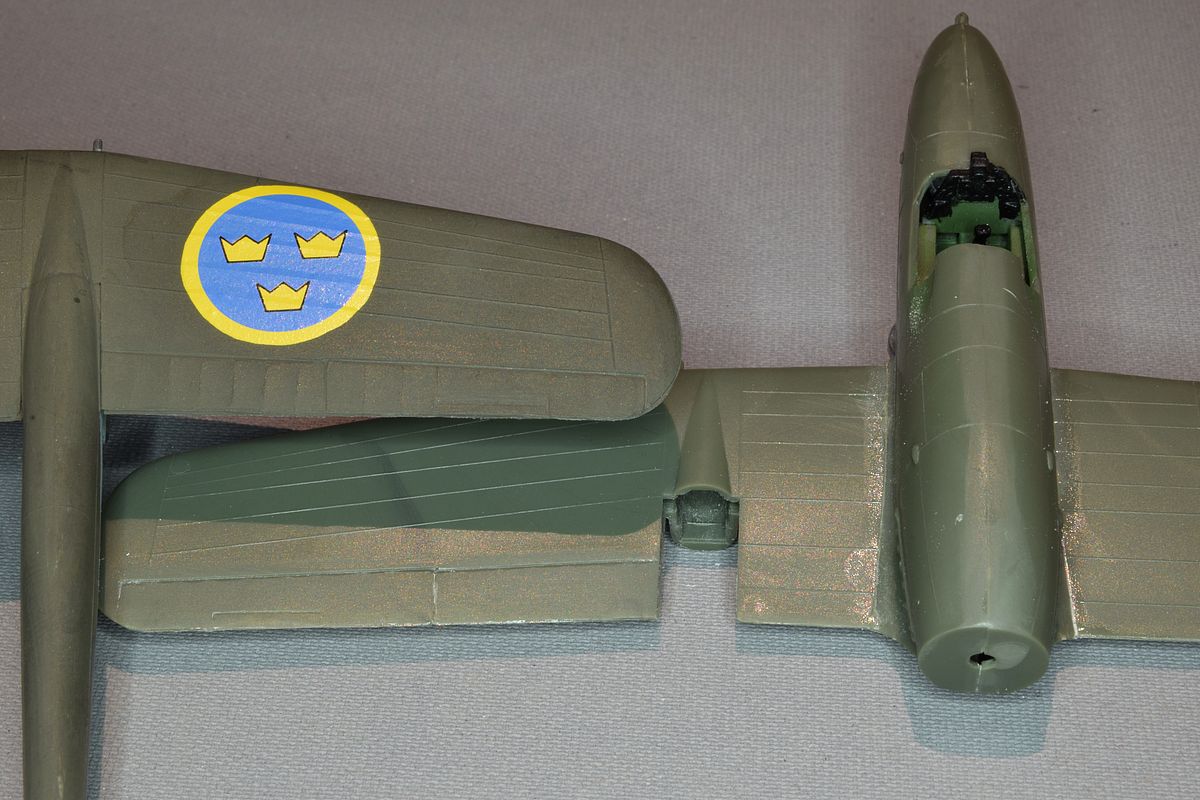
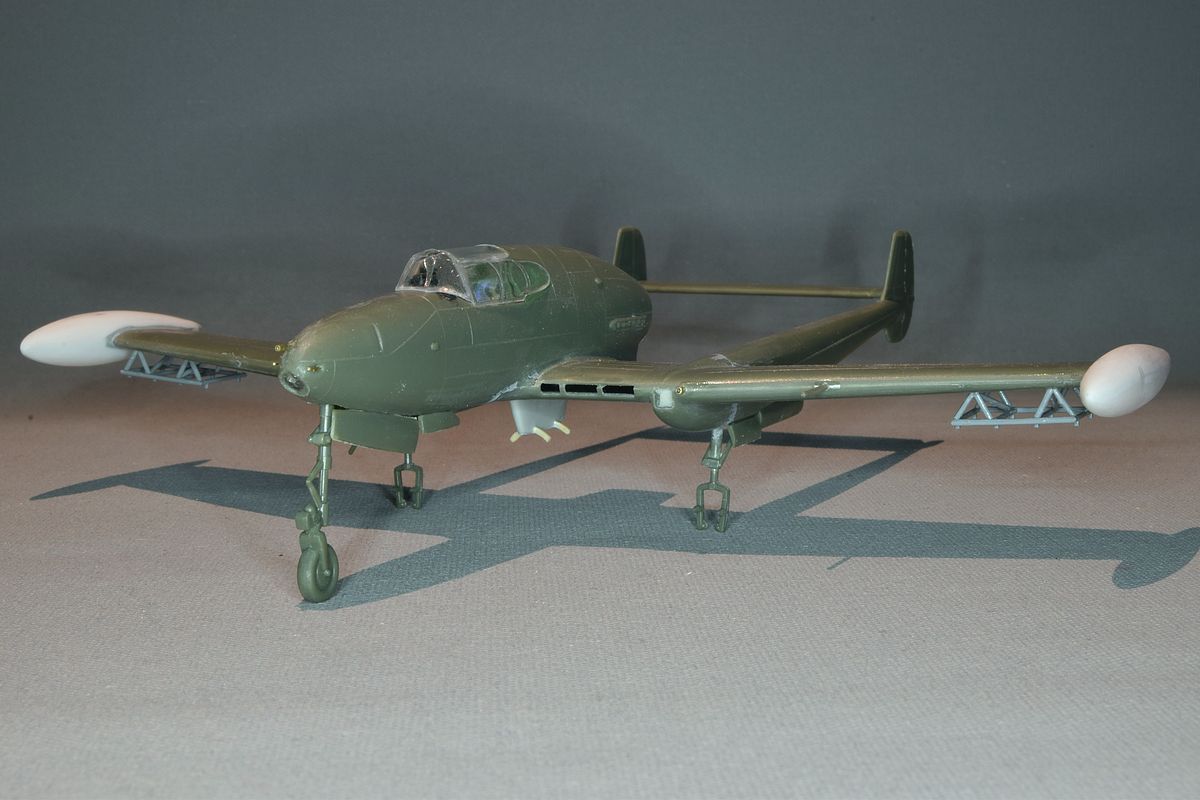
This is a genuine What If built just for fun. The J 21 had problems with the engine overheating when standing on the ground and this was my solution to the problem.
|
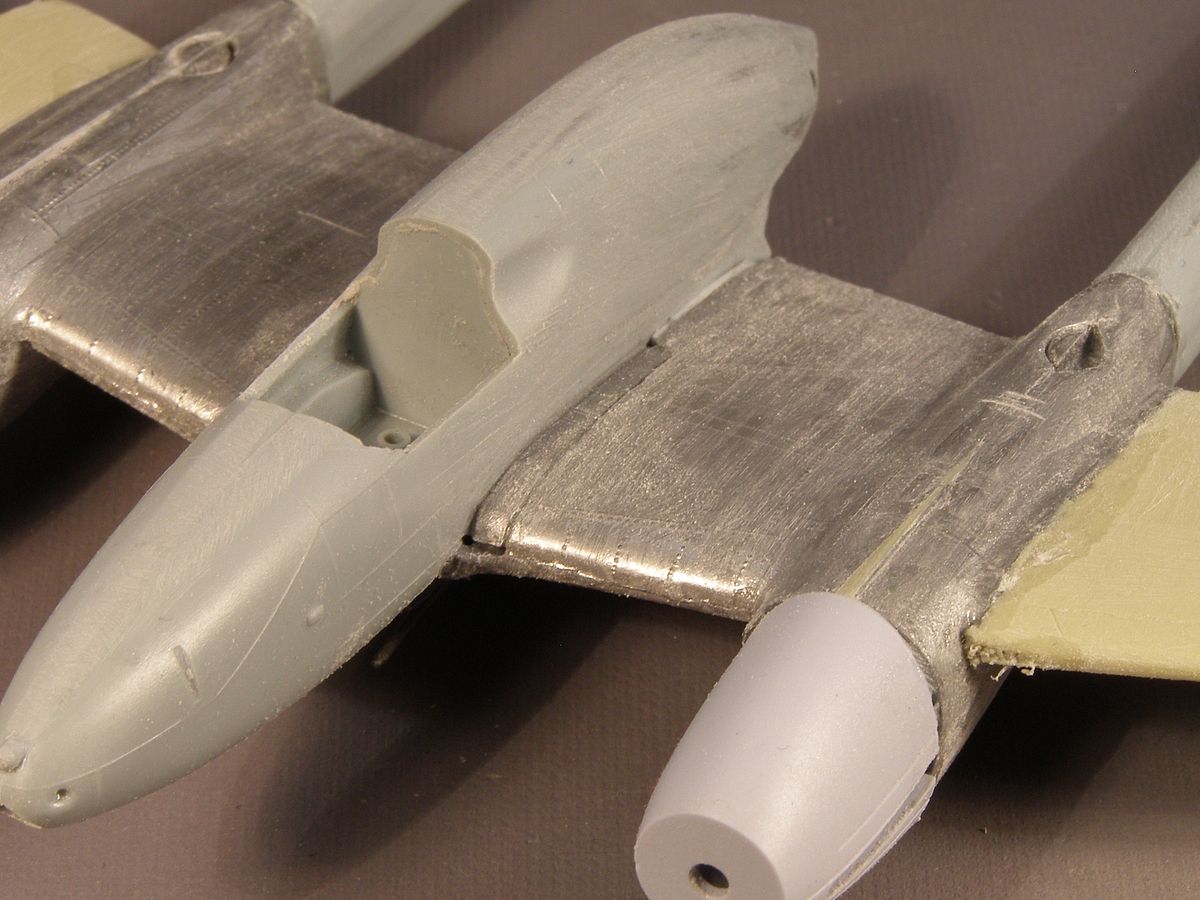
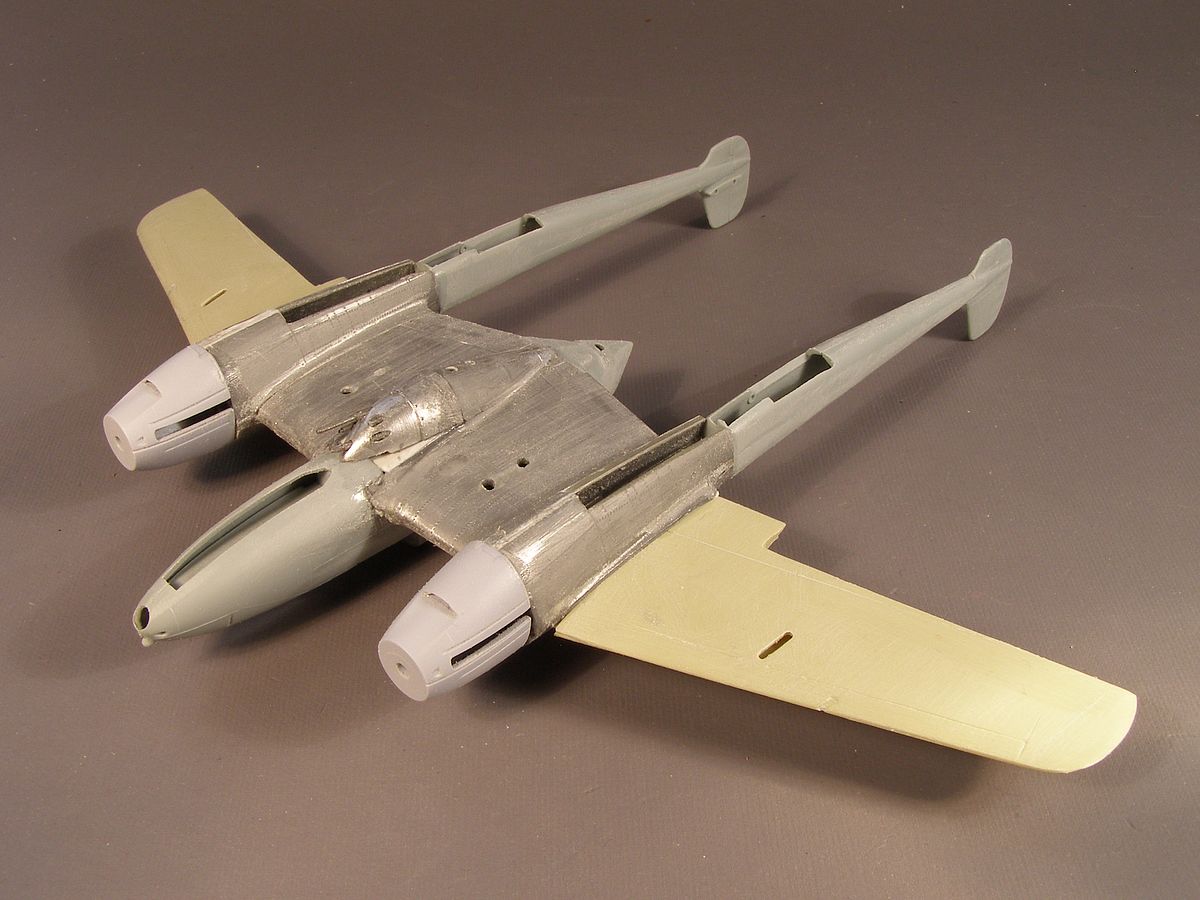
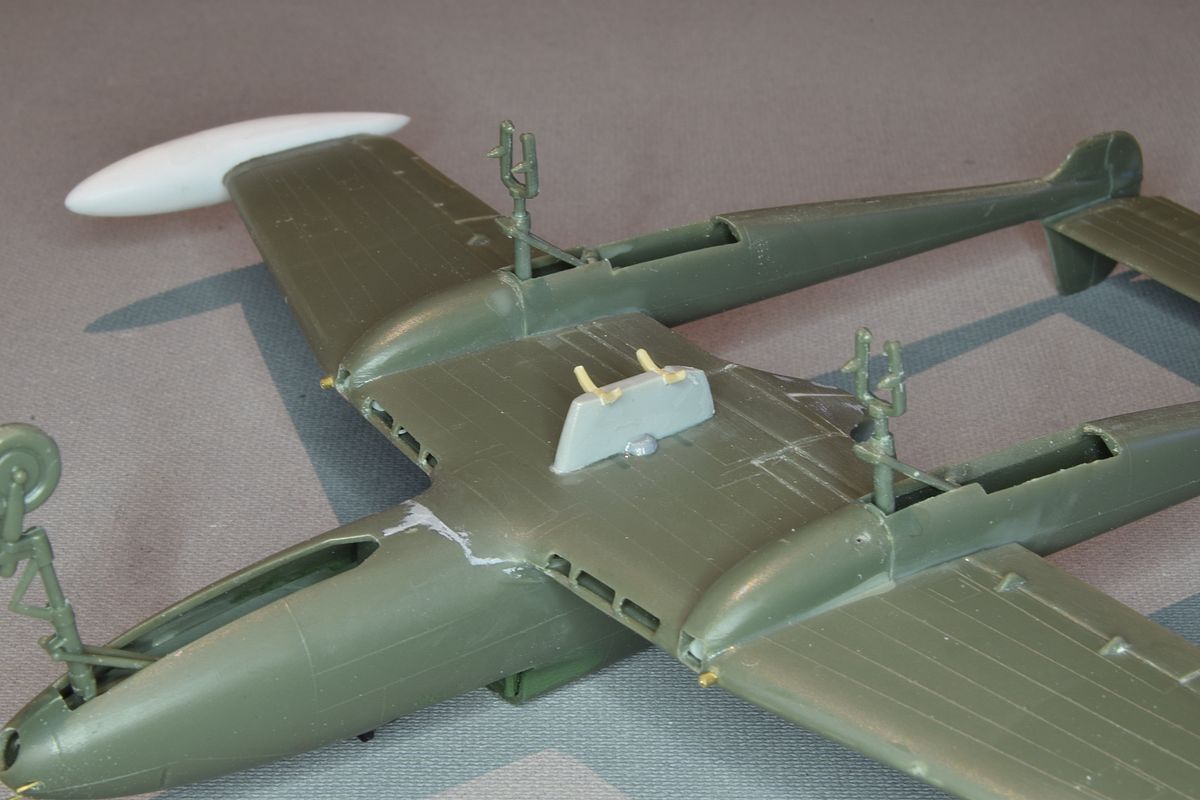
| As the position of the engine was the reason for overheating I wanted it moved to the front where the air stream from the propeller would help with cooling. But putting the engine in the nose of the fuselage would make the twin booms look odd. So, I went for a twin-engine variant. I used parts from an old Airfix P-38 and the engines from their Messerschmitt Bf110. I tried to use the J 21 wings, but I thought that the wingspan got to short so I took some Matchbox J 29 Tunnan wings that I modified to the J 21 wing shape instead. |
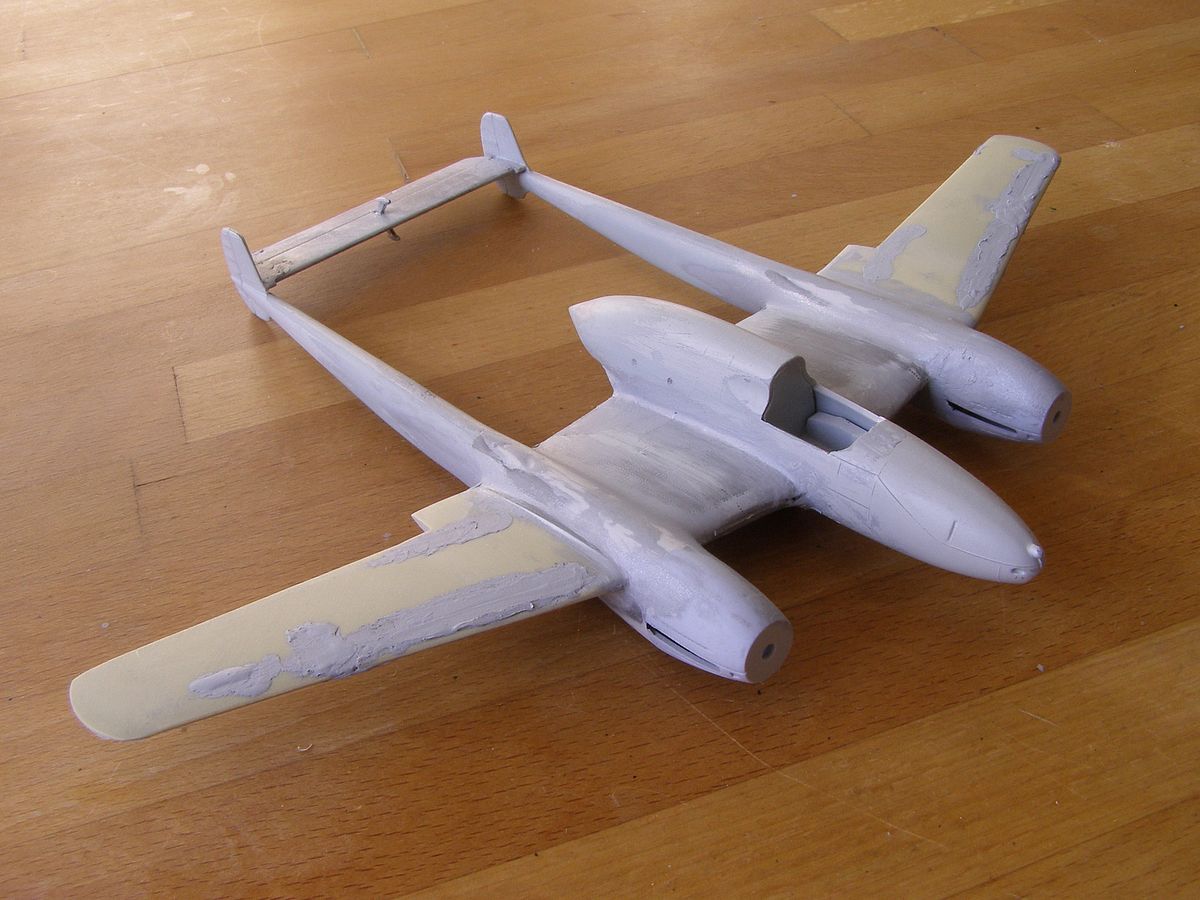
| When I got all parts glued together a big amount of putty was used. The Matchbox wing had deep trenches for panel lines that needed to be filled. But finally, it began to look the part. |

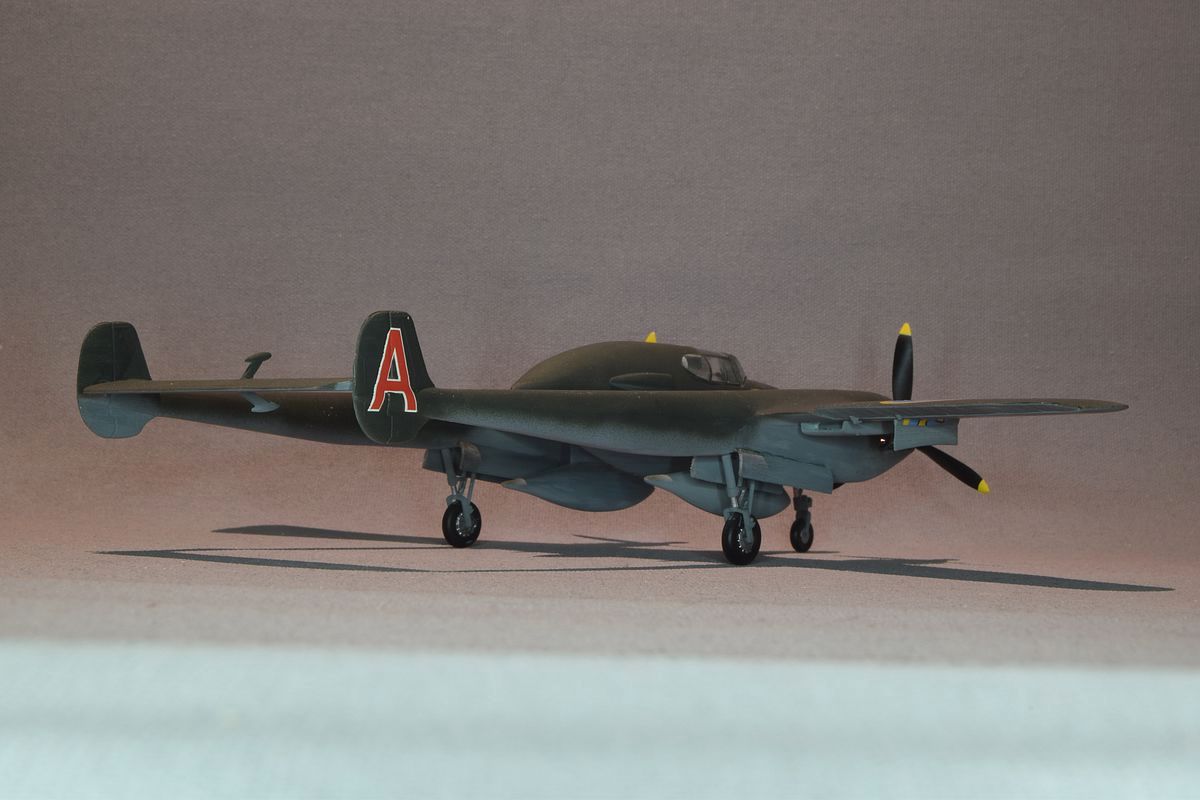
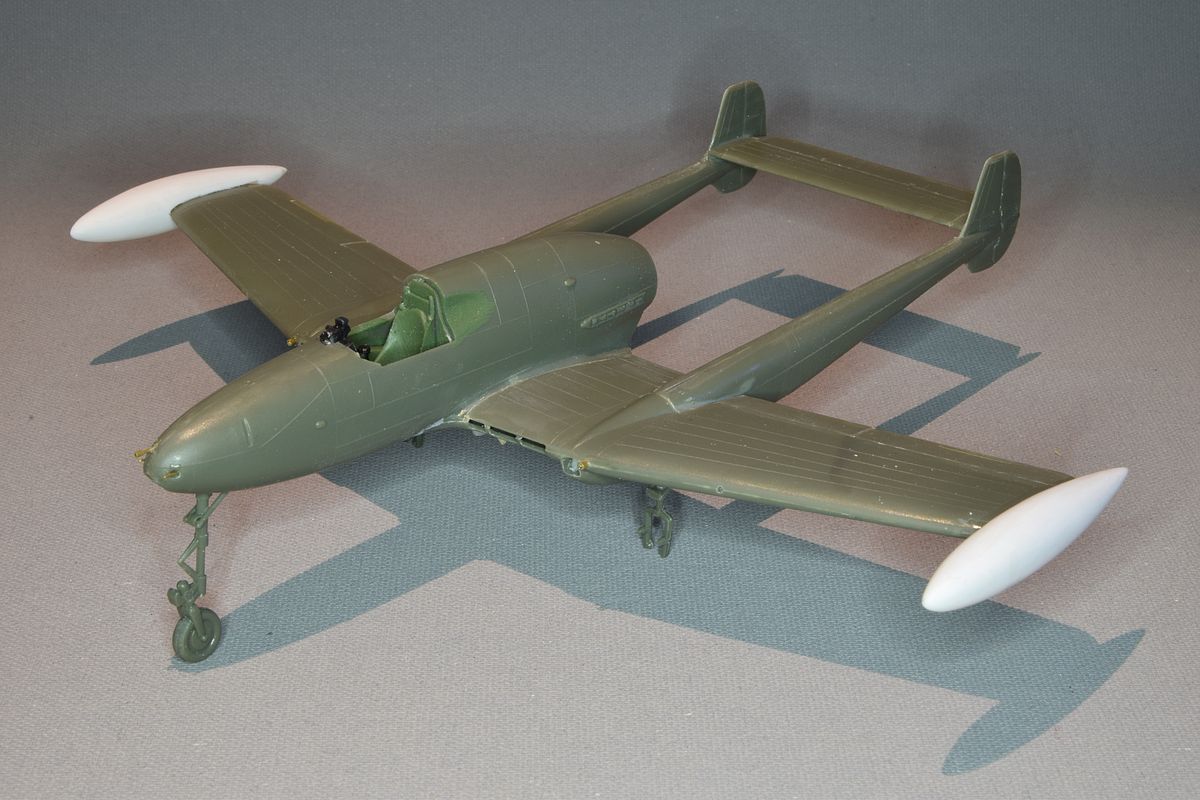
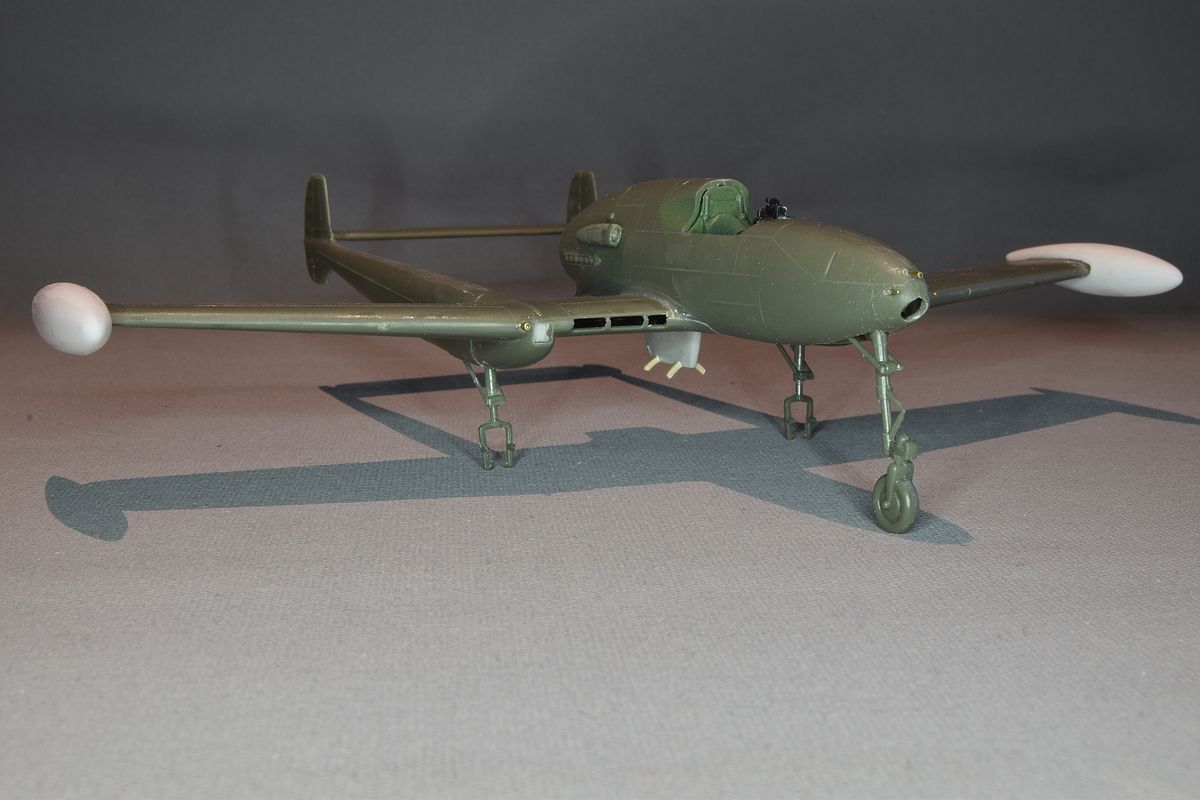
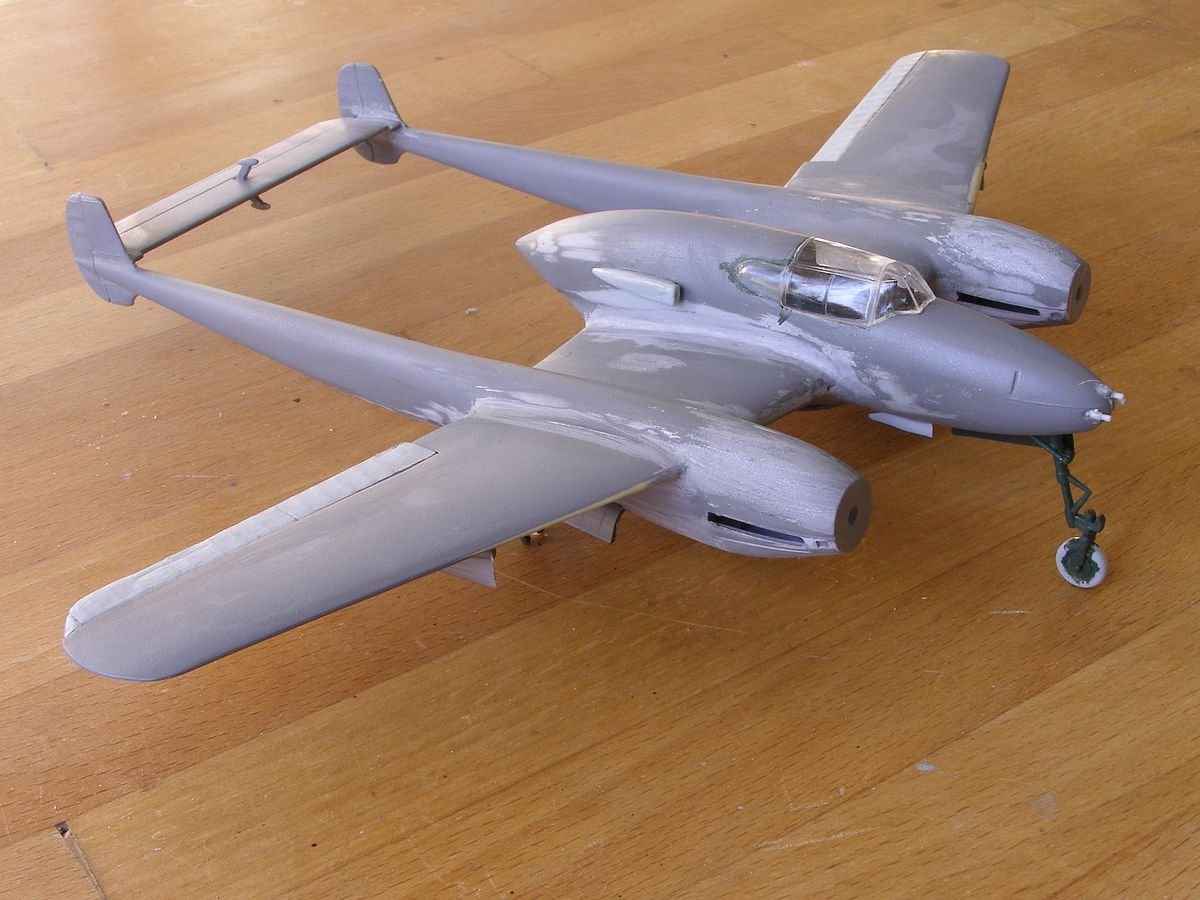
| A heavy Fighter-Bomber with a gun pod below the fuselage. |
| I guess I must have done something right with it. I have seen people looking at it for a long time and later told me that it took them some time to realize what was wrong with this J 21. |
| Stockholm January 08, 2018 |  |
Updated November 19, 2022 |
----------------------------------------------------.::.
vehicles .::. civilian aircrafts .::. military aircrafts .::.
miscellaneous .::. home .::.------------------------------------------------------ |