
|
-----------------------------------------------------------.::.
vehicles .::. civilian aircrafts .::. military aircrafts .::.
miscellaneous .::.---------------------------------------------------------- |
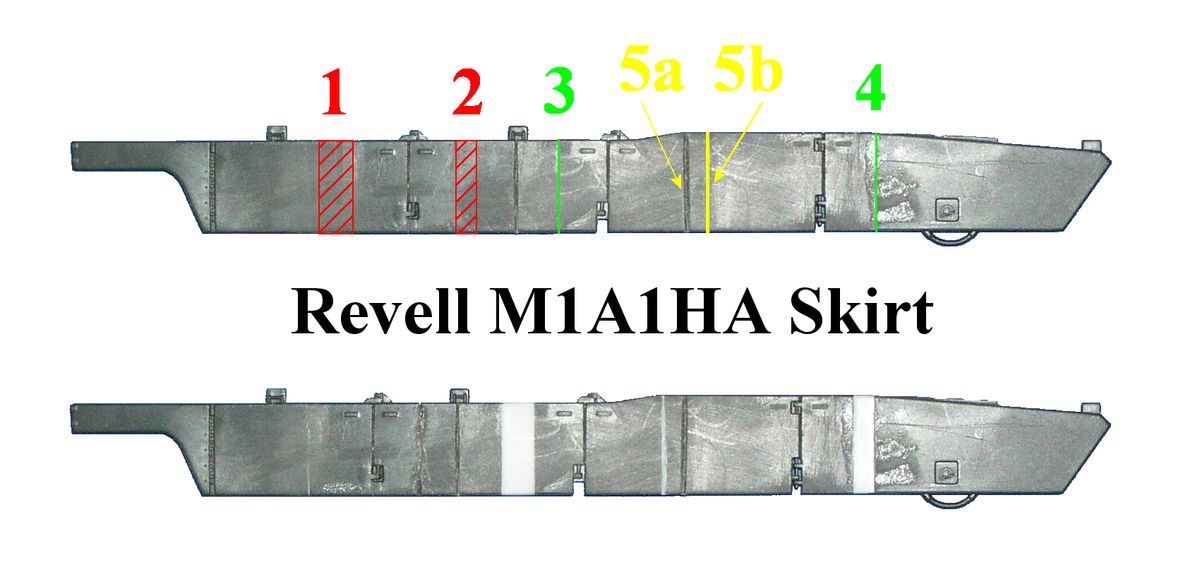
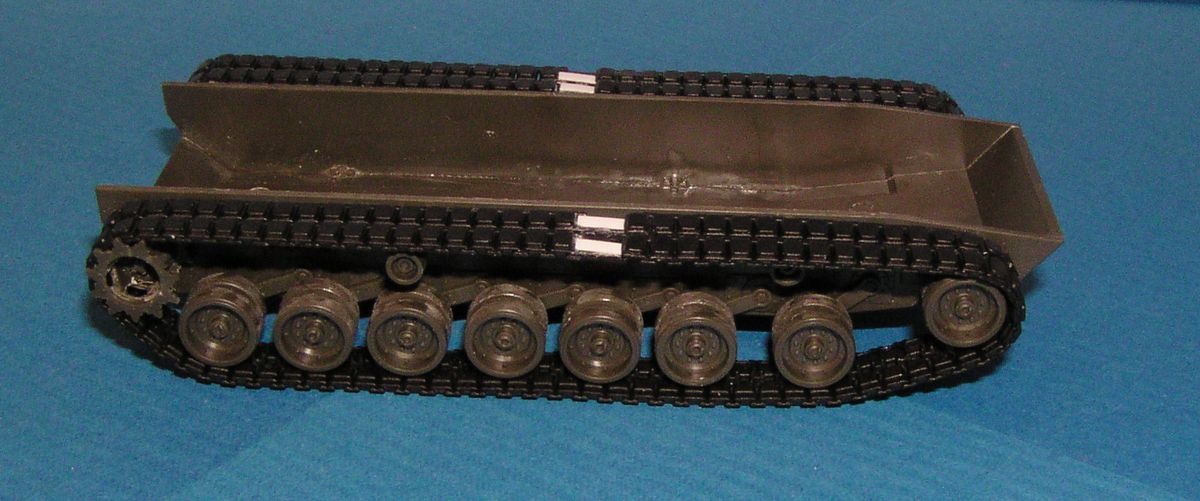
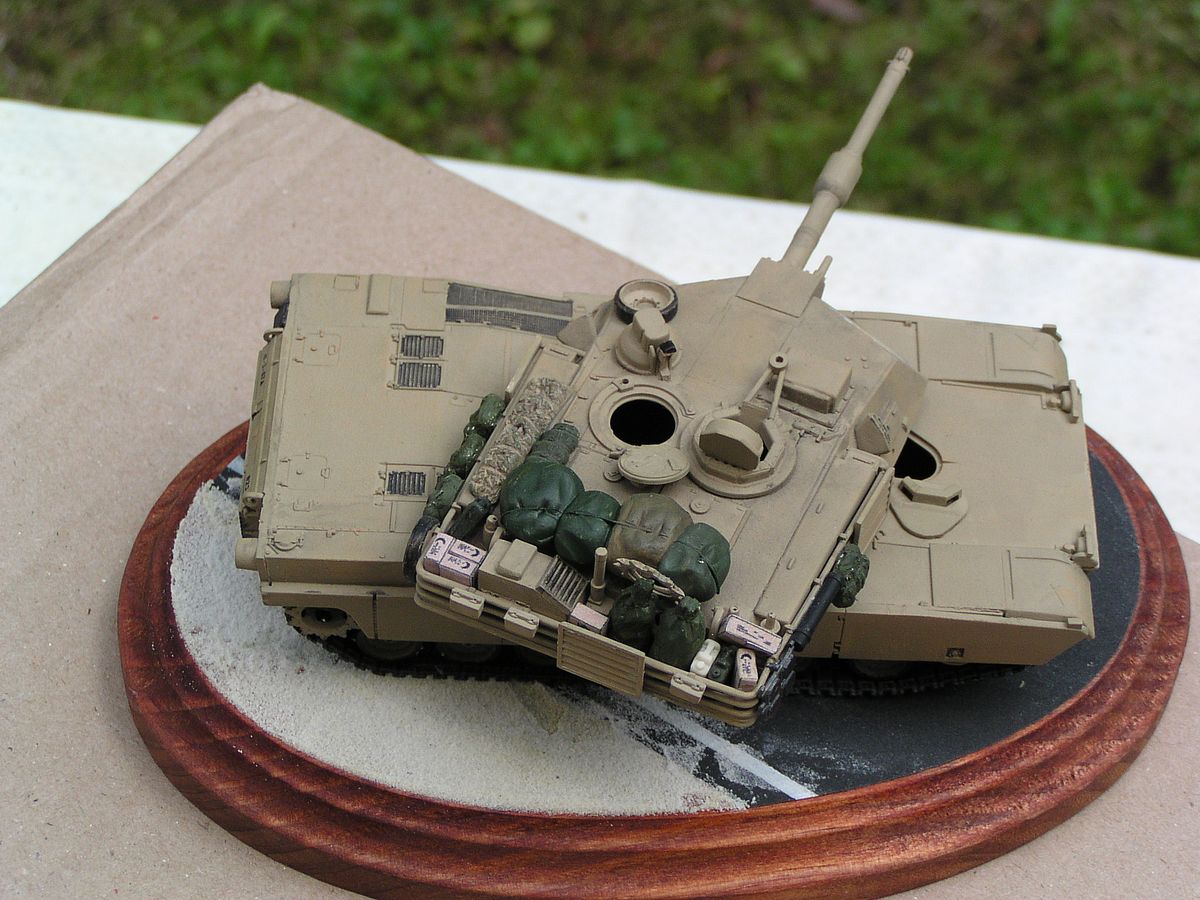
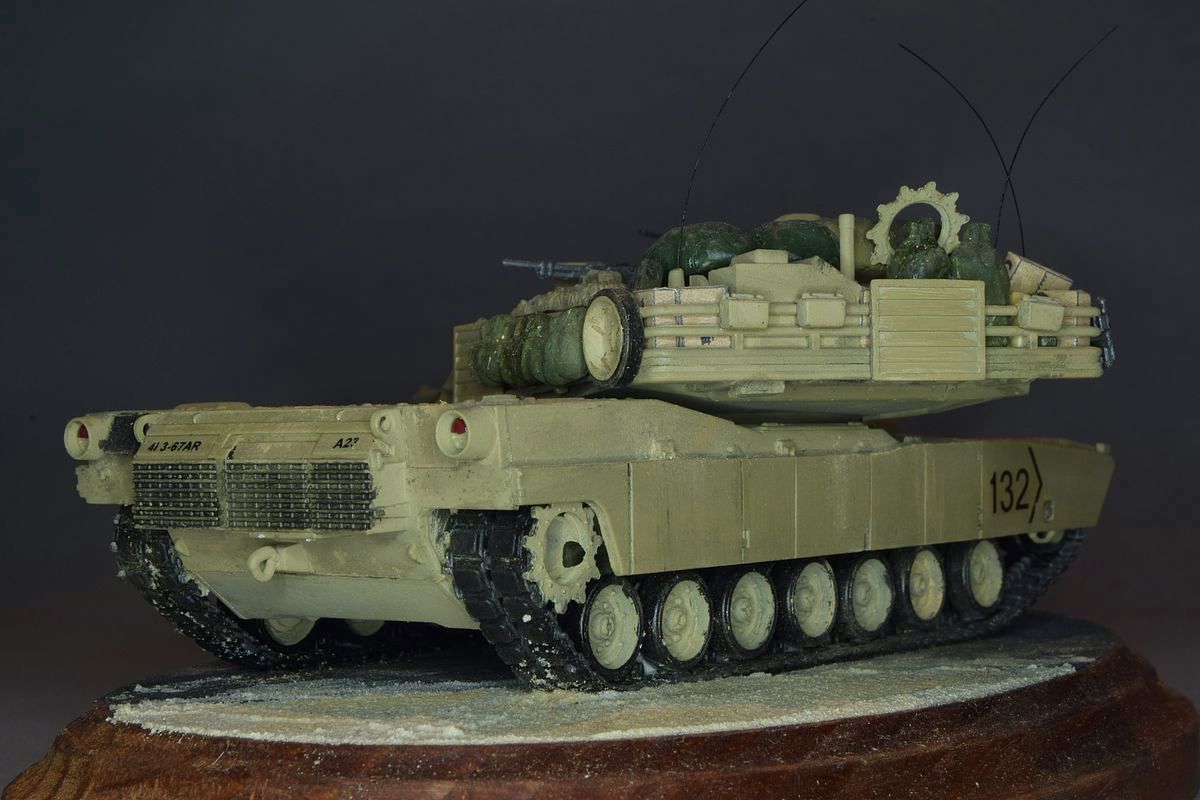
I built the M1A2SEP using the Revell M1A1HA kit and some parts from the Dragon M1A2 kit. Revell had goofed with the side skirts, making both the left and right ones symmetrical so I had to cut the right-side skirt up and fix it. Here is the text for the picture of the modified skirt: #1 - Cut and remove 2,5mm #2 - Cut and remove 2mm #3 - Cut and add 3mm #4 - Cut and add 2mm #5a - Fill and #5b - scribe a new line 2mm forward But don't forget that for each cut, count for the material that the saw removes. My saw is 0.25 mm wide and removes (at least) that. So, four cuts later and glued together the skirt was about one mm short (Mental note to myself: Think before acting) OK, some more work and a few plastic strips fixed this. |
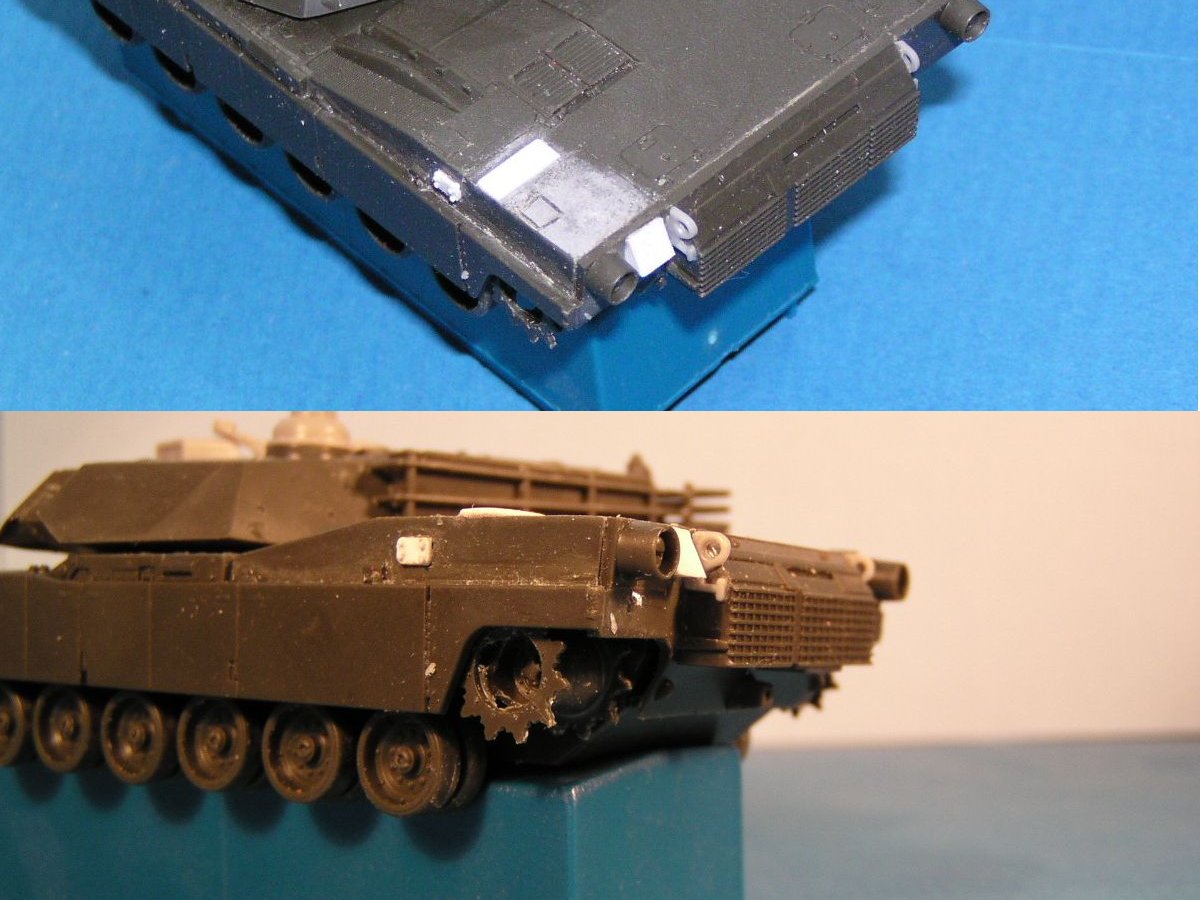
I had to scratch some features from the SEP version: First the internal APU in the left rear I had to remove the fuel cap and make the intake on the side, above the skirt. The exhaust to the right of the tail light and a drain below the tail light.
|
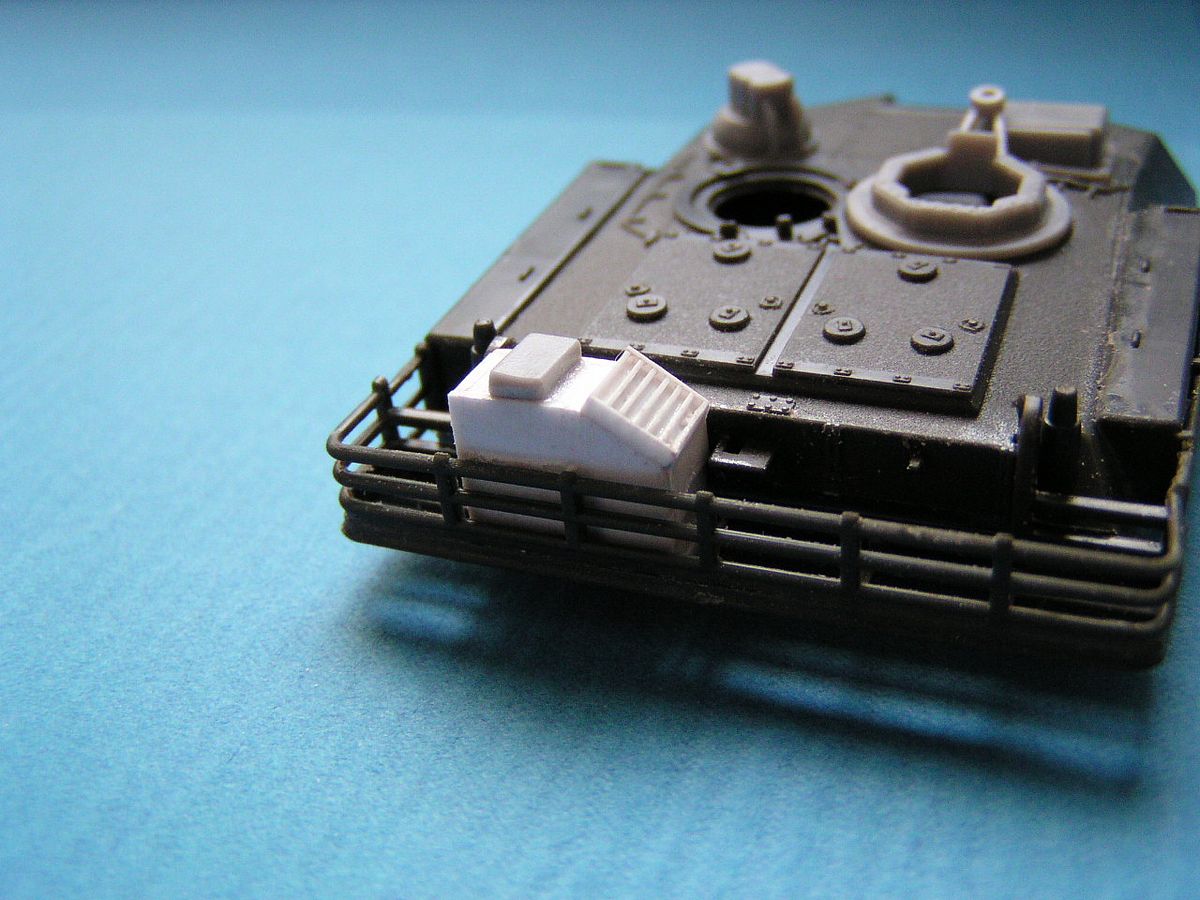
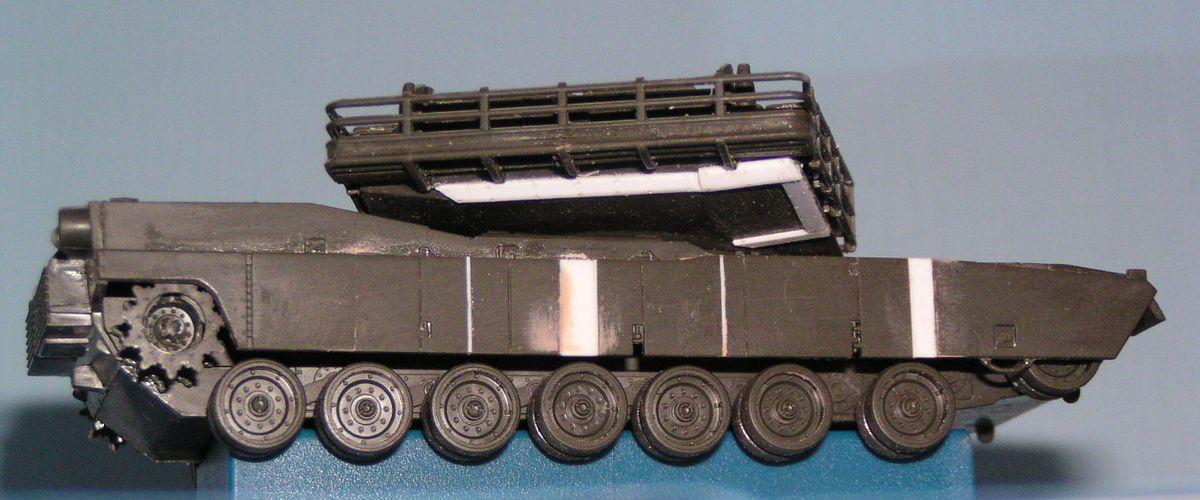

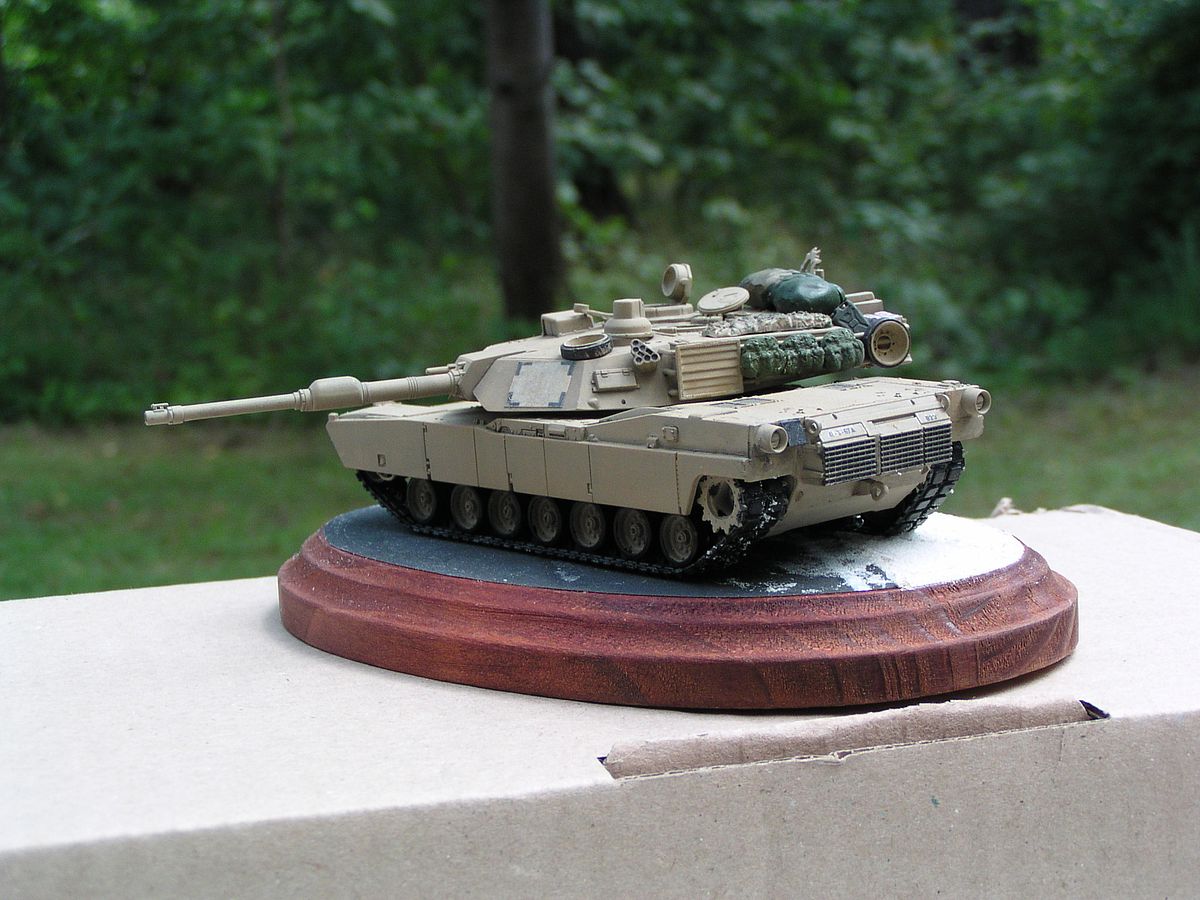
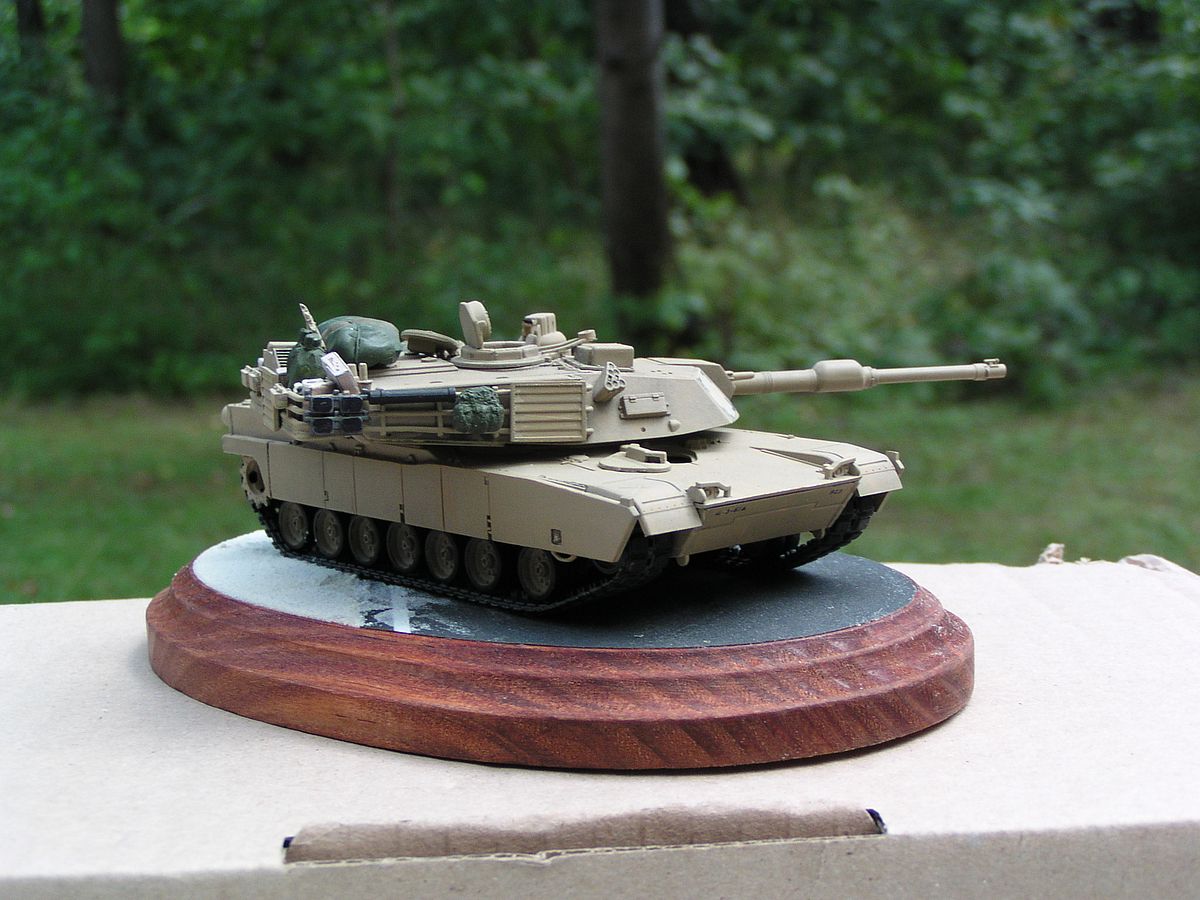
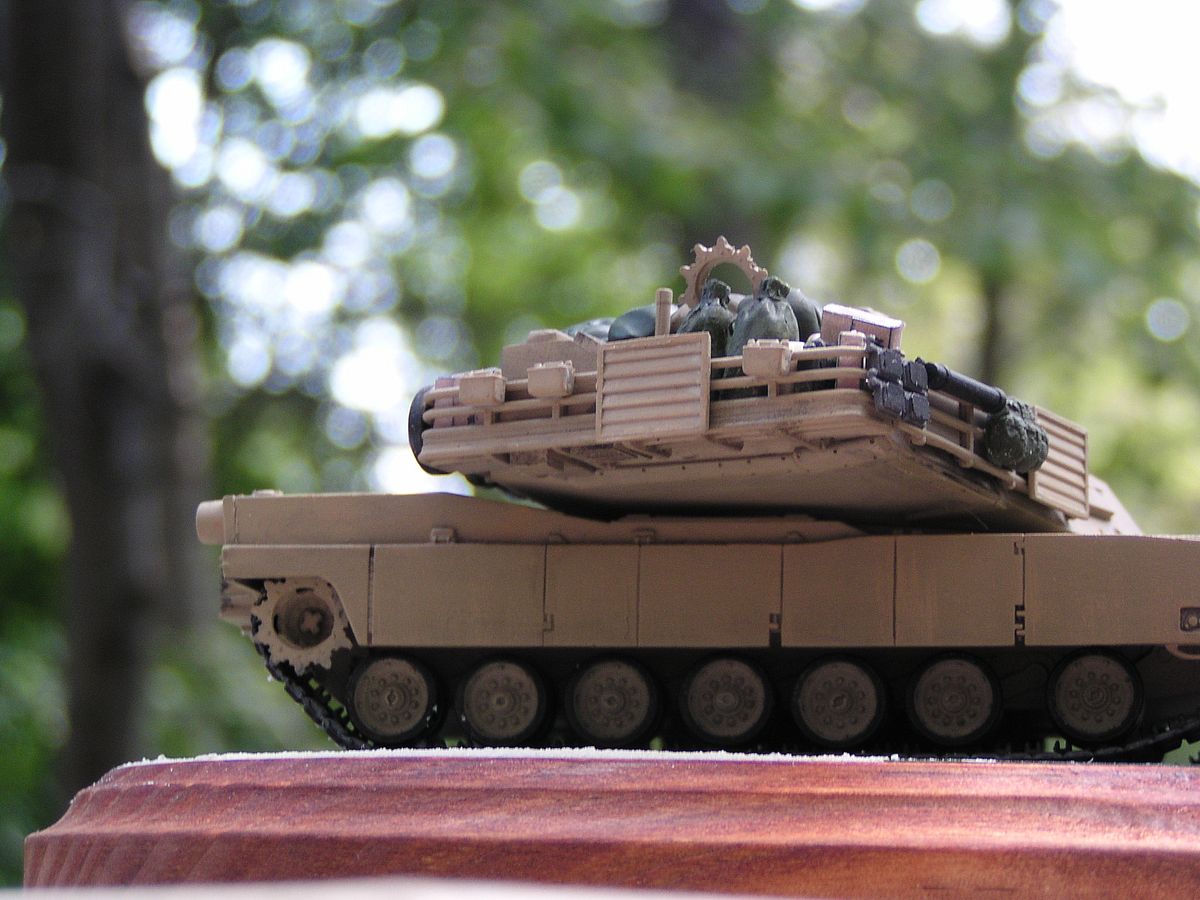
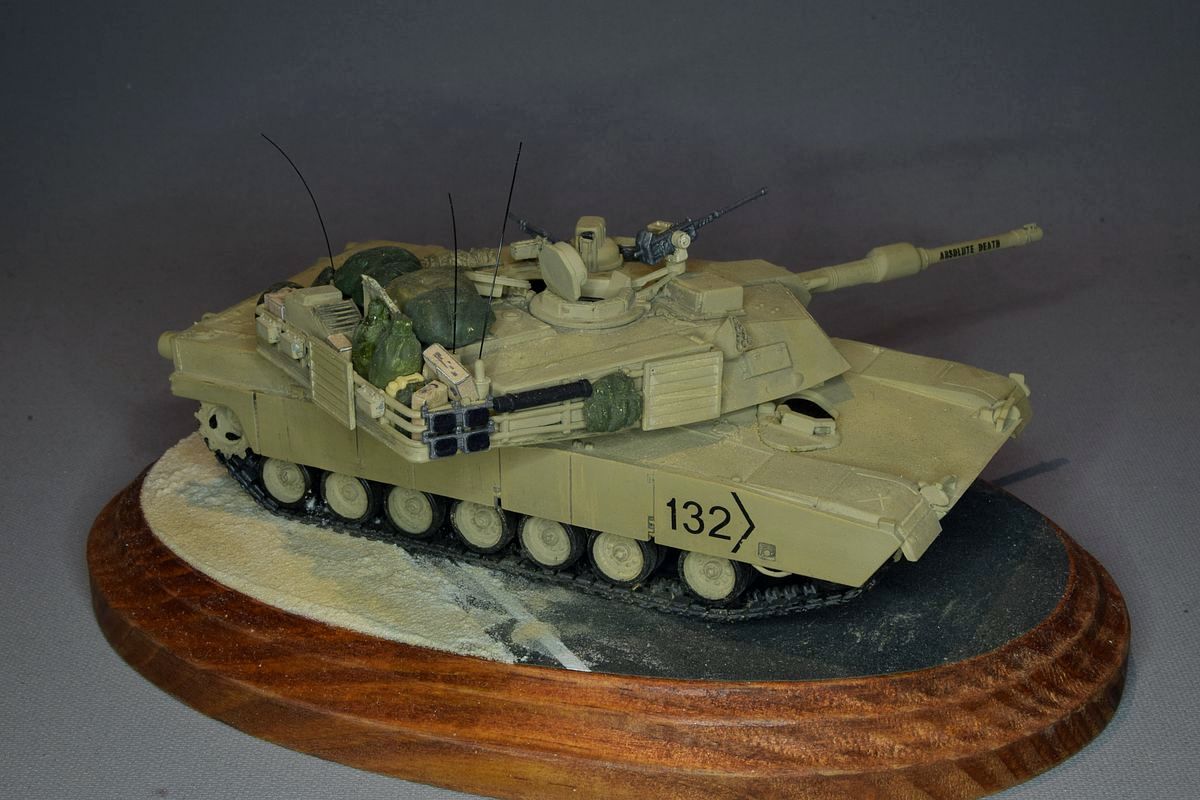
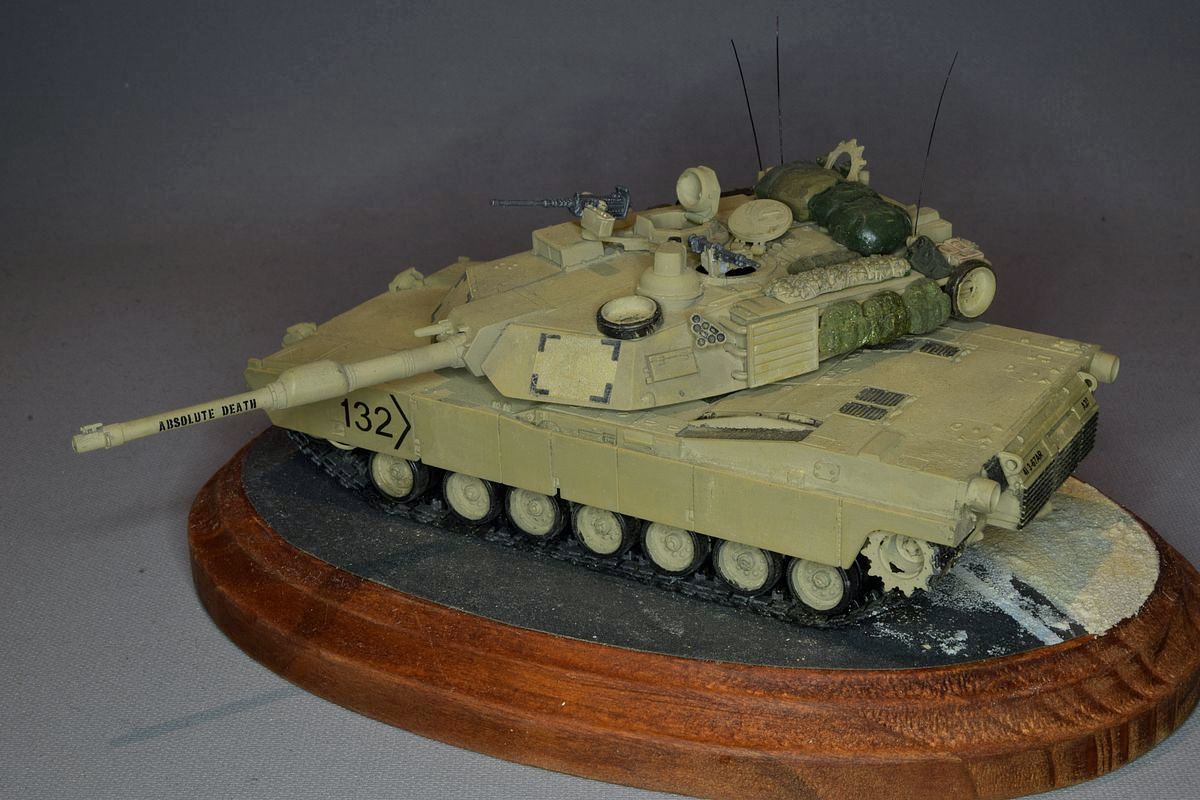
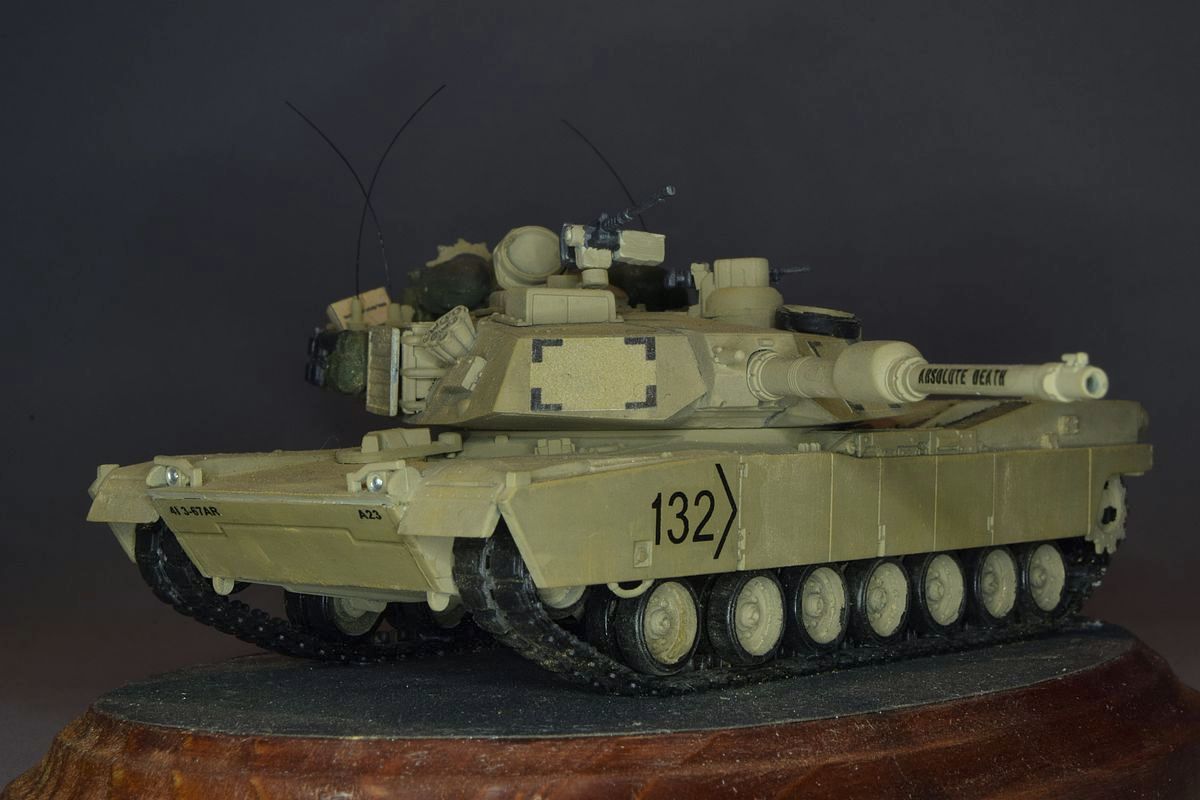
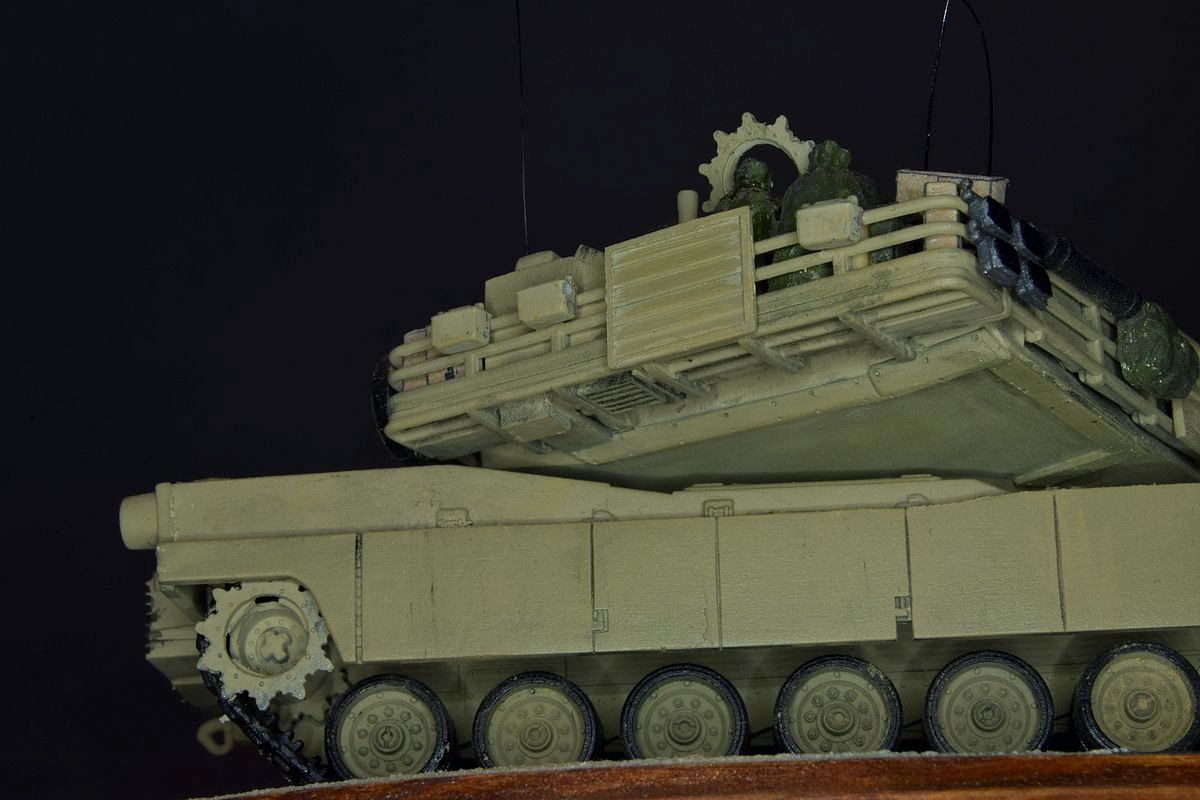
| In the bustle rack is an Environmental Unit where the APU used to be. Under the turret are some hydraulic lines. On the turret is also an GPS antenna. and beside the driver’s hatch is an external power outlet placed. I used the tracks from the Dragon kit, but they were too short, so I used 10mm long plastic strips to get the right length. It is invisible behind the side skirts. There is also an extra antenna mount to the right in the bustle rack. |

| Stockholm May 23, 2005 |  |
Updated September 21, 2018 |
----------------------------------------------------.::.
vehicles .::. civilian aircrafts .::. military aircrafts .::.
miscellaneous .::. home .::.------------------------------------------------------ |