
|
-----------------------------------------------------------.::.
vehicles .::. civilian aircrafts .::. military aircrafts .::.
miscellaneous .::.---------------------------------------------------------- |
| I have been tempted to build these two for a couple of years. |
| For some reason I like the paint schemes but helicopters are not my favourites. |
| I don't like helicopters and look what happened. Not only was three Whirlwind's built. Now I started on two Wessex helicopters as well. |
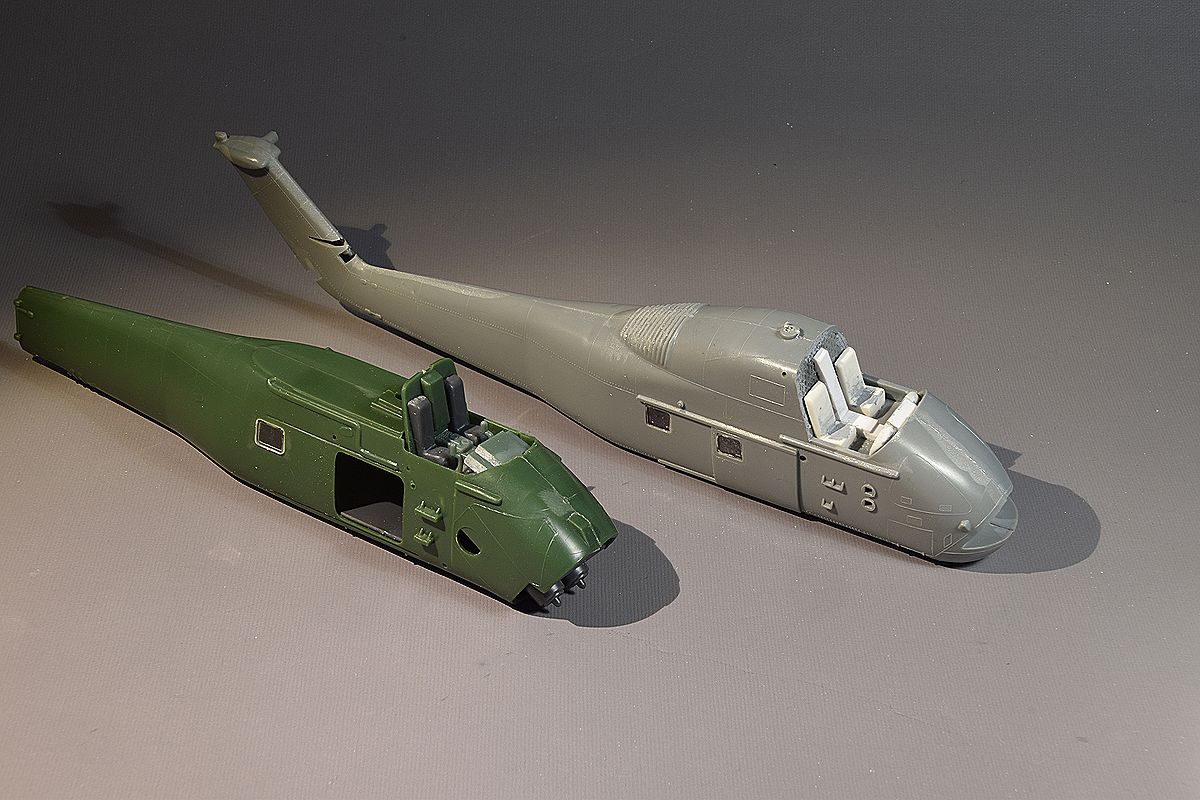
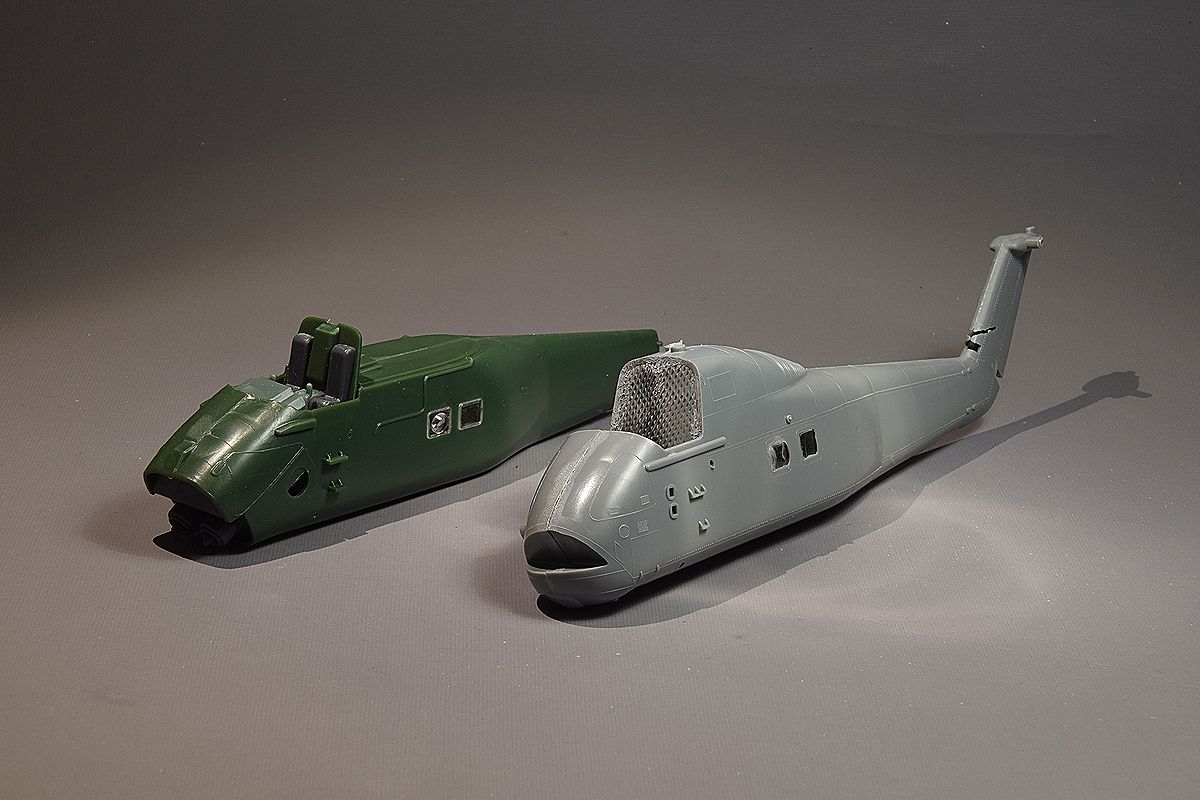
| Inspired by a build on a forum I decided to add something to the rather bare Frog cockpit. |

| I cut the instrument panel from an Airfix Sea King in half an widened it with plastic card. |
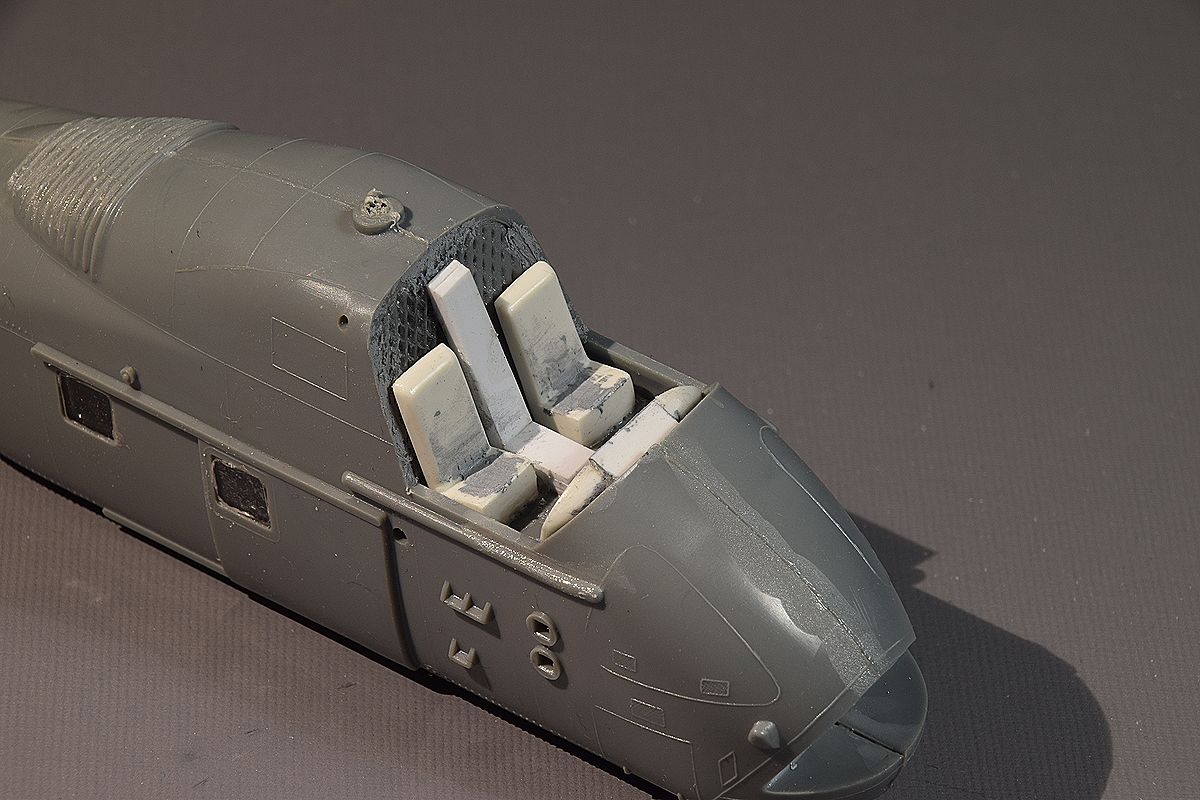
| Seats and sticks came from the same kit. Some plastic strips finish it. I thought I would keep it simple and build them out of the box but... |
| The build I mentioned made me see how bare the Frog cockpit is, so I tried to add something to it. |
| I used a converted Sea King instrument panel with decals from a Whirlwind. Not correct but I hope that the interior isn't to visible in the end. |

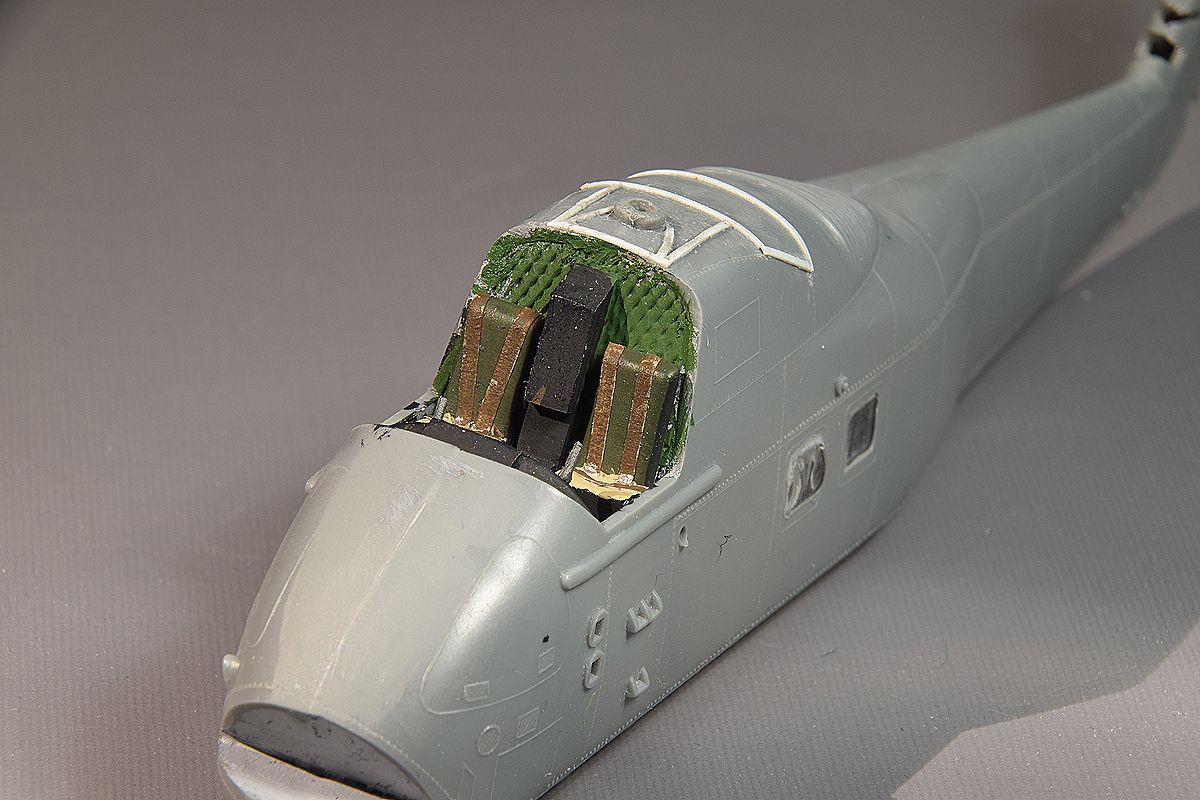
| Some plastic strips were added to the roof |
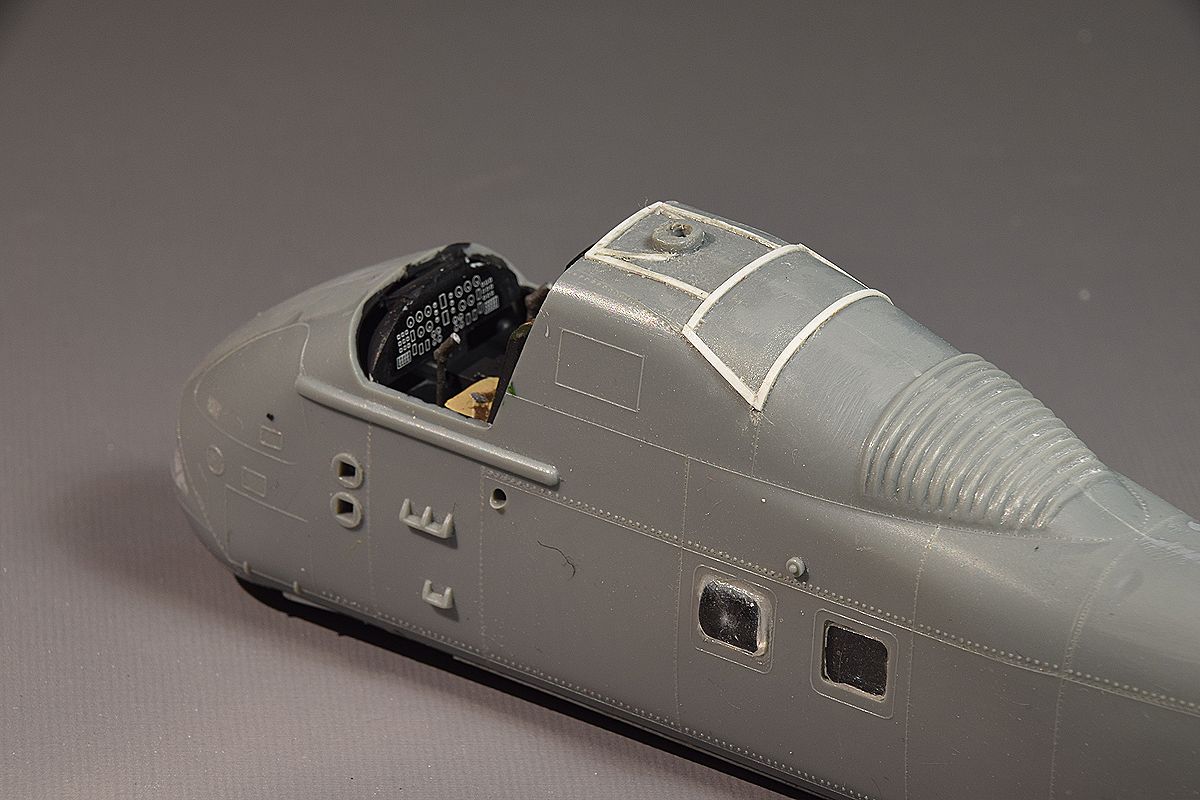
| and to the belly as well. |
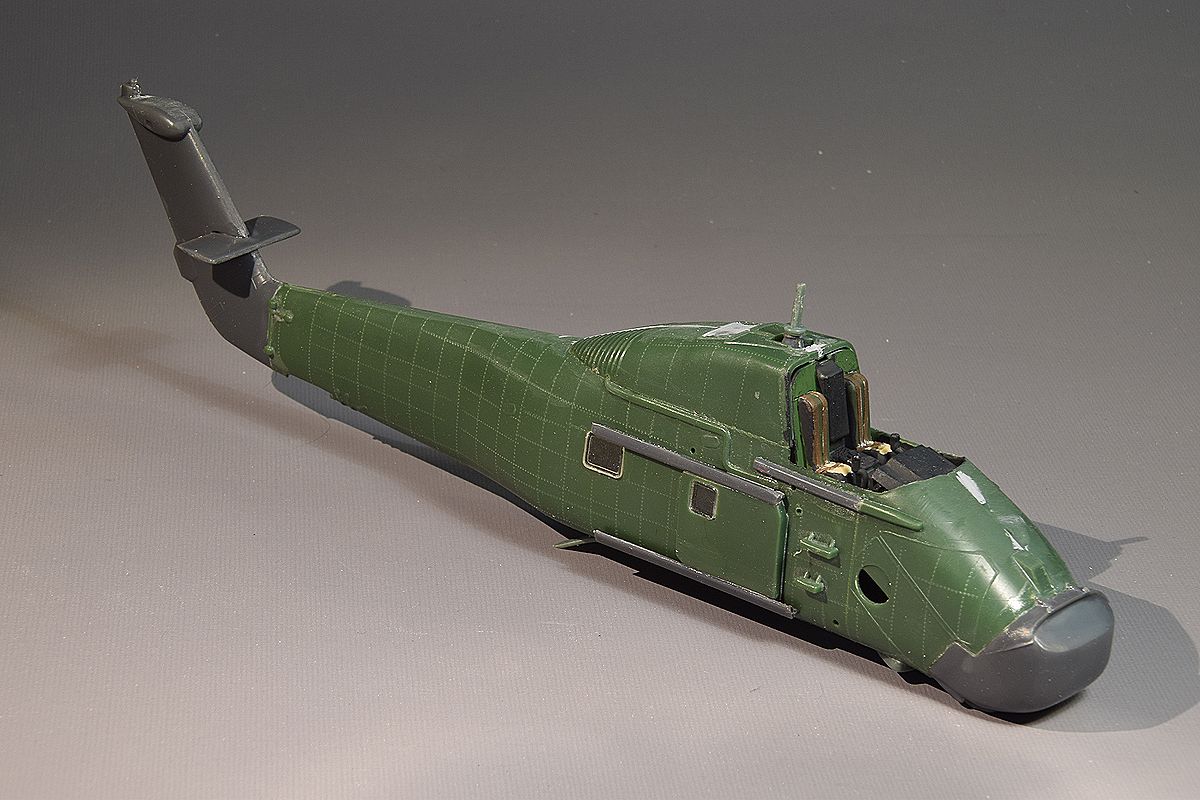
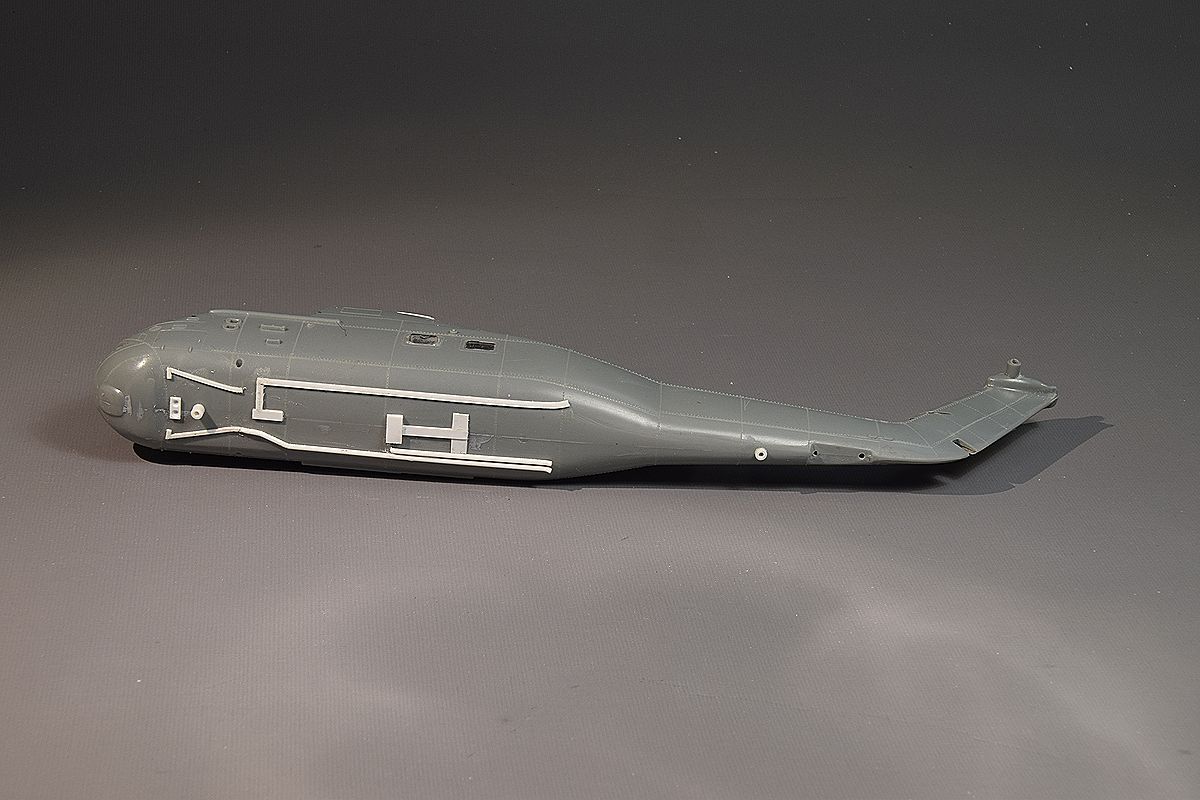
| While the Matchbox kit only got some work with the rivet tool. |
| I decided to add the bulb in the nose intake on the Frog kit. I cut it out of the extra nose in the Matchbox kit. |
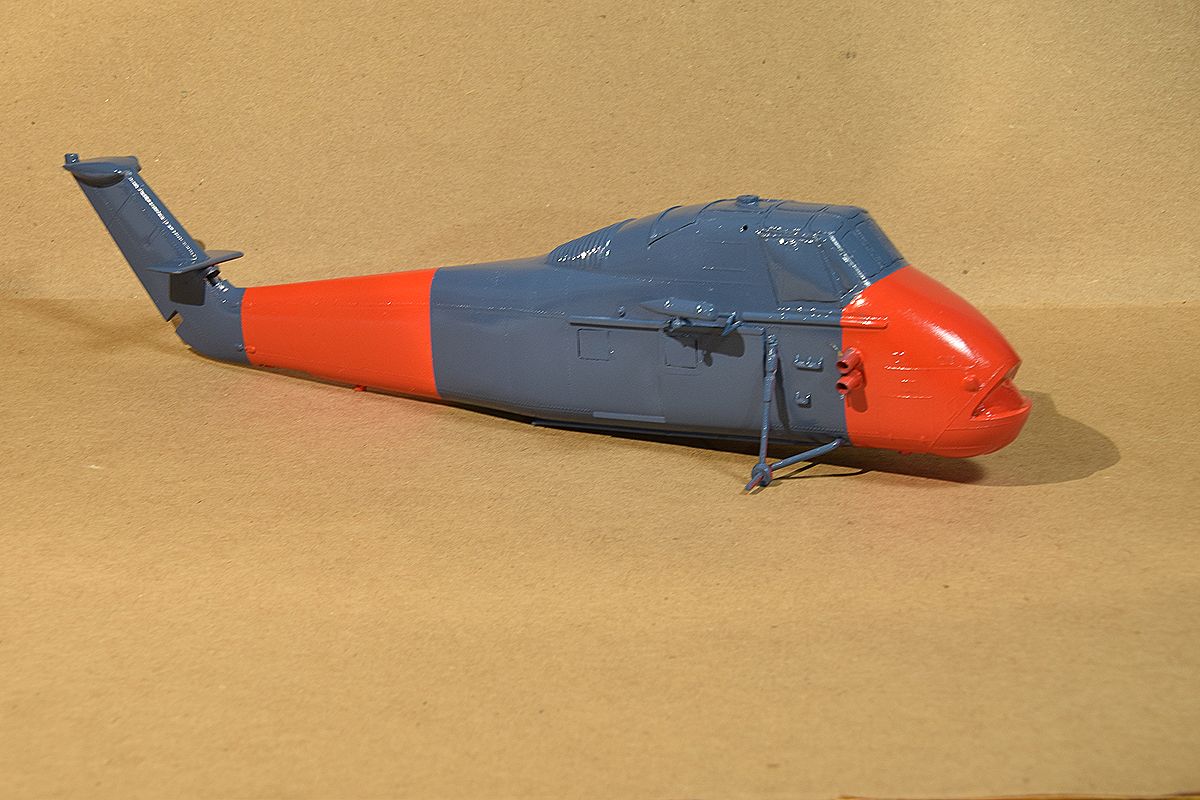
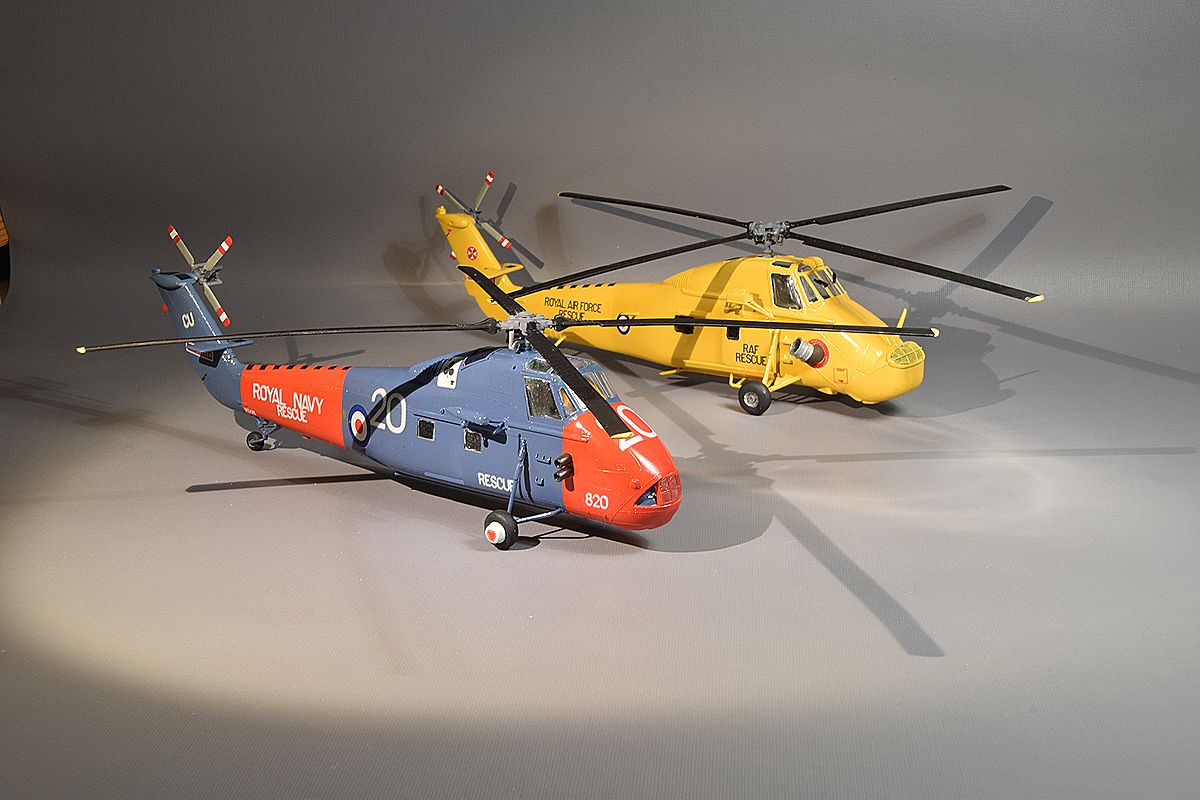
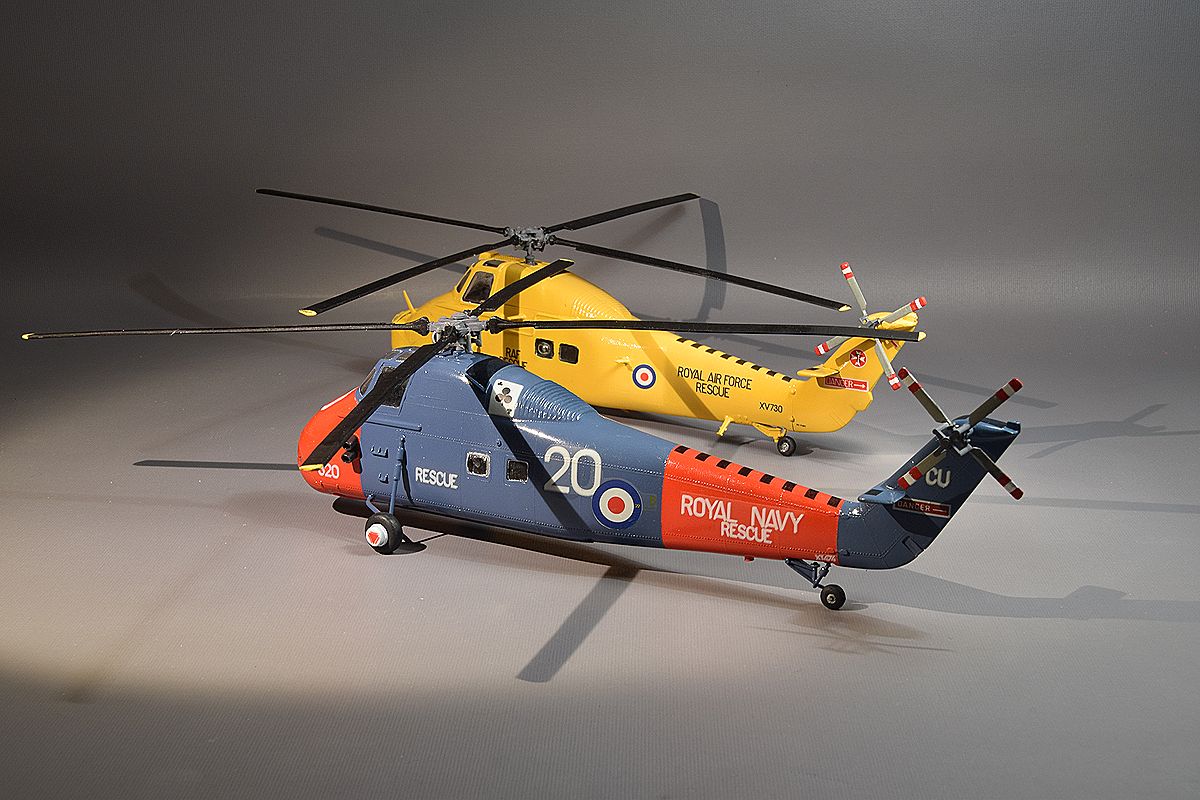
| I started to paint the Frog kit. I cheated even more and took the winch from the Sea king kit. The blue is on the Frog Wessex. But I'm not sure how I feel about the colour. I used the Aqueous Hobby Colour (ex. Gunze) H42 Blue Grey on it. Well I've lost interest in these models, so I'll just finish them as quickly as possible. I'm started decaling it using the Matchbox decals. It seems that they forgot to put a white base under the yellow, so the letter placed on the blue is rather invisible. That makes it even easier for me. Now I can skip the yellow parts of the decals. I used the decal sheet in the Matchbox kit on both kits even though it won't be absolutely correct for the Navy one. Well the decals were really crap. The decal film was flat, so the decals look bad on the gloss paint. The yellow part didn't have a white base so when put on any other surface than white they almost disappear. The text is squashed so there is too little space between the letters, so the decals look to small. But I am impressed with the with text. I didn't think that it would be possible to miss align a single colour decal. Well they managed to do it in this sheet. It looks like they printed the white with two layers but didn't align the print, so the text is fuzzy. |
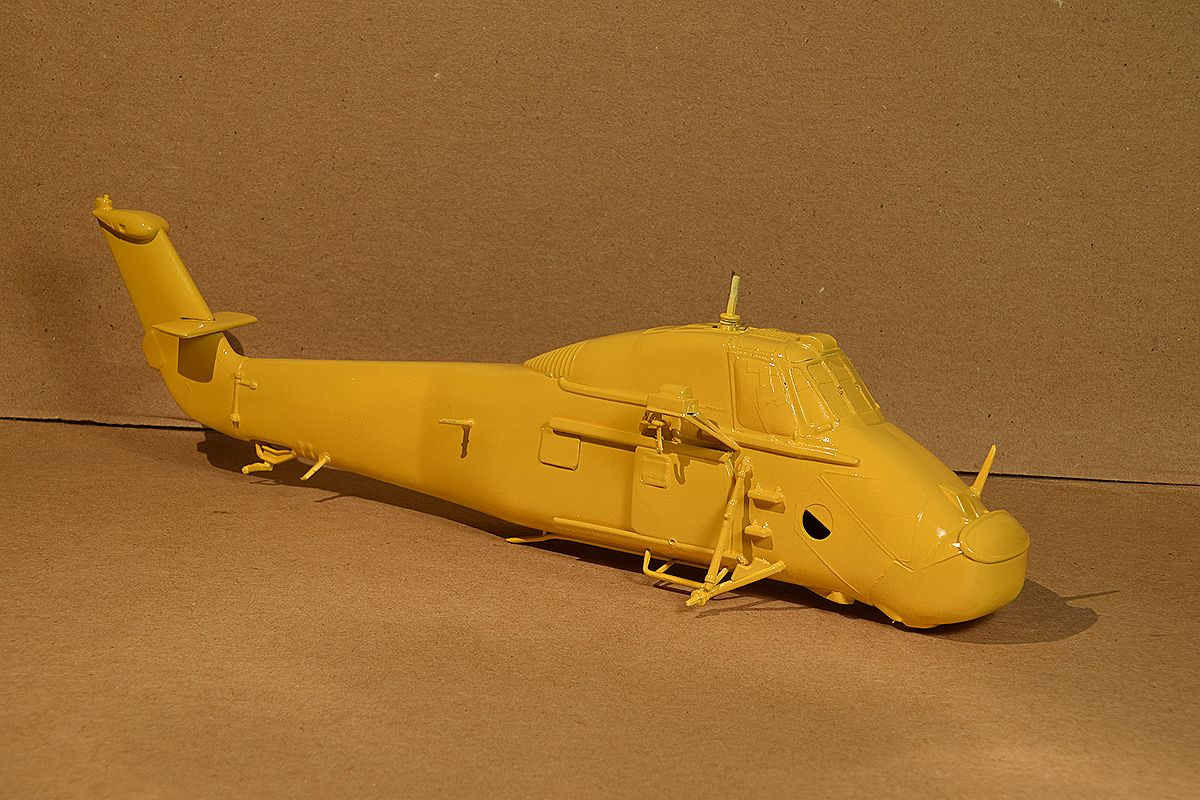
| The Matchbox kit has got some yellow clothes. |
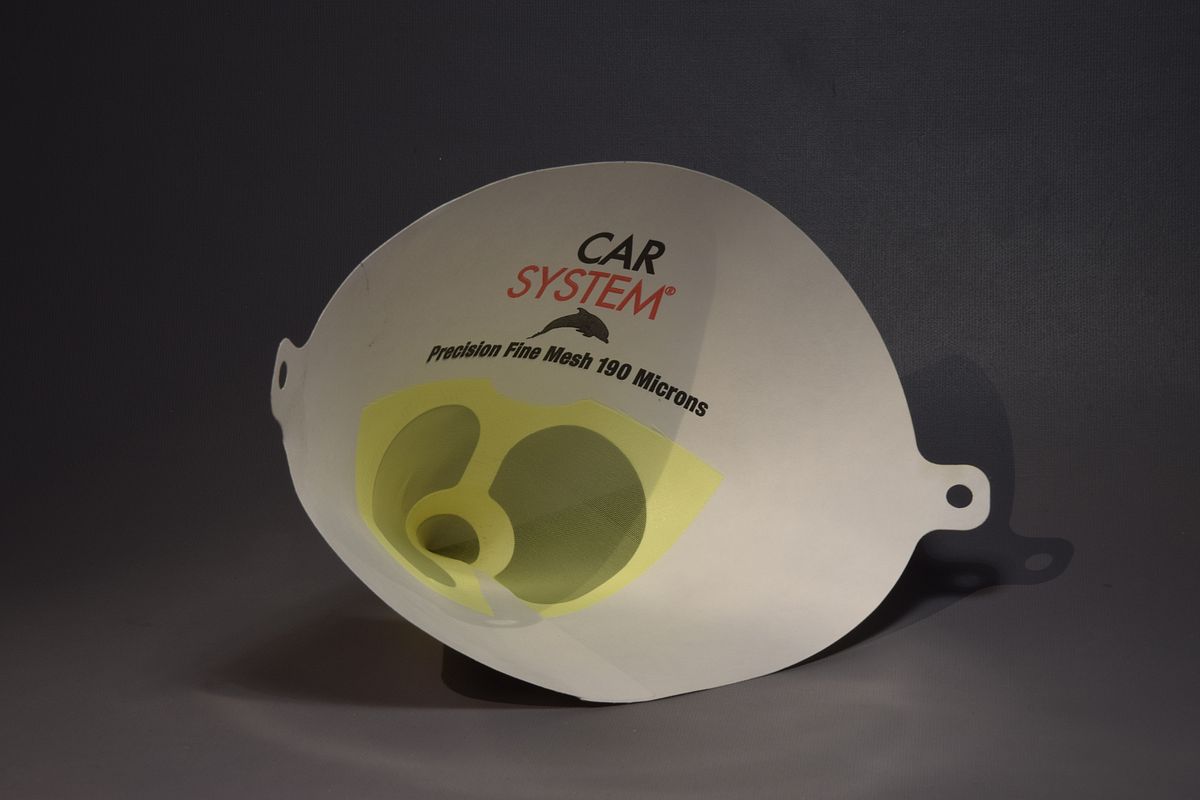
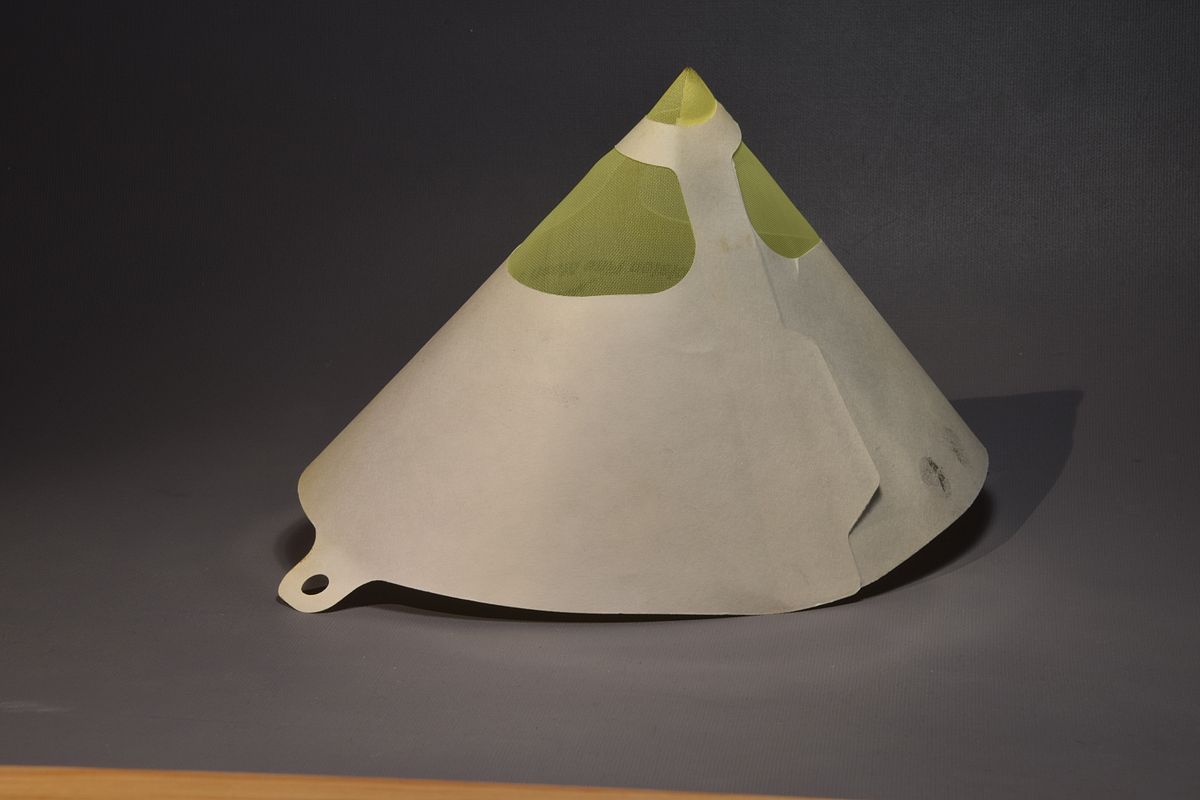
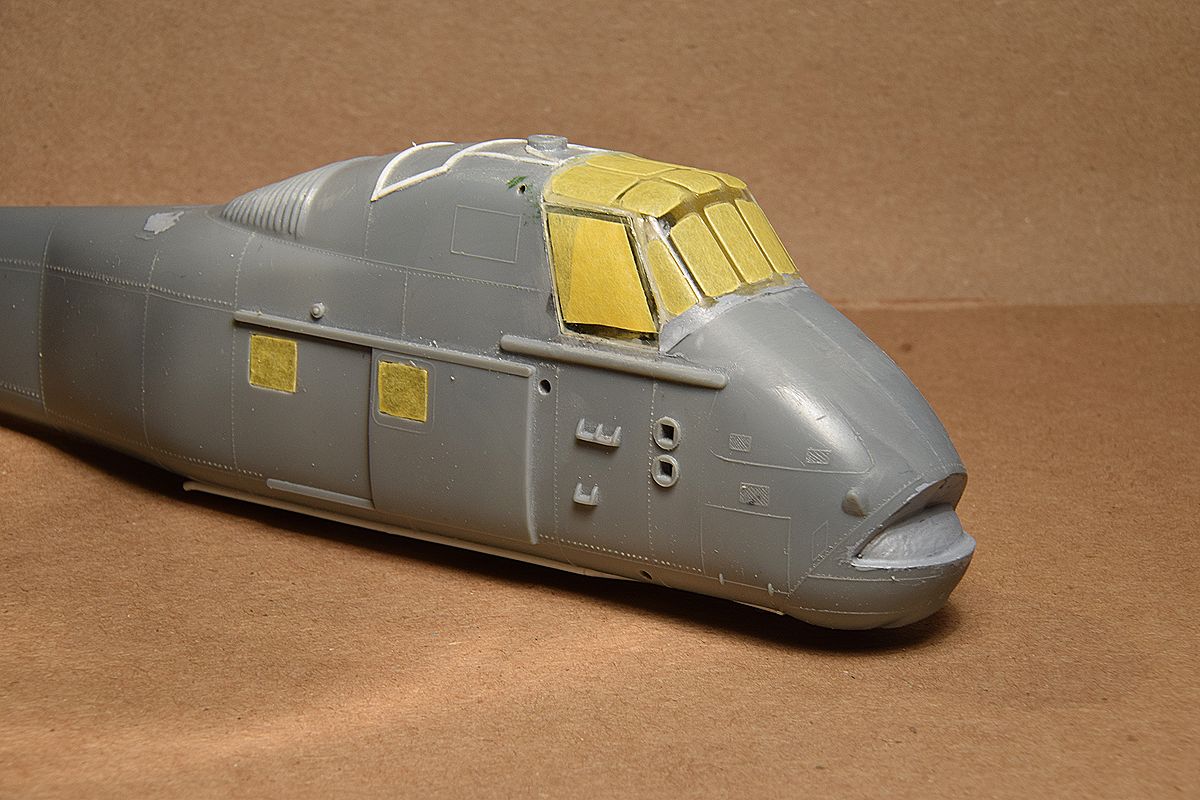
| Crappy decals but they stick good on the glossy paint. I couldn't fix the decal I got wrong after noticed it a couple of minutes later. So, to remove and replace them would mean a new paint job so I'll let it be and finish them and move on to next project. I wasn't going to add anything to the Matchbox kit but just paint the nose intake black didn't look right. I brought home a paint filter that was left over after painting my car. It has a very fine mesh. |
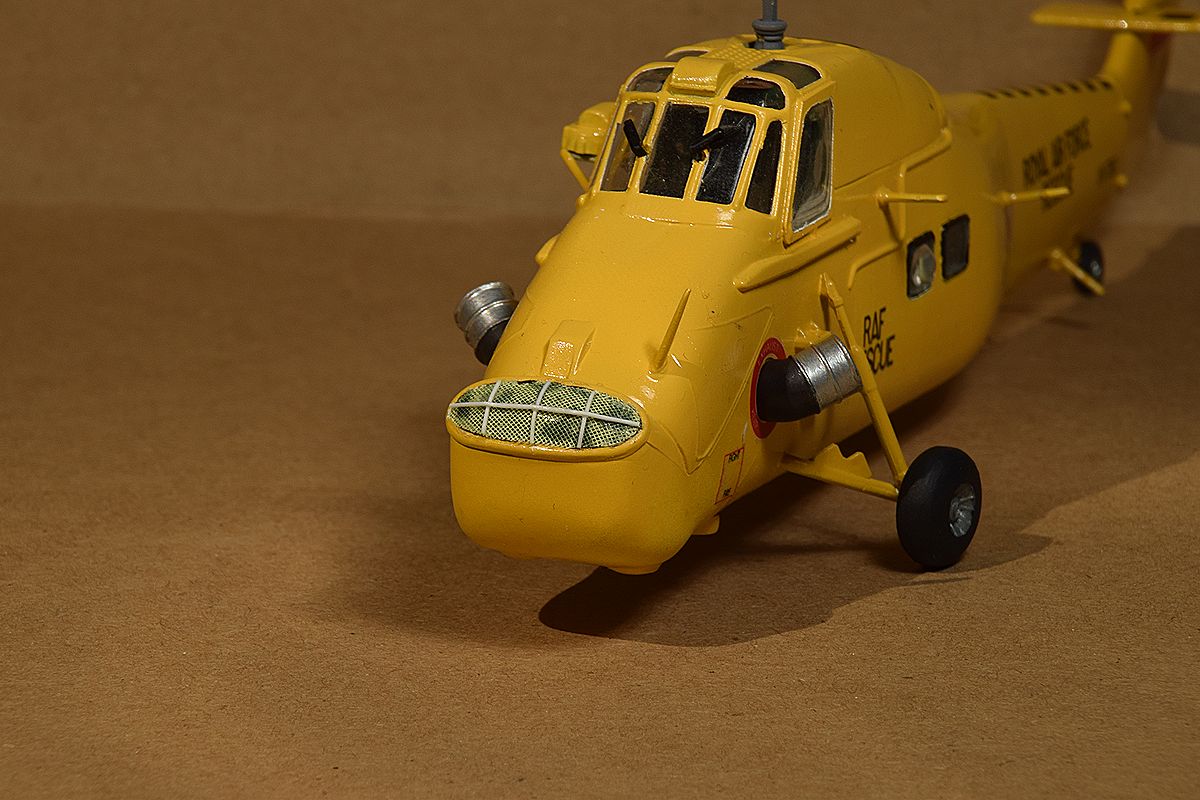
| I glued this and some plastic strips on the nose keeping things simple. |
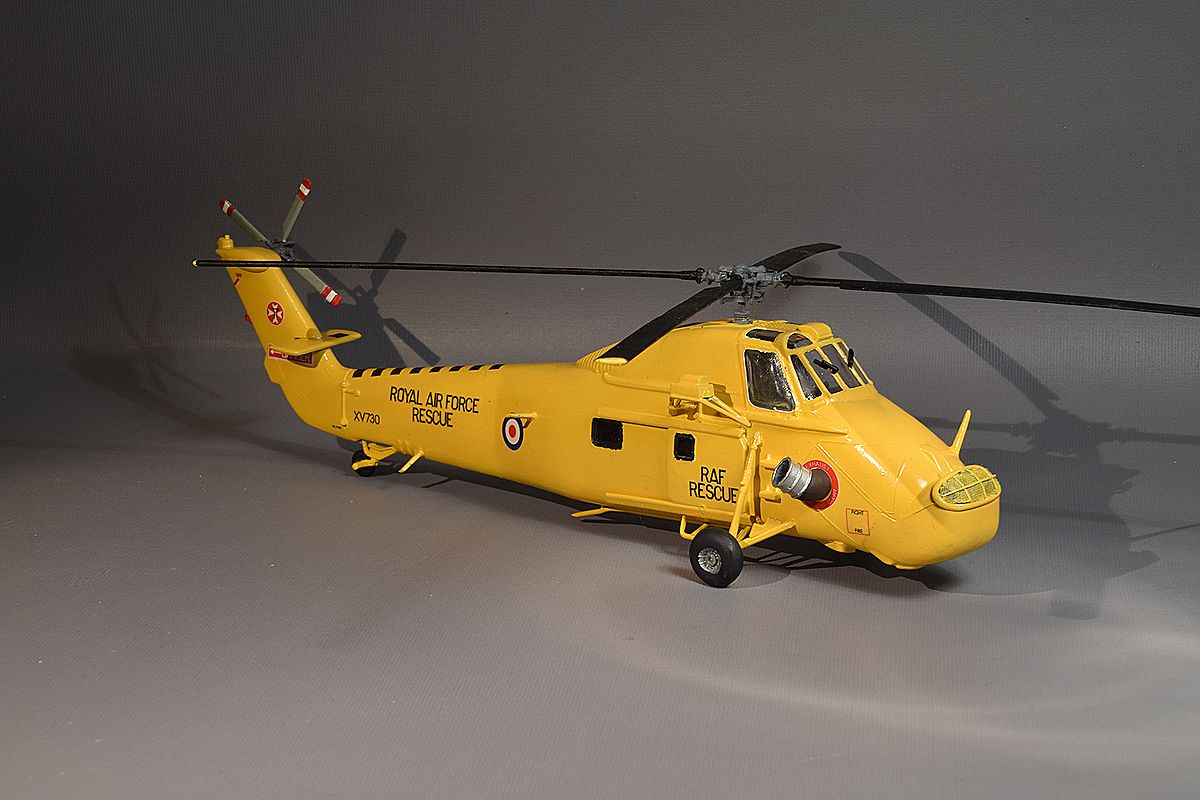
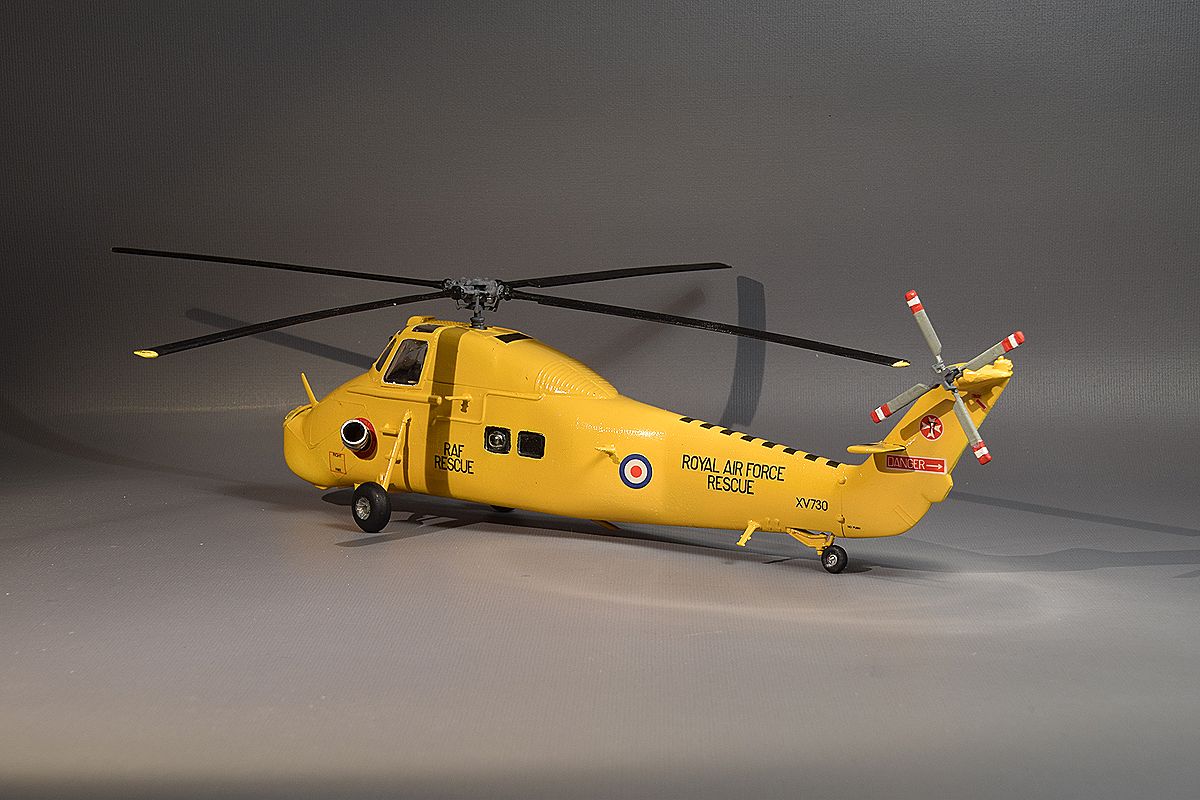
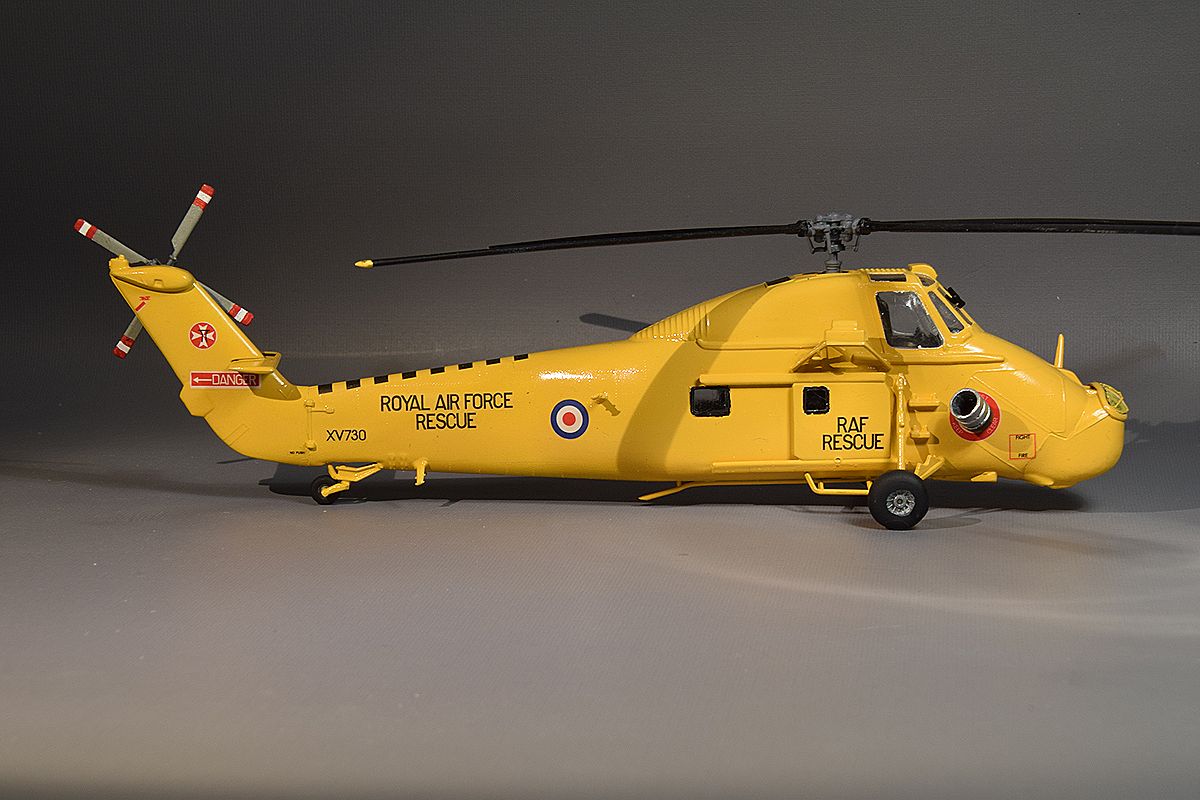
Here is the Matchbox kit almost out of the box. The RAF decals was included in the kit. I swapped wheels between both kits.
|
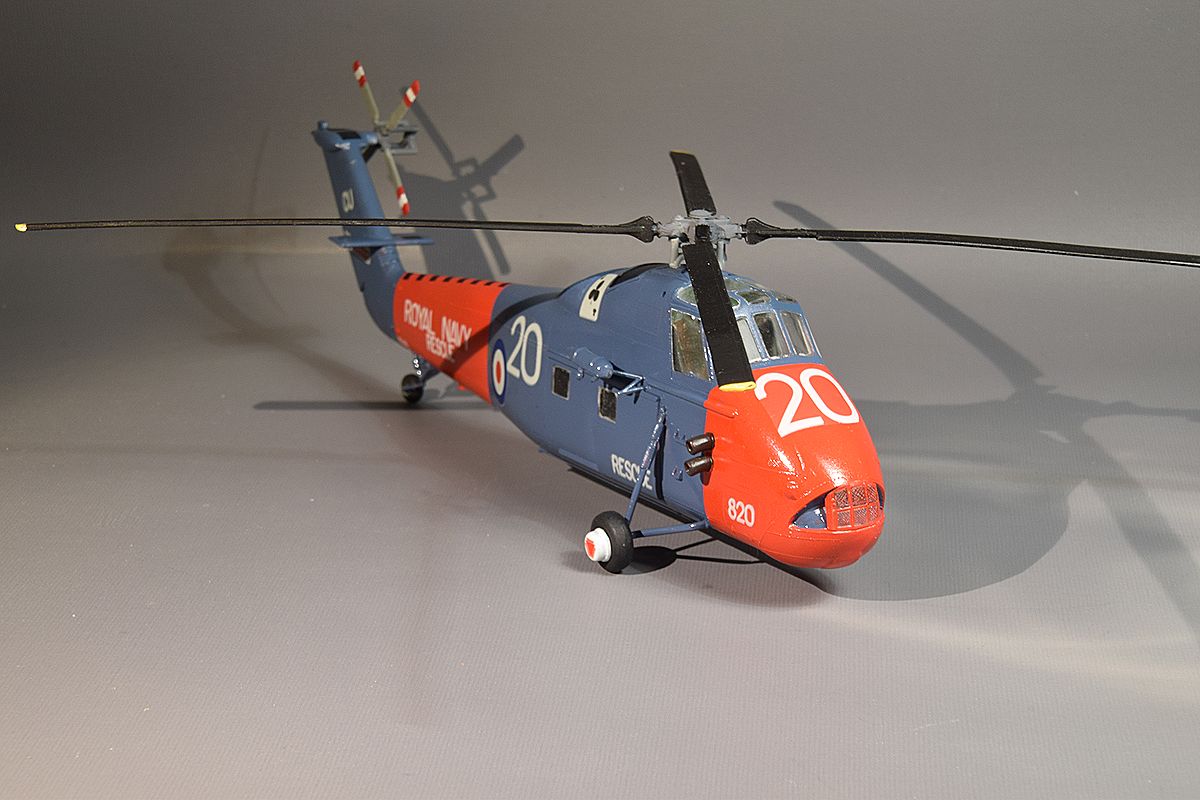
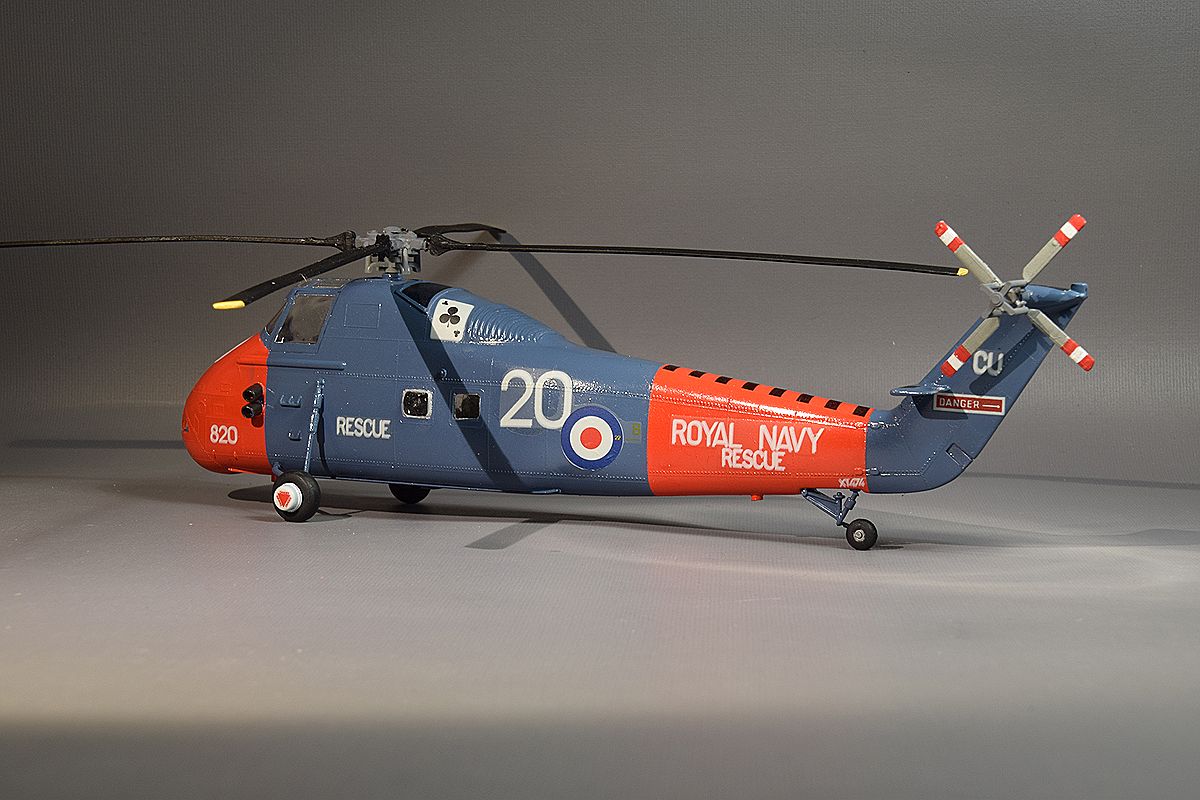
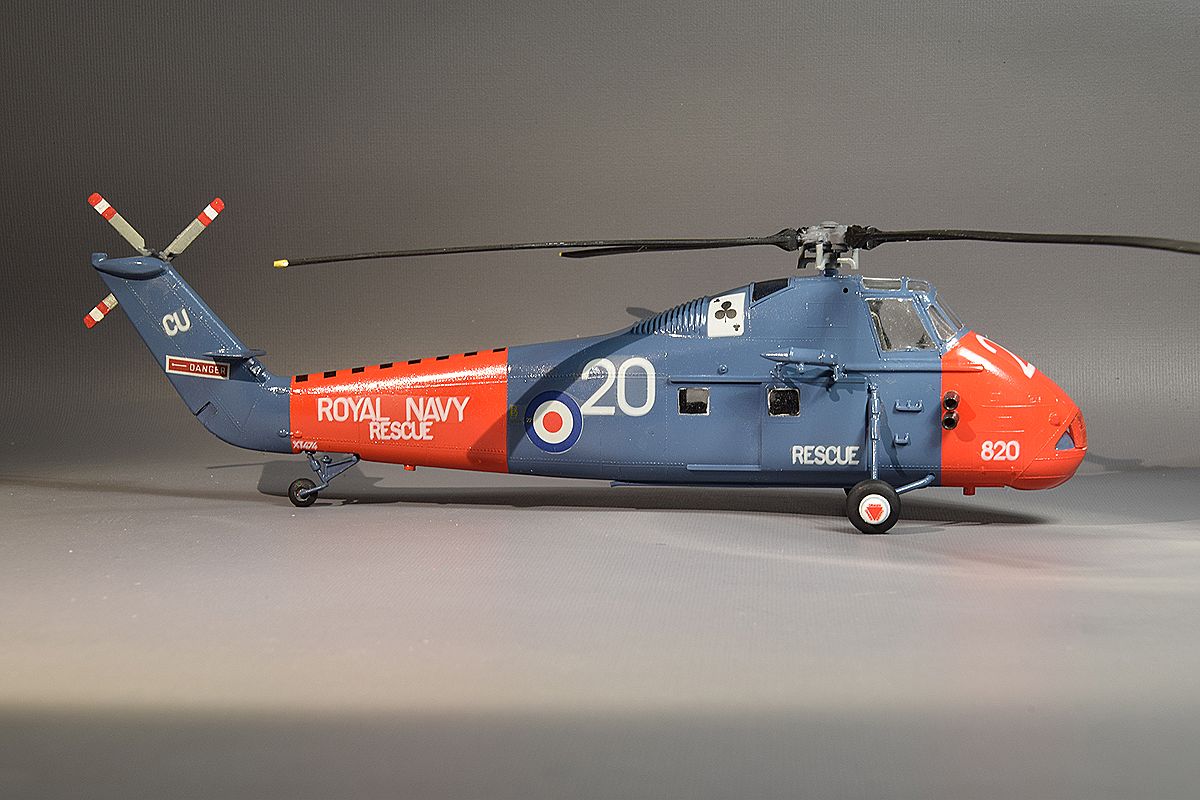
I used the remaining Matchbox decals on the Frog kit plus some of the Frog decals.
|
| Stockholm August 21, 2016 |  |
No updates |
----------------------------------------------------.::.
vehicles .::. civilian aircrafts .::. military aircrafts .::.
miscellaneous .::. home .::.------------------------------------------------------ |