
|
-------------------------------------------------------.::. chibi models .::. military vehicles .::. automobiles .::. aircrafts .::.
miscellaneous .::.---------------------------------------------- |
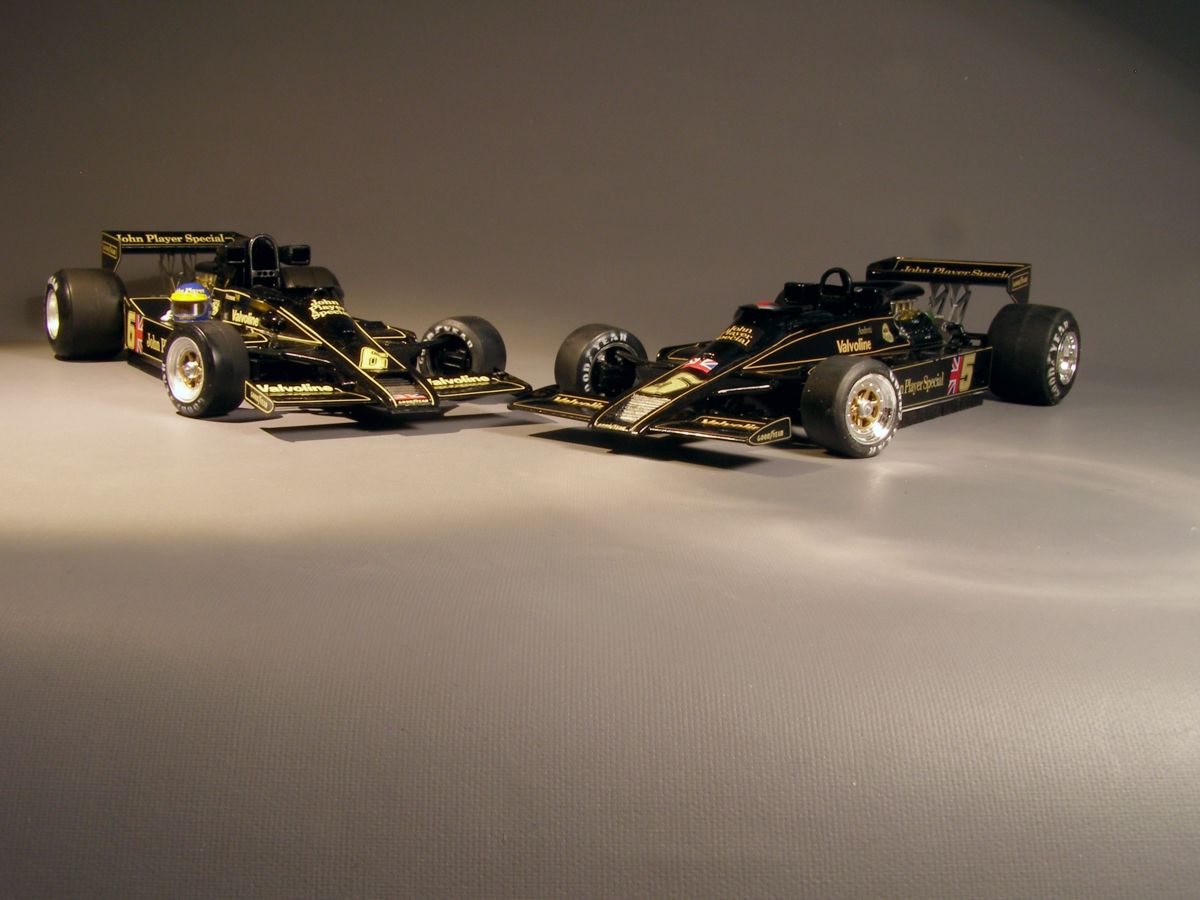
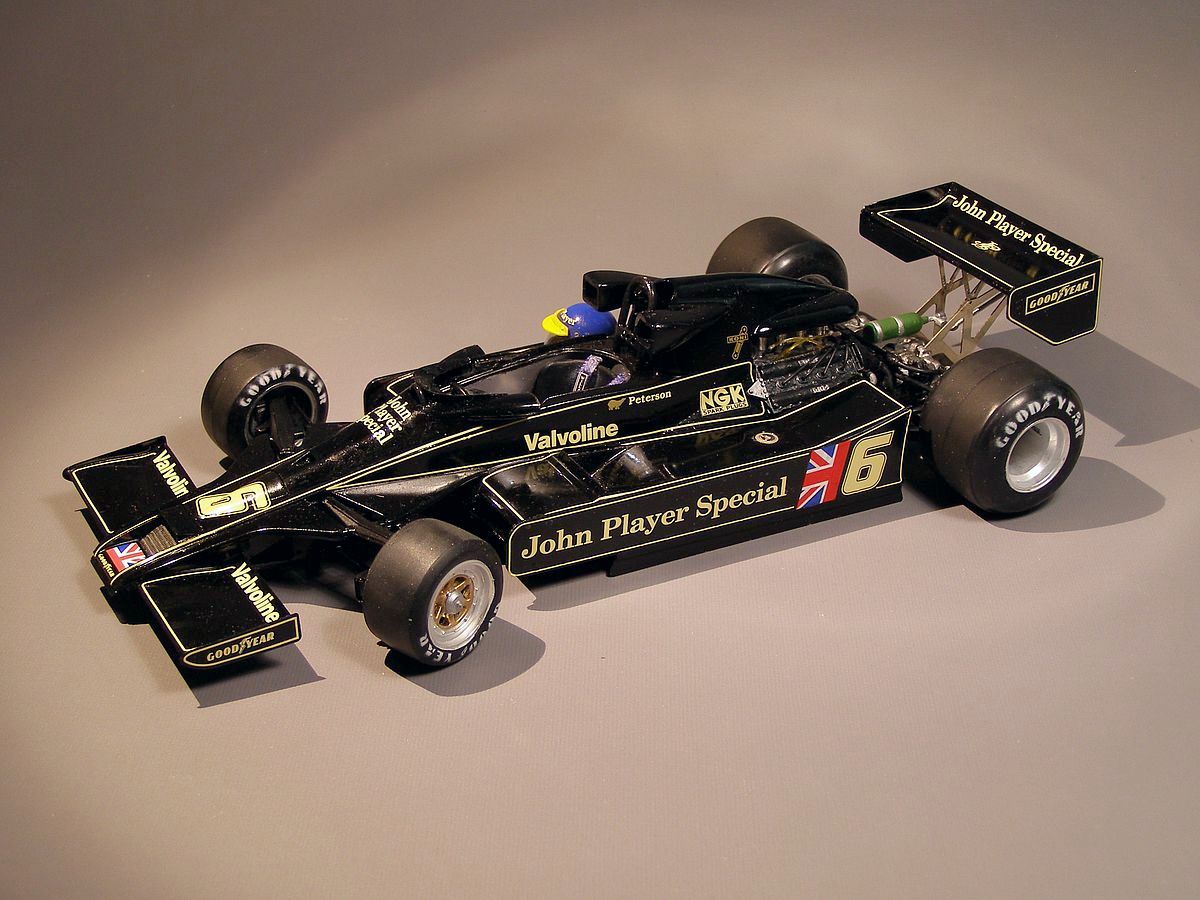
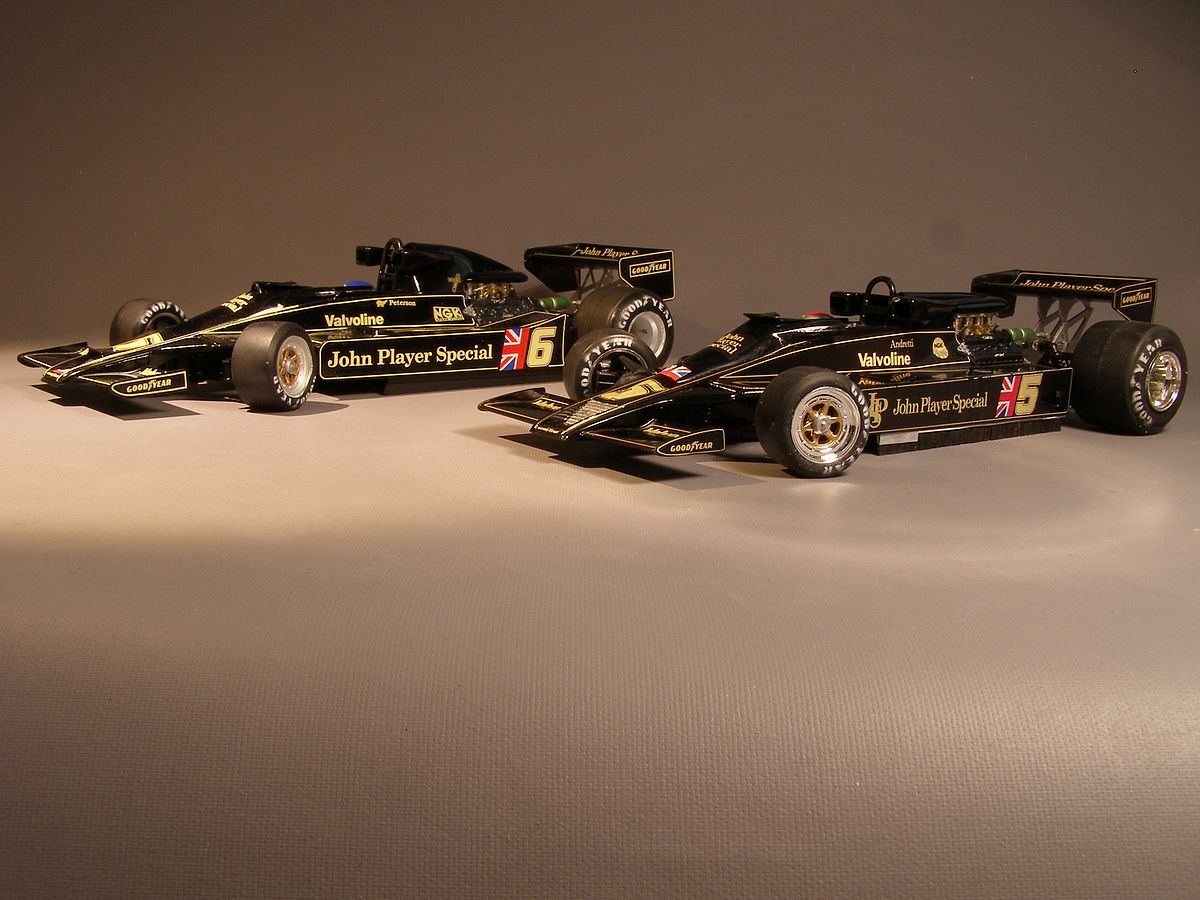
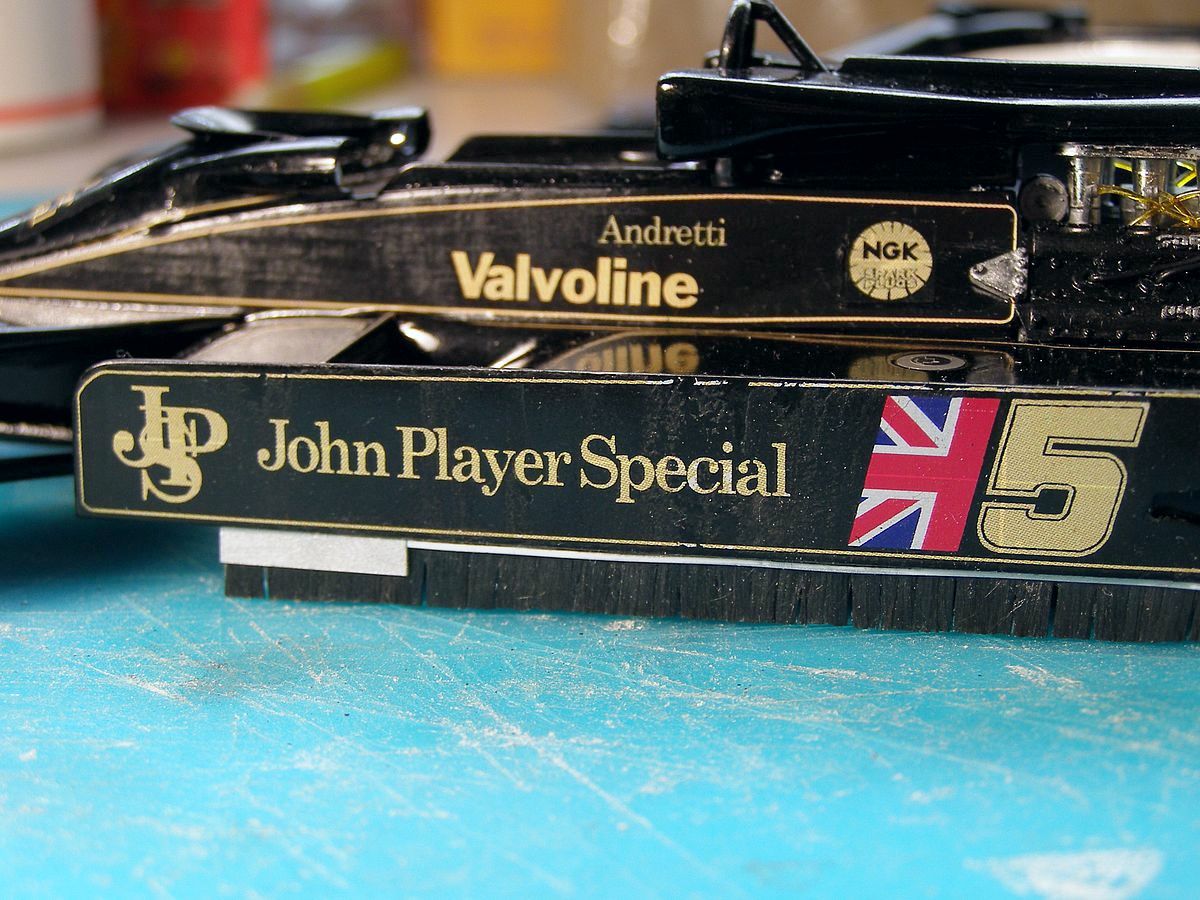
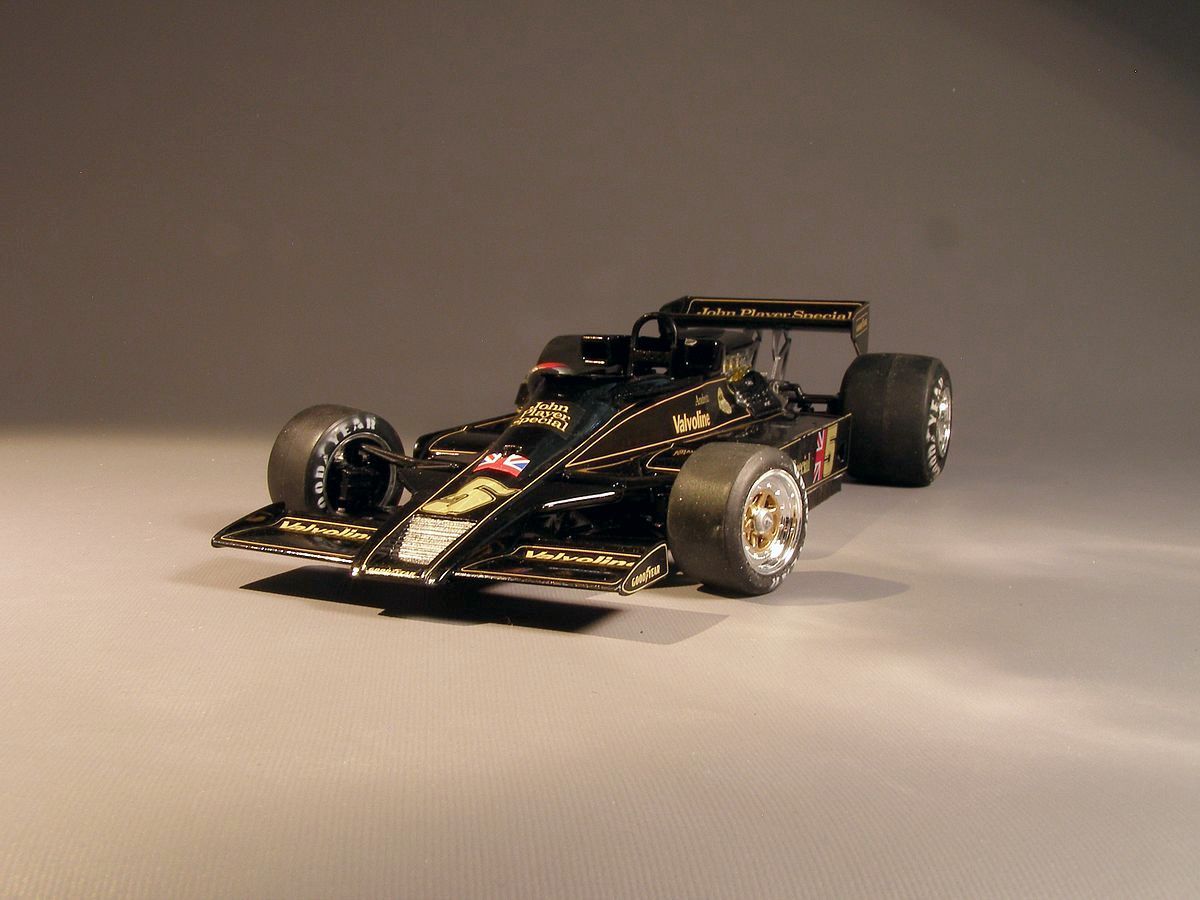
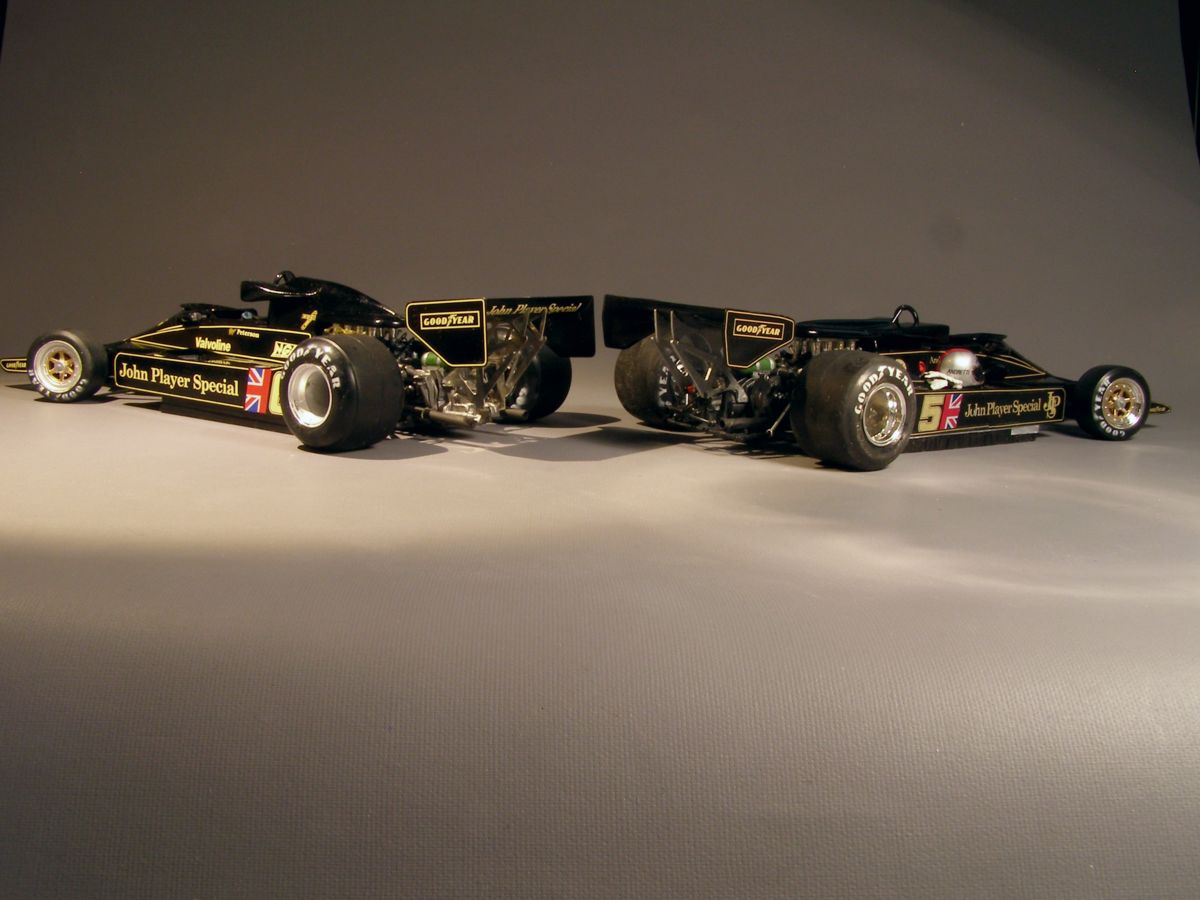
| Two 1/20 kits from Tamiya in the classic black and "gold" livery. |
|
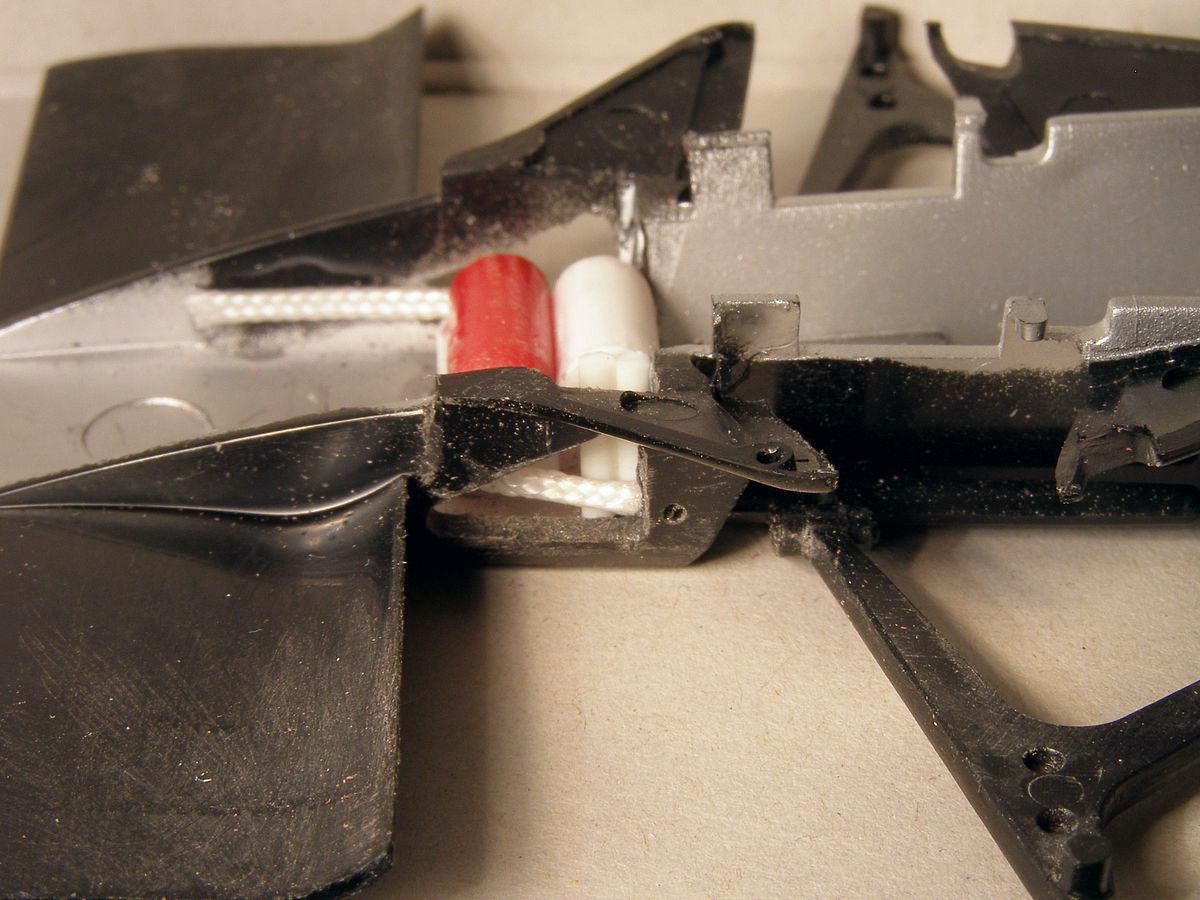
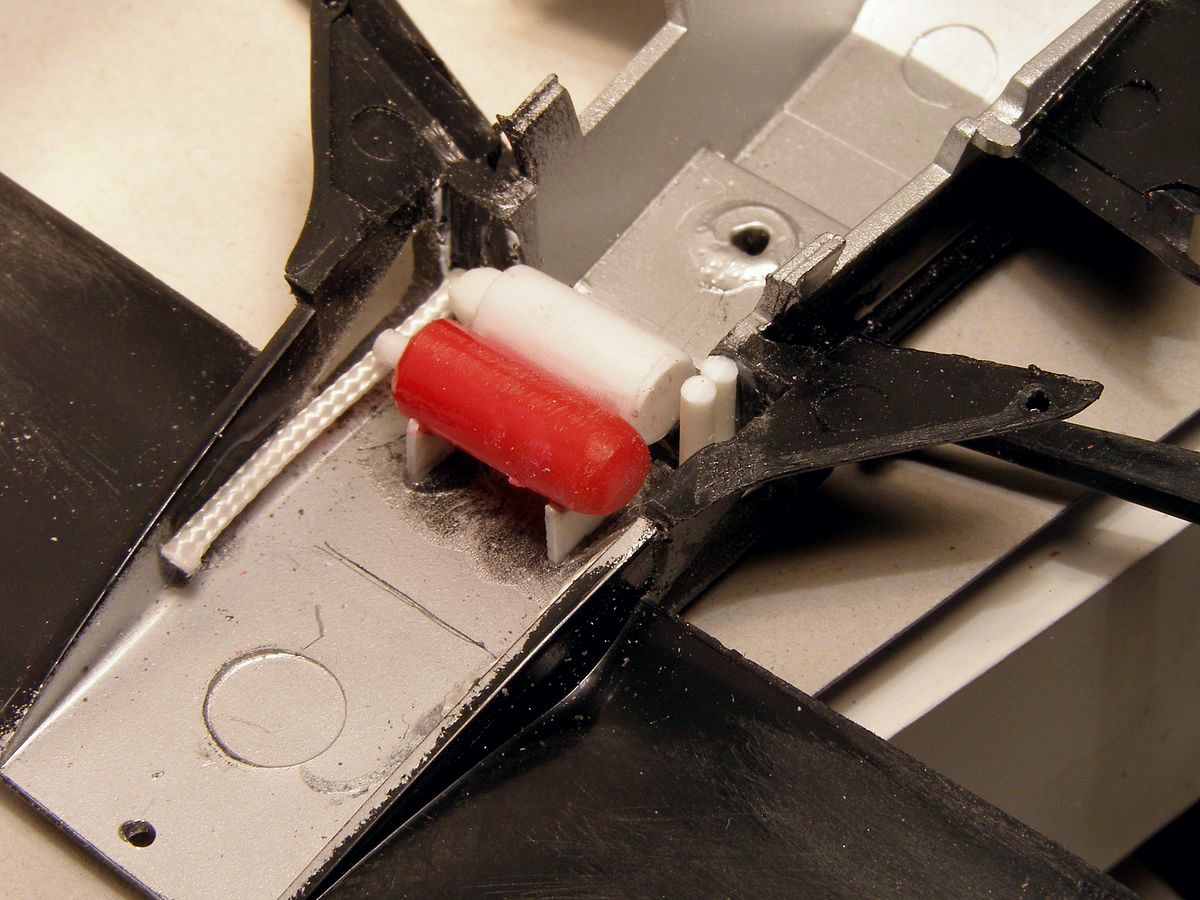
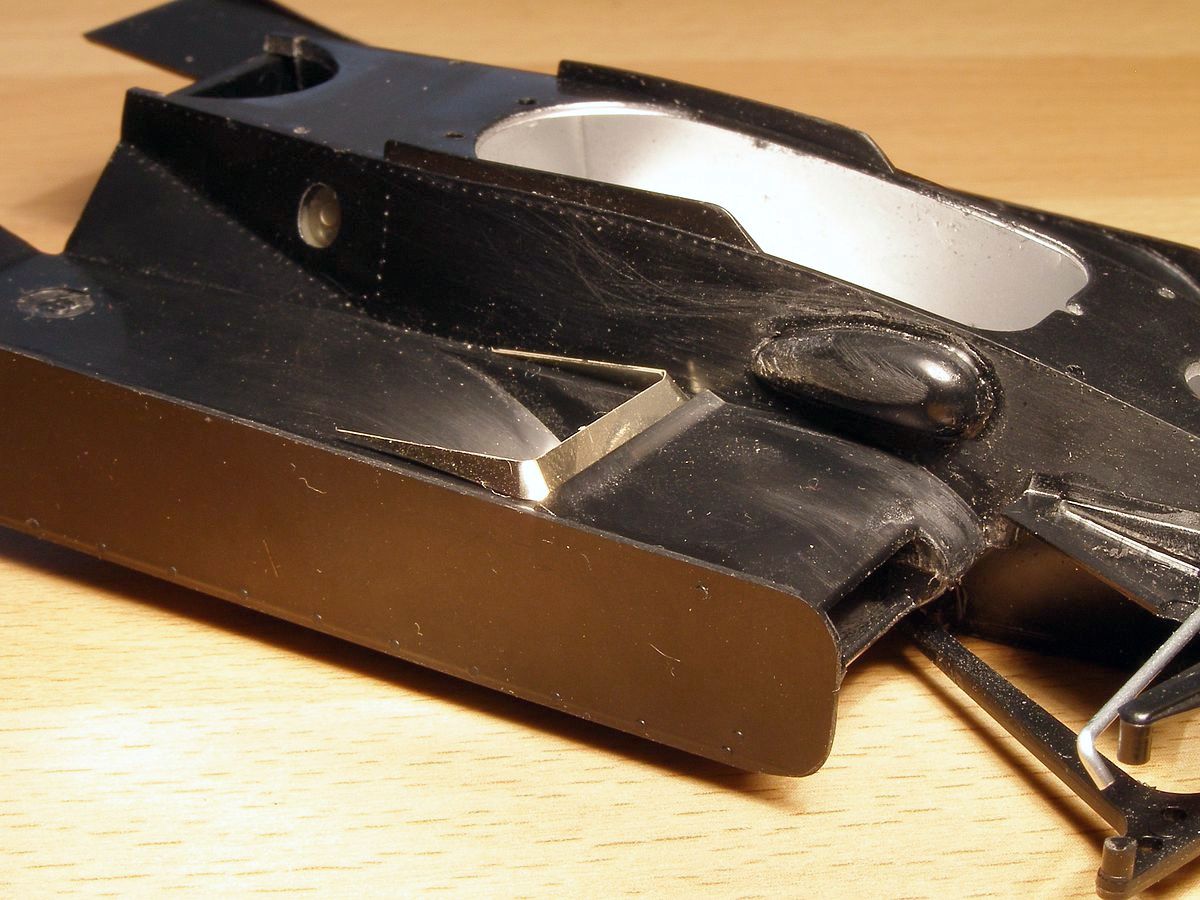
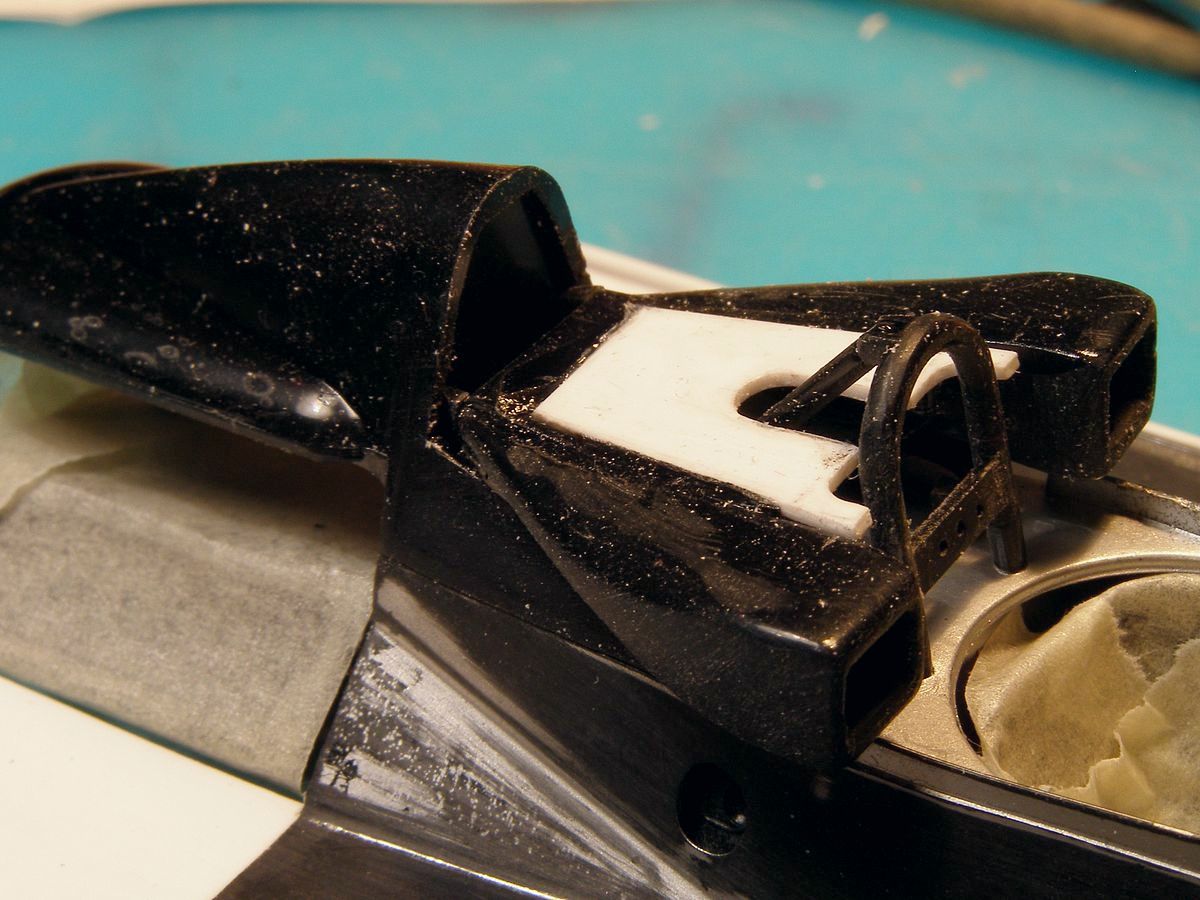
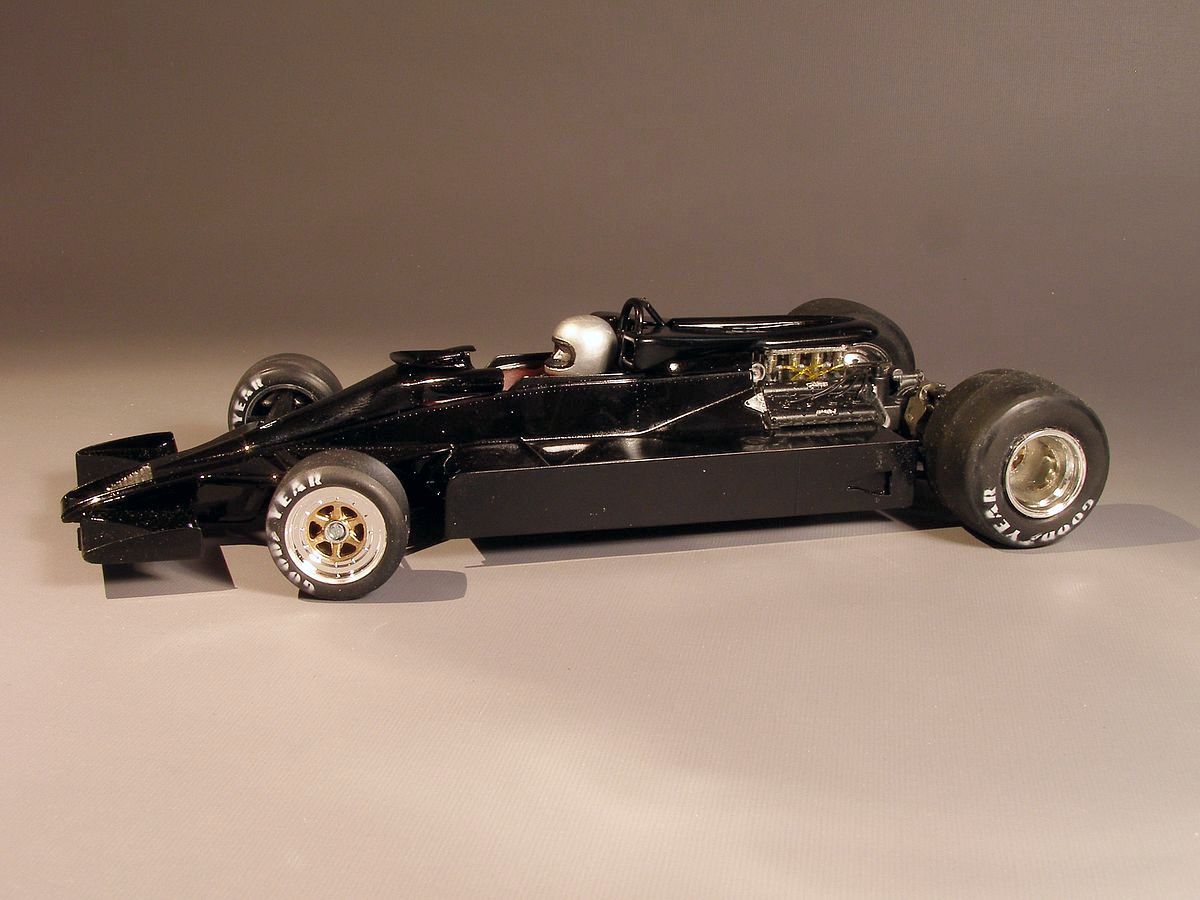
I found a conversion set for an early 1978 car, so I decided to build Ronnie Petersons winning car from South Africa. Following a build at the F1M forum I am learning things. I didn't know about the triangular hole in the sides of the nose before, but I decided to add that to my car as well but now I had to fill the area that became visible. Not much is visible. I decided to add the radiator water hoses and the fire extinguishers. I haven't painted it red. I used red plastic. It will be green as it should be.
|

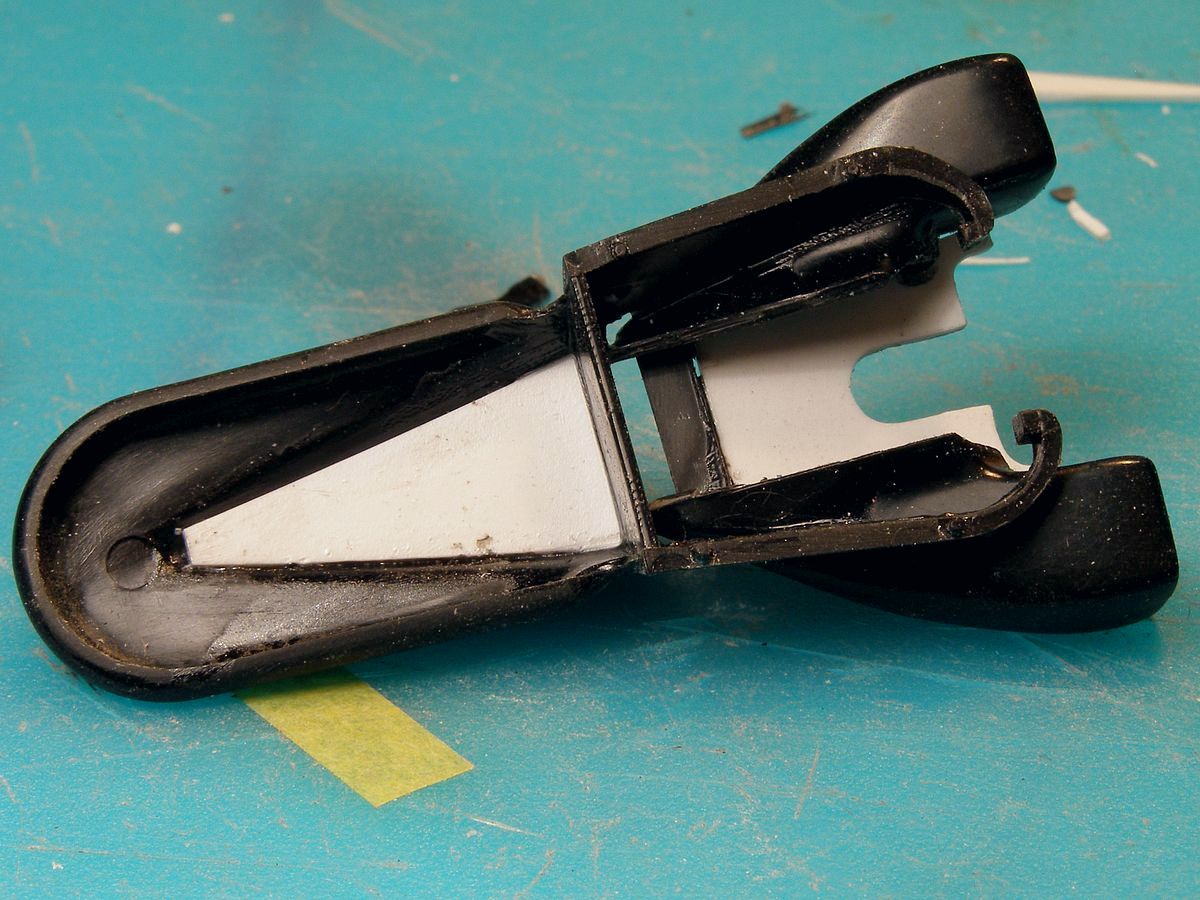
| The kit looks a bit bare around the driver’s feet position. So that had to be taken care of. A few pieces of plastic have to do. But as not much can be seen anyway I think it is enough. |
|
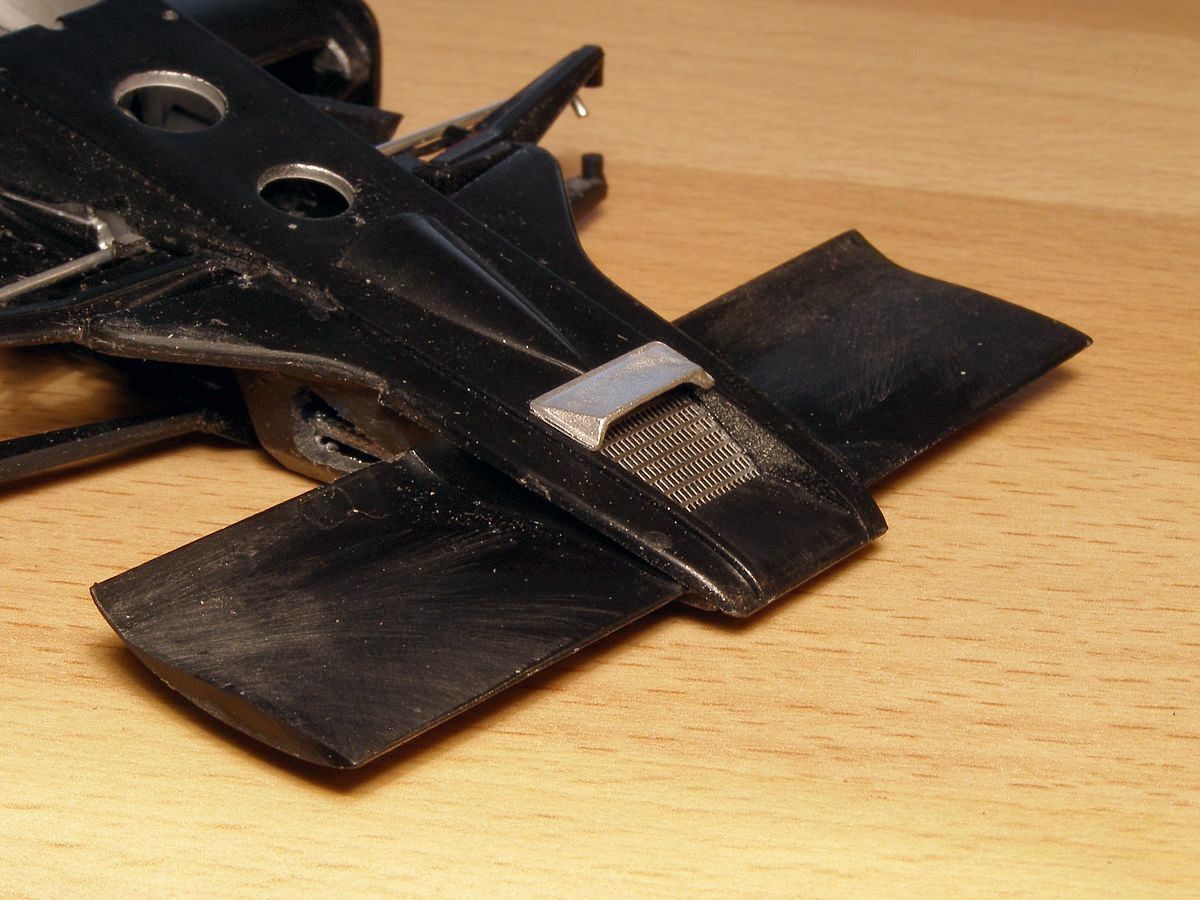
I haven't looked to close about details before starting on this kit and have had some surprises. Like the holes in the sides of the nose and then a couple of other things in the conversion set. First the outlets in the top of the side pods. There are some plates among the etch parts to surround the outlets. There is also a scope for the nose radiator in white metal. Both items needed on the South Africa car. So far, I have been lucky to learn about it in time to fix it or parts have been in the conversion set. |
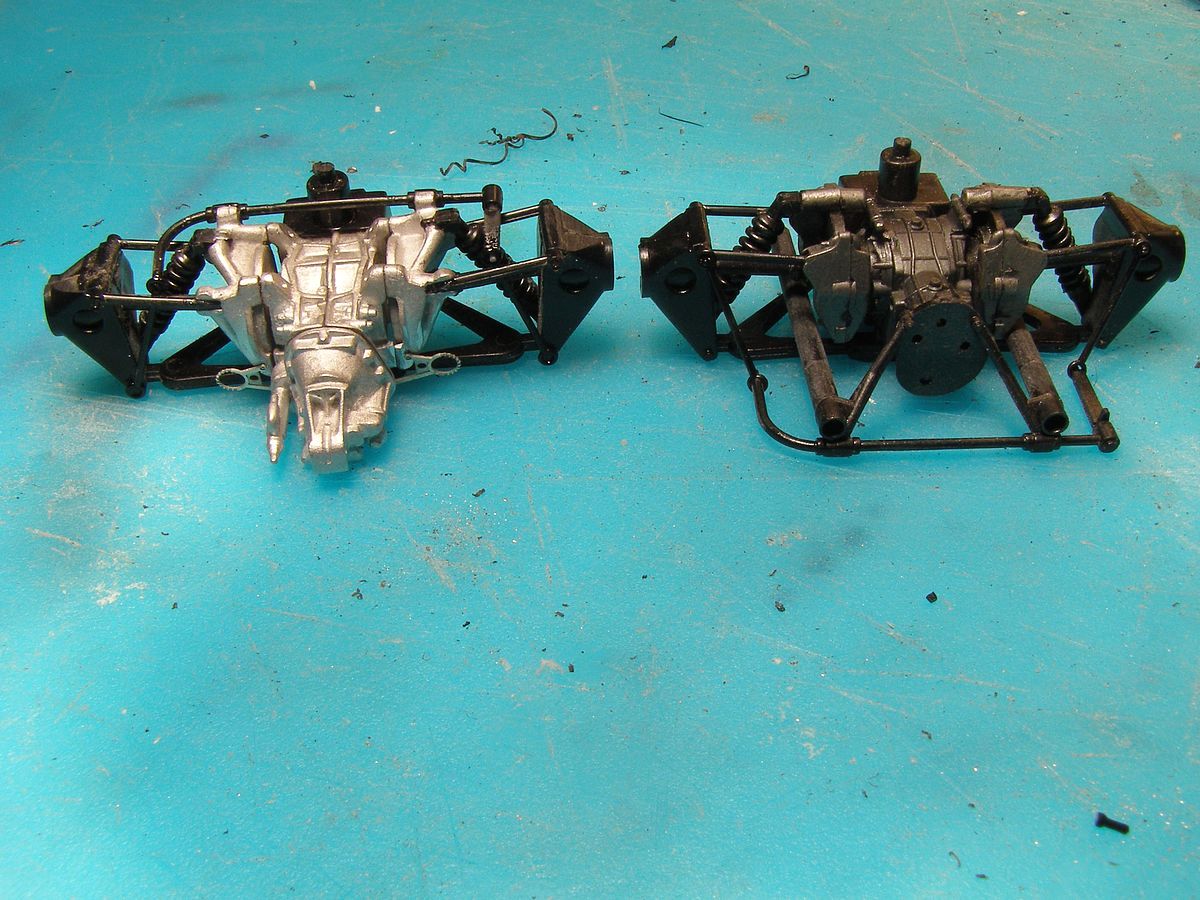
| The conversion kit had a Gertrag gearbox in metal. Well it is different to the kit one and that suits me fine. But I wonder if I should use the brake cooling parts from the kit? |
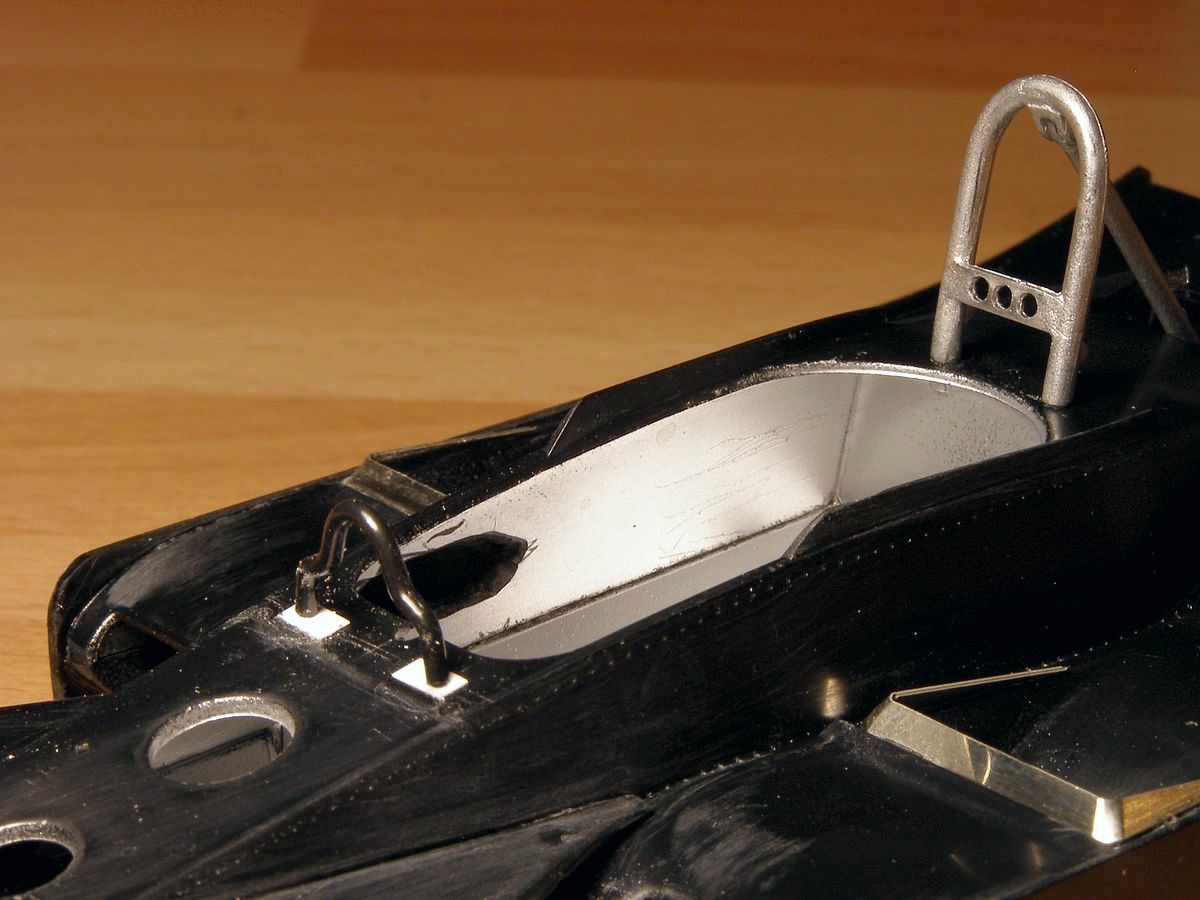
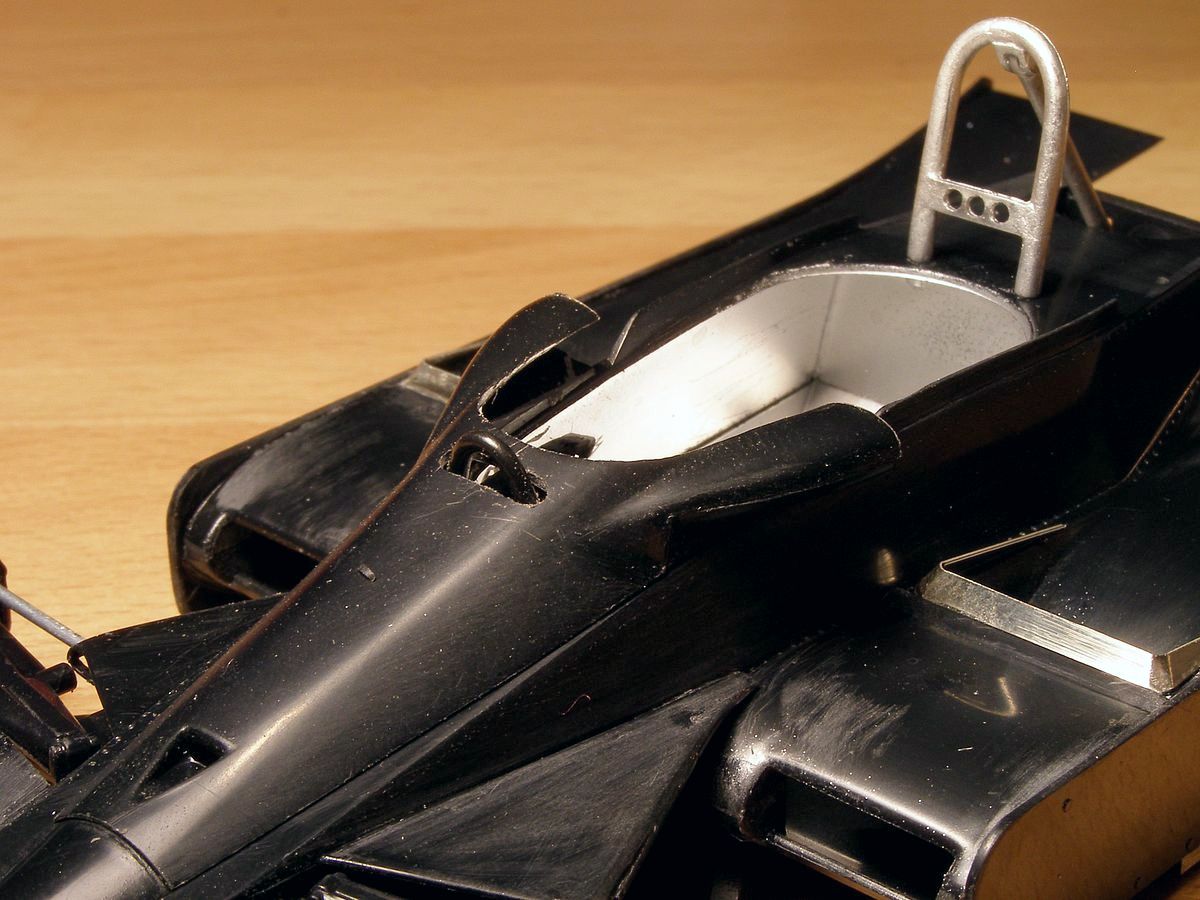
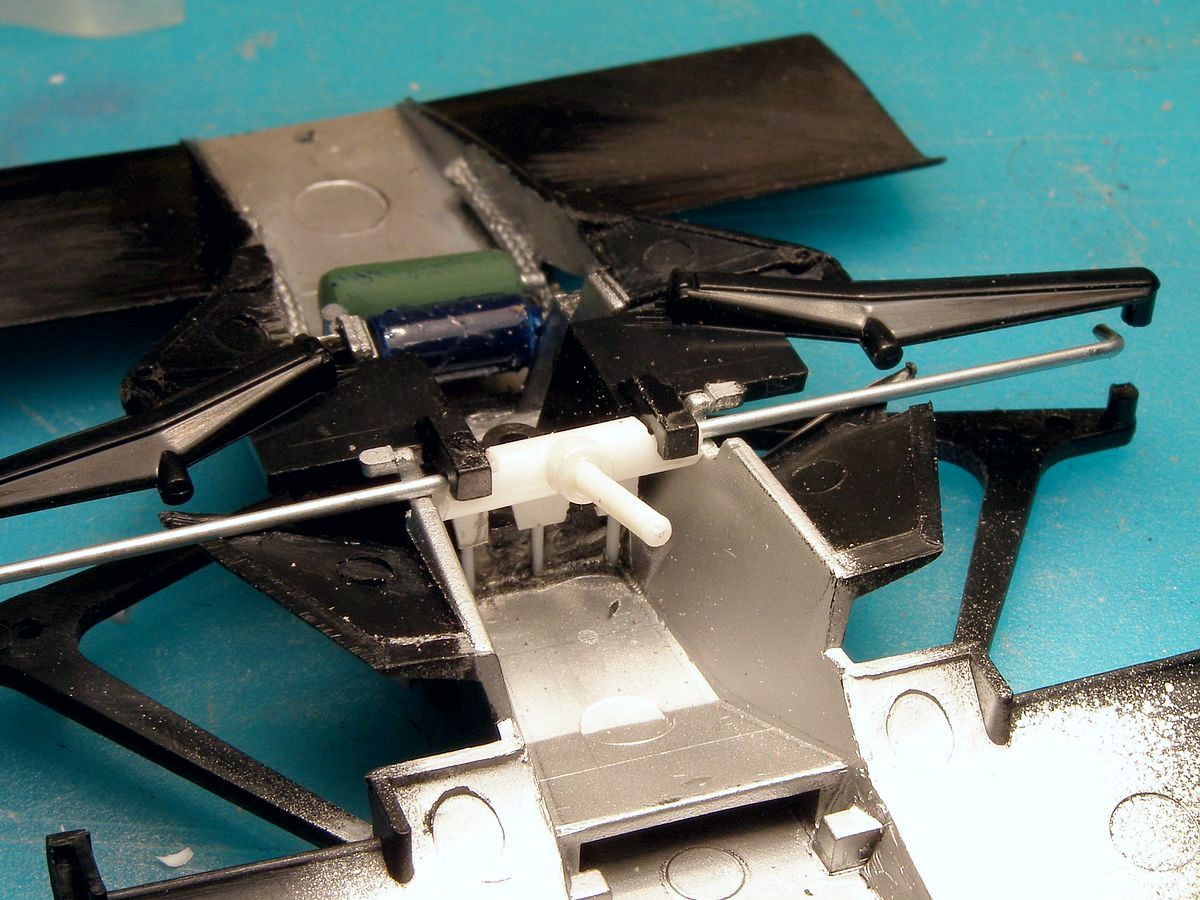
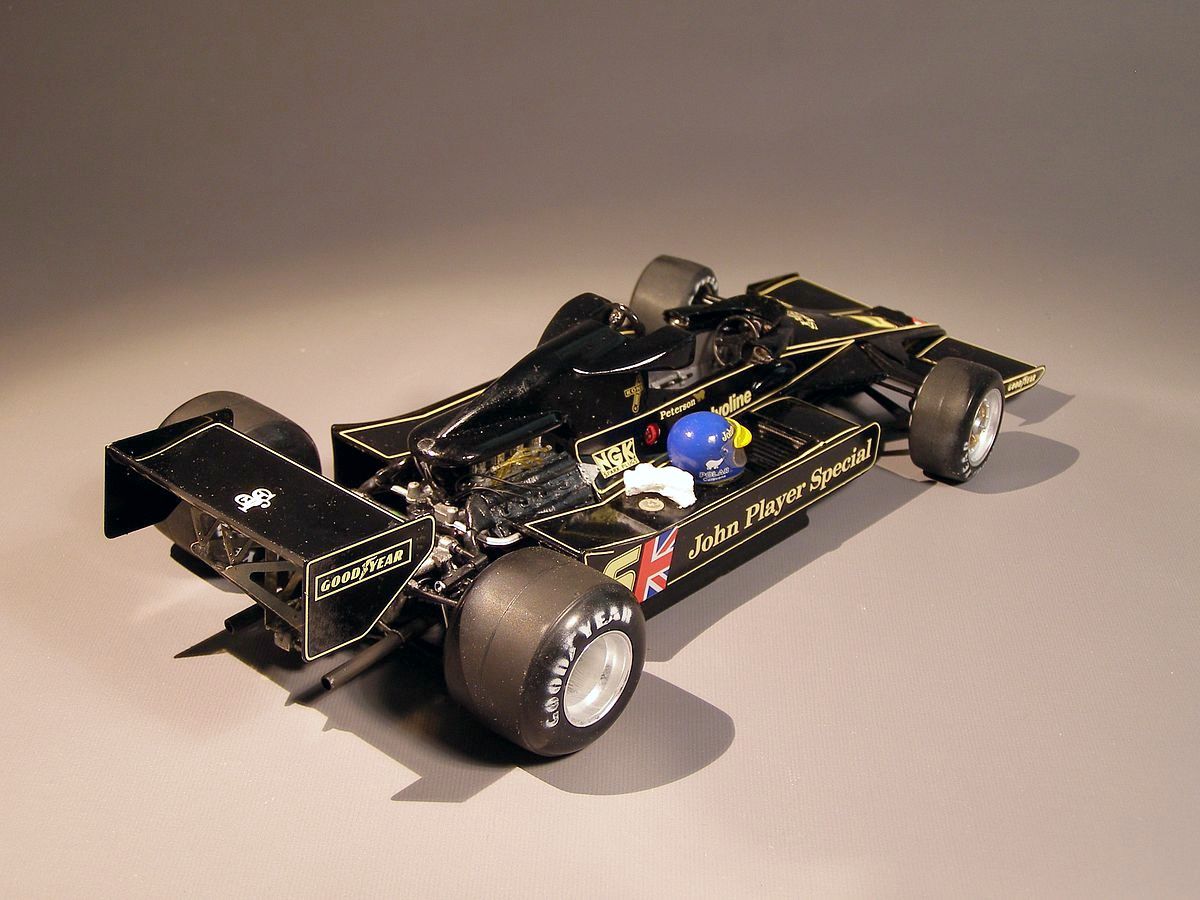
| I tried to build the forward roll bar using a black cable. It is a bit thin though. But it will do. I tried to make it in plastic without luck and with some solder, but it was too thick, so it looked strange. Next thing to do is a new instrument panel. |
|
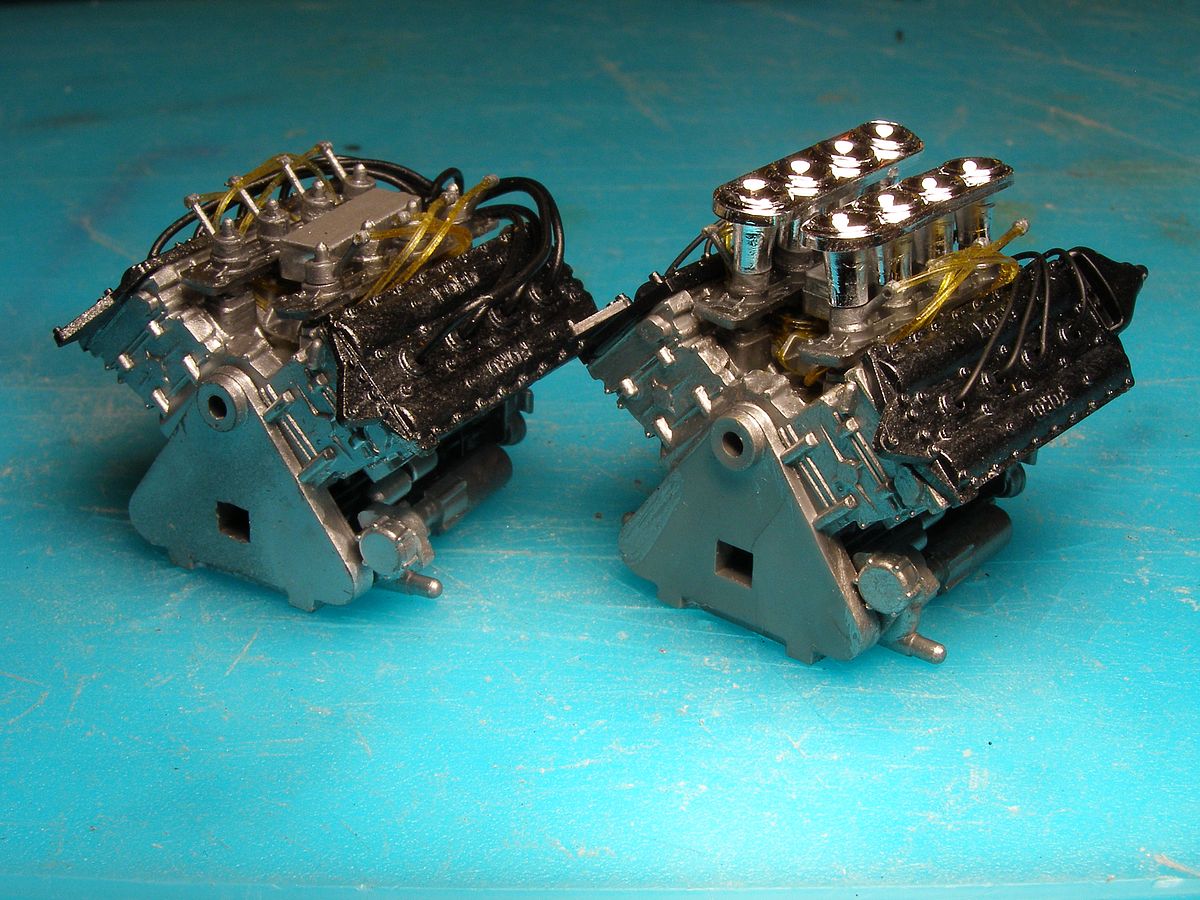
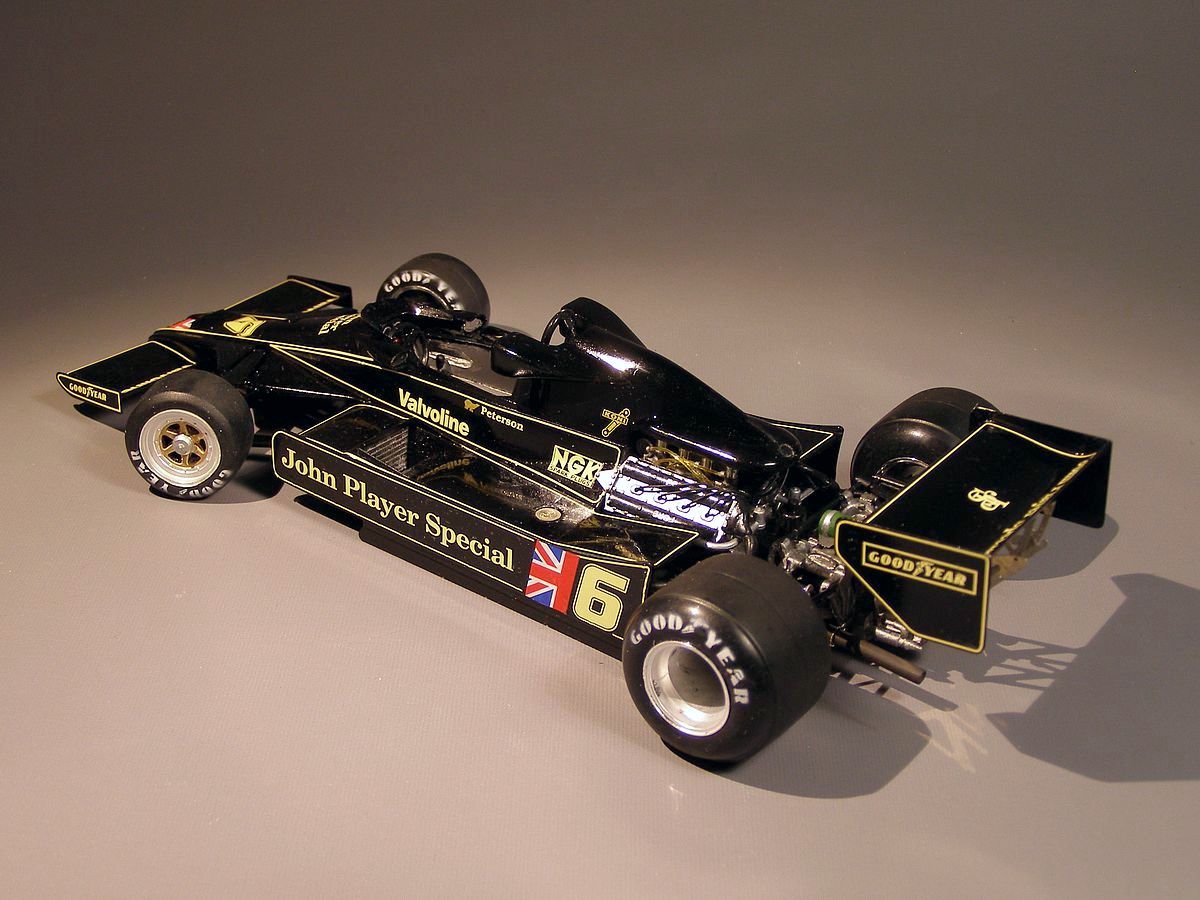
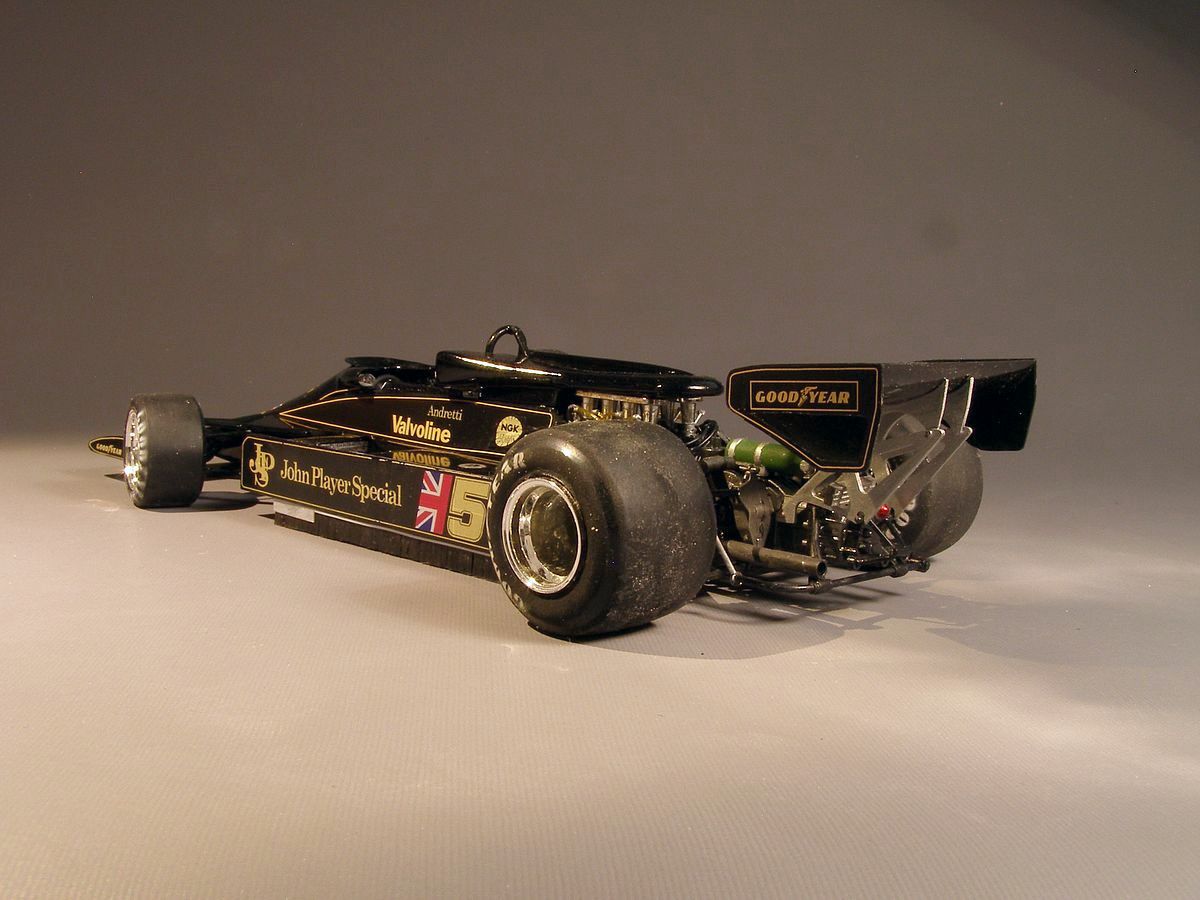
I put on the first coat of black on the car and went on with the most boring part of Formula 1 modelling: The Ford Cosworth DFV engine. This goes back to the 1970th-80th when I built most of the 1/12 scale kits from Tamiya. I built at least nine cars with the DFV and got pretty fed up with them. It is funny that the aversion still exists even though I changed scales. The sad thing that the cars I have interest in mostly have the Cosworth engine. Boring or not just adding fuel lines and cables to the spark plugs make a big difference in appearance. |
|
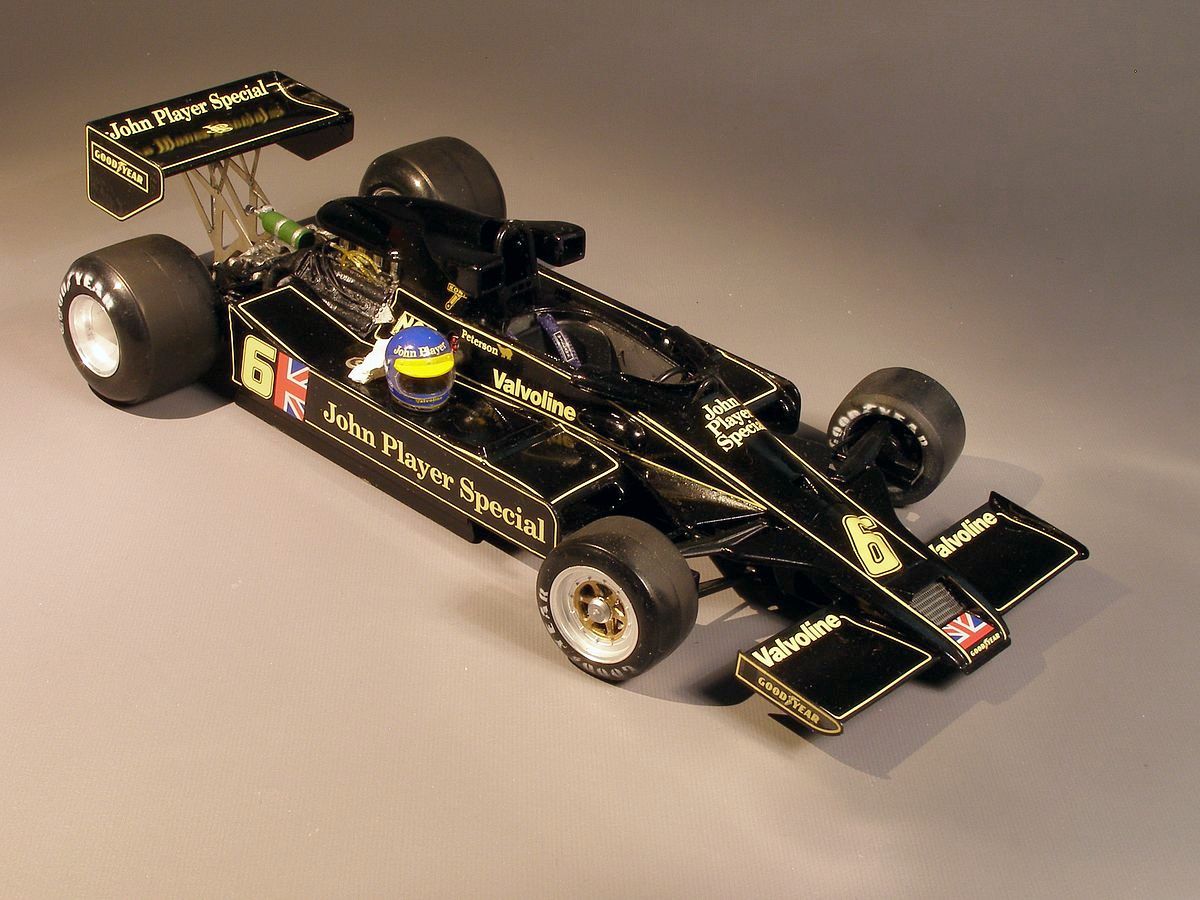
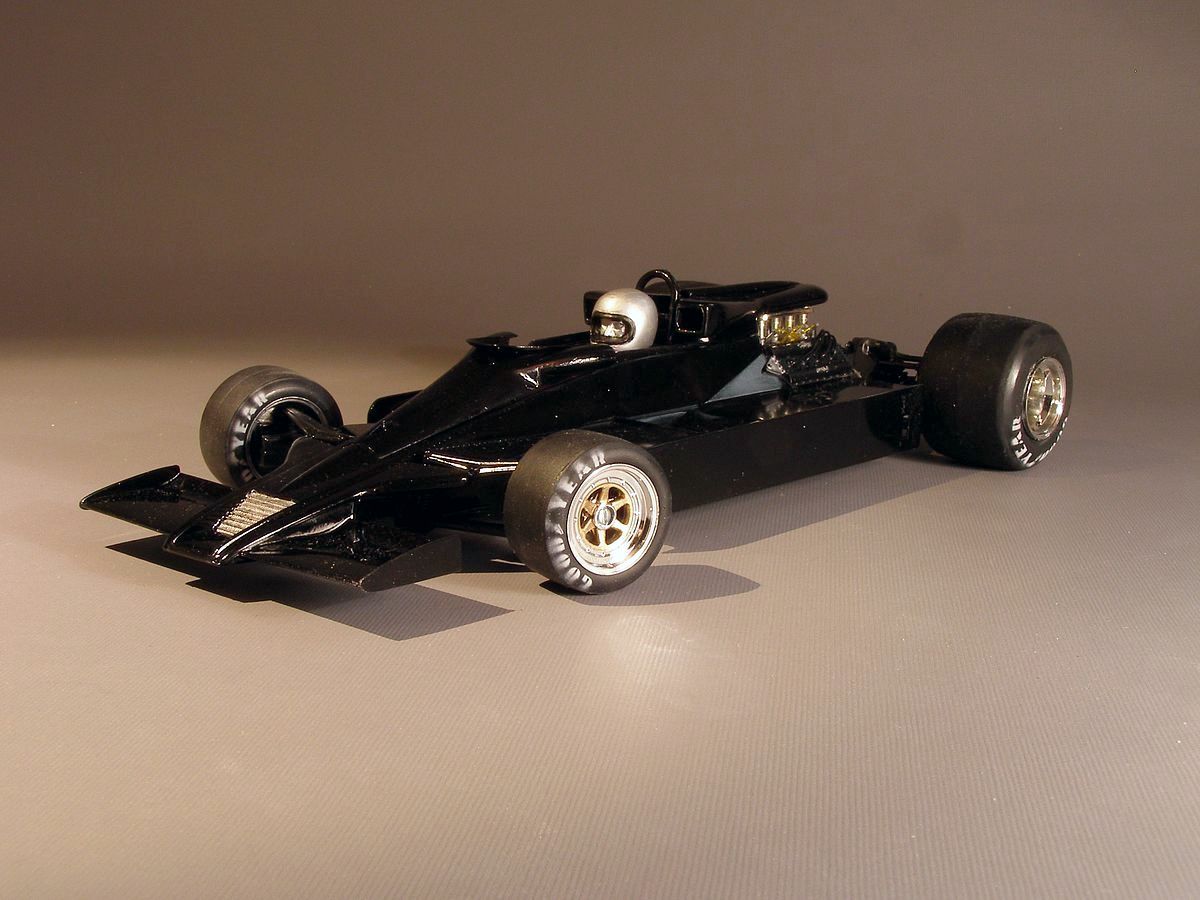
I can see the finish line in front of me. Decals from the Studio 27 conversion kit that I used in this build. The stripes for the front wing end plate were too short as I had built new side plates but there were some stripes that were to long, so I could use them to fill in the blanks. |
|
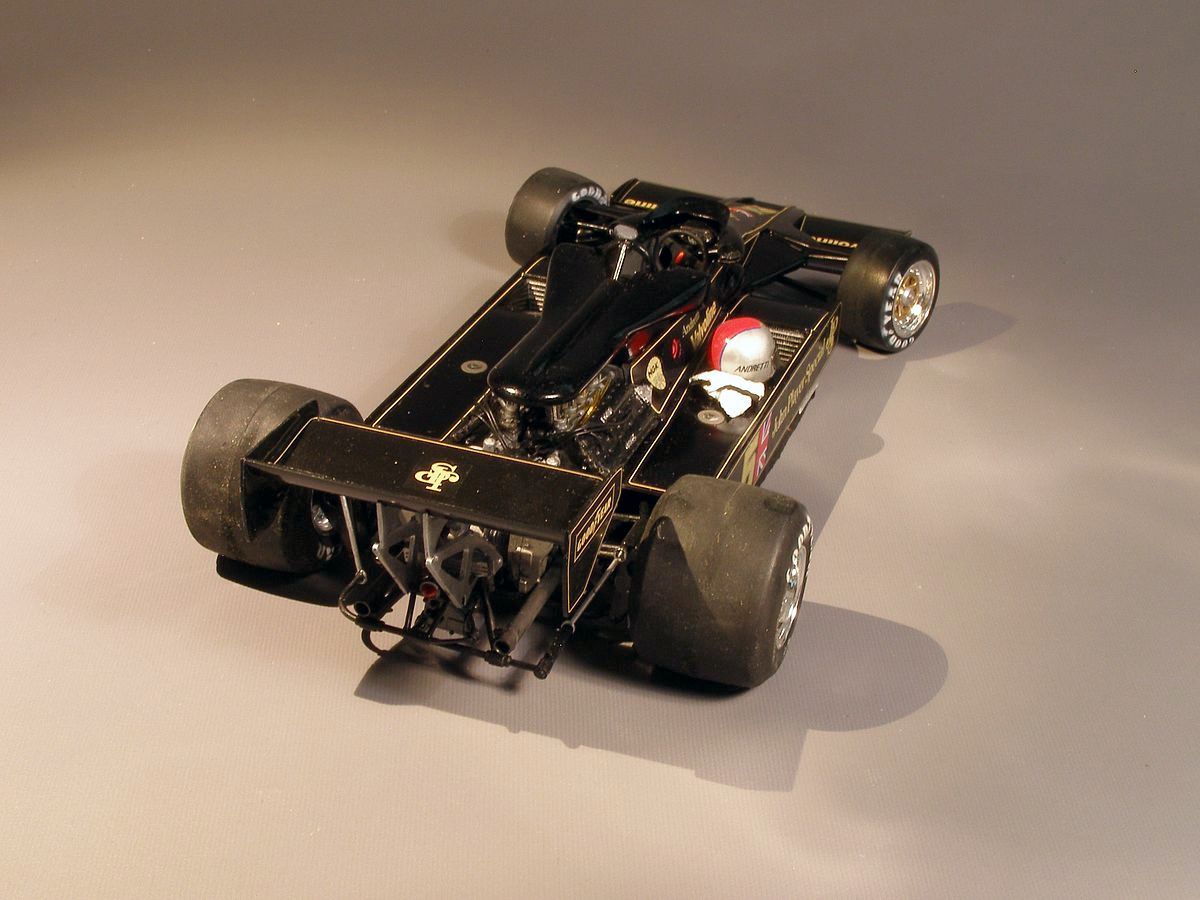
I hate the rear wing mount. it is almost impossible to put together. I finally made a bad solder to get the parts together. As it turned out it was probably an unnecessary job to build the front roll bar. The one in the conversion kit that was supposed to be glued on the top of the body would probably have worked. |

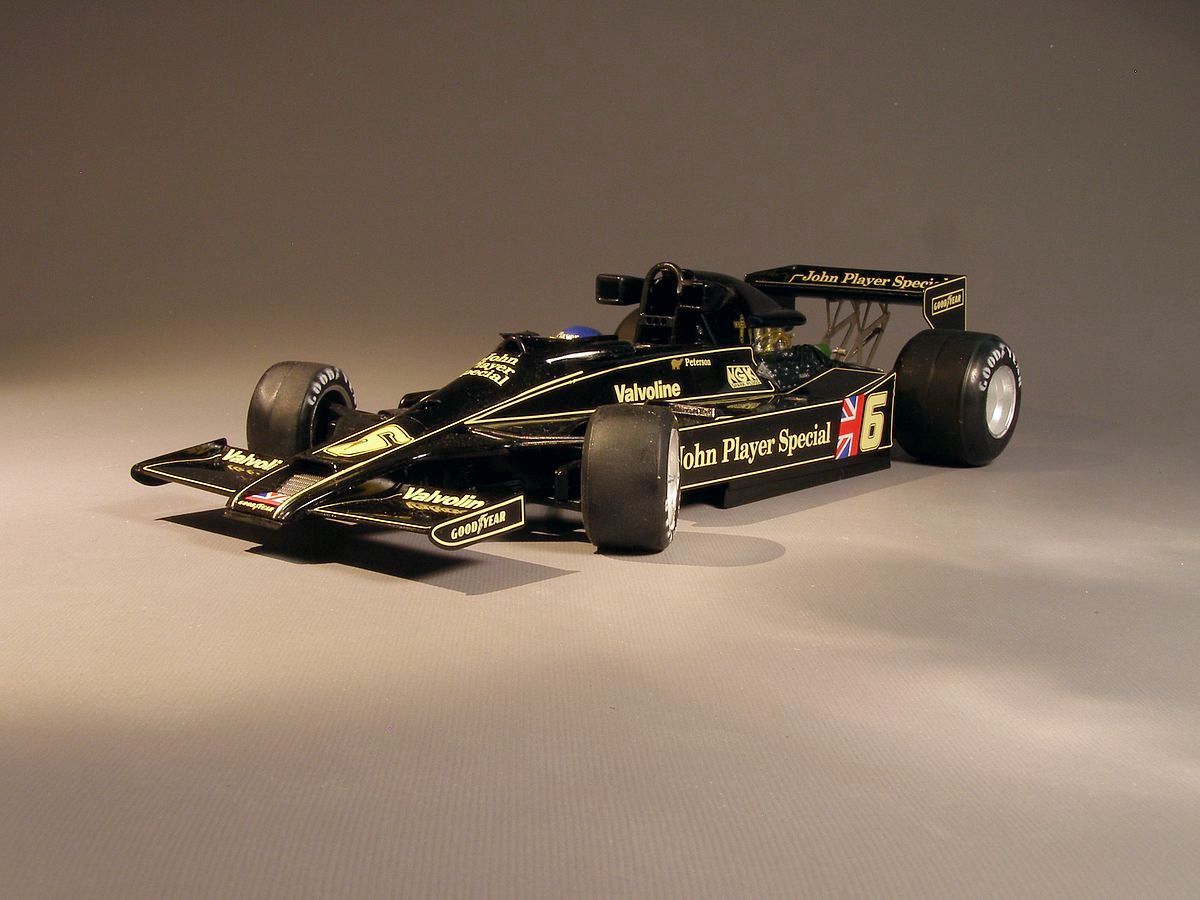
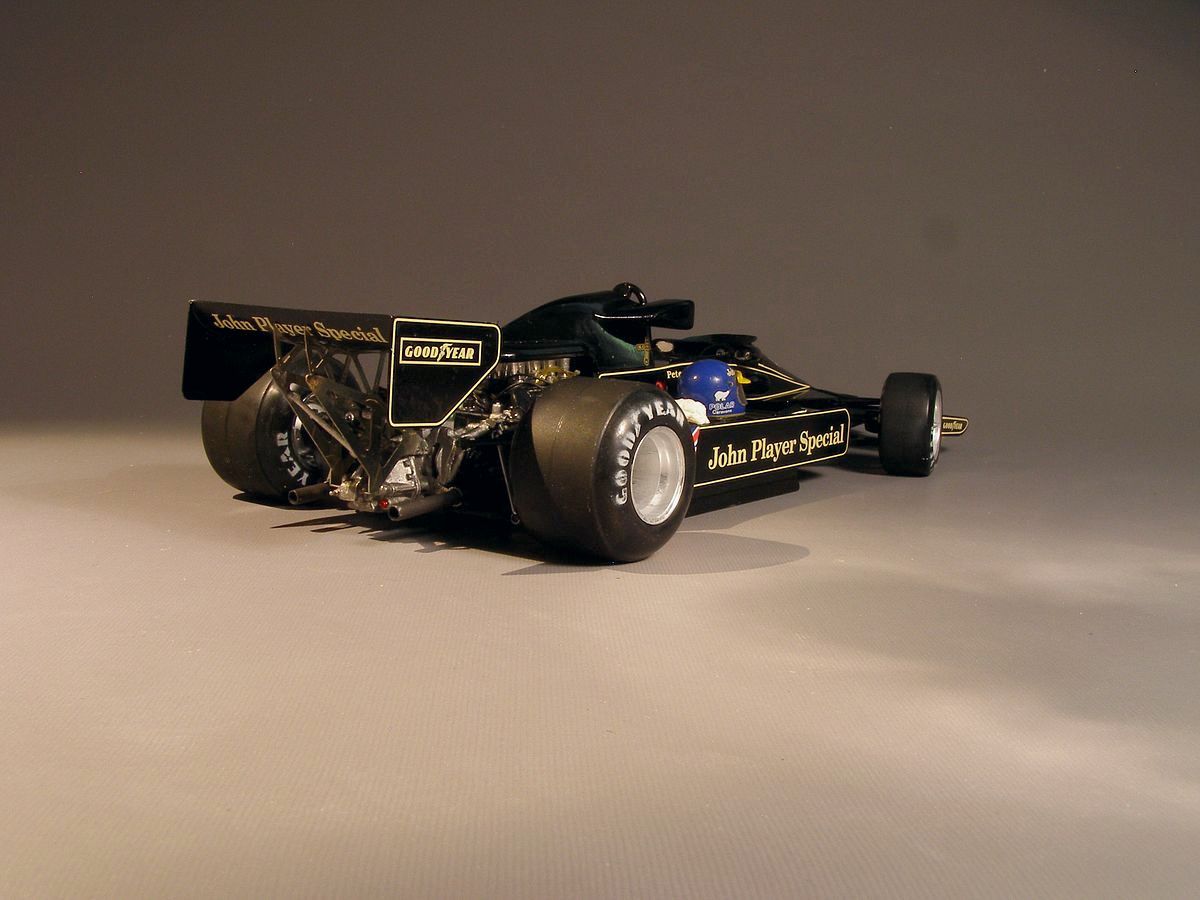
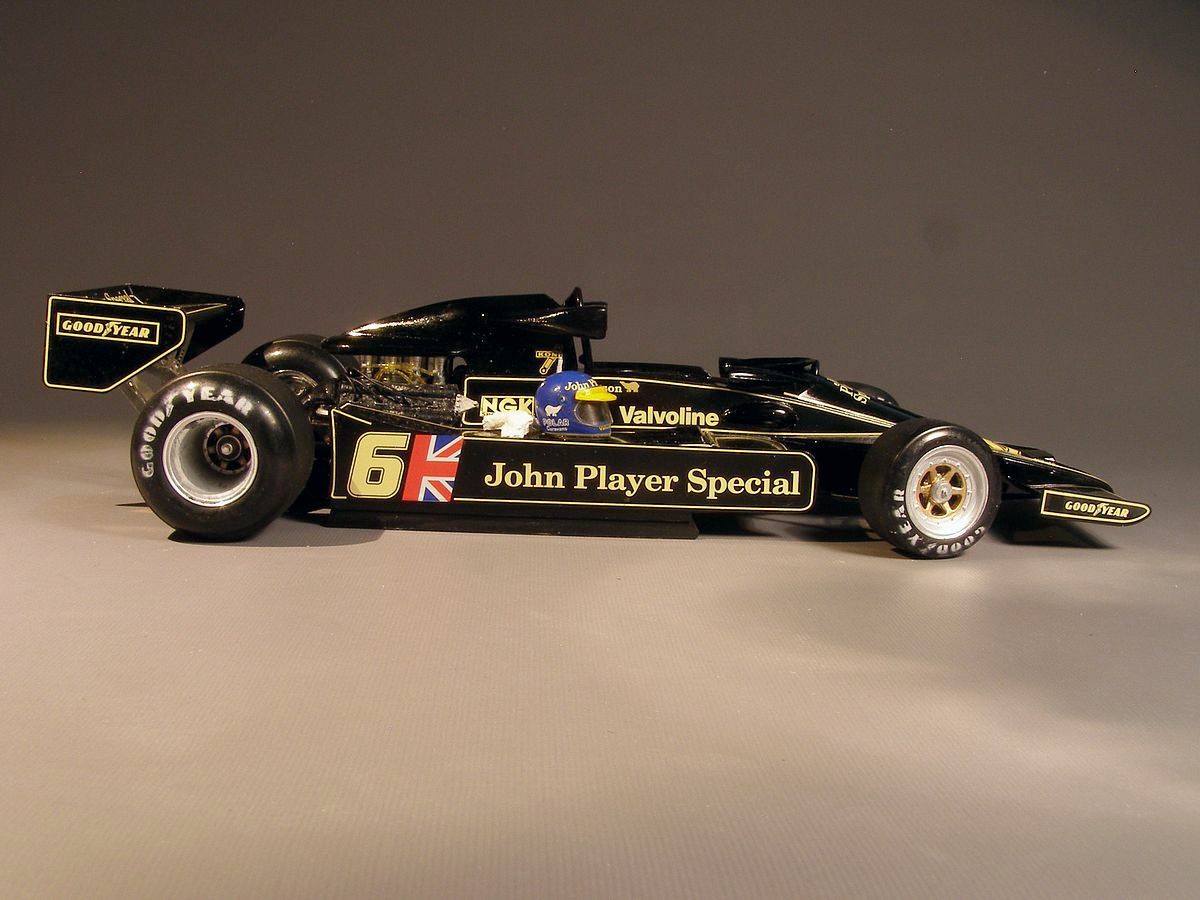
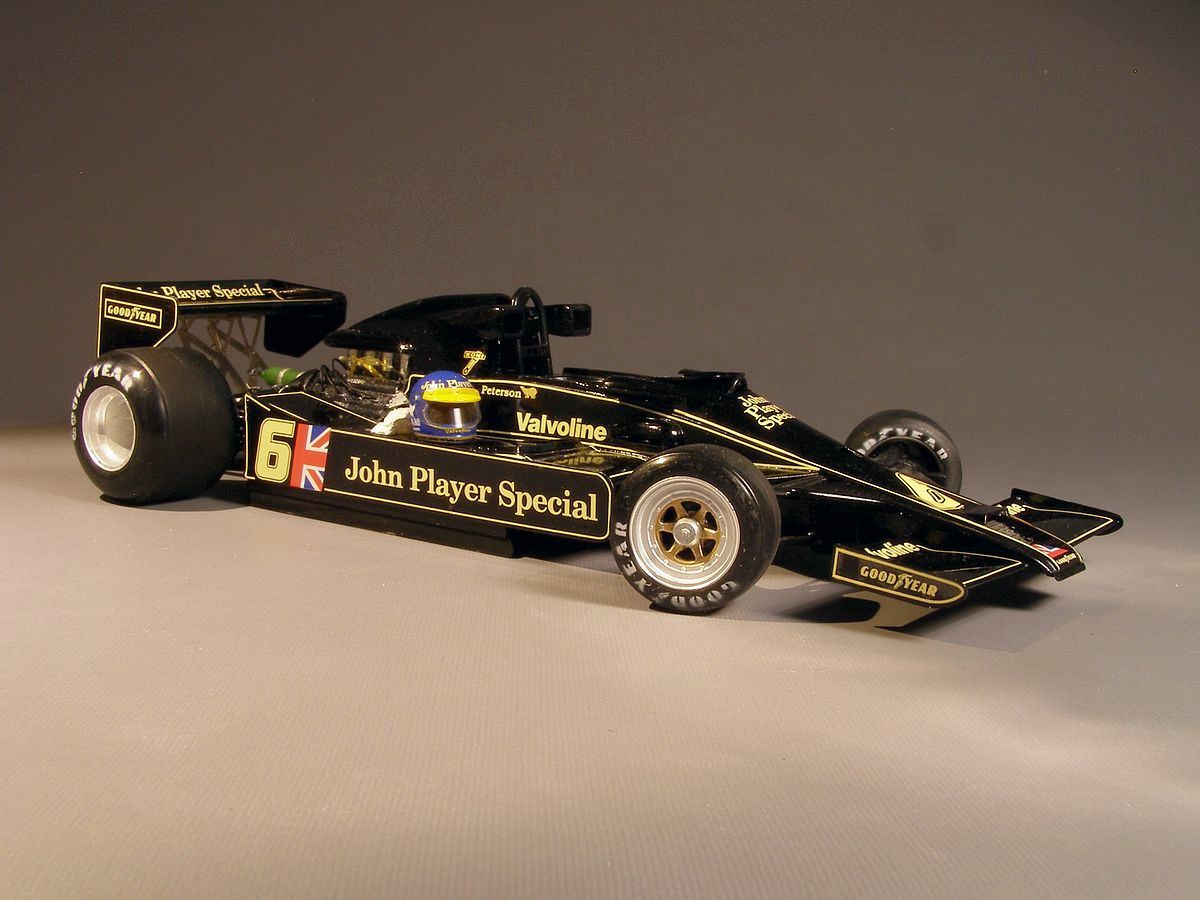
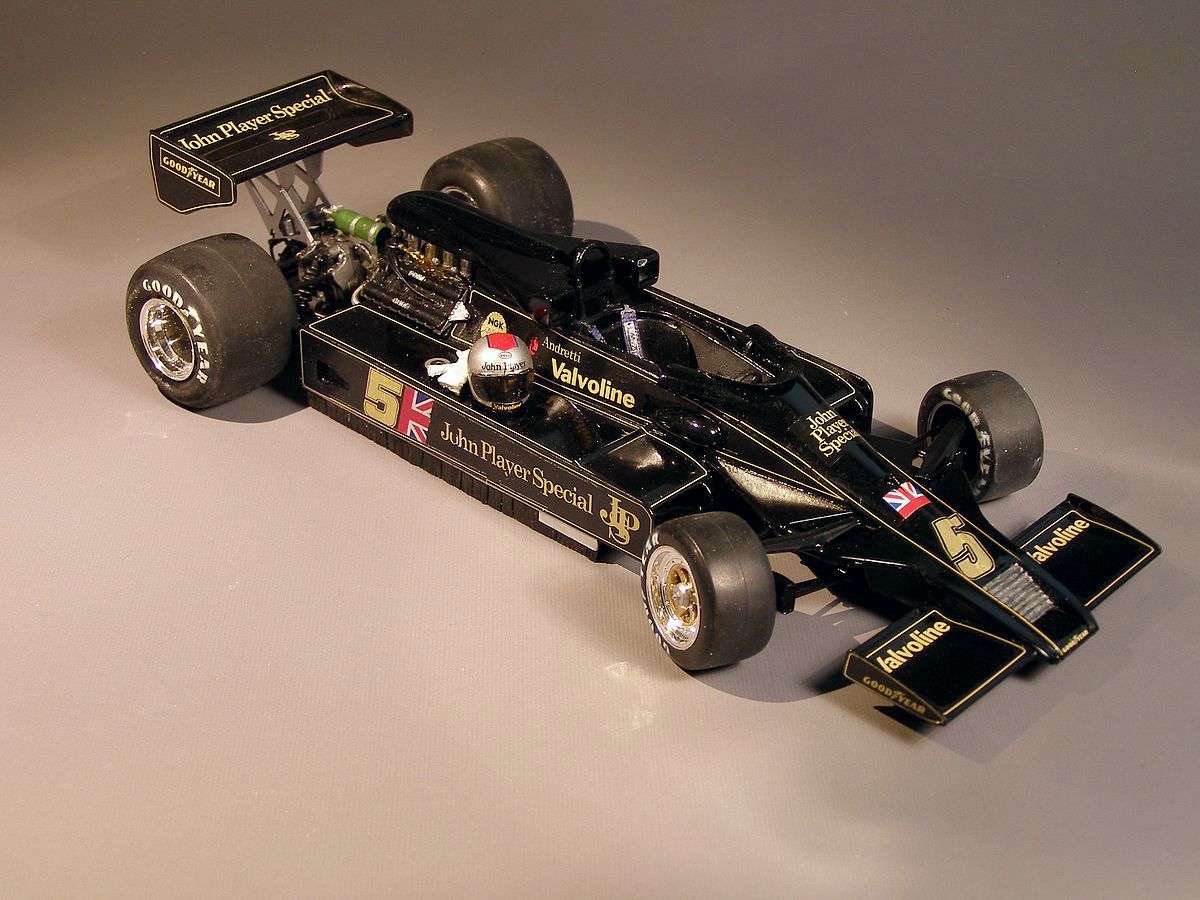
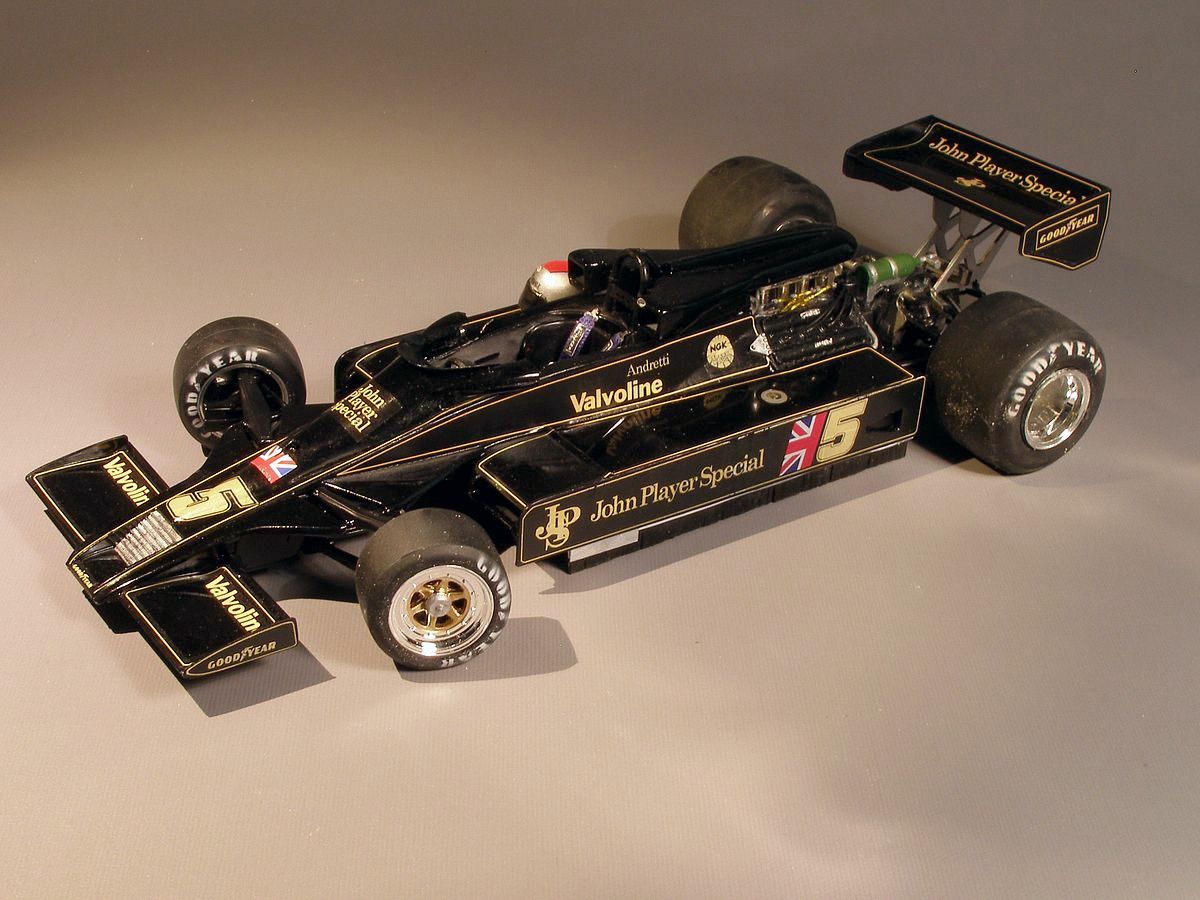
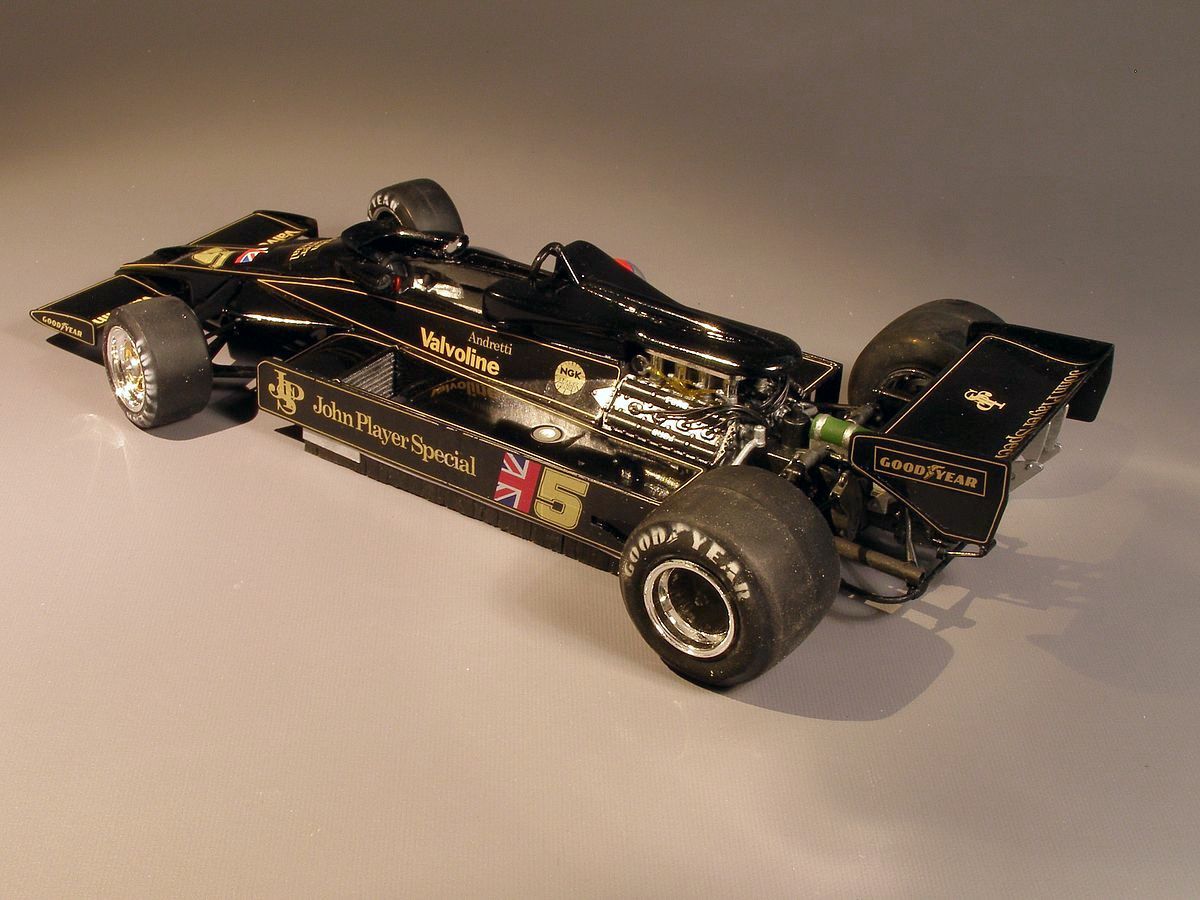
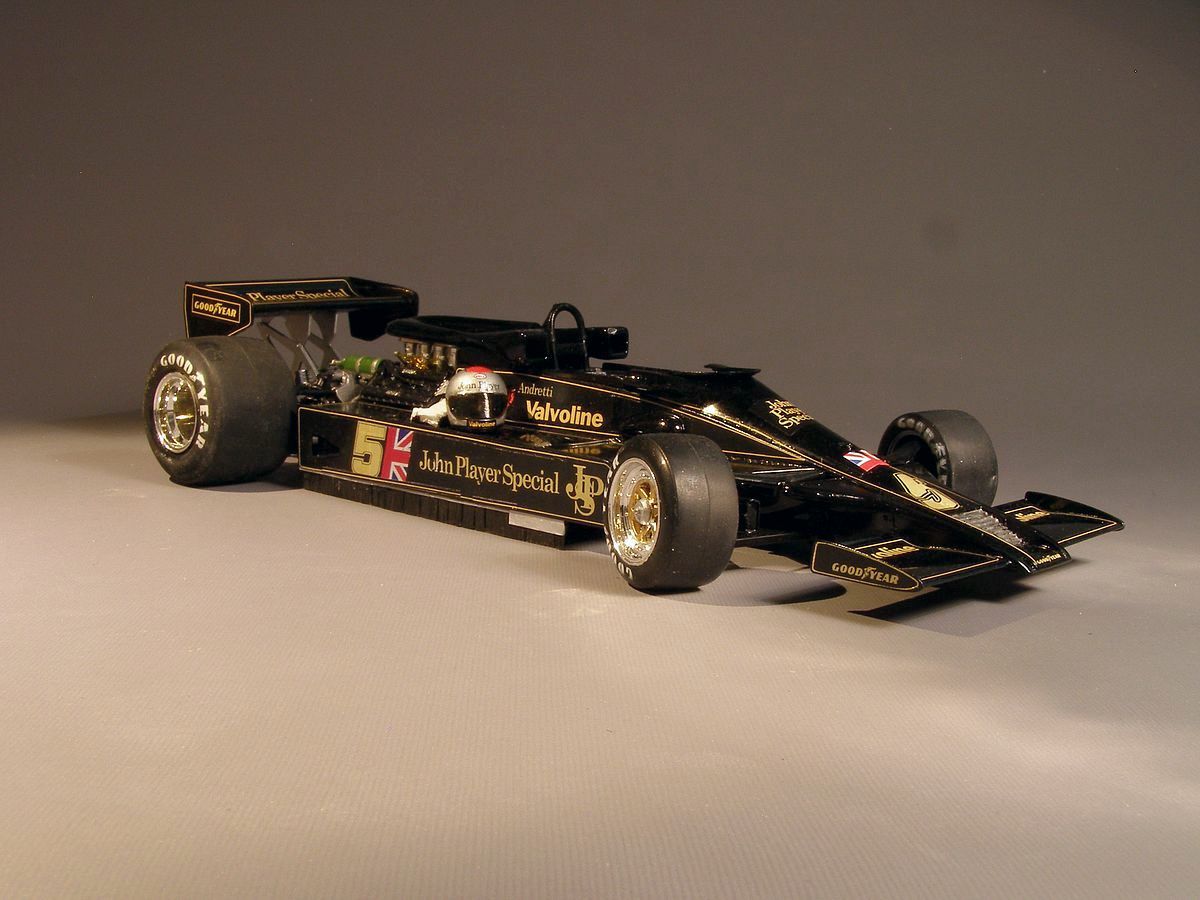
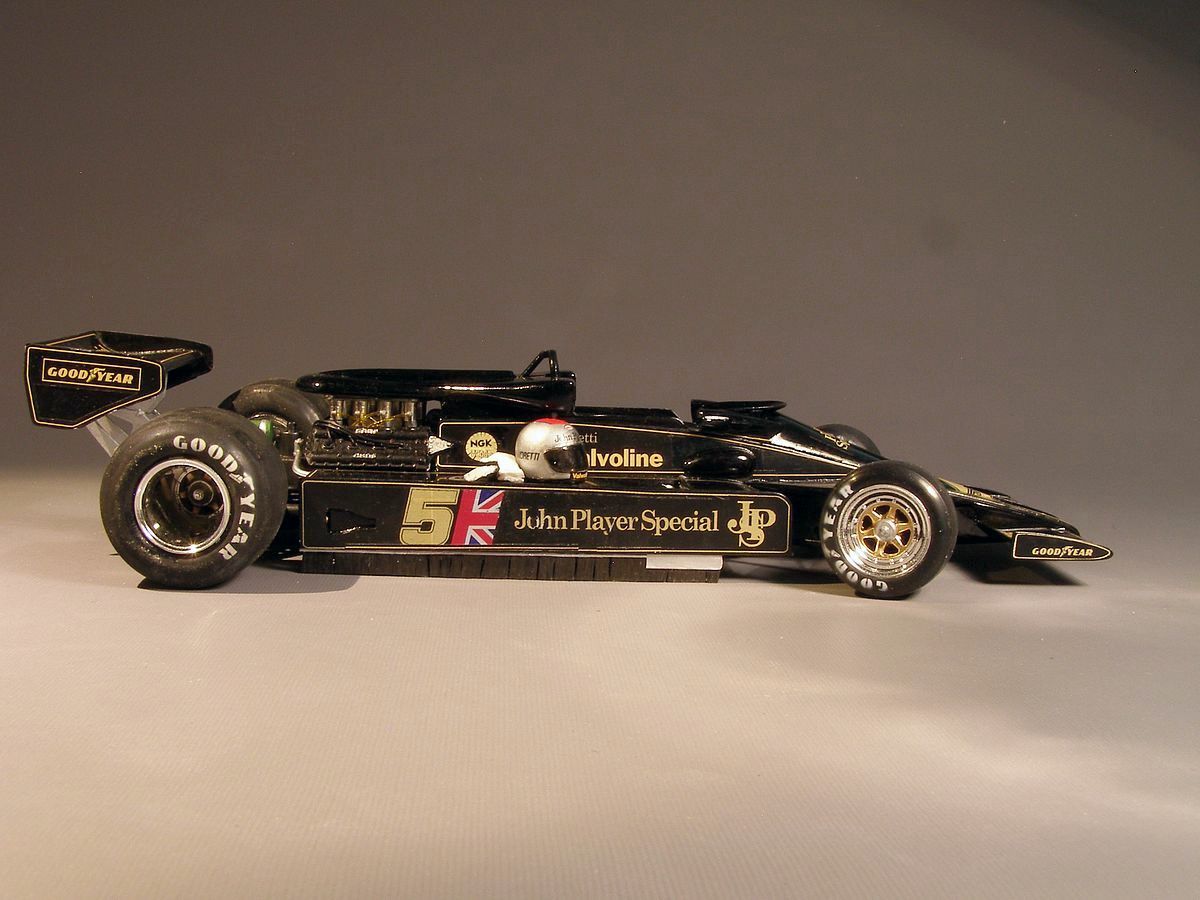
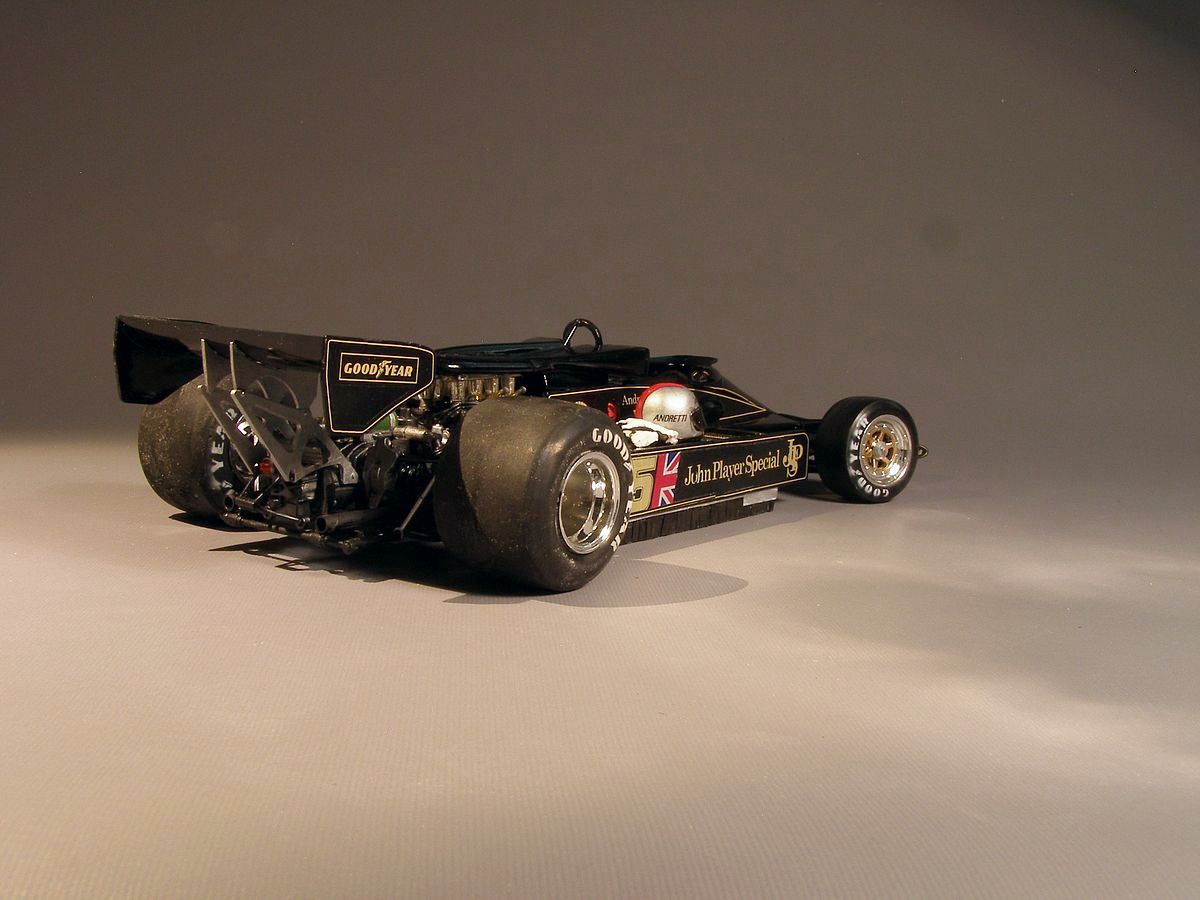
| So here is the finished result. |
|
I brought out a kit that I've started on. The engine block and gear box had been assembled and painted. It is an old kit without etch parts, so a 1978 version cannot be built out of the box. As I have the new one as well I decided to build it as a 1977 car. I started looking at pictures and realized that the version Tamiya made didn't race. I can't find any pictures of the combination of the end plates in the kit and the high air scoop together.
|
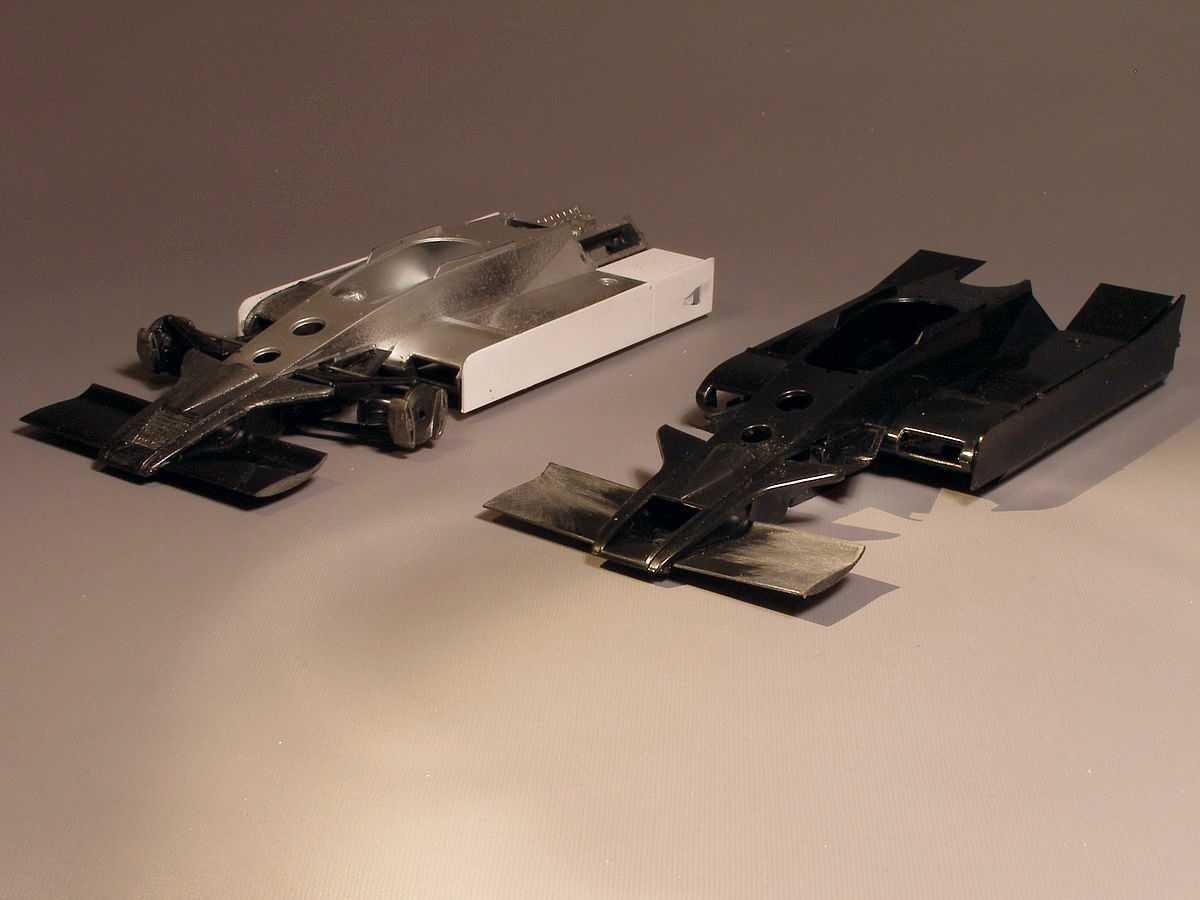
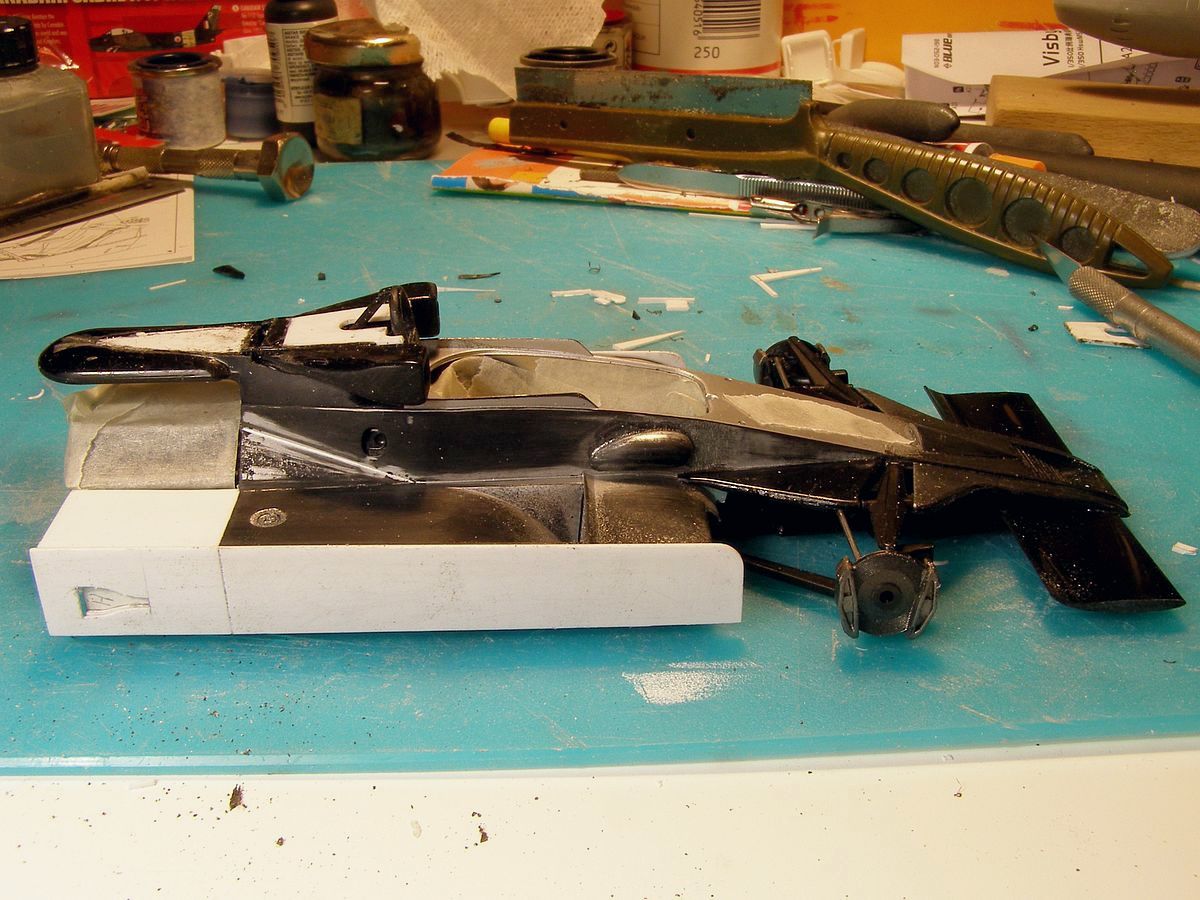
| Well since I wanted to use the original Tamiya type of rear wing end plates I had to build an early 1977 car. I decided on the Argentine GP car as it would be very different looking compared to the 1978 car. OK, Bring out the saw and some plastic card. I also have to build the low type of air scoop that was only used for the first two or three races in 1977. |
|
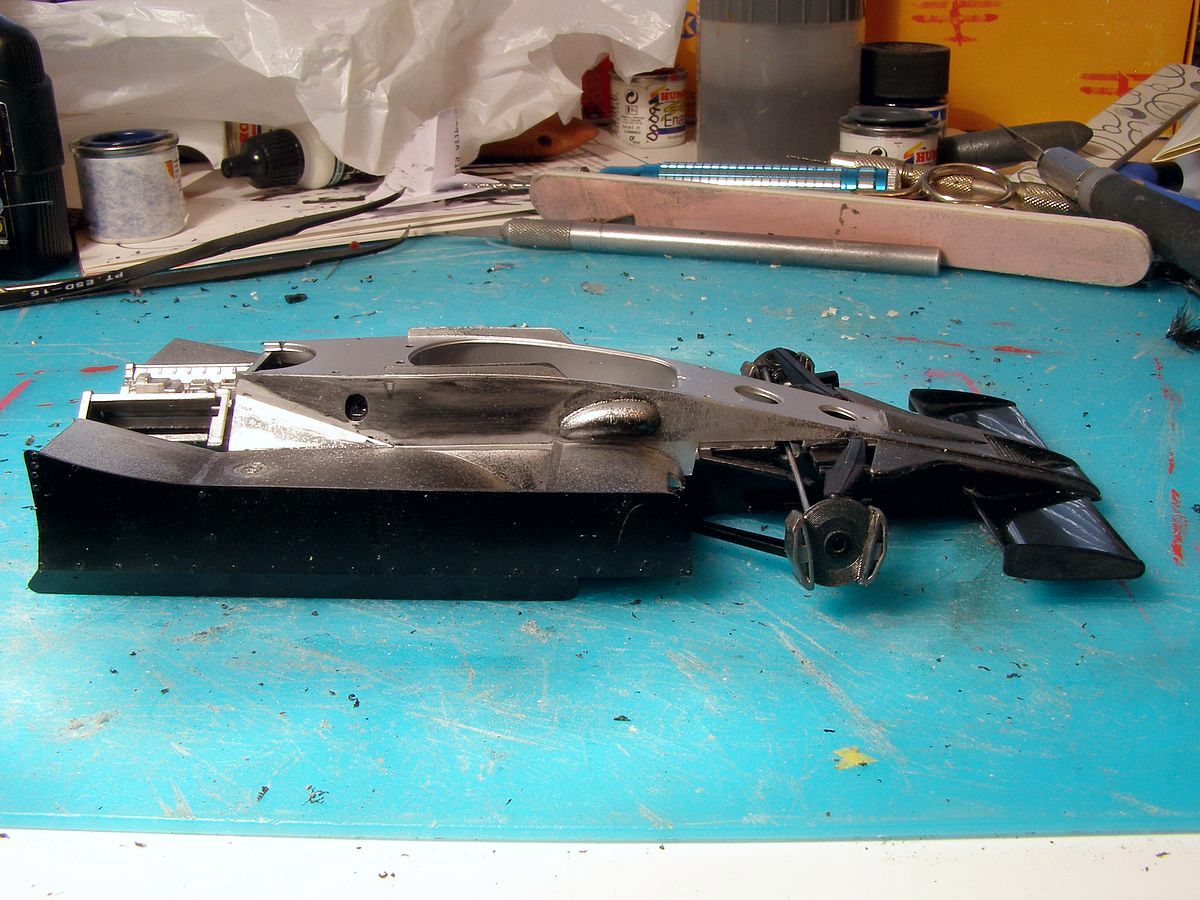
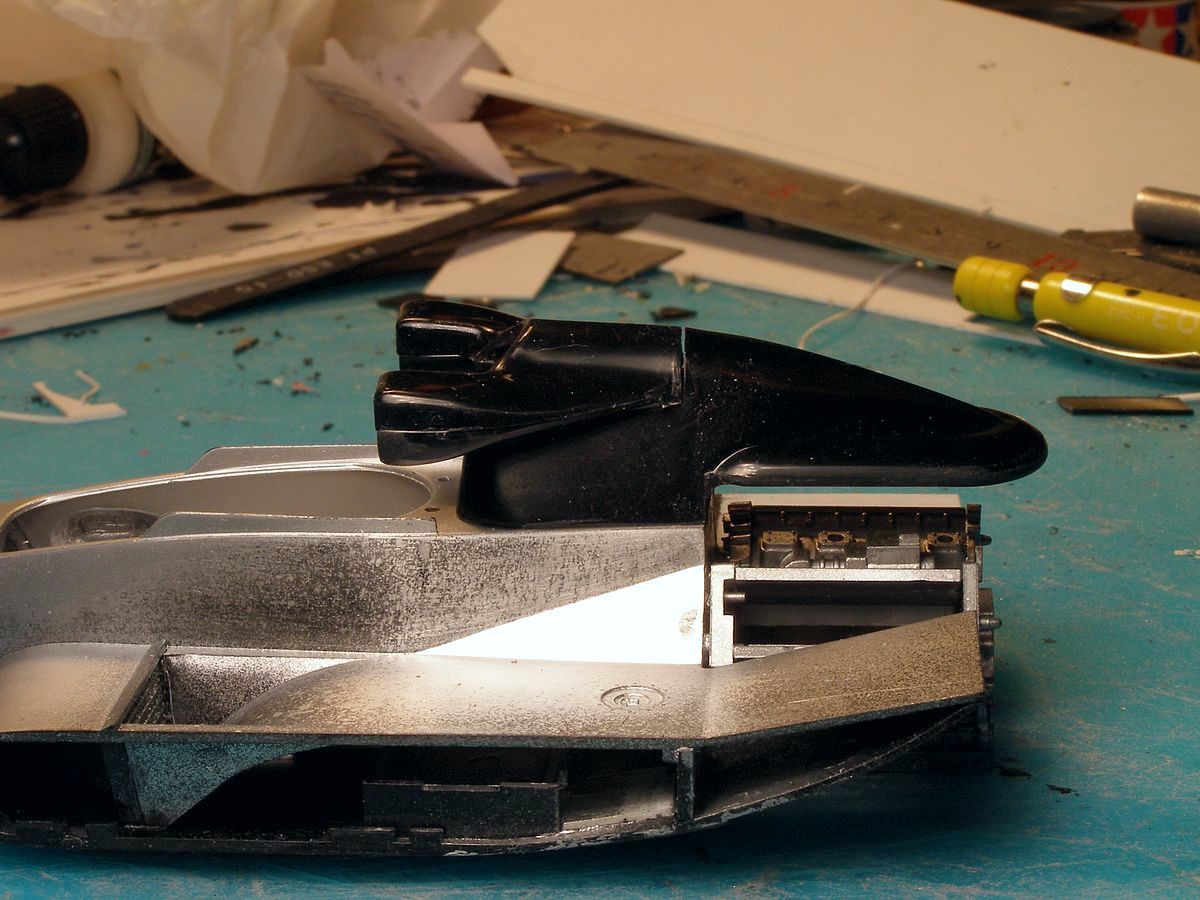
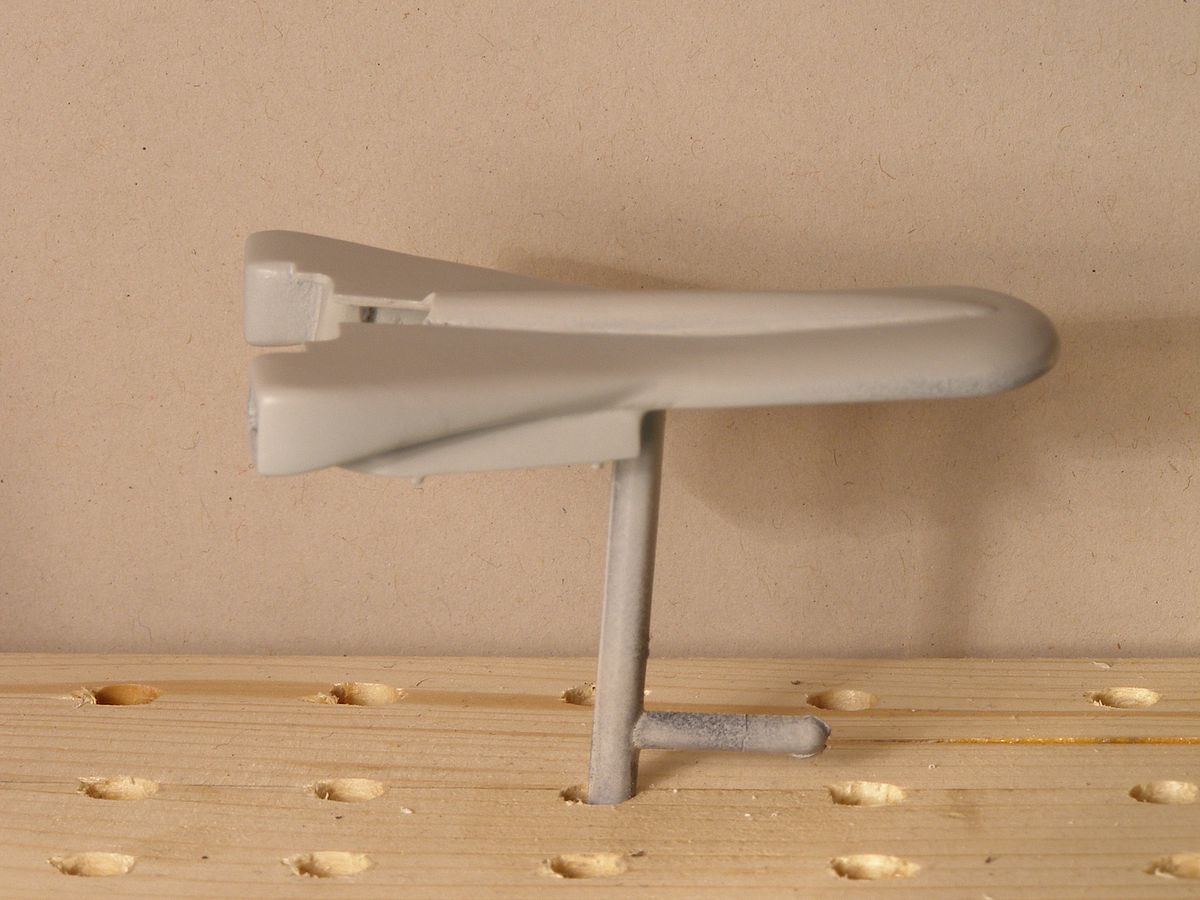
Whoops. I glued it on upside down, and it is on purpose. The air box for the engine must be of a lower type so I have to rebuild it. I started by cutting the front down in height before gluing the intakes upside down. This would give me the basic shape to work from. I need to build a bit at the time to keep the parts stable enough to handle. When the glue has cured I can start cutting away unnecessary material.terial. |
|
That is how I will rebuild the air box. First a piece of plastic card at the front part. Then a triangular piece inside the air box. When the glue has set I can cut the air box down in height. Now the outlines are set. When everything has cured I can start working on the final shape. |
|
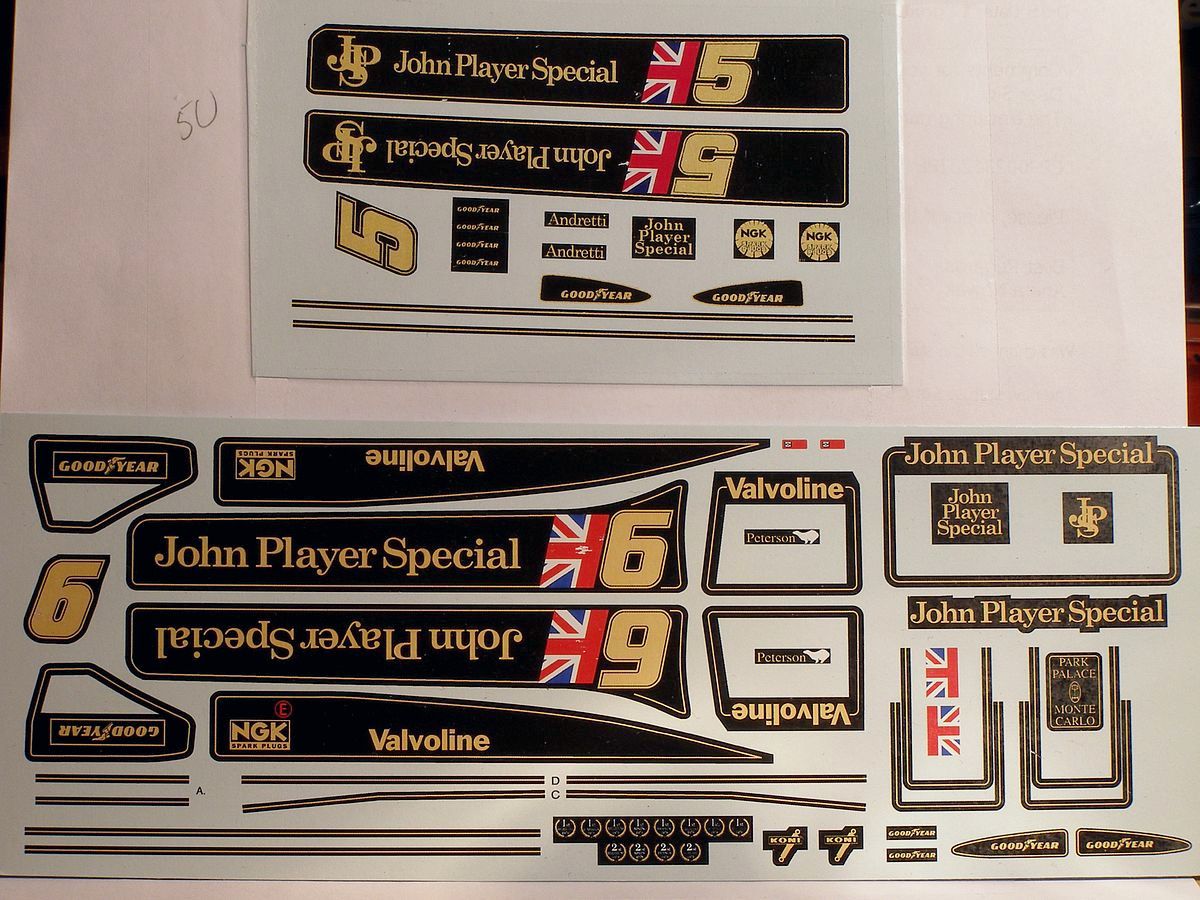
Time for a long boring story This is an old kit. I guess it is one of the first kits where the scale engine replaced the horrible thing with an electric motor in it. There is no etch in it and the decals are for a 1977 season car. Beside the fact that the decals were printed in yellow instead of the biscuit colour they should have been I wanted to build a car of Ronnie Peterson from 1978, so I bought a set of decals from Indycals. At this time Tamiya re-released their 1/12 scale lotus 78 with the etch parts. I noticed that it had different rear wing end plates and started looking at pictures. Of course, my kit was wrong. I could make new end plates without problem, but the decals would not fit. This put the build on hold. Studio 27 released decals for a 1978 car so I bought them but never started on the kit. Later I found a conversion set for an early 1978 car, so I decided on building Ronnie's winning car from 1978 South African GP instead. But why not build a 1977 car with the old wing plates as well. That ended with me buying a second kit. This time the later version with the etch parts. The old kit would be built as a 1977 car for Mario Andretti. Good enough but Now I didn't have decals for it as the ones that would fit was the ones I primary bought, but they were for Peterson. OK should I buy new decals, or can I modify the ones I have? I started looking at pictures again and found that the version Tamiya initially kitted never raced in the GP series. With new rear wing end plates, I could probably use the 1978 decals, but I also noticed that the car looked very different in the first race and that was something that really appealed to me. But there was just one problem with this. The decals. None of the sets I had was usable. I was confident that I was able to draw supplement decals to use with decals I bought at the first place, but could I match the colour? Lot of experimenting with colour and printing made me appreciate the work Michael at Indycals put in his decals even more. Finally, I have something that isn't a perfect match but hopefully close enough to be usable. Michaels decals at the bottom and my supplement above. |

|
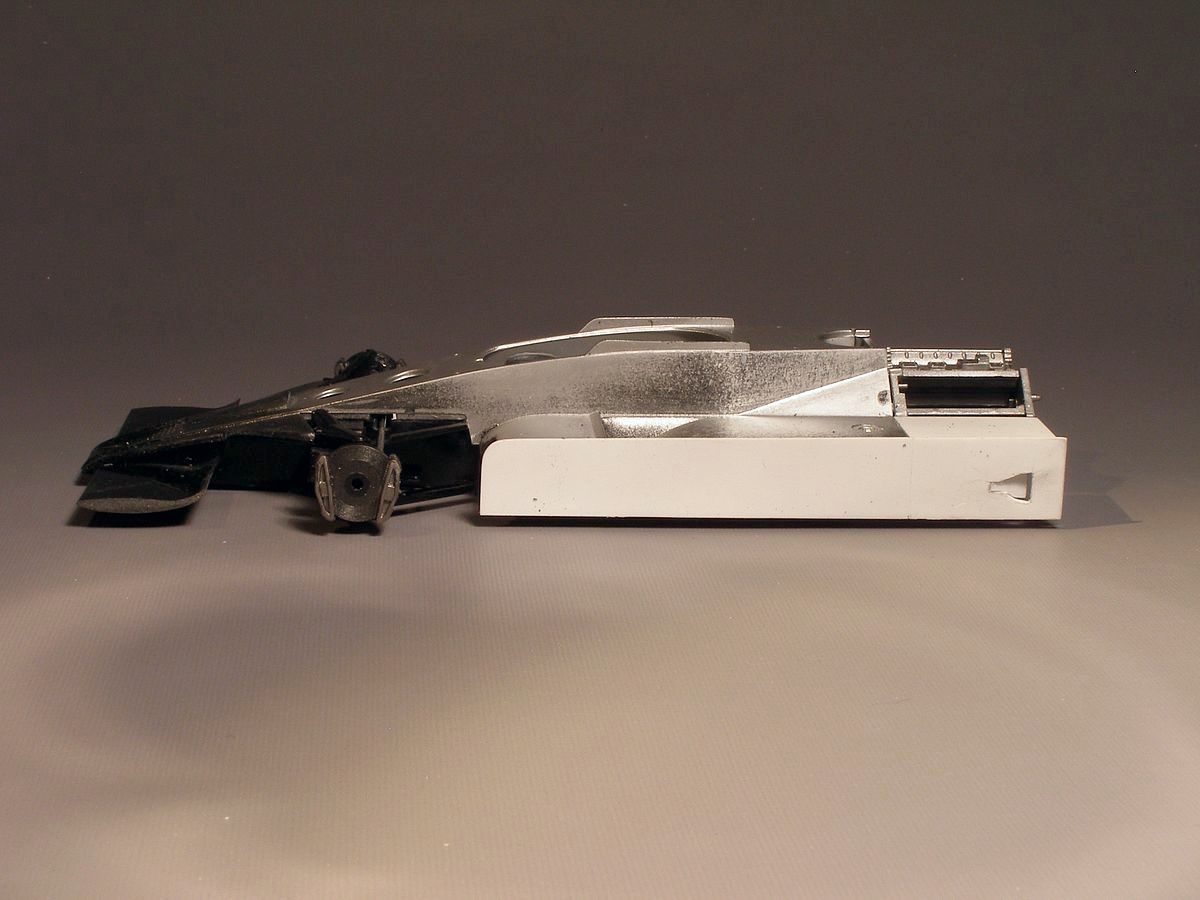
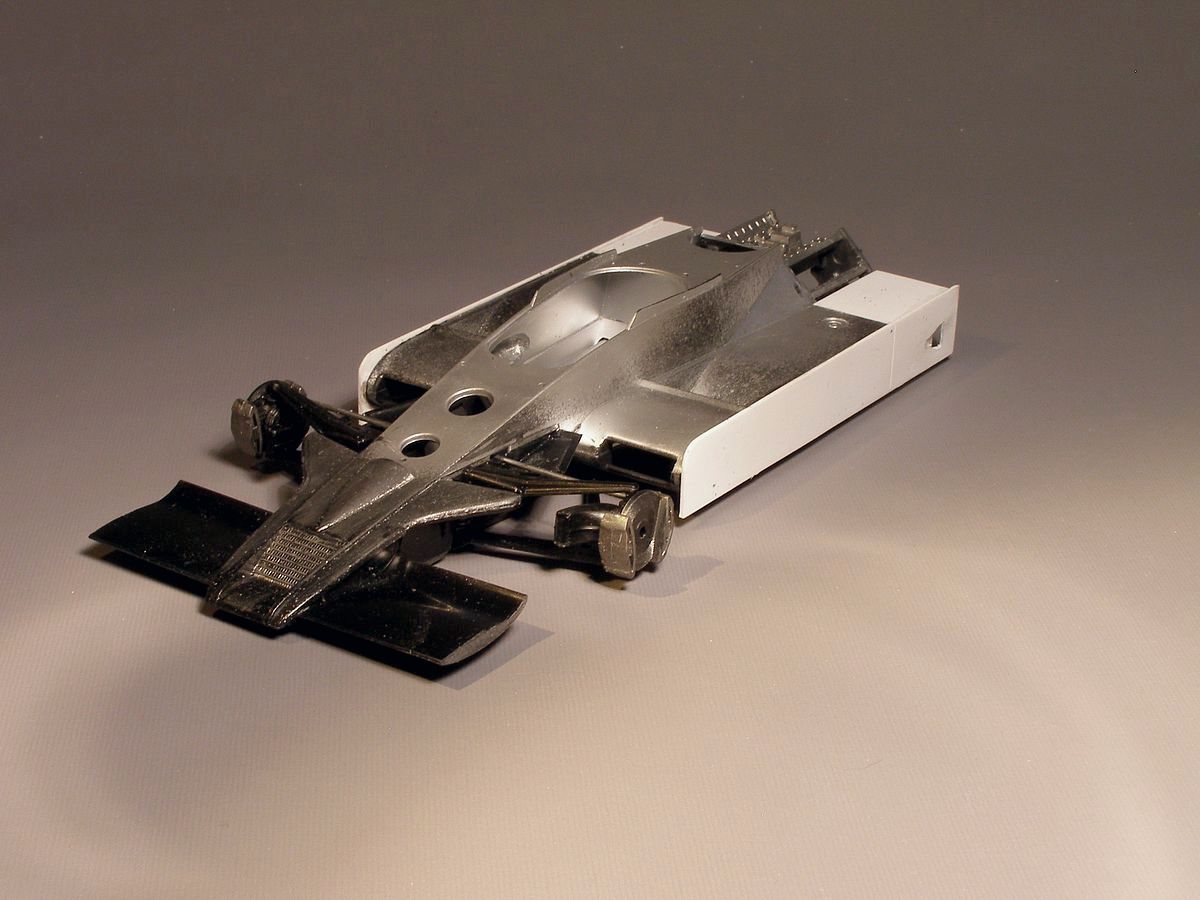
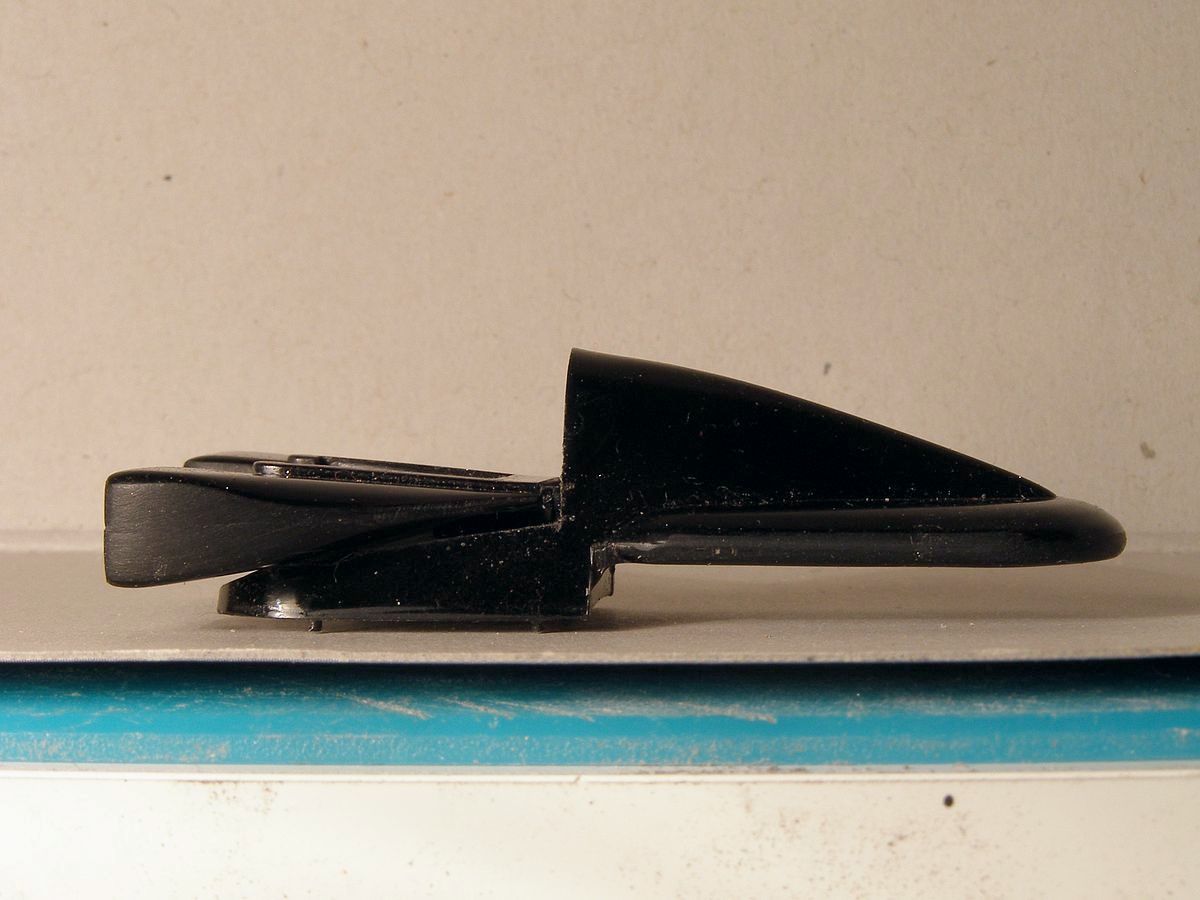
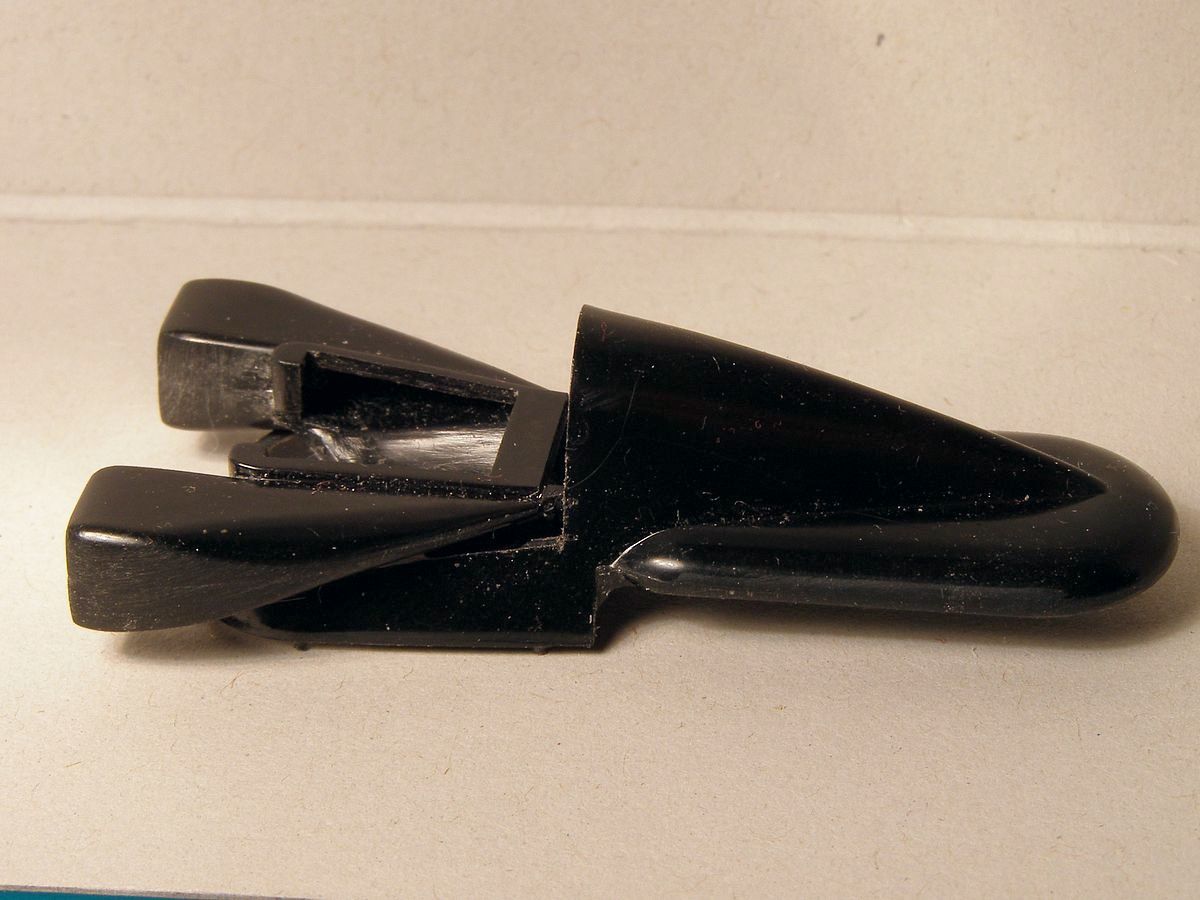
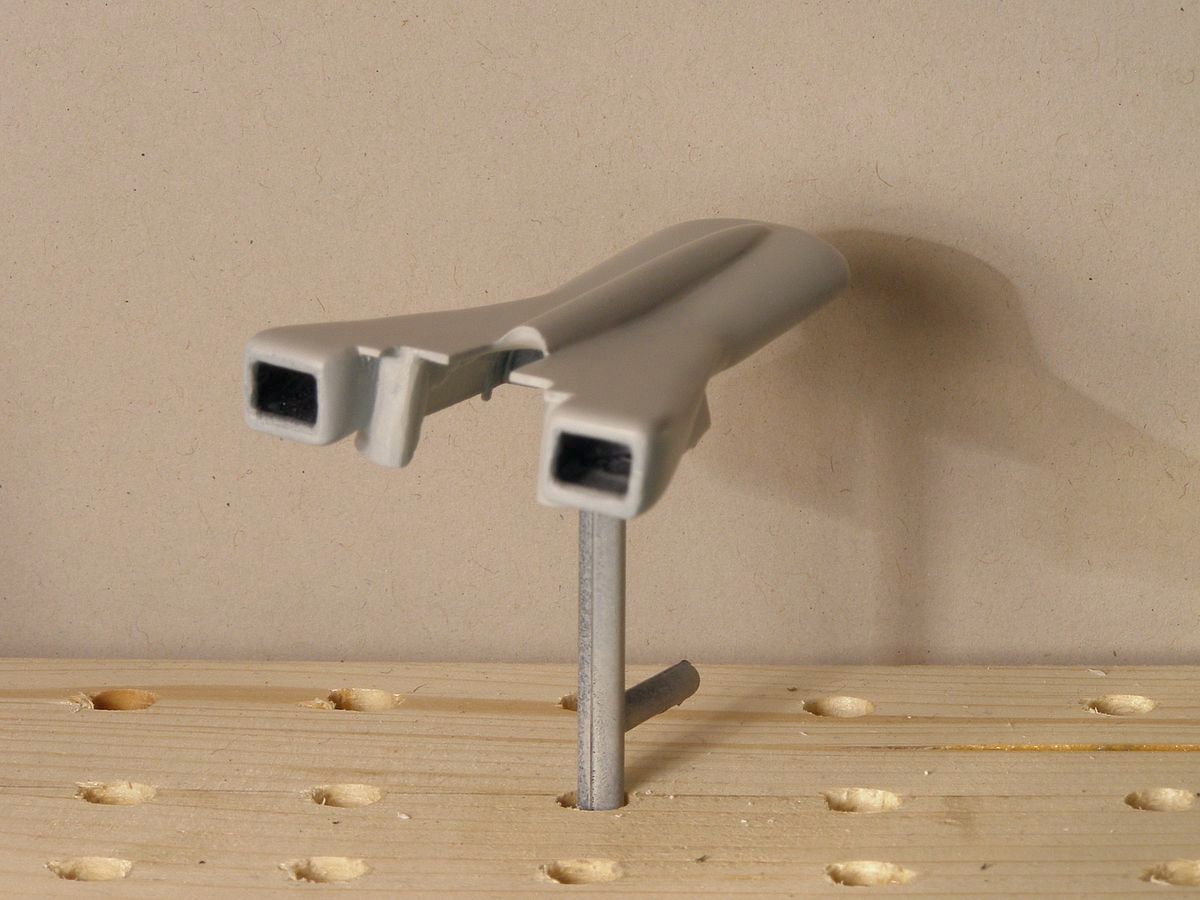
The work on the air box goes on. Magic Sculp has been used to build up some parts. Here it is with a standard air box. Almost there. There are still some spots that need some filler, but I hope that I will be able to start painting soon. |
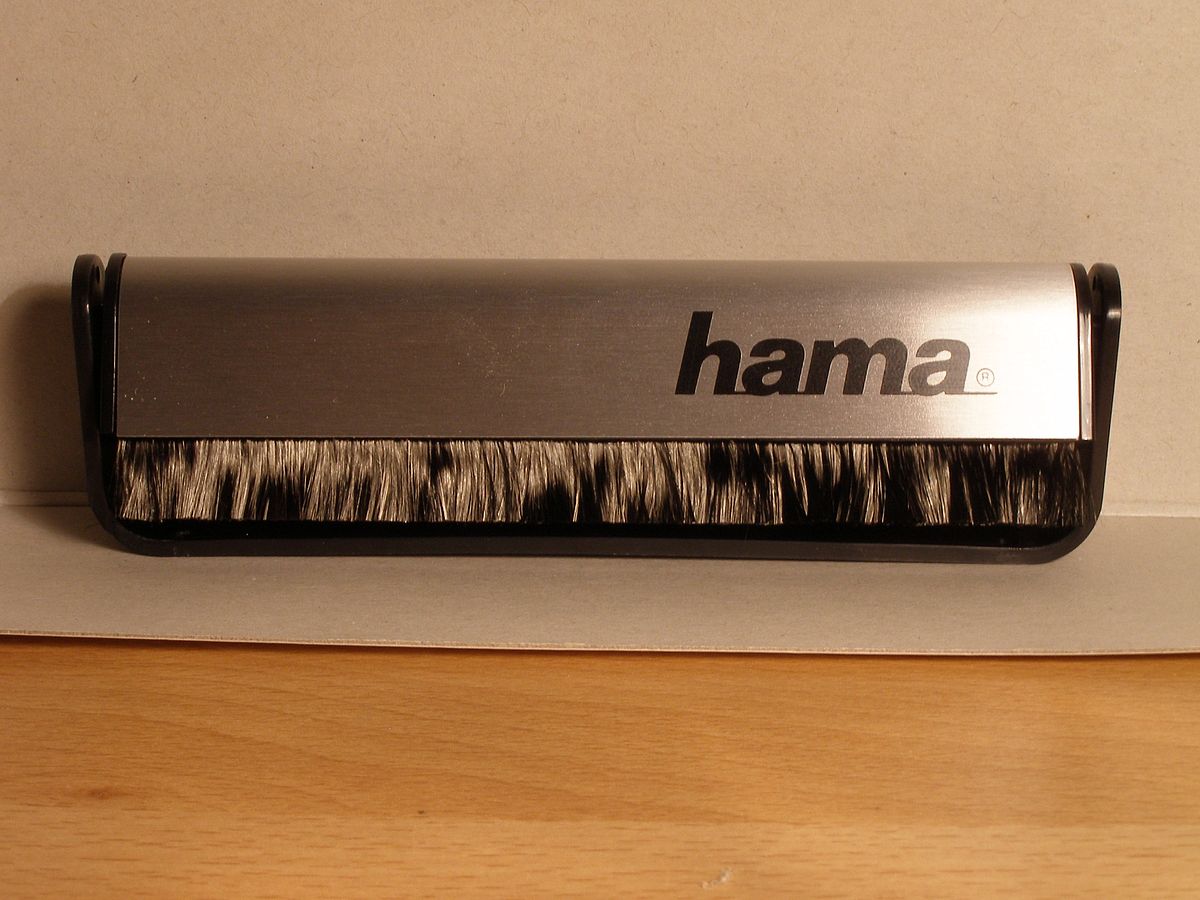
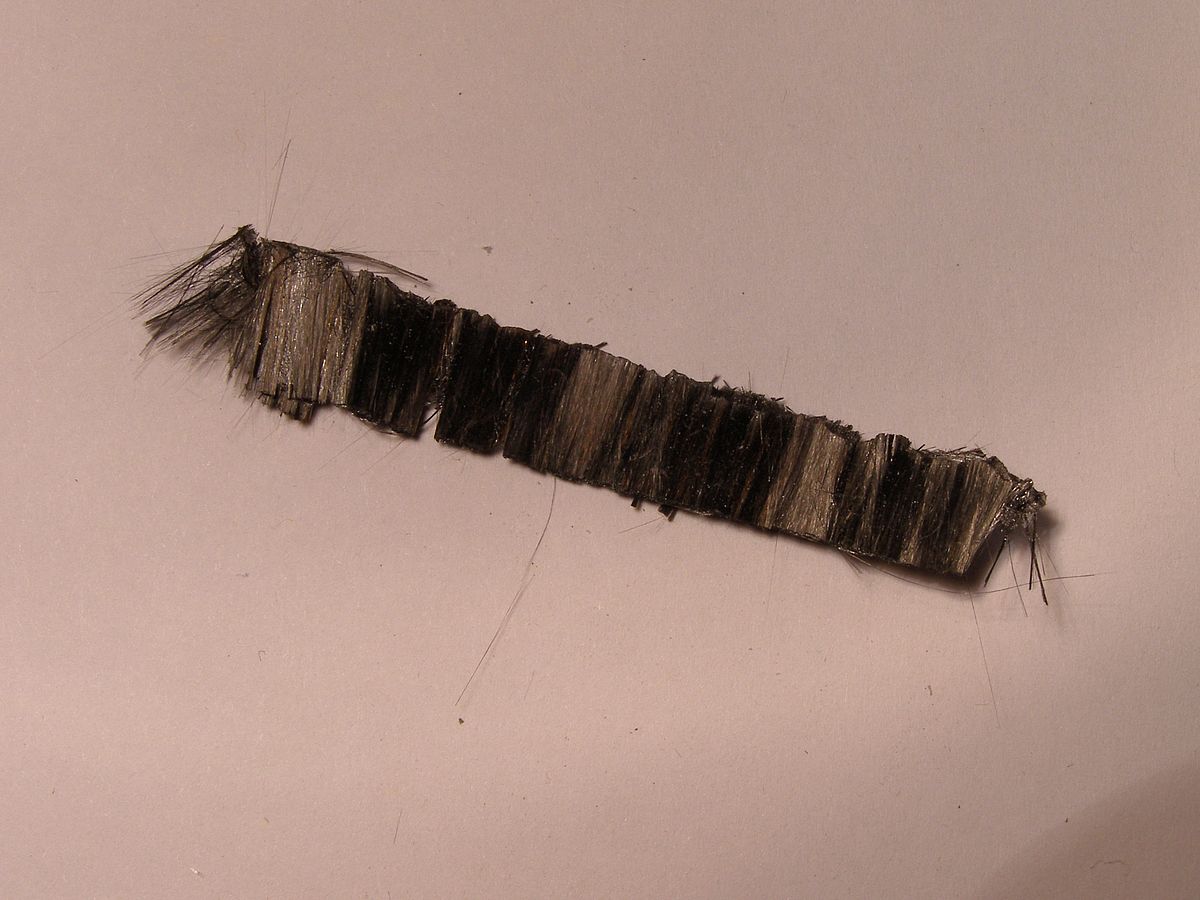
| I have looked in to how to get the brush skirts I need. I bought a vinyl record brush thinking it was two complete brushes mounted together but when I disassembled it I just got a big heap of lose strands, so I am trying another approach. I bought another brush and soaked the brushes in future to keep the strands together. I tried it on the brush that I destroyed earlier, and it seems to work. |
| The low air box and straight side pods will make it different to the other Lotus 78 kits. |
|
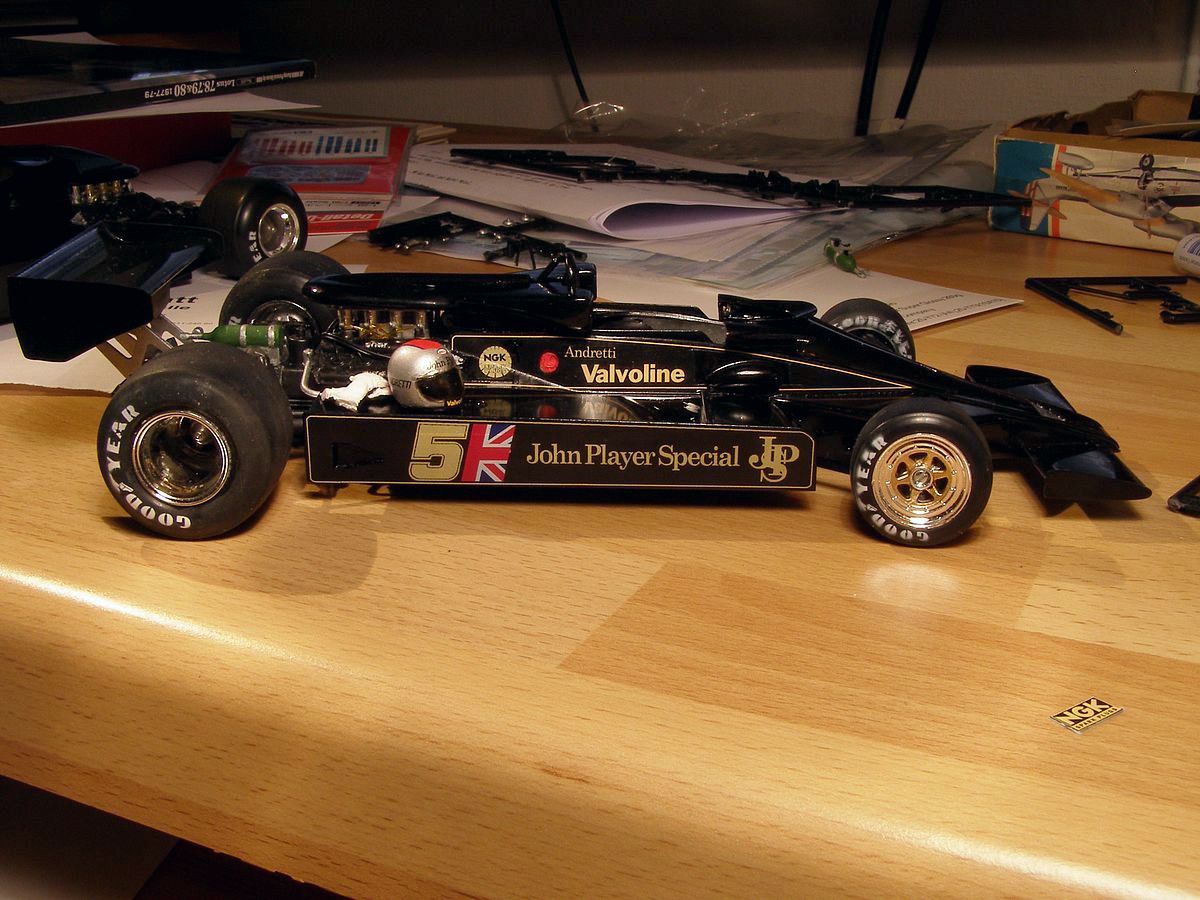
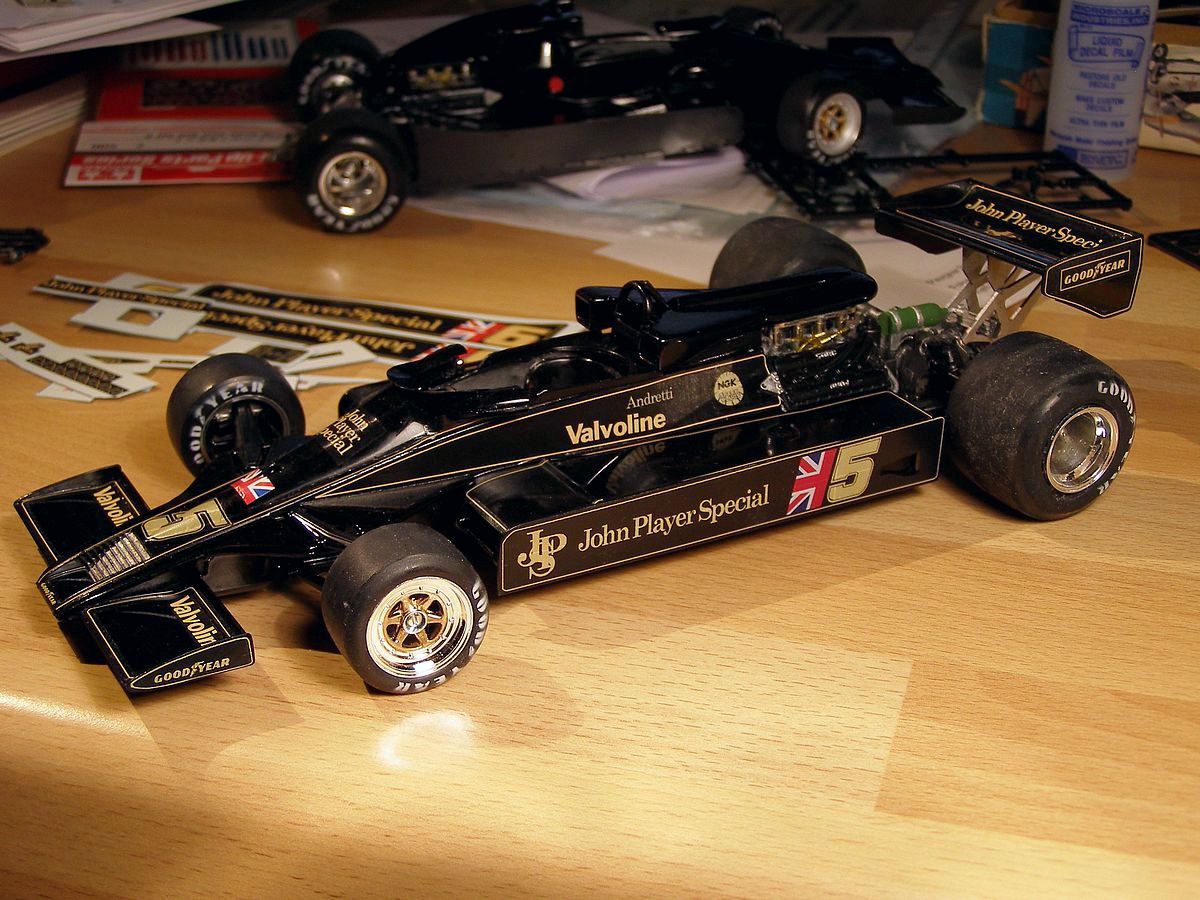
I have started on the decals. My new decals looked closer to the colour on the Indycals sheet before I started to put them on the car. On the car mine are darker and browner but it has to do. I don't have any alternative to fall back to. But it is more visible under the photo light than in the darker cabinet with the other cars. I just put the last piece of decal on and I think that I can live with the colour difference (well I have to). There are some small parts still to be attached but I missed to make holes in the seat for the seat belts and I don't look forward to doing this with the seat and the decals in place. |
| The brush skirts are mounted It was a little tricky to get them on the car, but they got there. I made a mistake mounting the decals before doing the skirts as handling the car messed up the decals a bit. |
| In to the last lap. Bring out the chequered flag it is time. |
|
The first race for the Lotus 78 was in Argentine 1977 Mario's car caught fire during practice so he had to use Gunnar Nilsson's car in the race. This is the car from the practice. The race car had the #6 altered to a 5 and the roll bar was higher. |

By looking at what I published sometimes it is easy to draw the conclusion that I am a crazy Swede who only build s strange things. Well that is partly right but I can build normal kits. For the Assembly Challenge contest, I decided to build a Lotus 78. Both Gunnar Nilsson and Ronnie Peterson drove car No. 6. I had heard about the wing shaped chassis but never understood it until now.
|
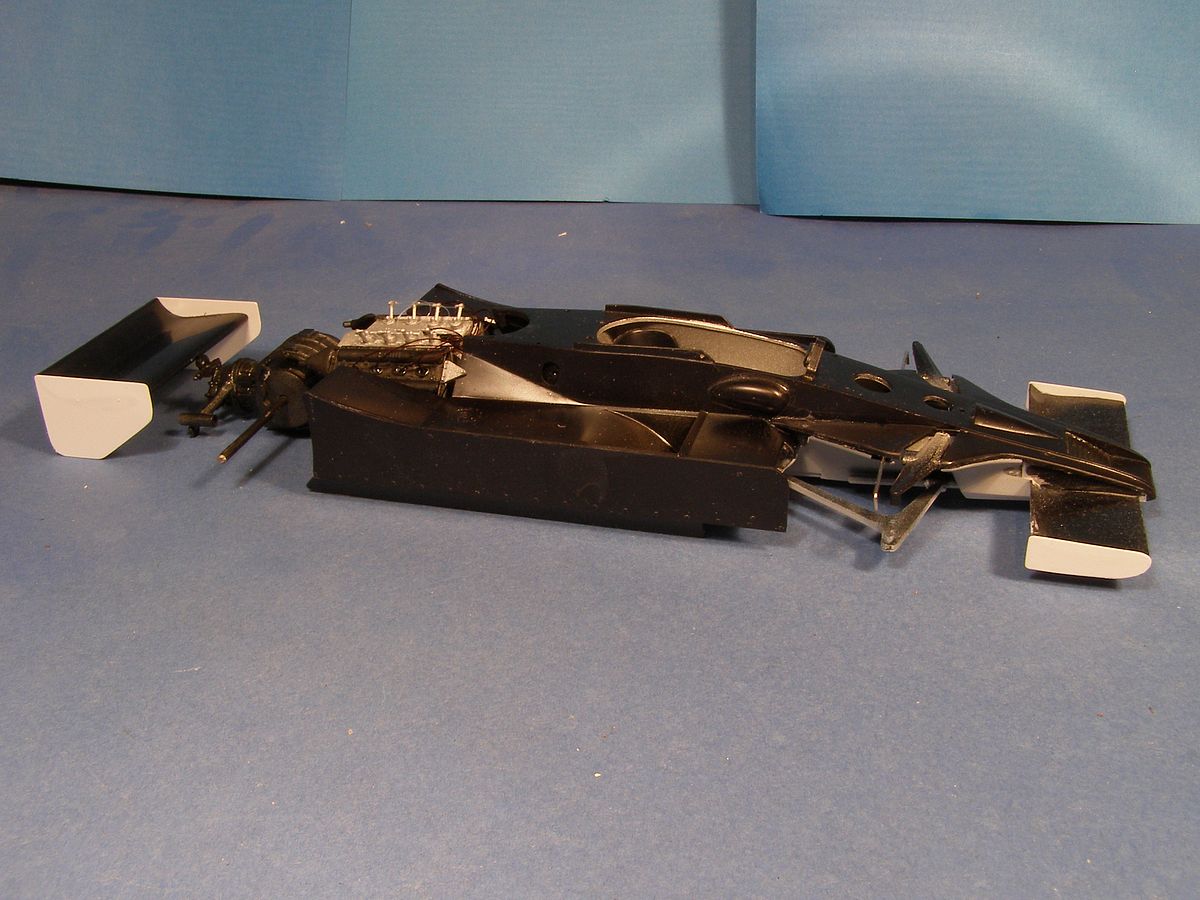
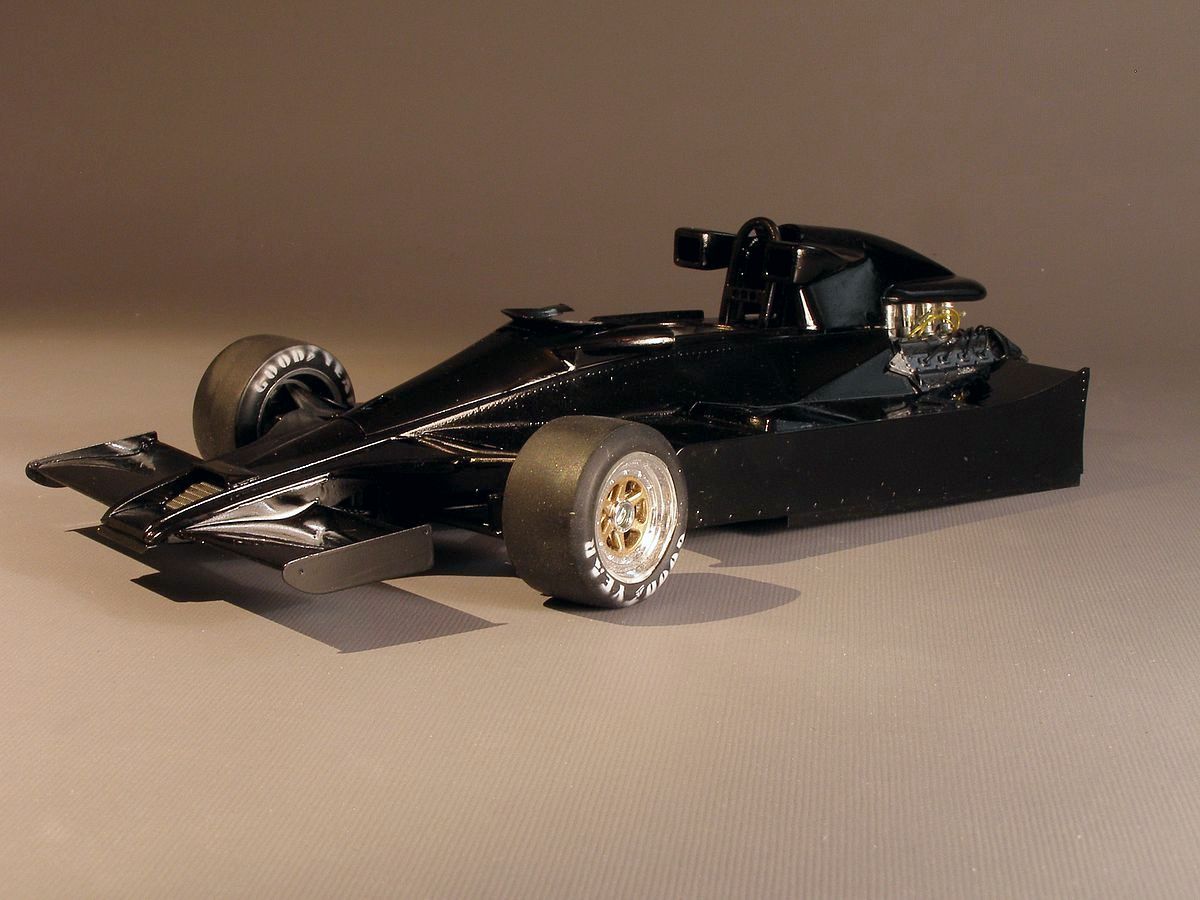
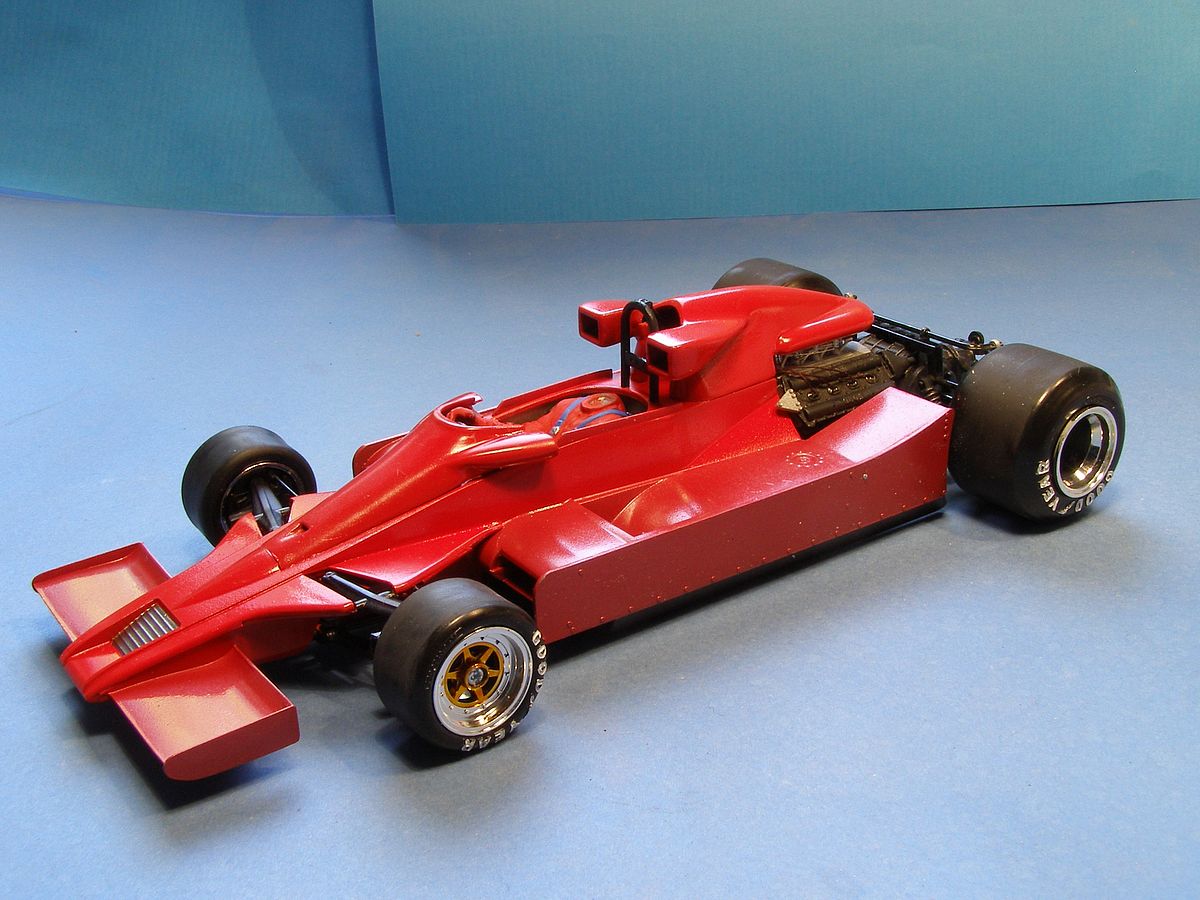
| The model is a 1/20 scale Academy kit that I intended to build straight out of the box. But I decided to make some changes to the wings with thin plastic card. |
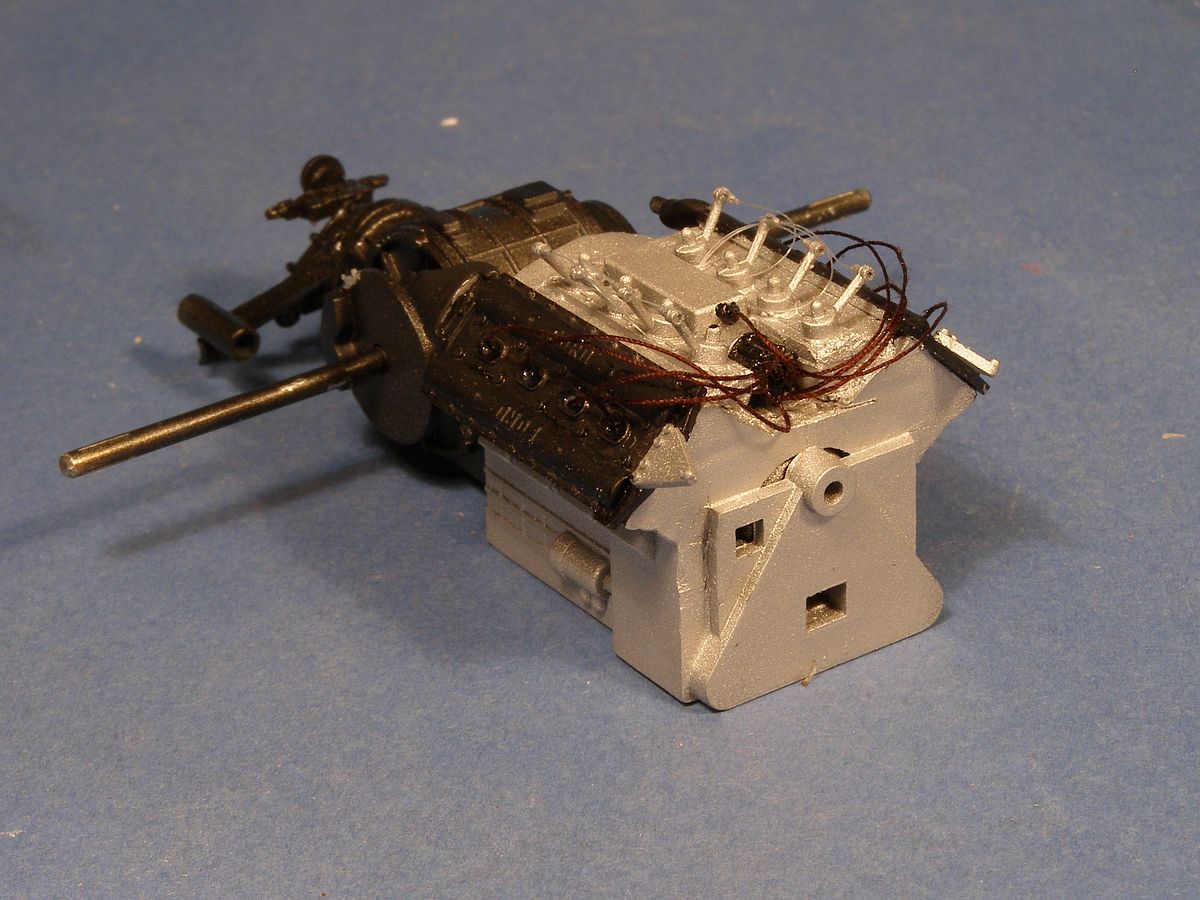
| Unfortunately, it seems to be a copy of an early Tamiya kit. This mean it has an electrical engine that fits inside the V8 engine who then gets a strange shape for the electric engine to fit. I wanted to add ignition cables, so I built a distributor but when I was ready I found that it is placed in the wrong end of the engine. But that was the only place it fitted since the electric engine interferes. I hope that the air scope will hide this mistake. I consider this build as a practice run on how to build Formula one cars. I have a correct Tamiya kit waiting. It is now time to paint the body and to finish the engine. One more thing will not be out of the box. The decals. Academy printed the JPS-markings in orange, so I ordered some aftermarket decals. |
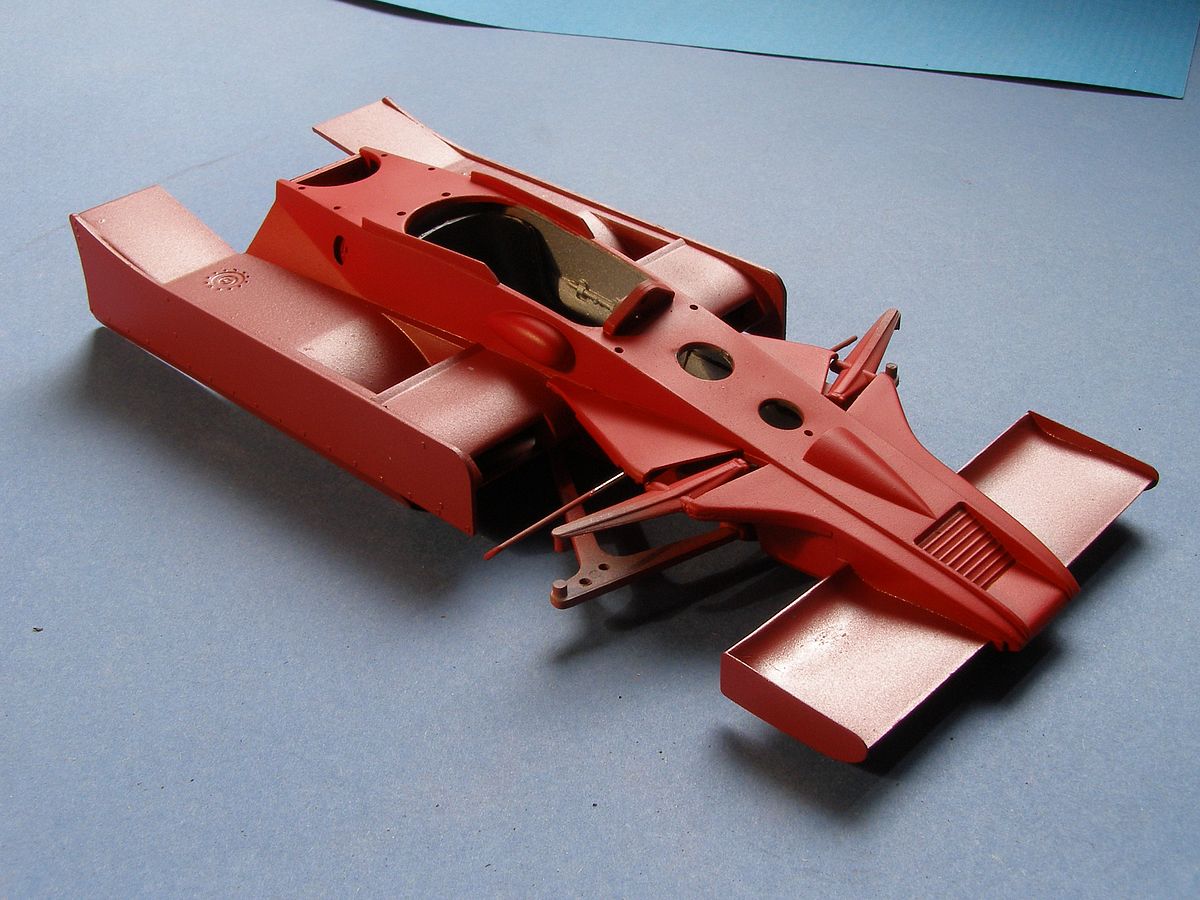
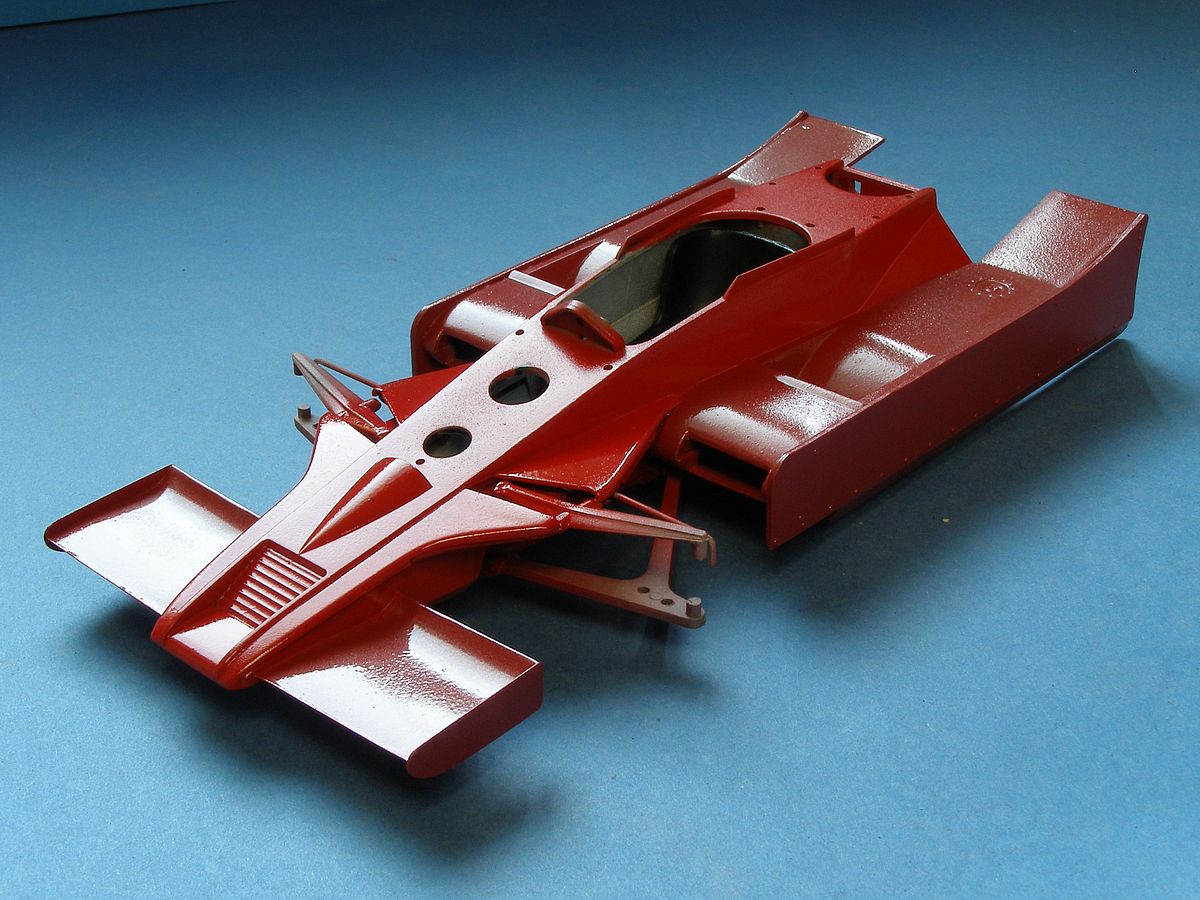
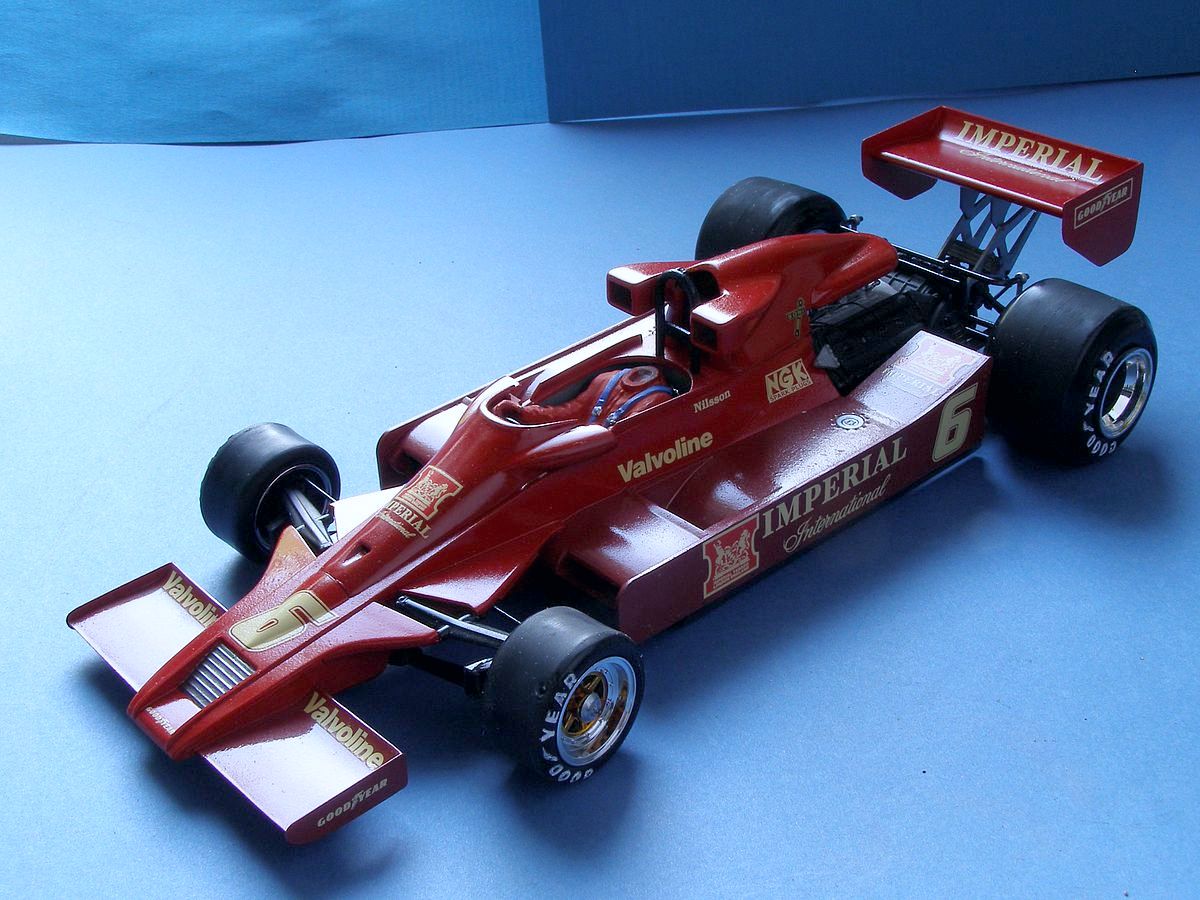
| Red it is. Two shades of red on this car. Some people now understand what this will be. I primed it with a grey, Tamiya XF-19. Then I painted it with Vallejo carmine red. The dark red is a mix of Vallejo red and some bright brass. I hate gloss clear coats. Either I get an orange peel finish, or it ends up semi-gloss. I also have problems seeing were the clearcoat has been added. |
|
Headless driving Decals are next in line and then painting of the driver’s helmet. |
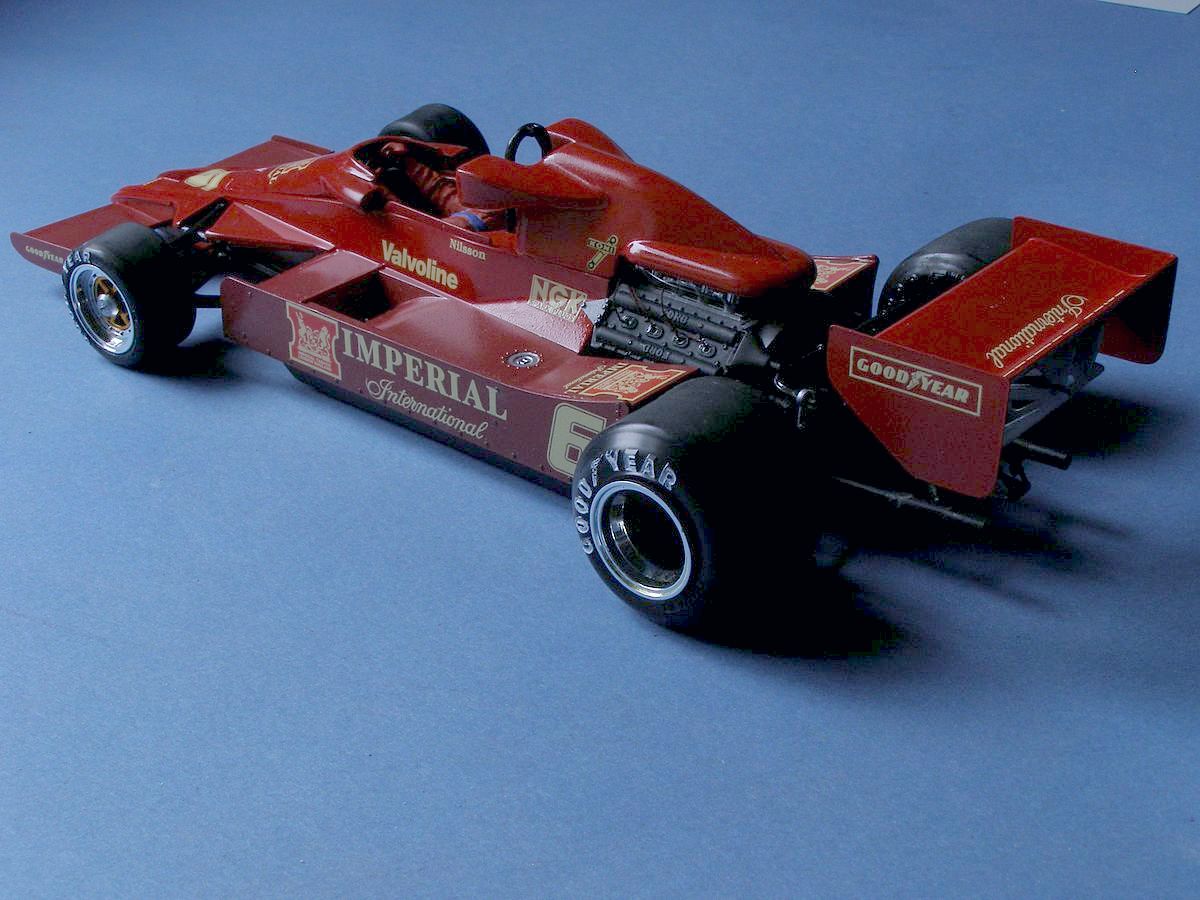
| When Mario Andretti tried out the replacer for the Lotus 78 he felt that driving the 78 was like driving a London bus compared to the new car. So, I think that my Lotus 78 being red like a London bus is just right. |
| Rear mirrors and the drivers head are still missing. I tried to be lazy and use a rattle can to paint the helmet. It was a disaster. It ended up with lot of small pores making the helmet looking like a bad resin kit. After I removed the paint I made another try with the same result. I guess I better bring the airbrush out instead. |
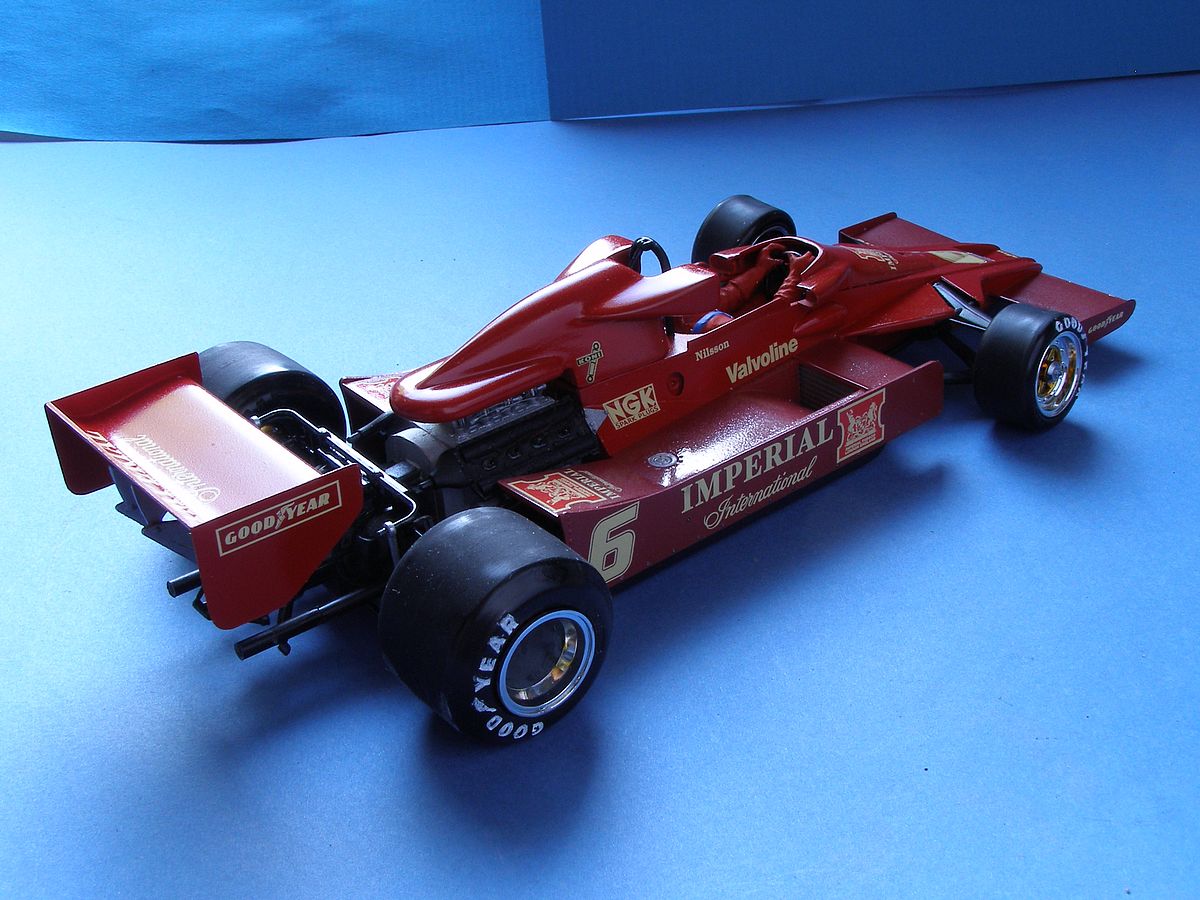
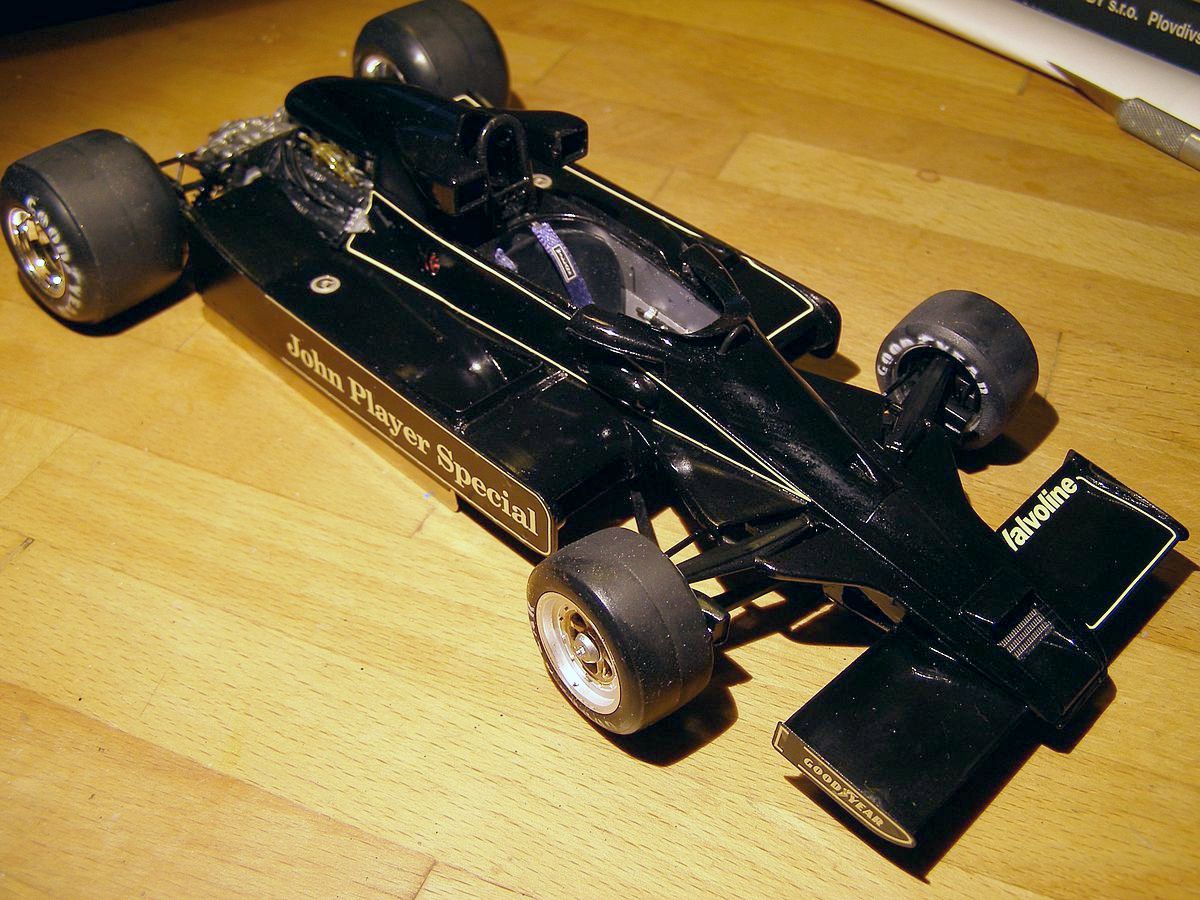
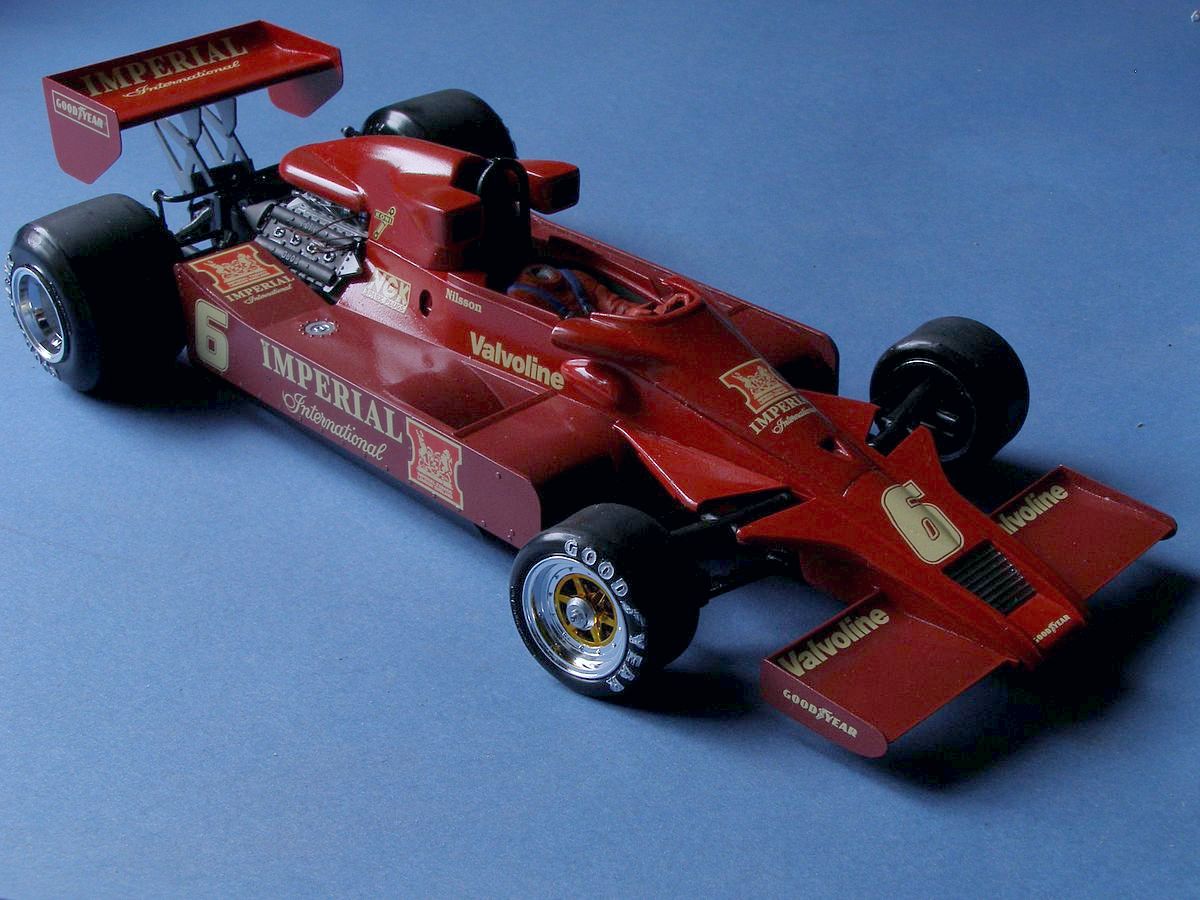
| Finally finished the drivers head was harder than expected to fix. I painted the helmet white and did nothing more for a couple of weeks. When I started with the decals for it, the paint was still soft, so I got a fingerprint in it. The decals for the helmet are from a Tamiya kit. The yellow on the Academy sheet was printed orange. The decals were also difficult. They needed very hot water to come lose from the backing paper. This is the car that Gunnar Nilsson drove the 1977 Japan GP. This was his last race for Lotus and it also became his last race before he died. The car was in an Imperial Tobacco livery instead of the normal John Player livery. Imperial was the mother company for JPS. |
| Stockholm July 29, 2014 |  |
No updates |
----------------------------------------------.::. chibi models .::. military vehicles .::. automobiles .::. aircrafts .::.
miscellaneous .::.home .::.-------------------------------------------- |