
|
----------------------------------------------------------------------------.::.
aircrafts .::. ships .::. miscellaneous .::. ----------------------------------------------------------------------------- |
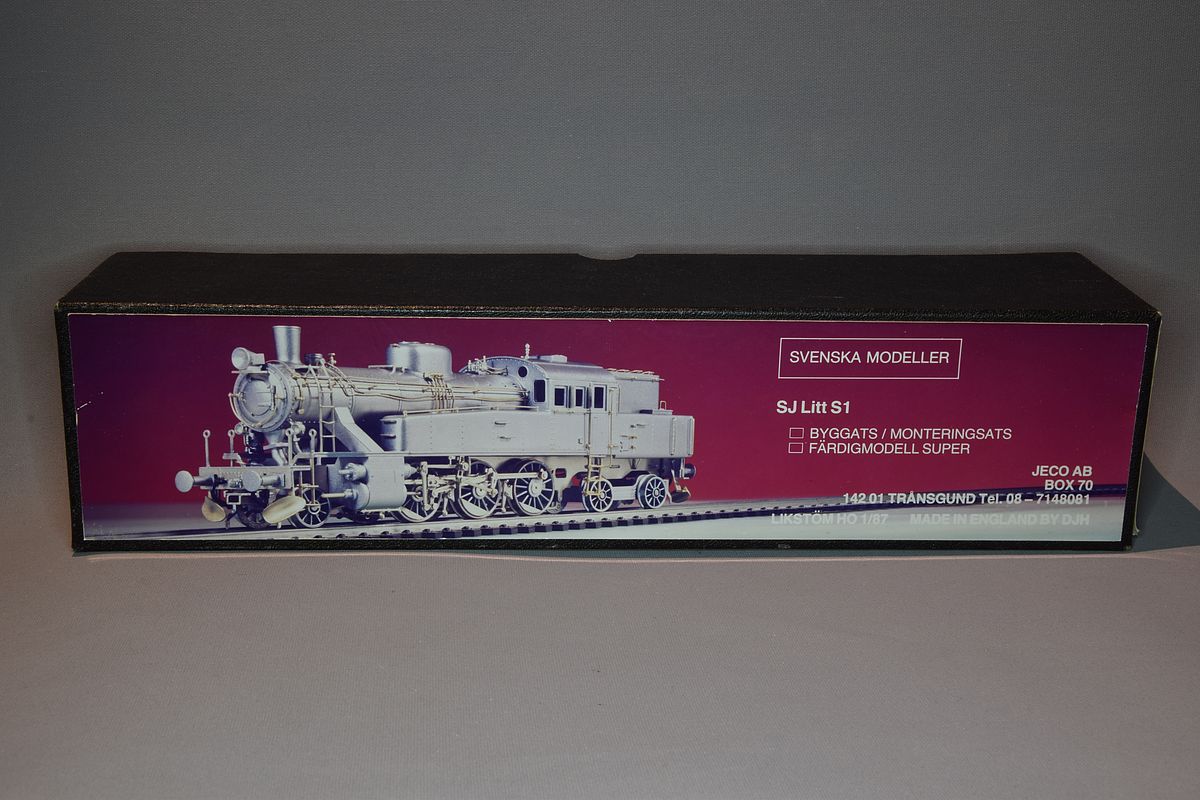
| Sometimes (often?) I do stupid things. A friend asked if I could build this for him and I promised to look at the model. |
| (Model finished 2023) |
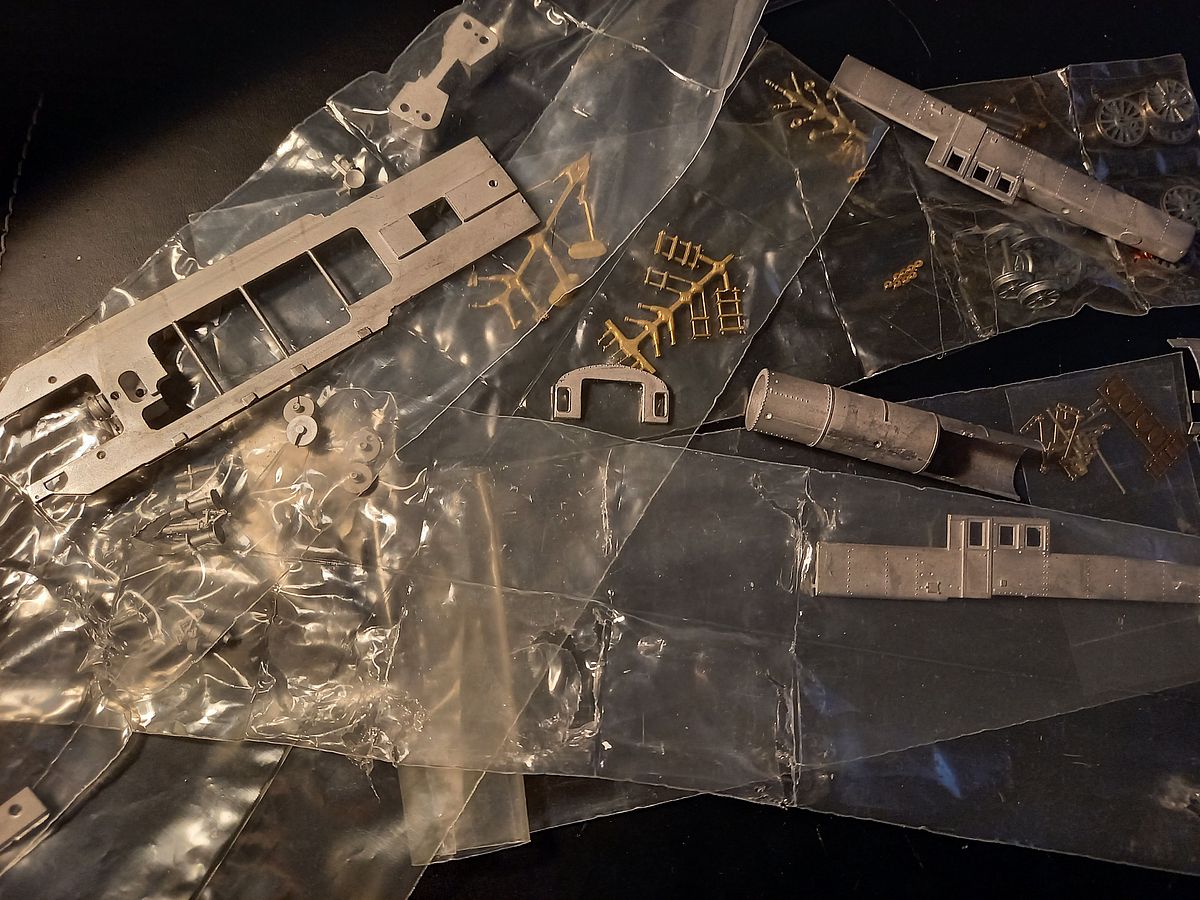
| In the box there were white metal parts |
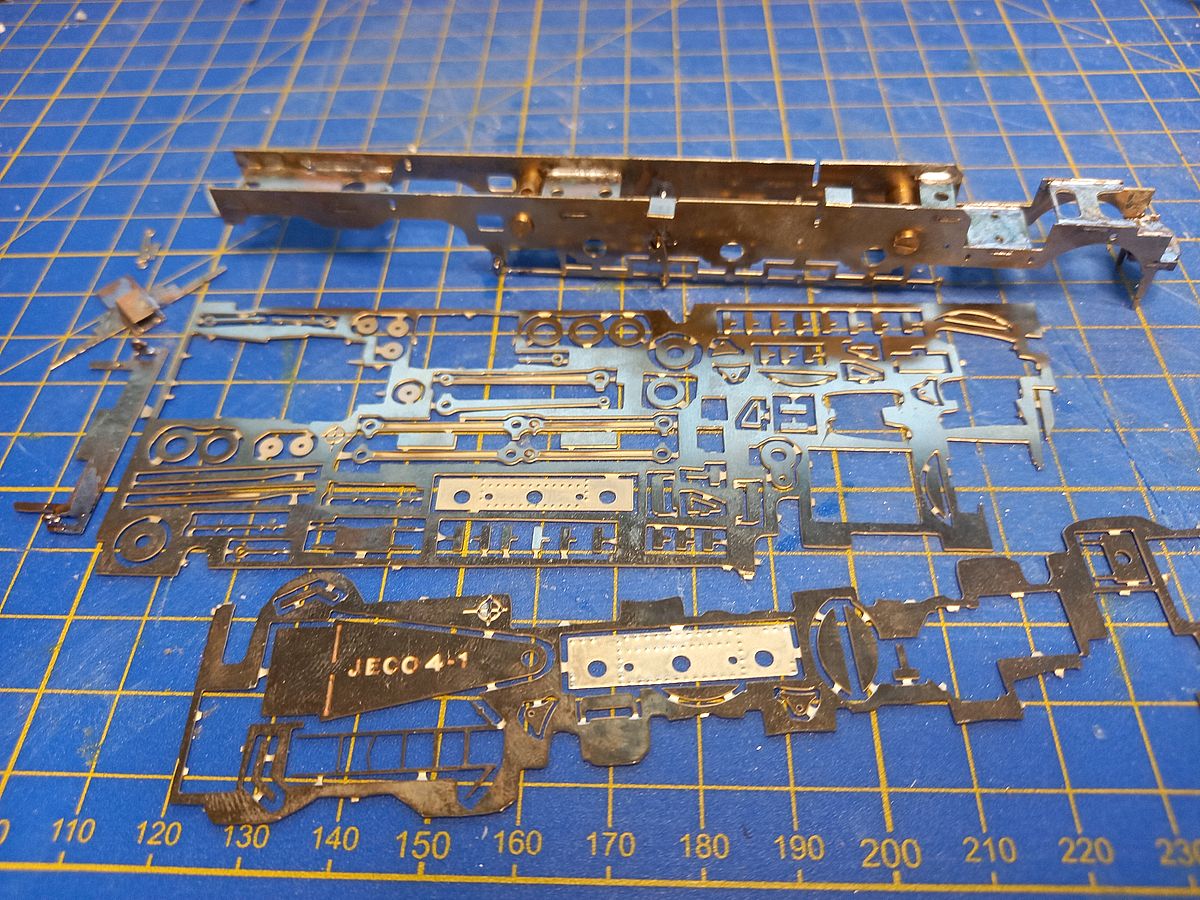
| and a lot of etched brass. Not something I like to work with so I said yes. |
| I'm useless at soldering so of course I set out to solder it together. |
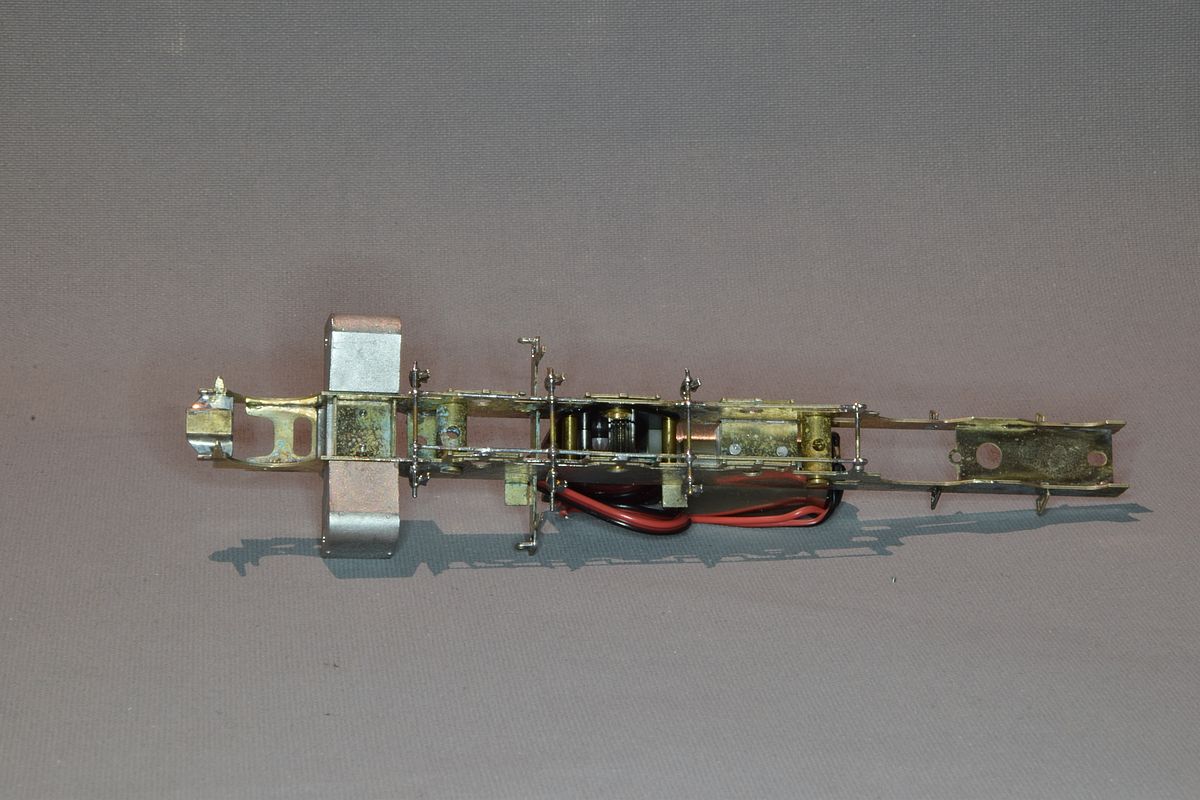
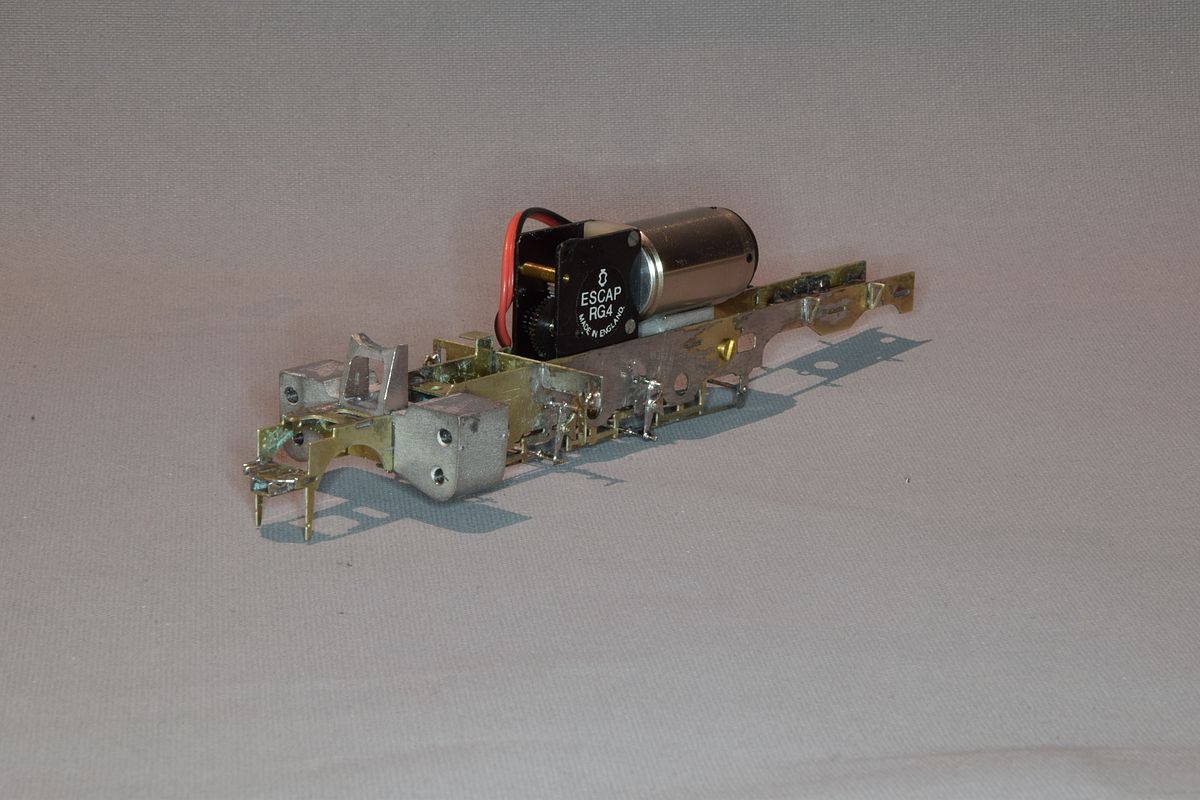
| I actually managed to get the frame together. |
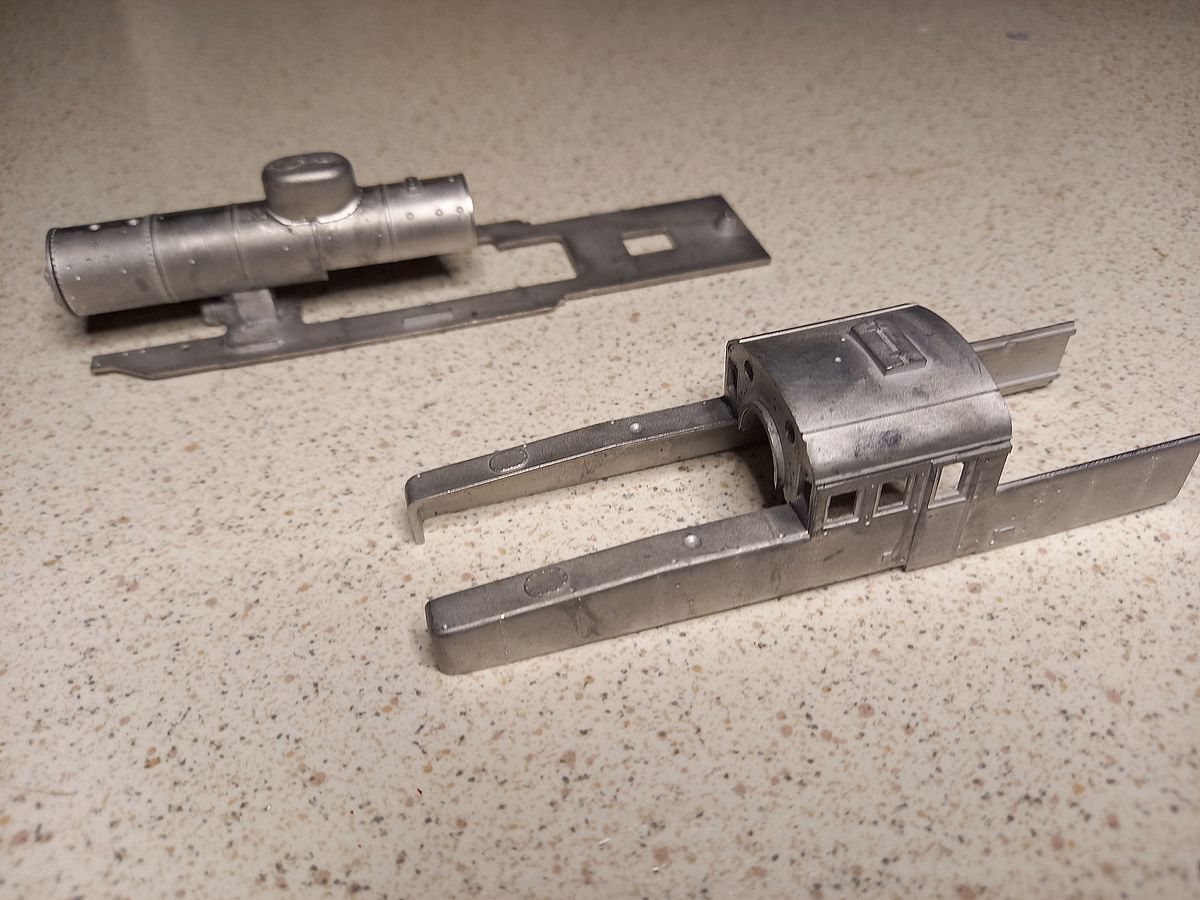
| Then it was time for the superstructure. I was a coward and ignored the soldering iron. Instead, it was sticky 2k epoxy glue. |
| It became stable. It was not least noticeable when I tried to detach a part that ended up wrong. |
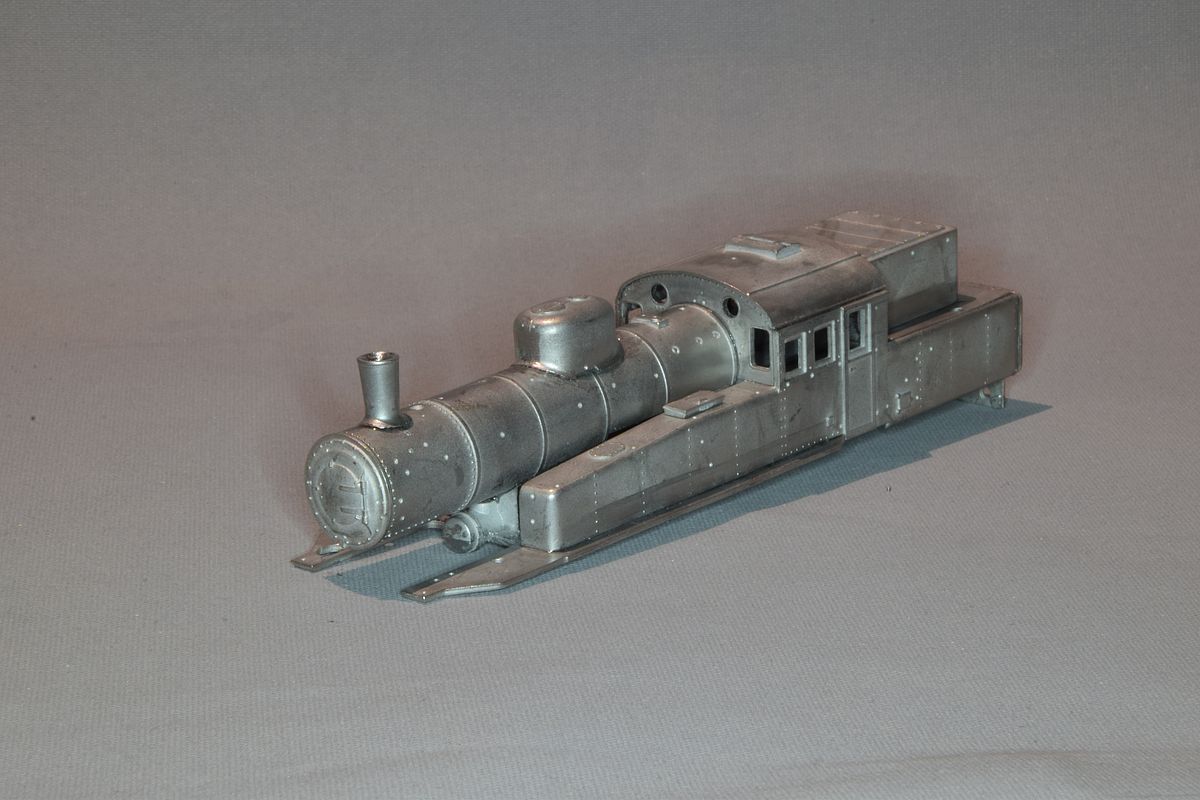
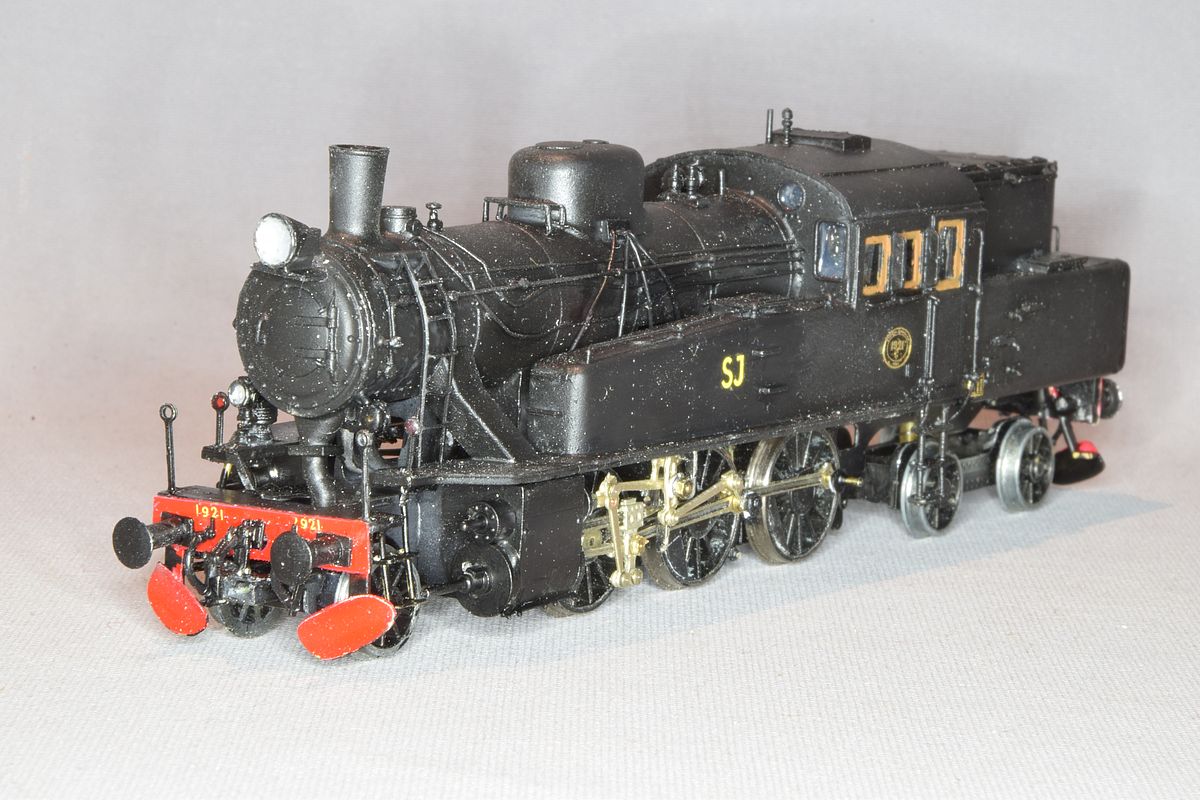
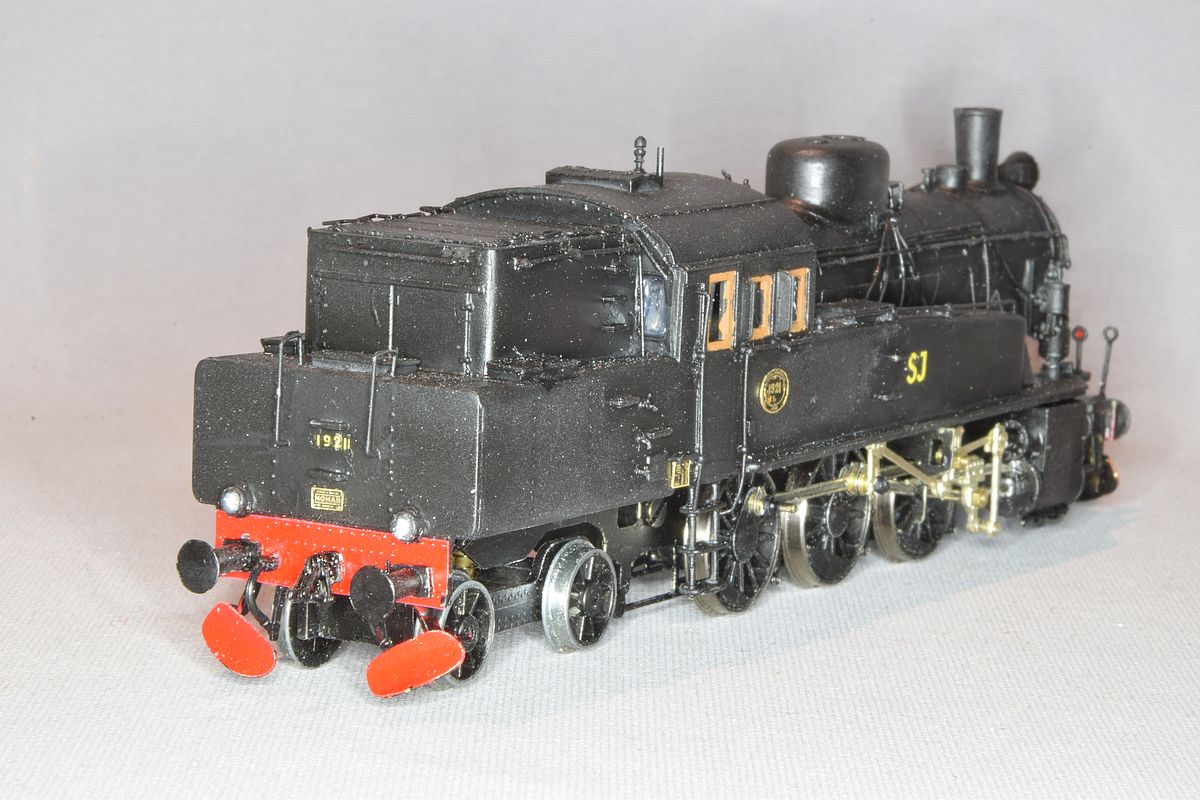
| Finally it began to resemble a locomotive. |
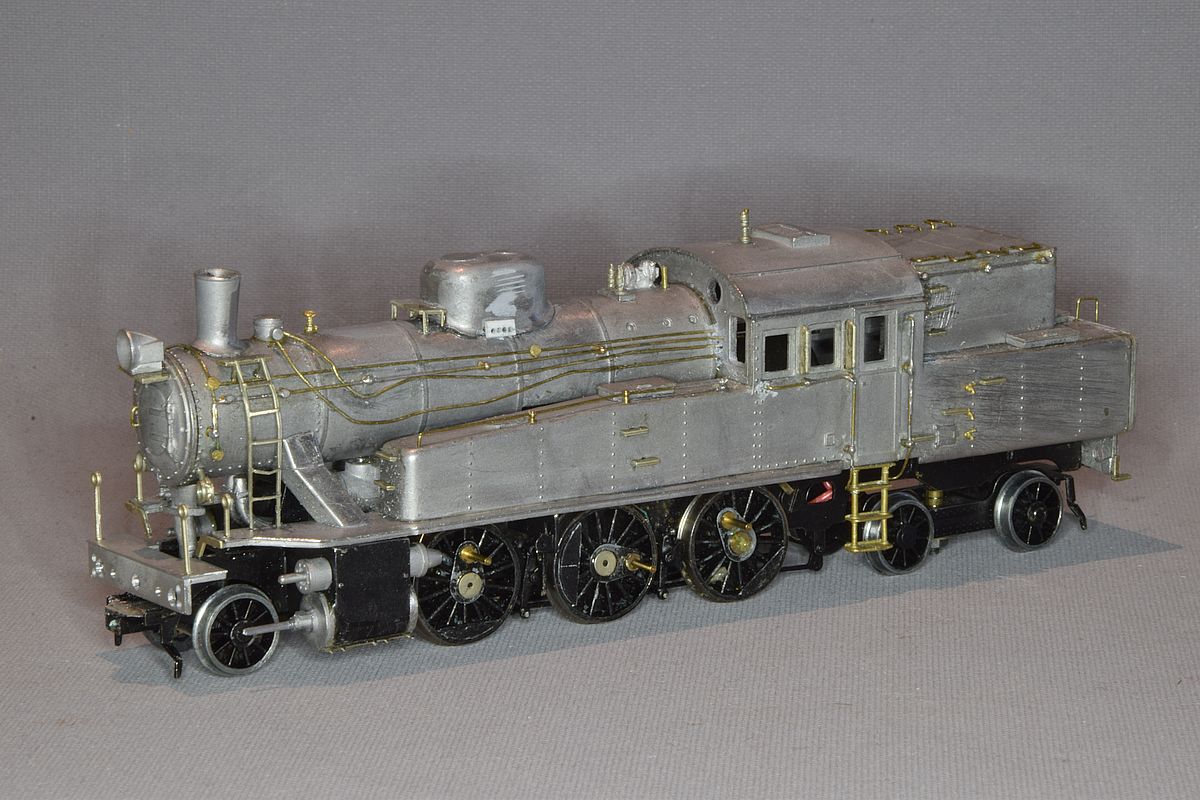
|
Then came the phase where my models tend to die. It's time for color and paint, definitely not my favorite part of modelling. After I took this picture, I actually put on a layer of base color, so ther still is hope for it. |
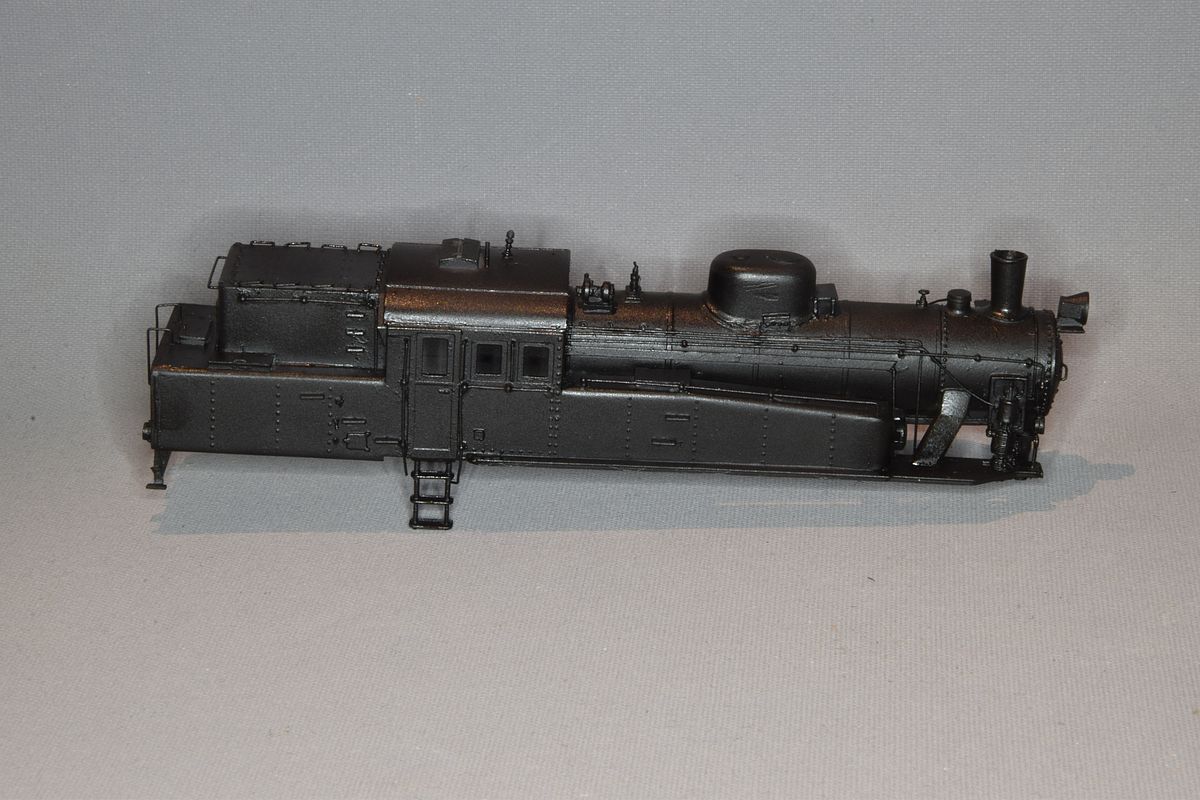
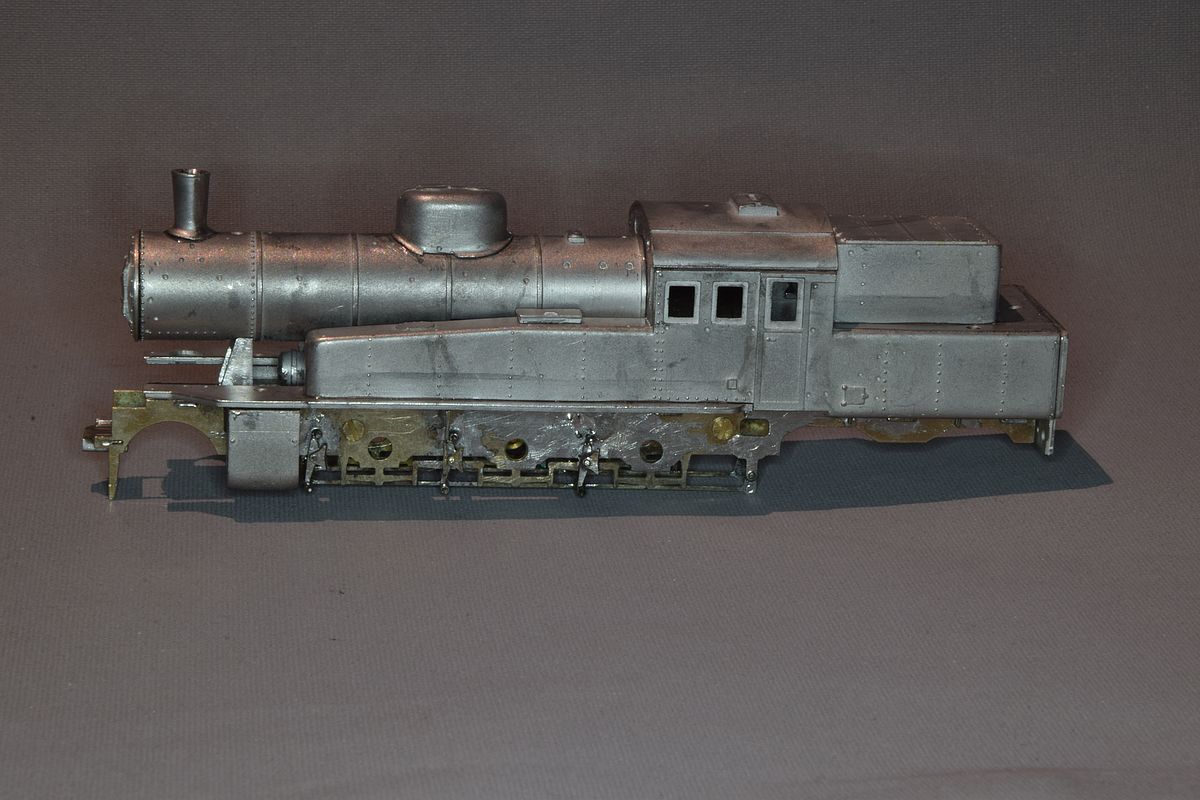
| It's the first time I've tried soldering seriously and it went surprisingly well. I got some black paint on and saw that I need a little more putty in one place. |
|
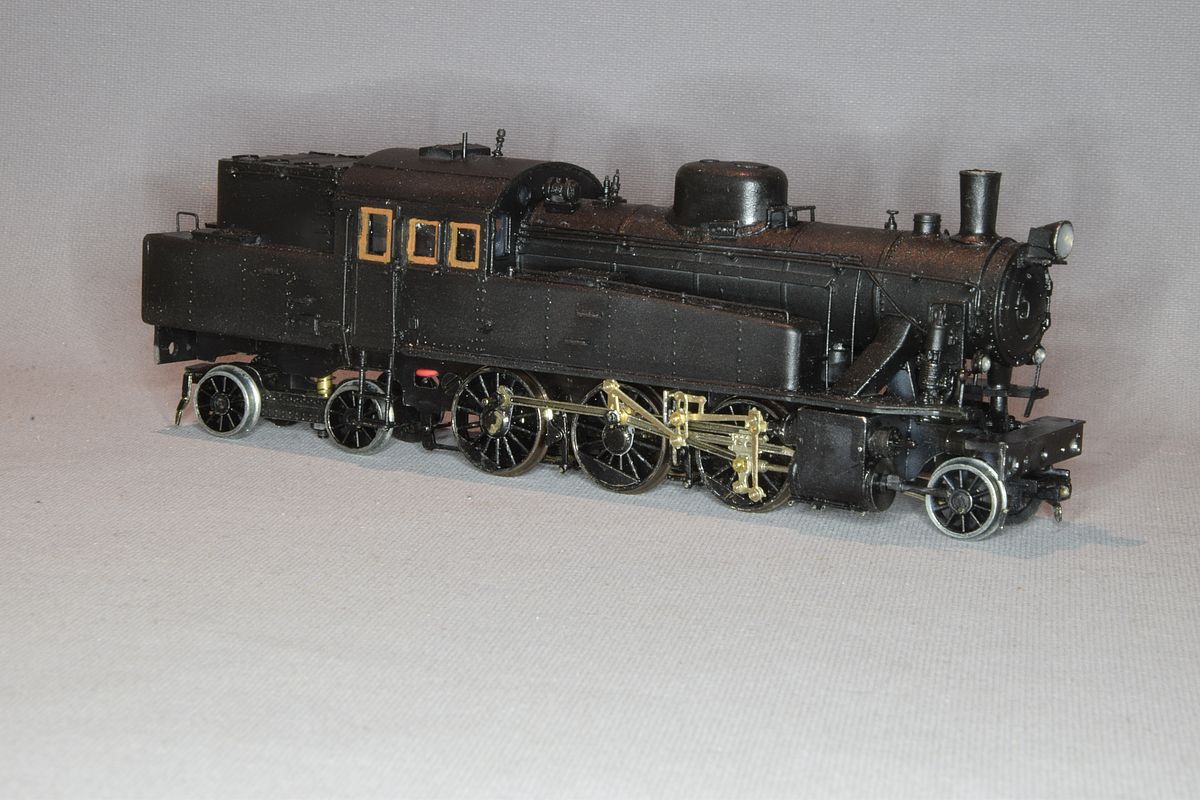
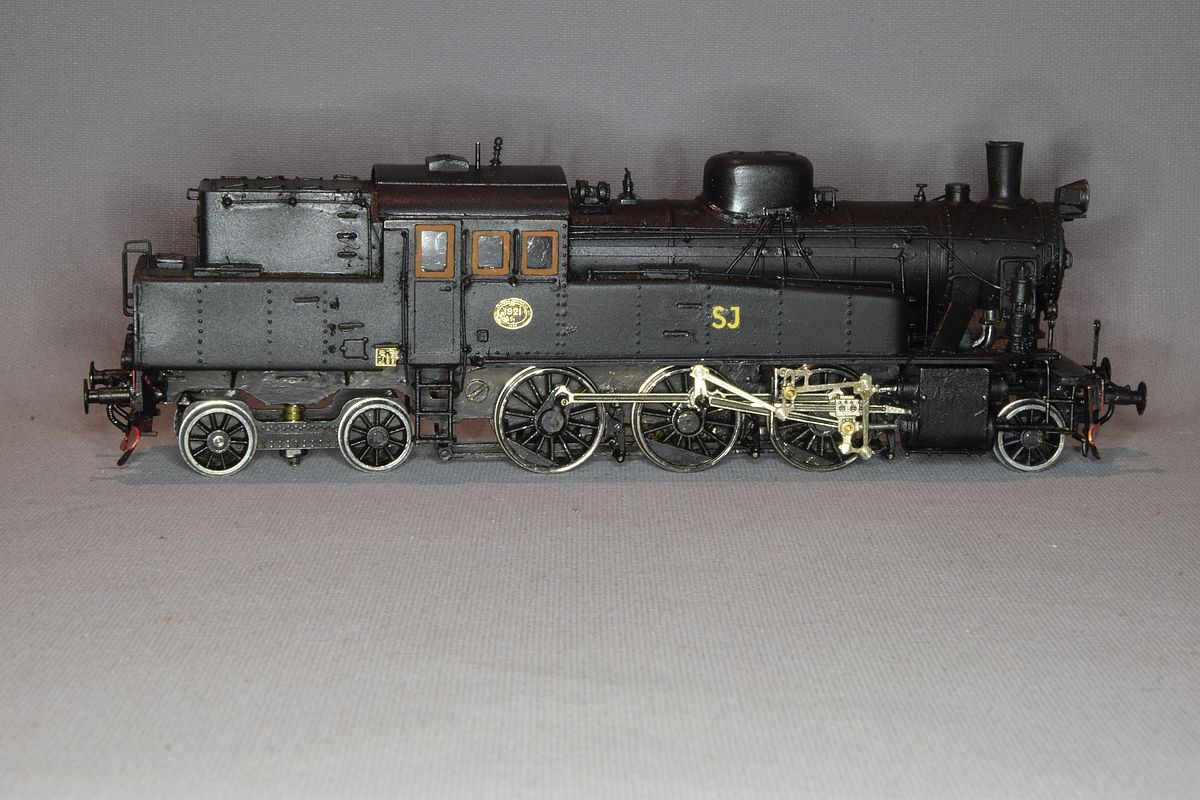
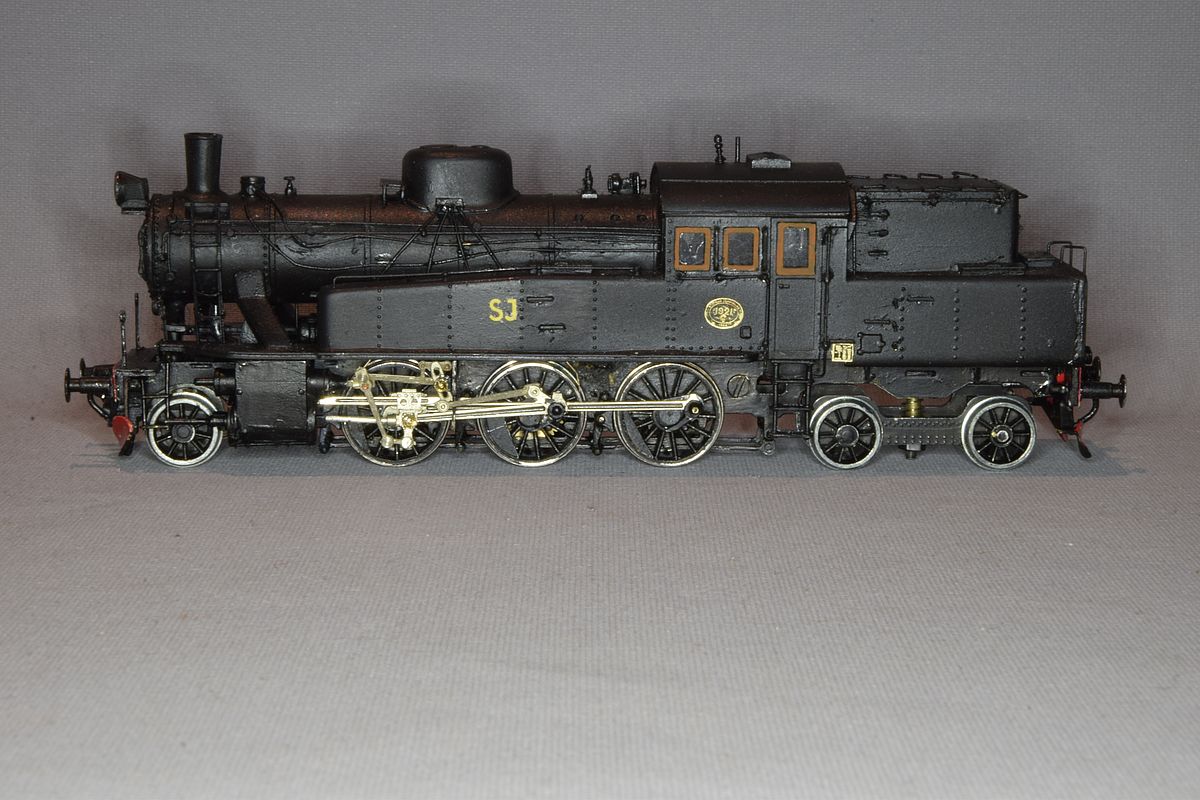
Got everything together now. Tie rods etc for the wheels were driving me crazy. It seemed simple. Just a couple of screws and nuts. But to begin with, the instructions are fuzzy to put it mildly. It turned out that in order to assemble the misery, a couple of holes had to be drilled before the chassis was built. There is nothing about it in the instructions. With force it was possible to drill the holes but with scratches in the paintwork as a result. When you have succeeded in deciphering all the arrows on the instructions and followed them, everything is crooked and leaning oddly on one side. If you look at the photo of the model on the box, you can see that the parts were not assembled according to the description. Unscrewed the crooked part again (hate mini screws and nuts) and assembled it according to the photo. I had to add a couple of spacers to get everything straight. Now it was finally time to screw the chassis to the body, but where is the hole for the screw? Of course hidden under the already mounted front axle. Simply unscrew and try to force it out of its holder. The fact that you then had to drill a hole for the screw was not a big surprise. |
| Well. Now there are "only" a few small details left, but that will probably be complicated too. |
| That's enough. Time to give the locomotive back. |
|
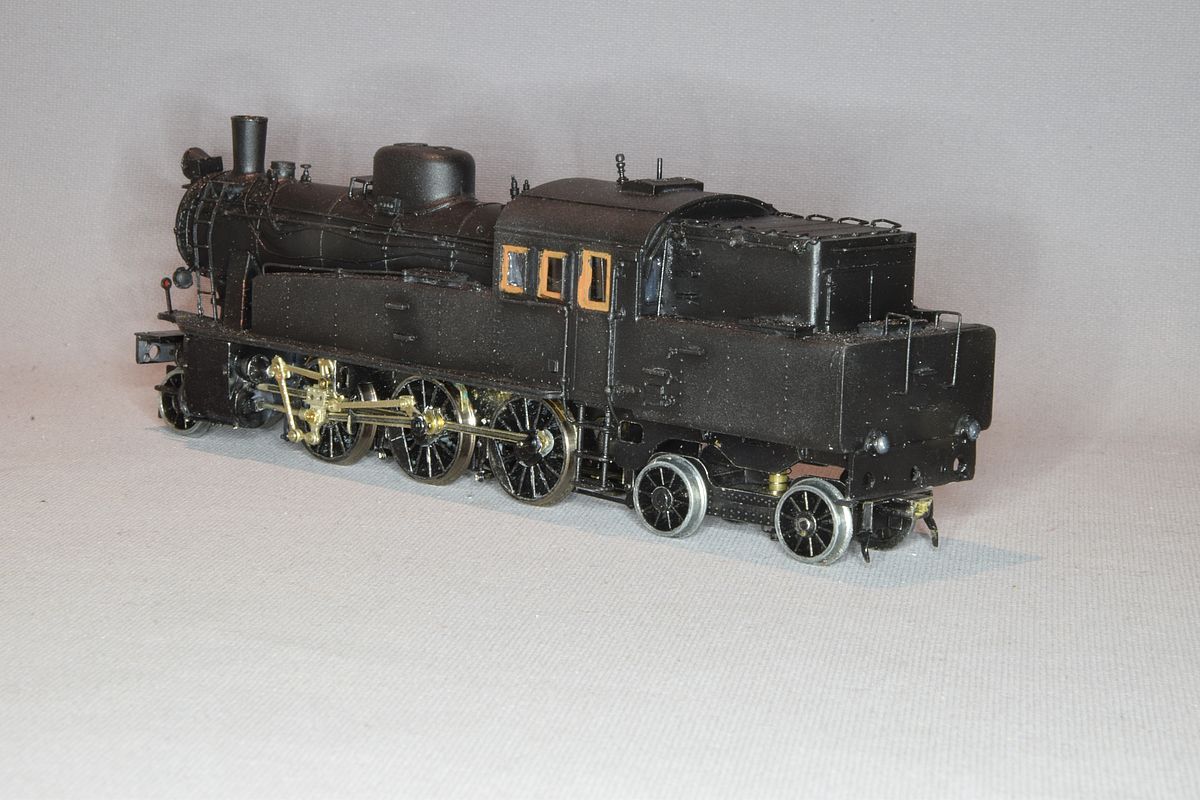
No test drive has been done, but I have tried applying voltage to the wheels and they do rotate.
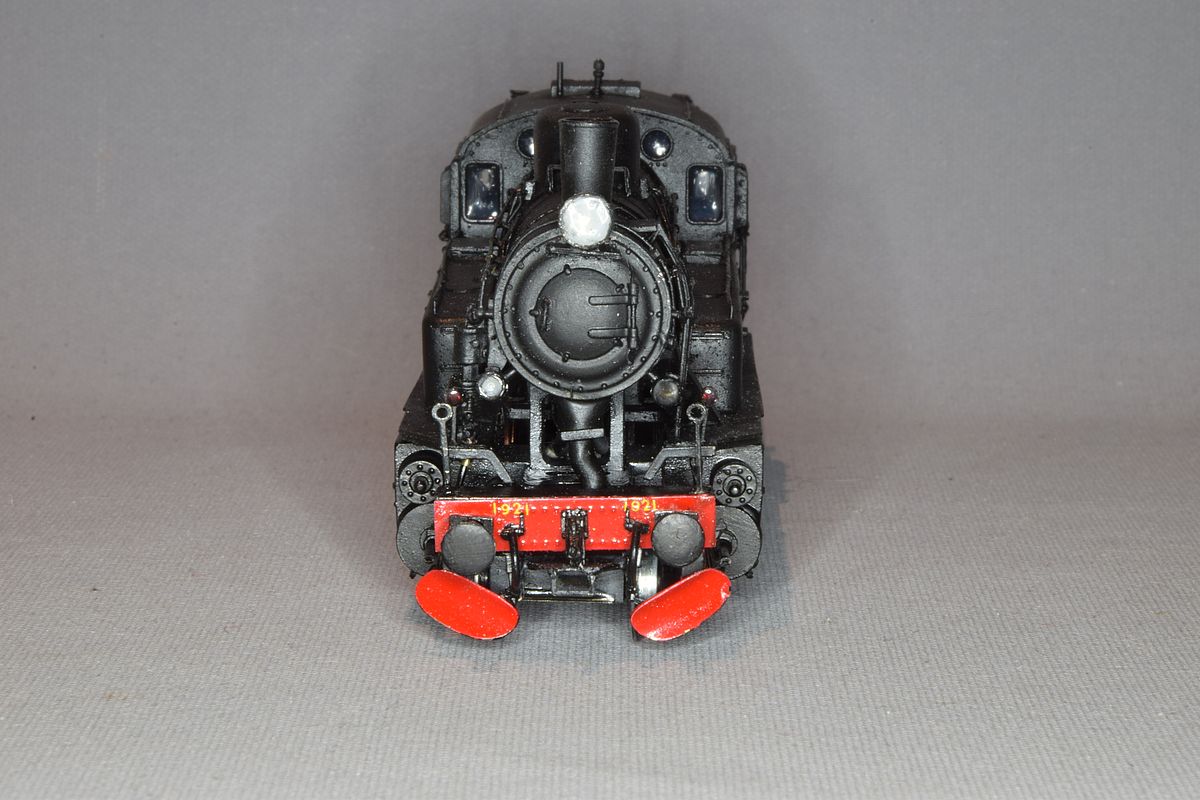
I tried putting the locomotive on a standard curve rail piece and noticed that the locomotive requires a much larger curve radius. With the ladders mounted in the front, it seems it need's a gigantic turning radius because they severely limit the movement of the front axle |
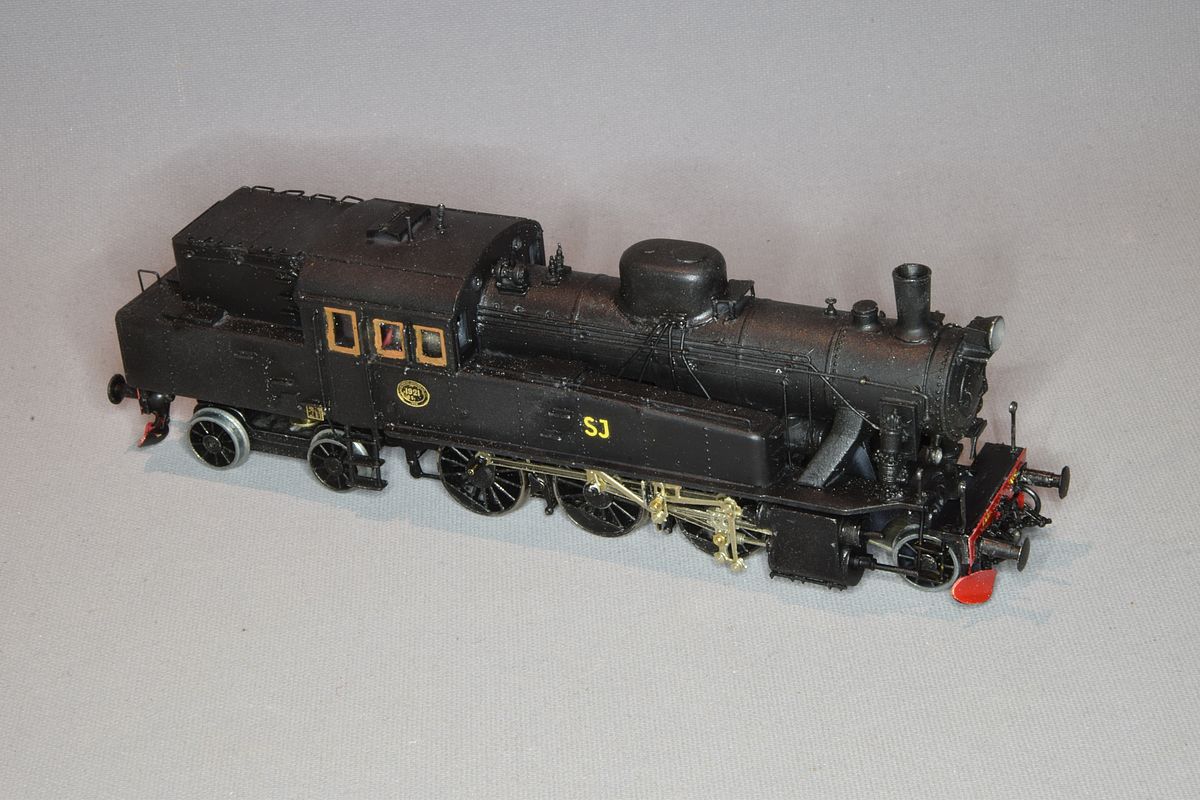
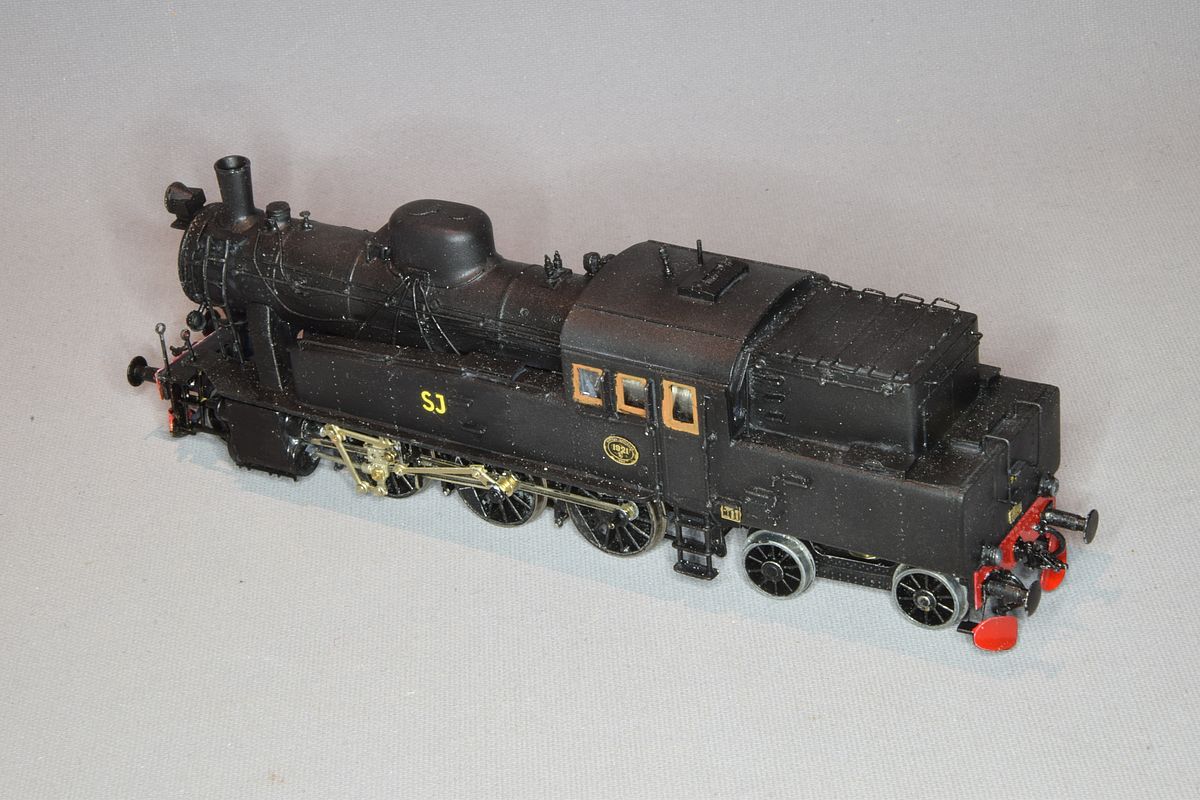
| I'm not entirely satisfied with the end result, but it was actually better than I had expected and I did learn some things building it so I should perhaps be pleased |
| Stockholm December 18, 2023 |  |
No updates |
-----------------------------------------------------------------------------.::.
aircrafts .::. ships .::. miscellaneous .::.
home .::. ----------------------------------------------------------------- |